
GNOME Disk utility is the default graphical partitioning tool on all the GNOME-based desktop environments like Ubuntu, Budgie, Cinnamon, MATE, and others. GNOME Disks is an exceptional, easy-to-use tool Linux OSes use to create hard drive partitions. It is pretty straightforward to understand GNOME disks compared to complex utility tools like GParted. However, you should remember that you will only be able to create new partitions on non-system disks using this disk utility tool.
What does this mean? It means that you will not be able to create new partitions on a hard disk drive that Linux is using for your root folder, home folders, etc. Nonetheless, you can modify non-system partitions with Gnome Disks. This guide will demonstrate how to install and utilize the Gnome Disk Utility to partition storage devices on Ubuntu Linux. So, let us get this underway.
How to install Gnome Disks on Linux
The Gnome disks app is one of the most amazing tools for beginners to create new partitions. Unfortunately, it does not come pre-installed on every Linux distro. For this reason, we will take you through the first section of the article, which is the installation section.
To begin the setup process, open up your terminal, which is achieved by hitting the combination of “Ctrl+Alt+T” on your keyboard.
But in case this combination doesn’t launch up the terminal window for you, go to the “Activities” button on the top left corner of your desktop. After that, a search button will appear; type in “Terminal,” hit enter on the terminal icon, and launch it.
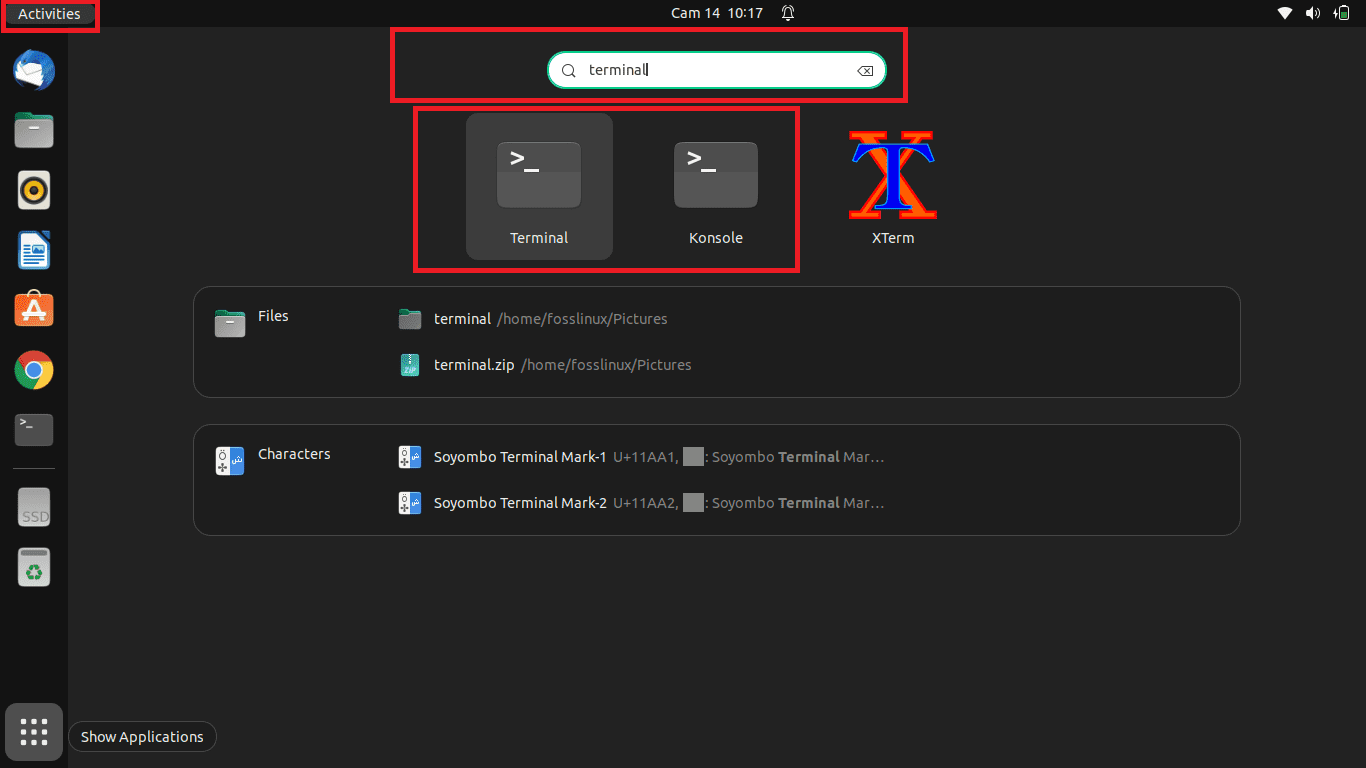
Launch the terminal
Once the terminal is ready for use, follow along with any of the following installation alternatives below:
Method 1: Install gnome-disk-utility using apt-get
As usual, you will first update your apt database by issuing the following command:
sudo apt-get update
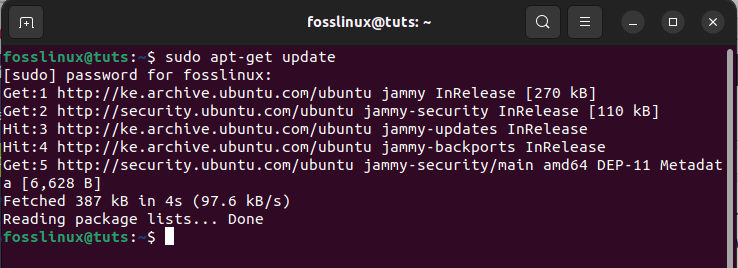
Update command
After that, proceed to the installation step by running the following command on your terminal:
sudo apt-get -y install gnome-disk-utility
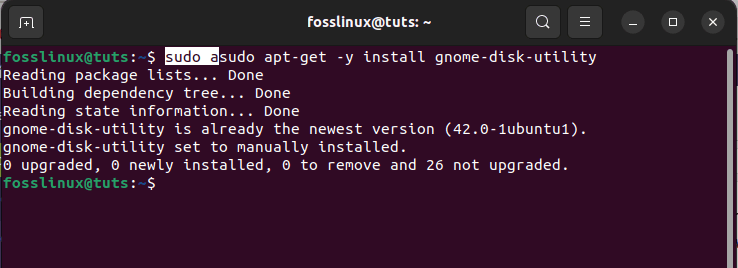
install disk utility
Method 2: Install gnome-disk-utility using apt
First, update your apt database using the following command:
sudo apt update
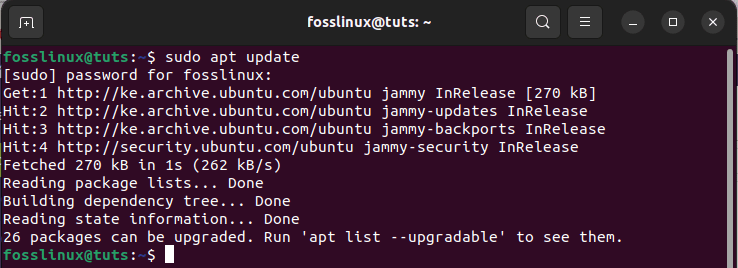
Update command
After running the update command, you may find packages that need to be upgraded, like in our case, 26. To upgrade such packages, issue the following command:
sudo apt upgrade
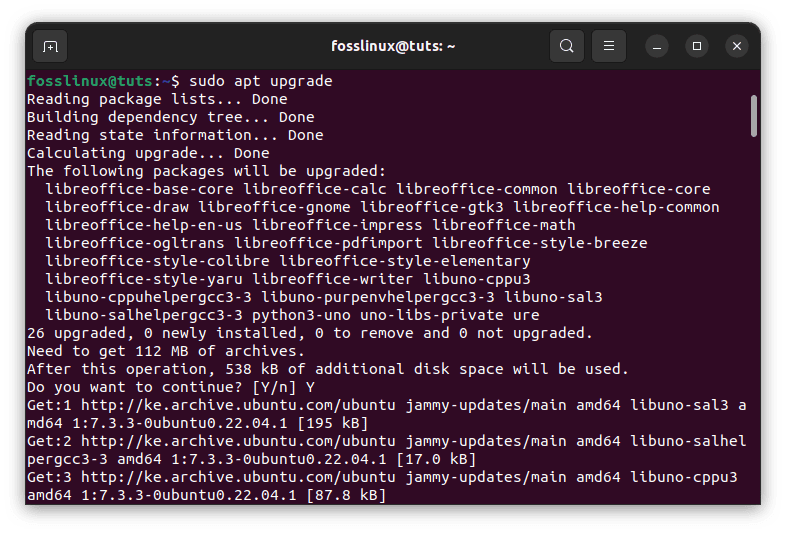
Upgrade command
After that, install the disk utility using the following command:
sudo apt -y install gnome-disk-utility
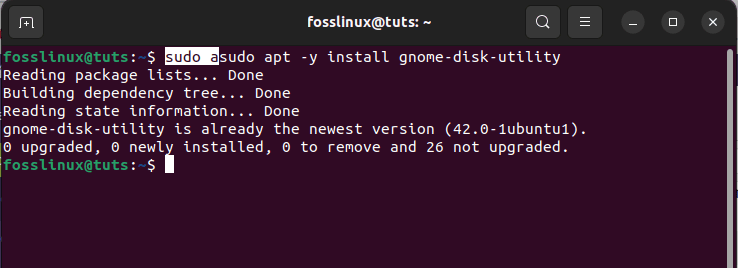
Install disk utility
Method 3: Install gnome-disk-utility using aptitude
If you want to use this method, you will first need to install aptitude, as it does not come pre-installed by default on Ubuntu. As such, run the following command to install aptitude:
sudo apt-get -y install aptitude
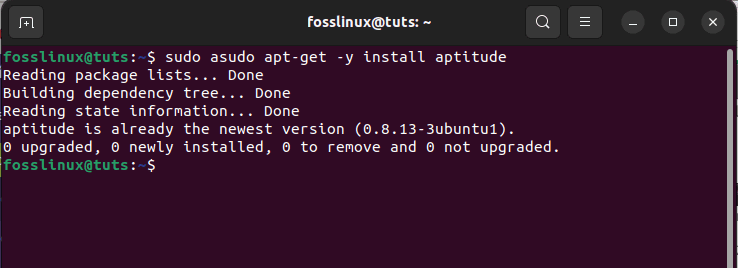
install aptitude
After that, you will use the same aptitude to update the apt database by issuing the following command:
sudo aptitude update
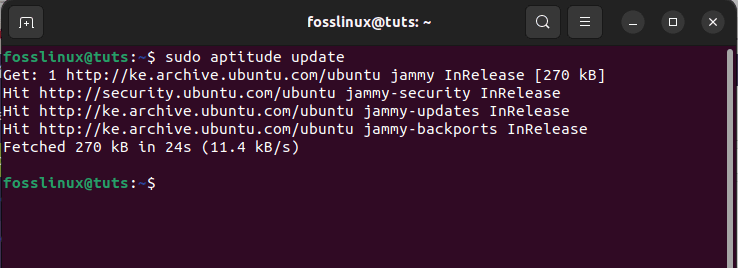
Update system using aptitude
Upon updating the apt database, you will proceed to the last step, which is setting up the gnome-disk-utility using aptitude. To do this, run the following command:
sudo aptitude -y install gnome-disk-utility
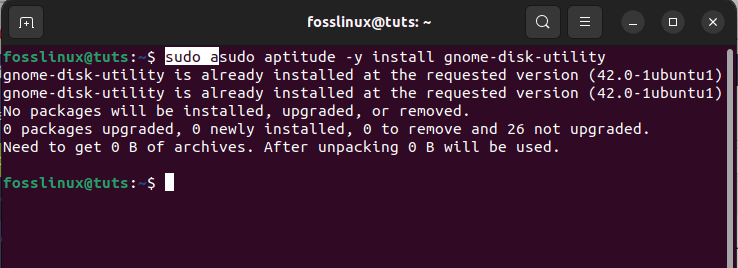
install disks utility
After looking at the several installation ways, let us now focus on using this software.
How to use the GNOME Disk utility
Section 1: Starting GNOME Disk utility
Navigate to the “Applications menu” and search for disks. You should see such an icon; click on the icon to open it.

Type in disks
The Gnome Disk utility should open immediately, as shown below:
Gnome should be open
As seen in our instance, we have two drives installed on our PC.
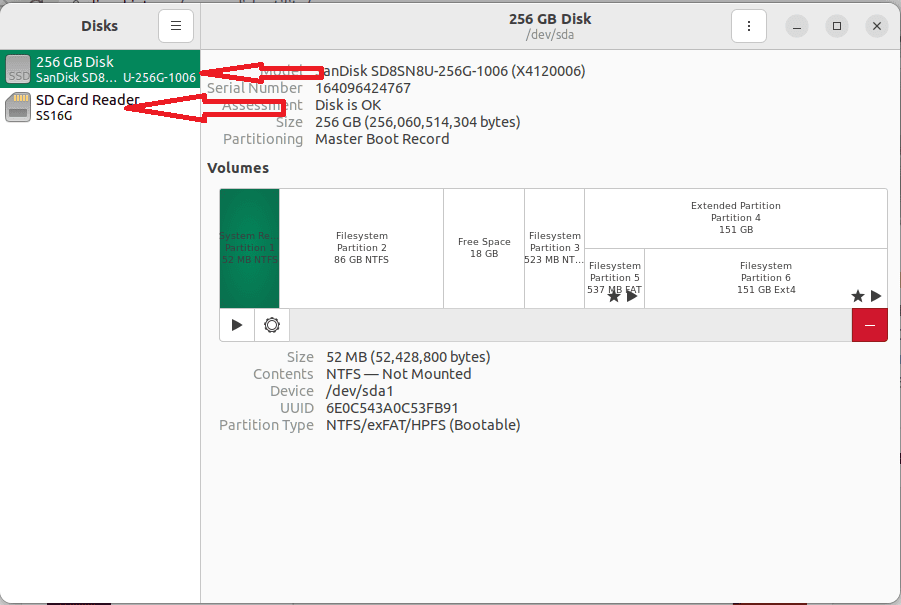
two drives installed
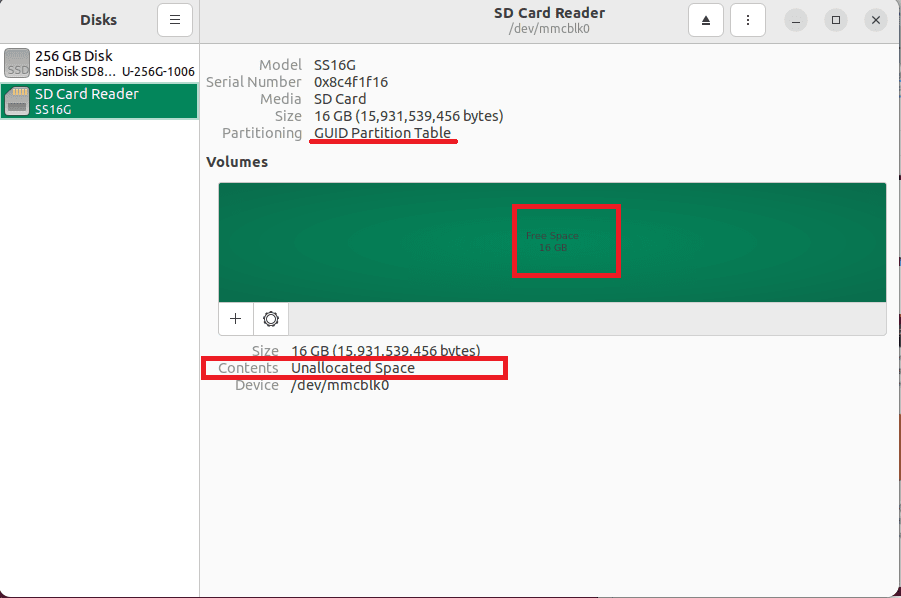
You can proceed and see the info on the unpartitioned drive by selecting the empty drive from the list as shown below:
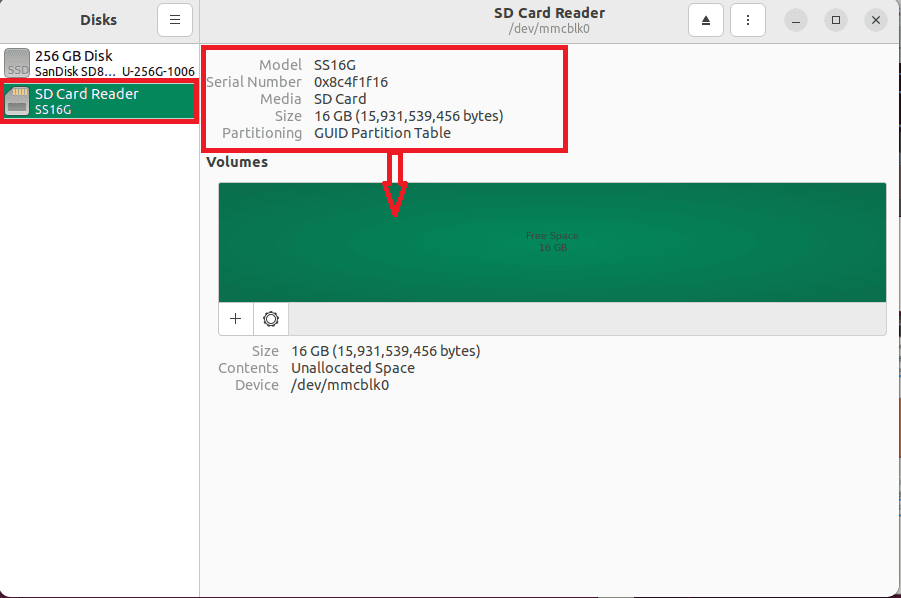
Info from one of the drives
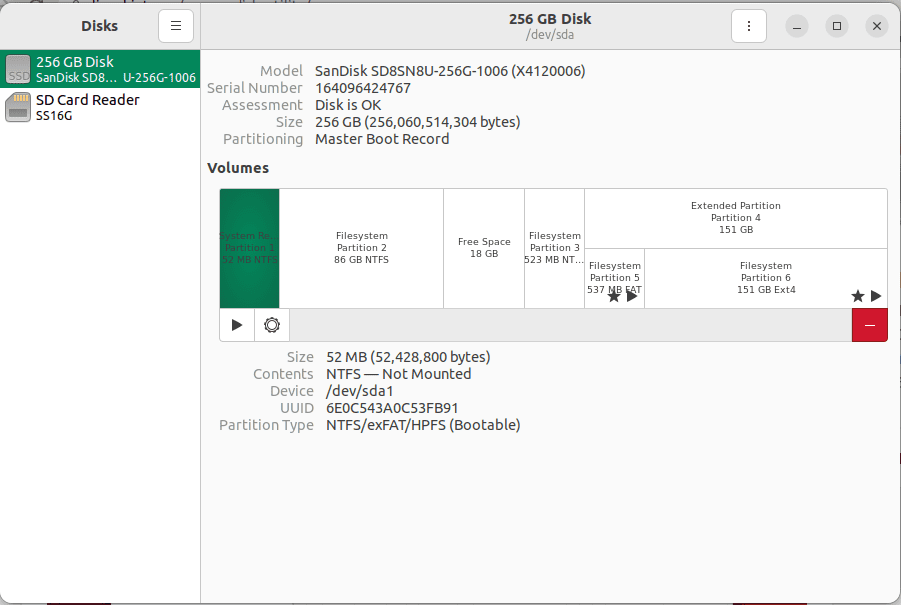
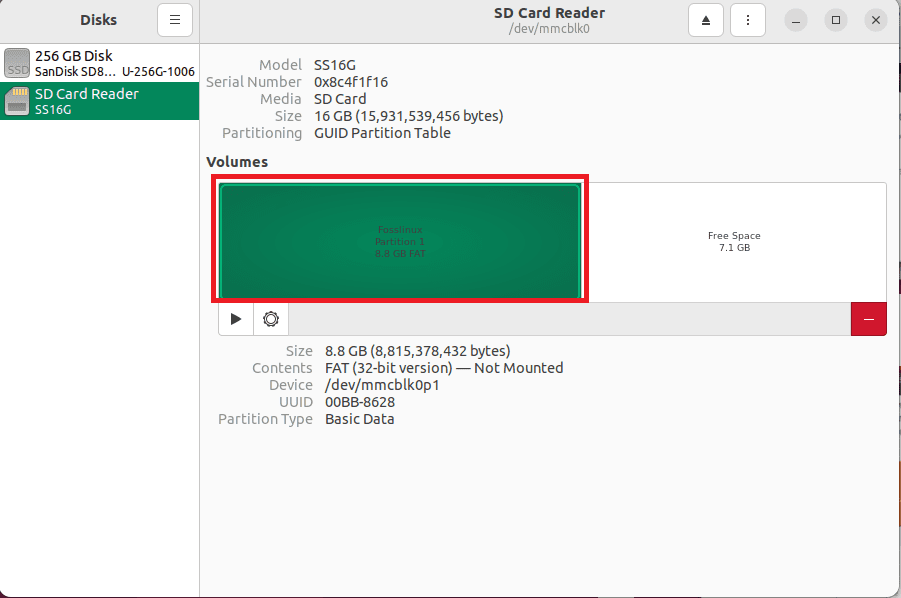
On the other hand, you can click on an existing partition to check out more information. For instance, the device name, mounted directory, partition size, UUID, partition type, and more.
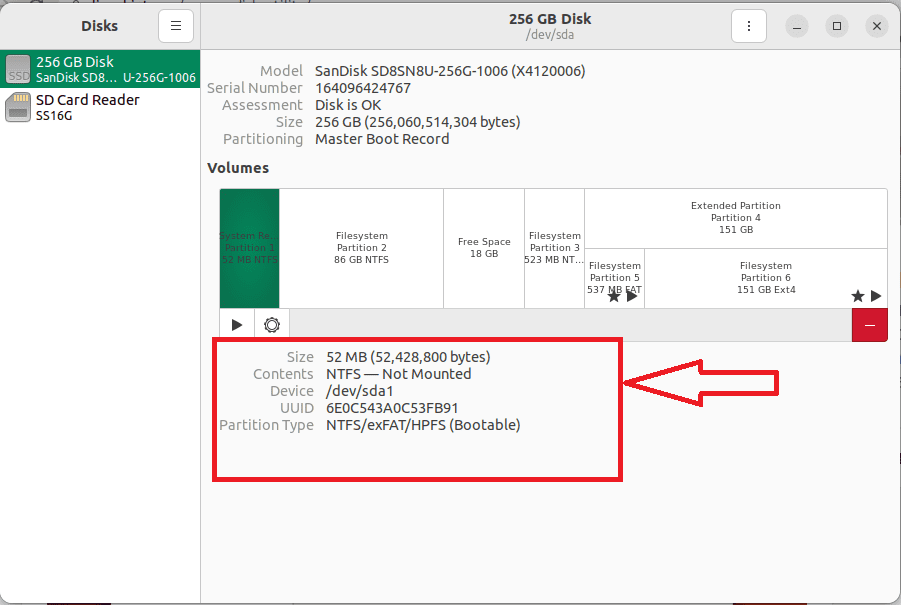
Existing partition info
Section 2: Create a New partition Table
If you have added a new disk drive, either the hard disk drive(HDD) or solid-state drive (SSD) on your PC, you must create a partition table before appending any new partitions.
You will first select your new storage device from the list and click on the three-dots menu. After that, click on “Format Disk” as marked below:
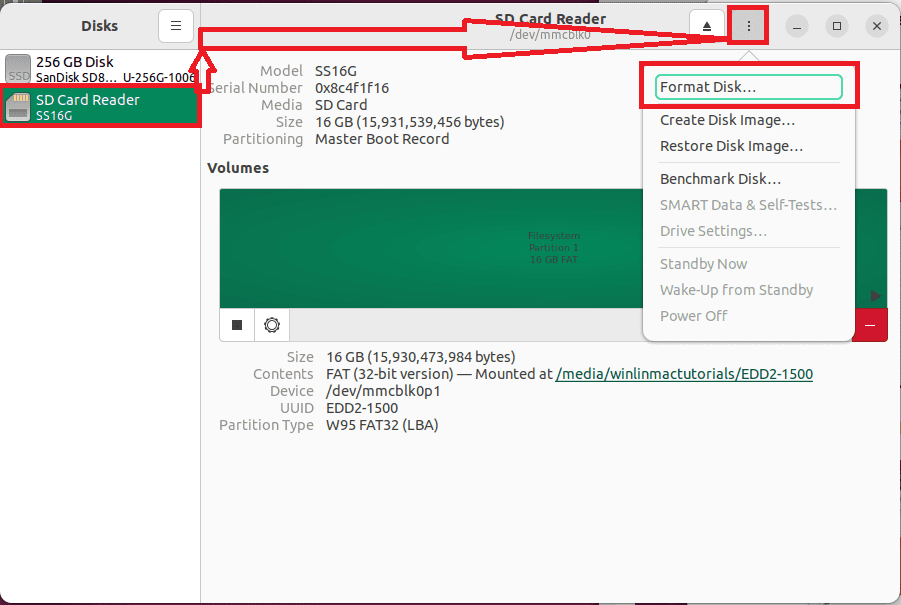
Hit the Format button
The format Disk window should be displayed. GPT partition method is usually selected by default. However, this does not exempt you from choosing DOS or MBR partitioning scheme from the dropdown menu.
It is vital to be conscious of some limitations of the two (DOS/MBR) partition schemes. The first shortcoming is that you won’t be able to create partitions exceeding 2TB, while the other is that you are limited to 4 primary partitions.
On the flip side, the GPT partitioning scheme overrides the problems of DOS/MBR as it permits you to create 128 primary partitions, and a single partition can be more than 2TB.
GPT also has its shortcomings. The problem with this partitioning scheme is that it is not supported on outdated or older hardware versions. You should opt for DOS/MBR if you have really old hardware. Otherwise, GPT is the best option.
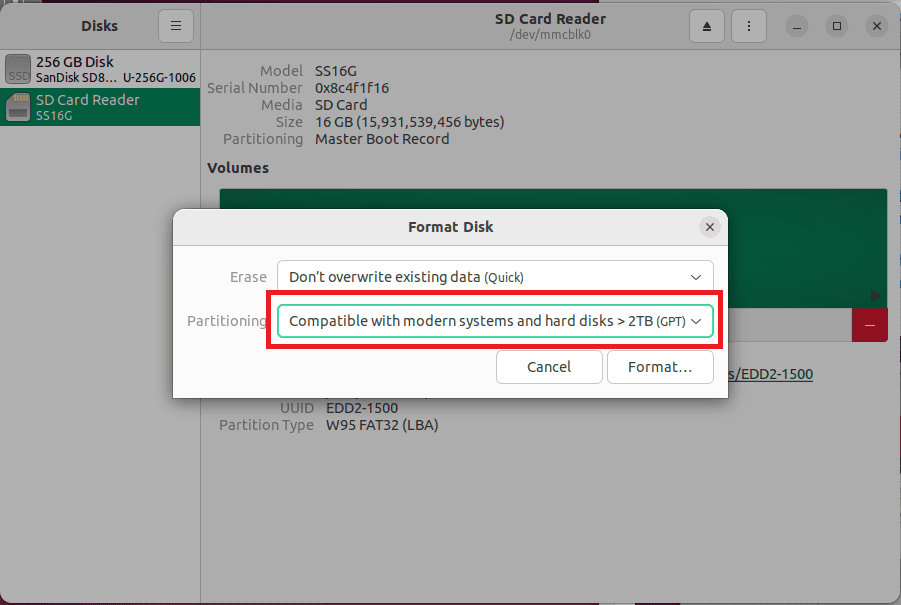
select GPT
In our case, we will pick GPT. Once you’ve made your mind on what partitioning scheme you will go with, click on “Format” as marked in the snapshot below:
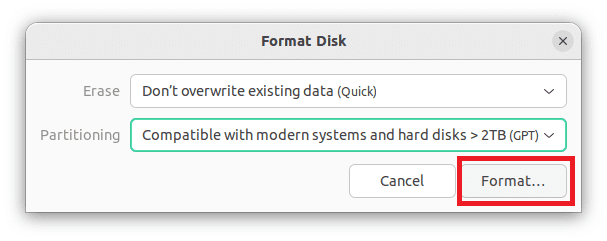
Click on Format
A confirmation window asking your surety to format the disk will appear. Click on “Format.”

Hit format again
After that, a credentials window will appear. Type in your PCs login password and click on “Authenticate,” as shown below:

Credentials section
As seen below, a GPT partition table is generated. Now, you can proceed and create as many partitions as you like.
GPT partition table created
Section 3: Creating a new partition
You should see a “+” and a “gear icon” on the left corner of the volumes window. To create a new partition, click on the “+” button, as displayed in the snapshot below:
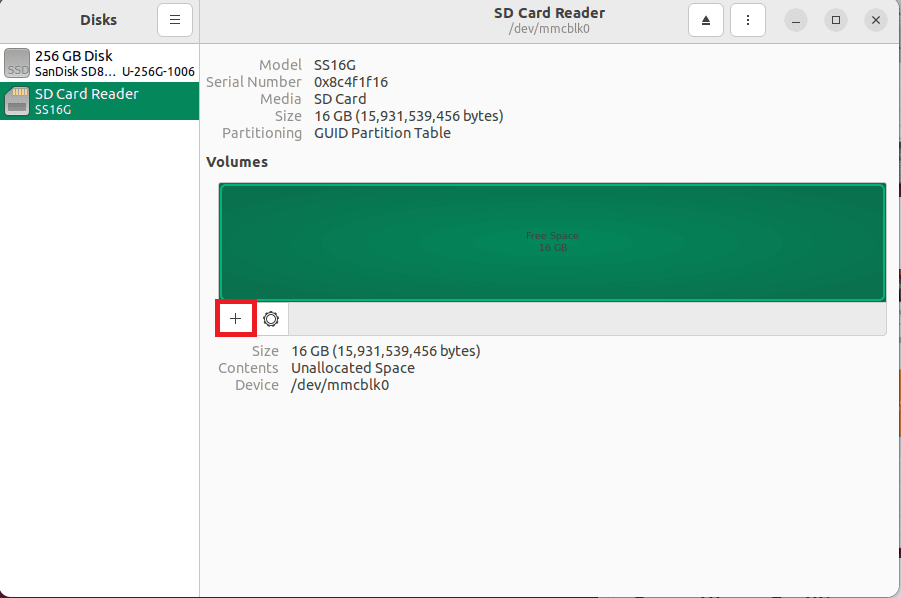
Click the + button
Next, you have to set the partition size to your preference. You can attain this by moving the slider to either the right or left to select the intended size. Alternatively, manually type in the partition size and choose the unit using the dropdown menu. The default unit is GB (GigaByte).
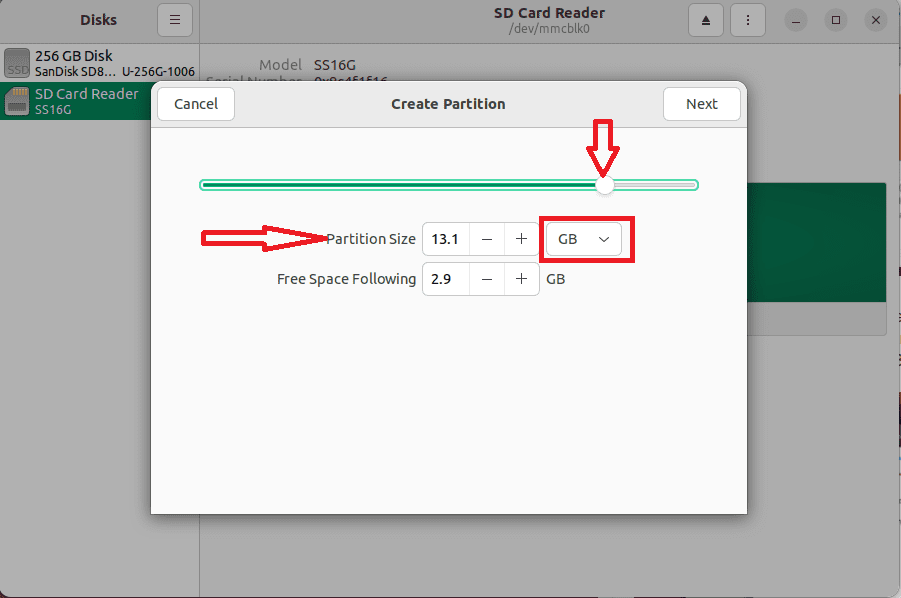
set partition size
When you are done, click on “Next.”
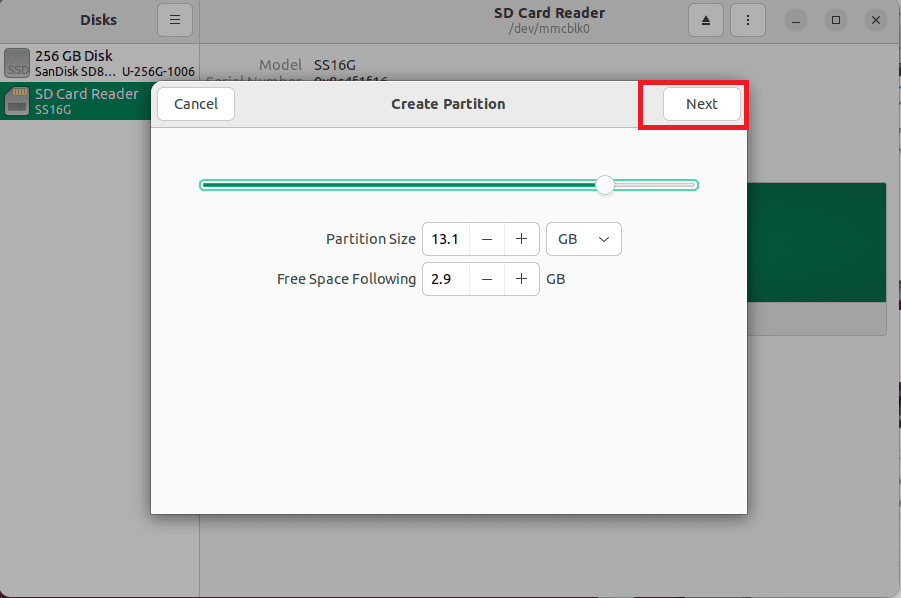
Hit the “Next” button
Here, you will name your partition. In our case, we will go with “Backup.” Remember, this is just a random name, so you are free to input any name of your liking and then select the filesystem type. Once you are done, click on “Create.”
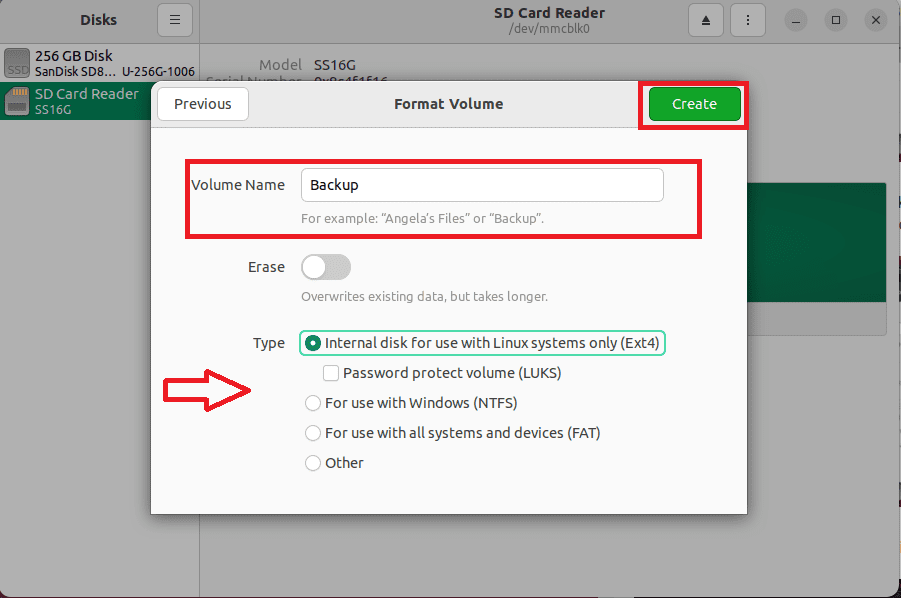
Name partition and select “create”
Next, type in the login credentials of your logged-in user and click on “Authenticate.”
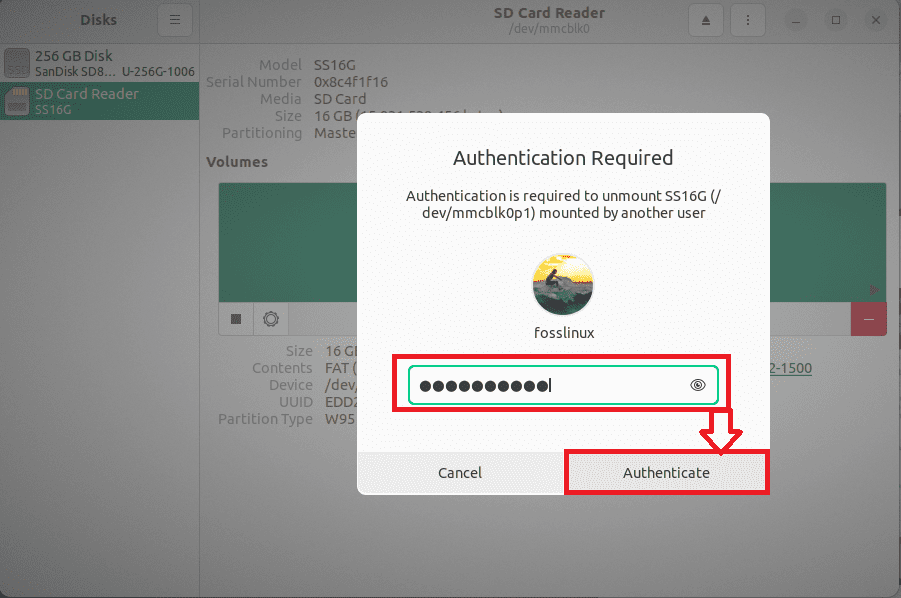
Type in your password
The partition should be created.
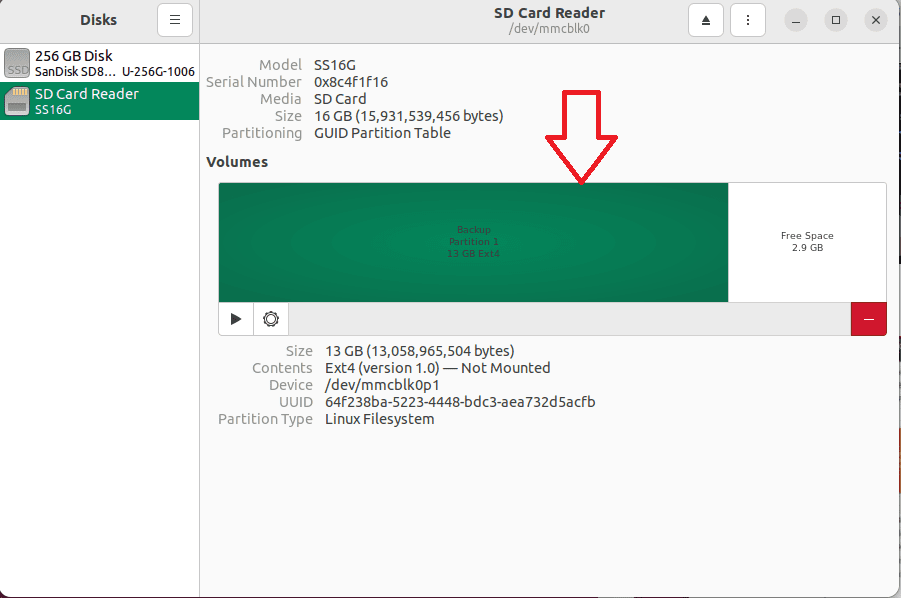
partition created
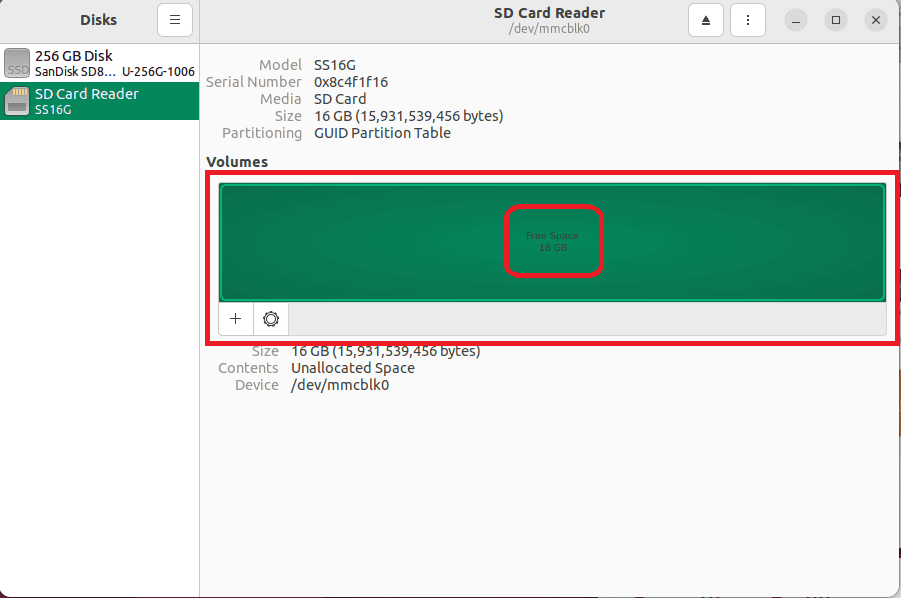
If you want, you can append more partitions provided you have more unutilized disk space. To create another partition, select the Free space and click on the “+” button as shown in the snapshot below:
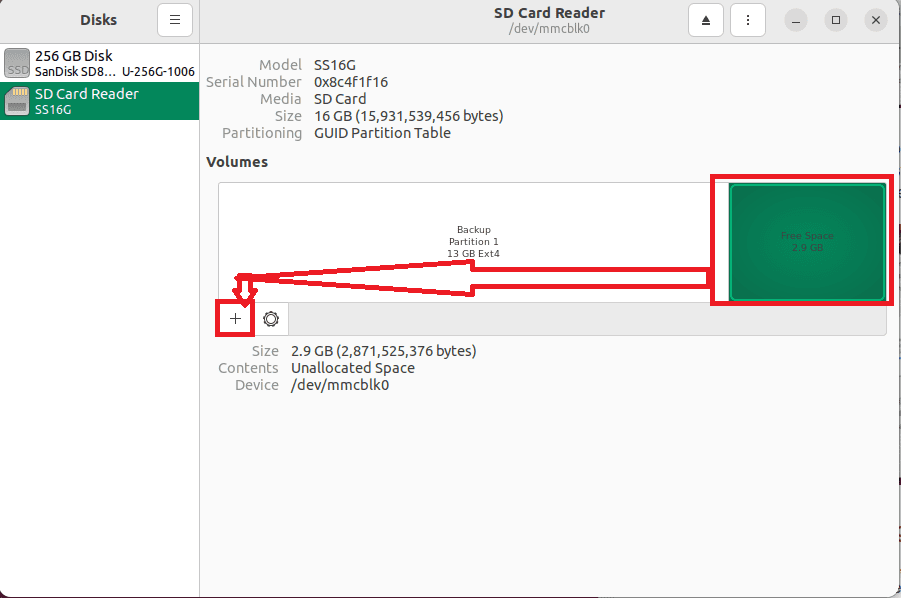
add more partitions
Section 4: Mounting and Unmounting partitions
Now that we have created a partition, it is time to mount the partition somewhere on the system. Otherwise, you cannot use it.
To mount the partition, pick the partition that you want to mount and hit the play-like button as marked in the snapshot below:
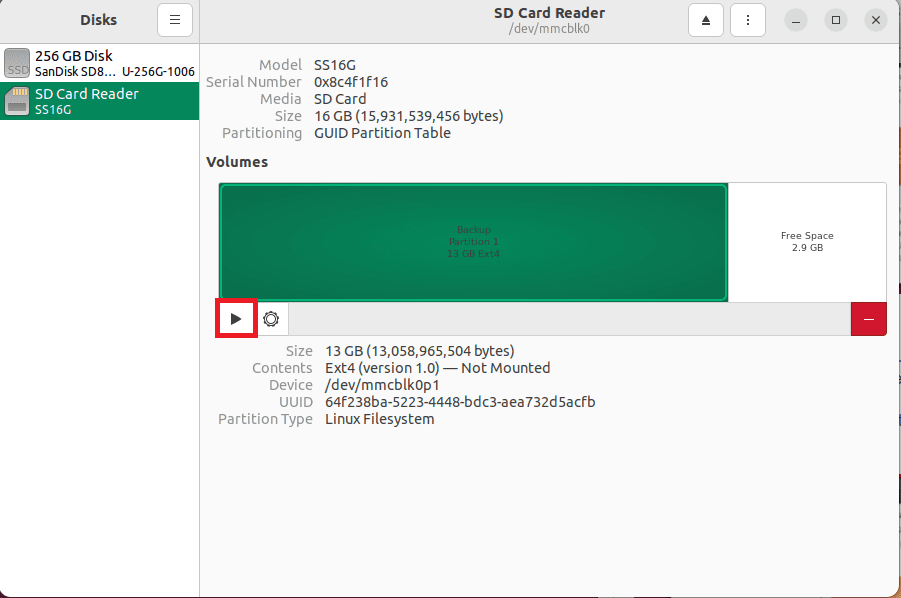
Hit the play button
Upon hitting the button, the partition should be mounted. The mounting location will be displayed here in the Gnome disk utility. In our case, it is “/media/fosslinux/Backup.” Yours will automatically not be the same.
If you want to unmount the partition, click on the stop button as shown in the snapshot below:
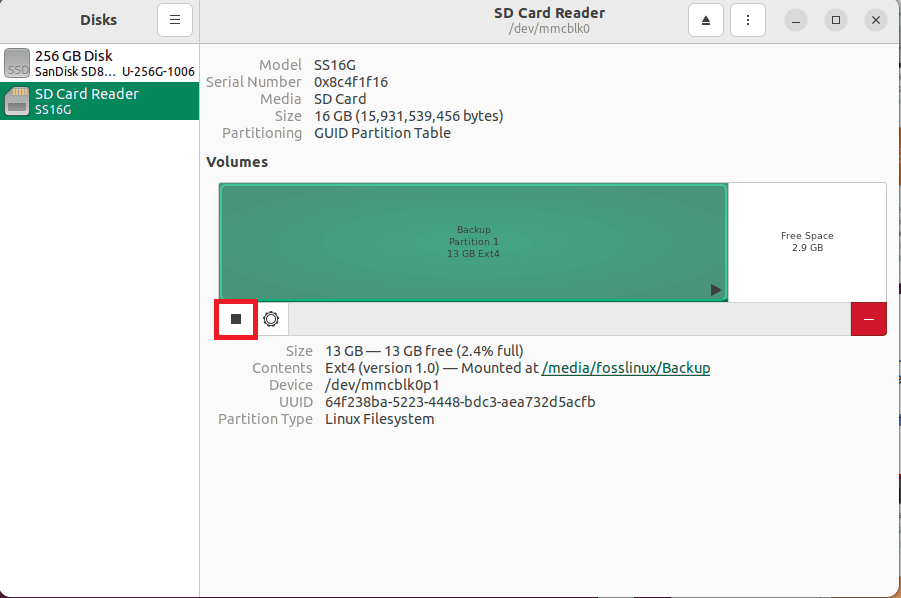
Click the stop button
Section 5: Deleting partitions
If you want to do away with a certain partition you previously created, this section is specifically for you. First things first, ensure you select the exact partition to be deleted. We advise this to avoid deleting the wrong partition without being aware. After selecting the partition, click on the (-) button as allocated in the snapshot below.
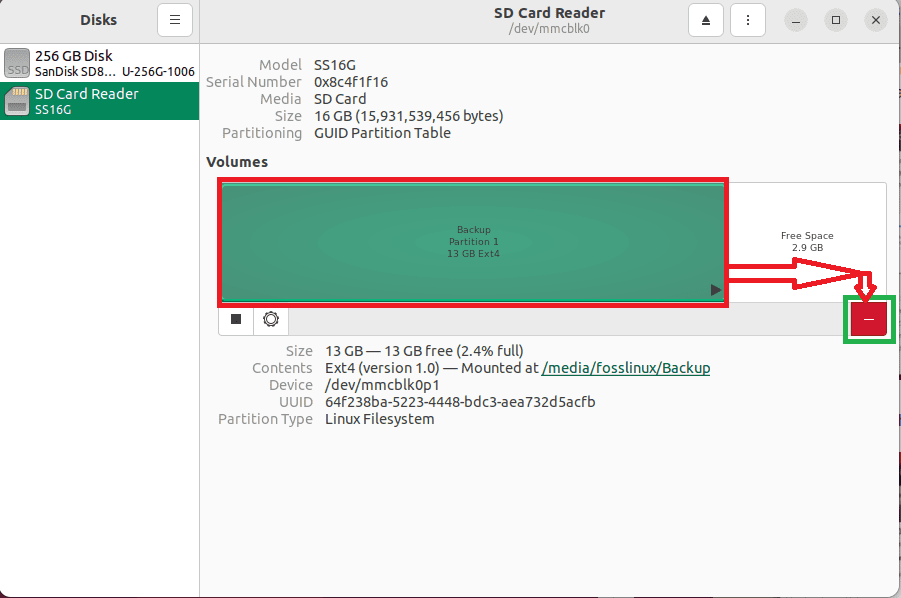
Click the (-) button.
To affirm your decision to delete the partition, a pop-up window asking you if you are sure to delete the partition will appear; click on the “Delete” button.
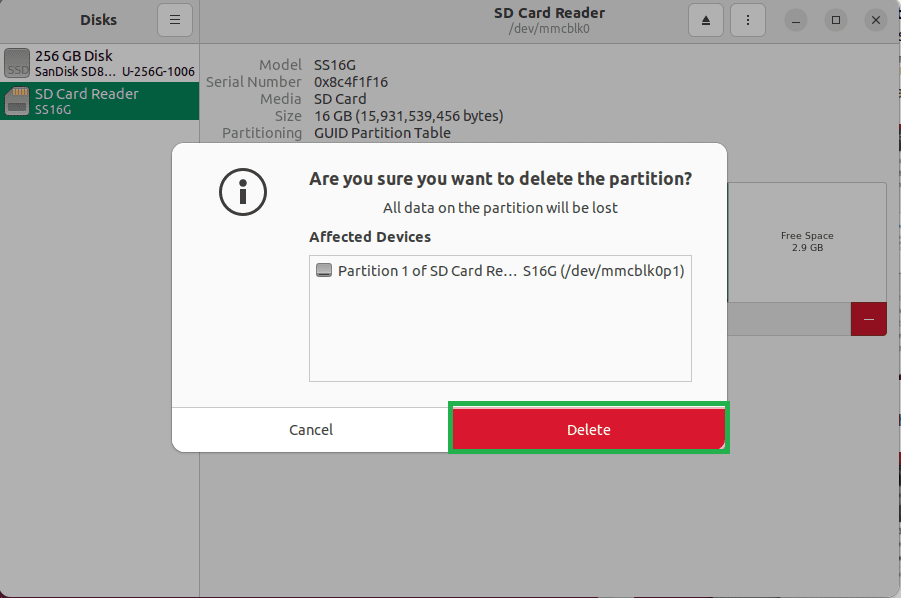
Confirm to delete
And the partition should be deleted.
Partition deleted
Section 6: Formatting a partition
To format a drive in simple terms means preparing a chosen partition on the drive to be utilized by an OS by deleting all the data and setting up a file system. If you want to carry this out, select the intended partition to format. After that, click on the “gear” icon at the bottom-left section of the volumes window. This will, in turn, display a dropdown menu; go ahead and click on the “Format partition” in the dropdown as displayed in the following snapshot.
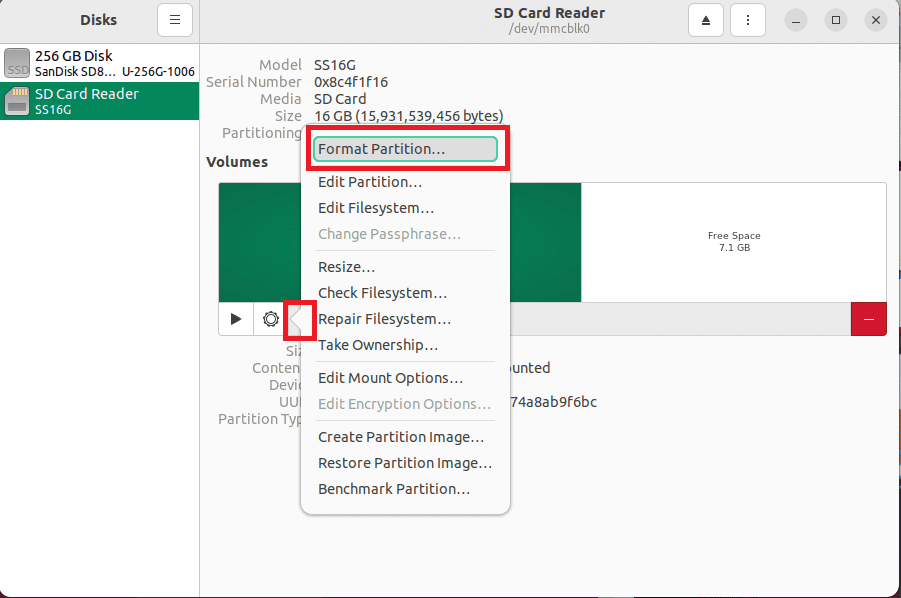
select the gear icon, then “format partition”
Next, type in a new partition name, select a filesystem type, and click on “Next.”
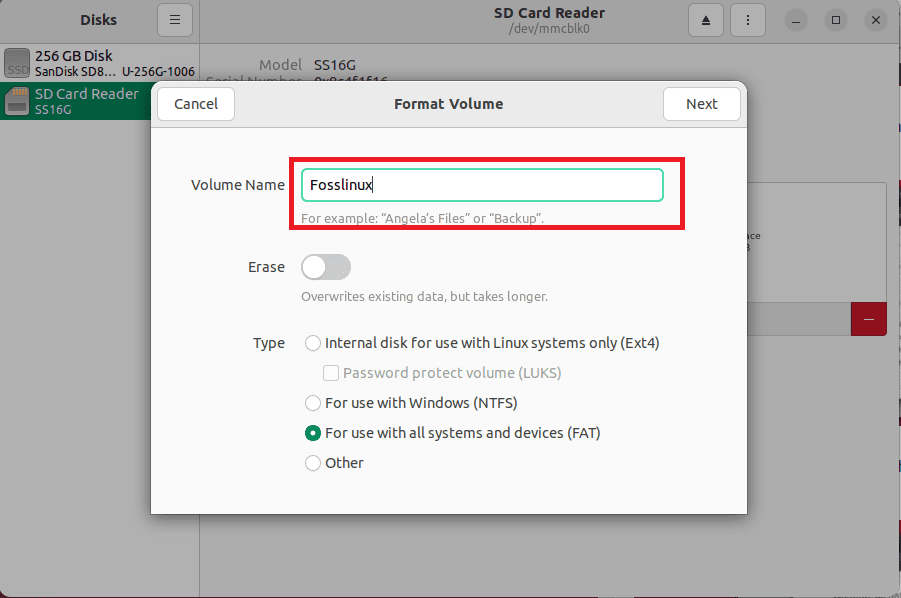
type in the name
Click on the “Format” button as marked in this snapshot to approve your action.
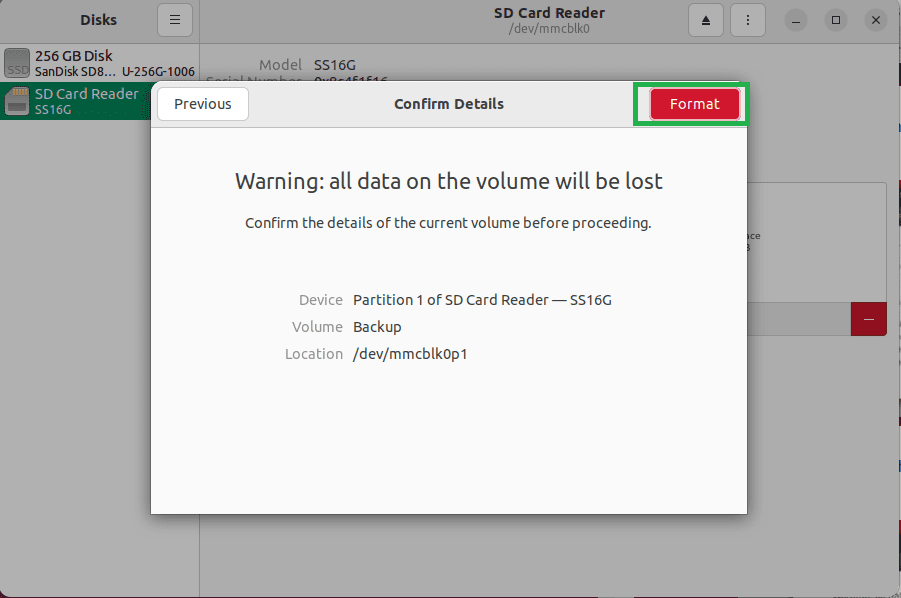
Select Format
The partition should be formatted.
The partition should be formatted
GNOME Disk Utility additional offers:
Besides the already discussed options, Gnome disk utility has many other options that come in handy at times. For instance, you can repair a filesystem in case of any errors, resize a partition to your preference, restore a partition from an existing partition image, change mount options of the partitions, check for any filesystem errors, and make partition images for backup purposes. Additionally, you can carry out a benchmark on a partition to find out the read/write speed and access time of a partition.

More disk utility offers
Final thoughts
And there it is! That is how you install and use GNOME disk utility on Linux. This article has covered the complete setup of GNOME disks using three different installation formats. After that, we diversified the article into about six sections to further simplify the process. We hope you found this educative enough. Thanks for reading, and keep following FossLinux for more tips.