
Have you ever considered utilizing a computer that is not yours, complete with your own files and settings? Any Linux distribution is capable of doing so. Yes! You may utilize your own customized Linux operating system on any machine with a USB drive. Fedora is among the most advanced and stable Linux distributions. It is excellent for software development, web development, multimedia, and office work, amongst other applications.
Fedora Workstation 37 is the most recent release of the Fedora Linux distribution. Fedora Workstation 37 has GNOME Desktop Environment version 41, the most recent release. Additionally, it features numerous updated software packages.
In this guide, I will illustrate how to make a bootable Fedora Workstation 37 USB flash drive and install Fedora Workstation 37 from the USB flash drive. So, let’s get started.
Follow the steps provided in this article guide to install an updatable Fedora on a USB flash drive. But before we do so, we first have to download the Fedora Workstation ISO Image:
Downloading Fedora Workstation ISO Image
This section will demonstrate how to download the Fedora Workstation ISO image from Fedora’s official website. Visit the official Fedora website using your preferred web browser. Click the Download Now button once the page has loaded, as depicted in the image below.
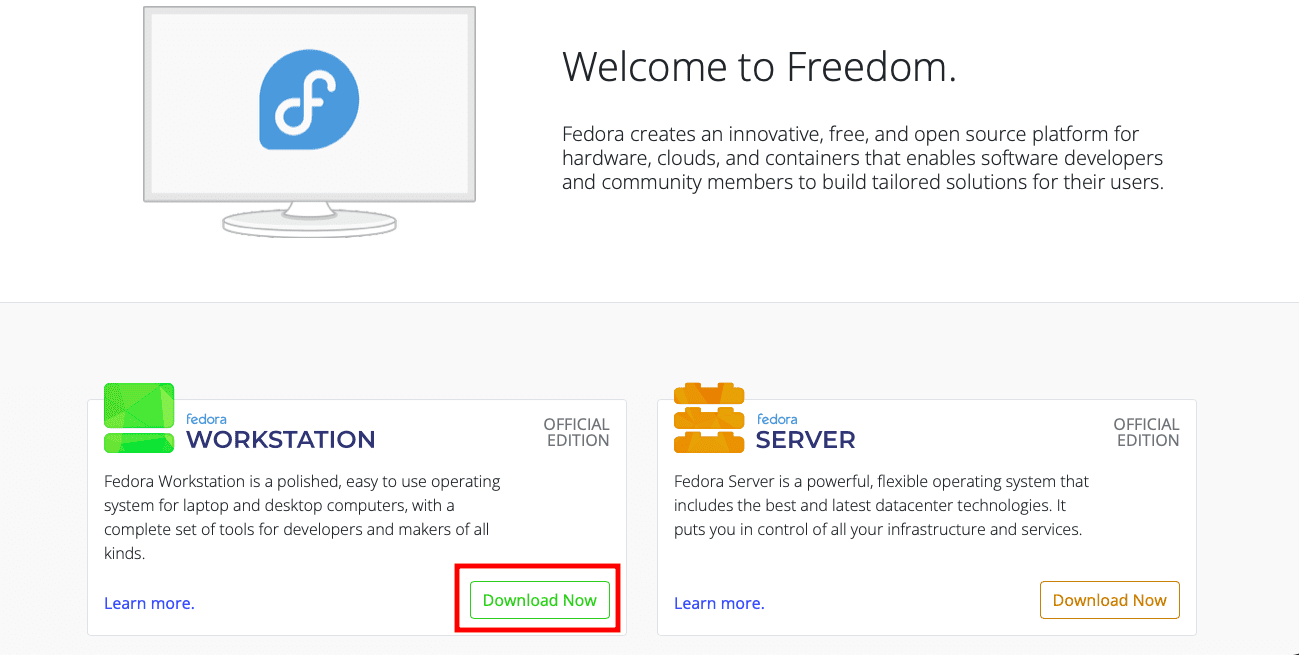
Download Fedora Workstation
Click the Fedora 37: x86 64 DVD ISO Download link as indicated in the image below.
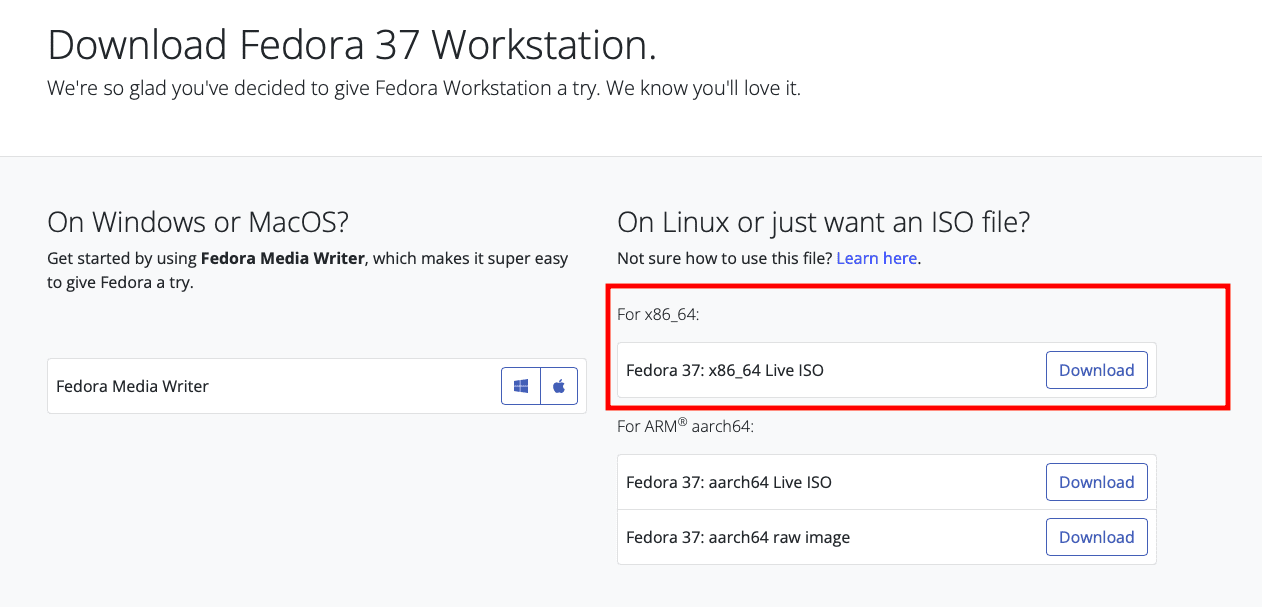
Download Fedora Workstation 37
Your web browser should prompt you to download the Fedora Workstation 37 ISO image. Choose Save File and then click OK.
Your browser should begin downloading the Fedora Workstation ISO image. It could take some time to complete.
The Fedora Workstation ISO image should be downloaded at this time. Once you have the file on your PC, proceed with the remaining steps:
Note: This tutorial explains how to install the latest version of Linux on a USB flash drive (NOT a Live USB), configure it, and use it on any computer you can access. In this example, I am running Fedora 37 workstation. So, let’s get started.
Installing a completely updatable Fedora on a USB flash drive
Requirements:
- One Pendrive with a capacity of 4GB or more (we’ll refer to it as the main USB drive/Pendrive).
- An additional USB flash drive or DVD disk for use as Linux installation media.
- Linux OS ISO file, for illustration, I will use Fedora 37.
- One PC (Caution: Disconnect internal hard drives to avoid boot record modification.)
Important: While this process will not result in data loss, some users have encountered changes to the bootup behavior of their internal drive, depending on the Linux version chosen. Before proceeding with the USB installation phase of the tutorial, you may choose to detach your hard drive to prevent this from occurring.
Once you have the prerequisites in place, stick to the steps provided herein:
Step 1: Create a bootable Fedora Workstation 37 USB drive using Windows
Create a bootable USB installation device using the Linux ISO image file. Using an ISO image file, bootable USB drives can be created with the aid of any software, such as Rufus, Unetbootin, Gnome Disk Utility, Yumi Multi Boot, xboot, Live USB Creator, etc. Using any of your choices, create your bootable USB drive. For illustration purposes, I will be using the Rufus software.
Rufus can be downloaded at its official website. Visit https://rufus.ie/en/ in your preferred web browser and click on the Rufus download link, as seen in the image below.
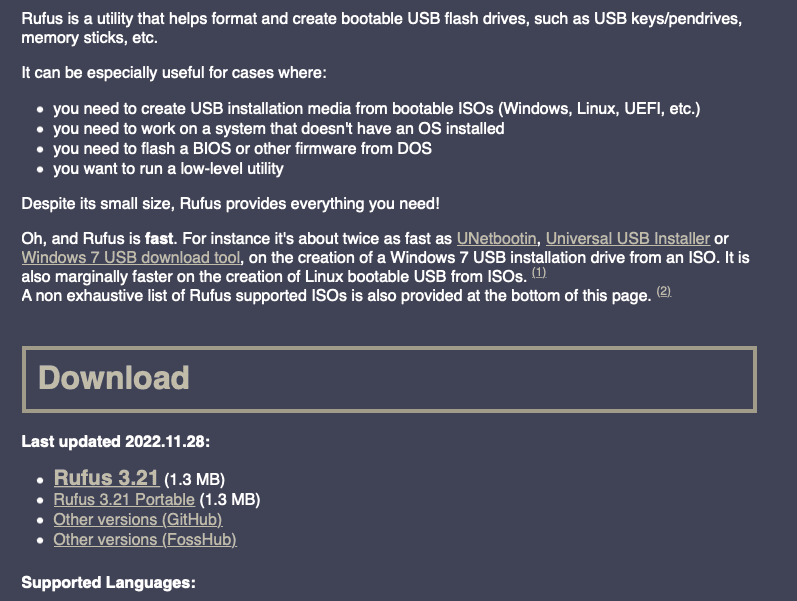
Download Rufus
Your web browser will request that you save Rufus. Click the Save button. Once Rufus has been downloaded, insert one thumb drive that will be used to create the bootable ISO and then launch Rufus.
Choose your USB flash drive from the Device dropdown menu, as indicated in the image below.
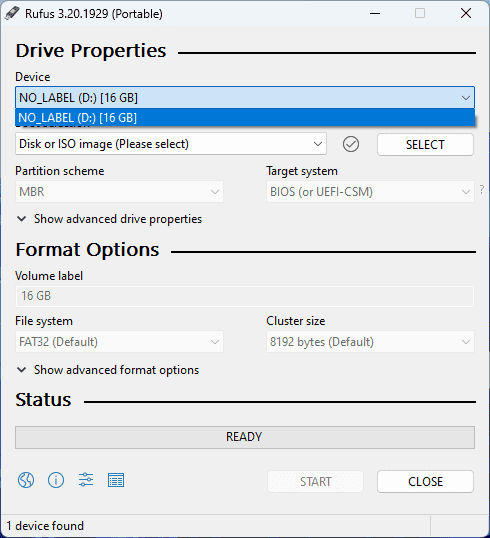
Select USB drive
Choose “SELECT.”
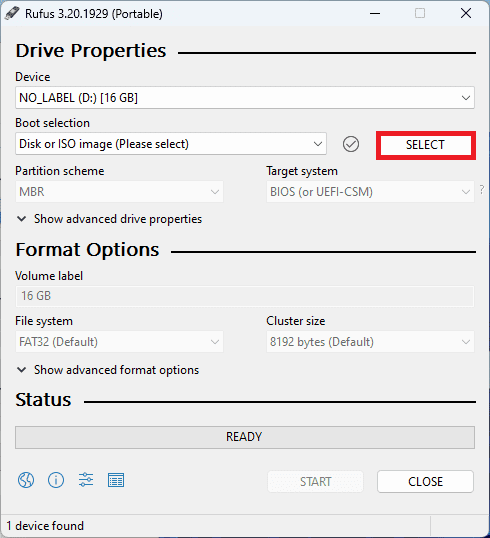
Choose Select
Select the newly downloaded Fedora Workstation ISO image and click Open.
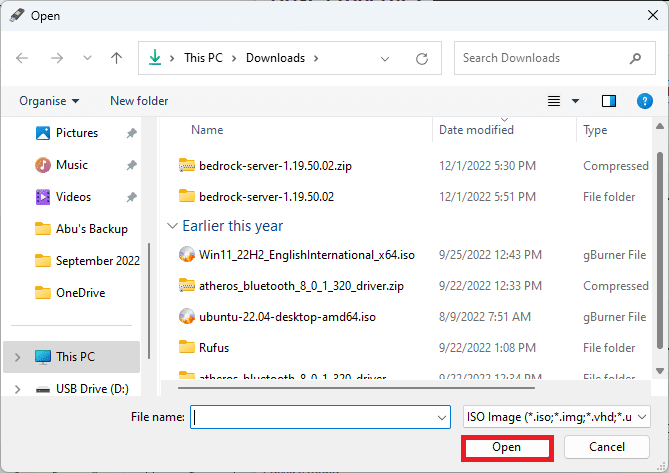
Click open
Choose “START”
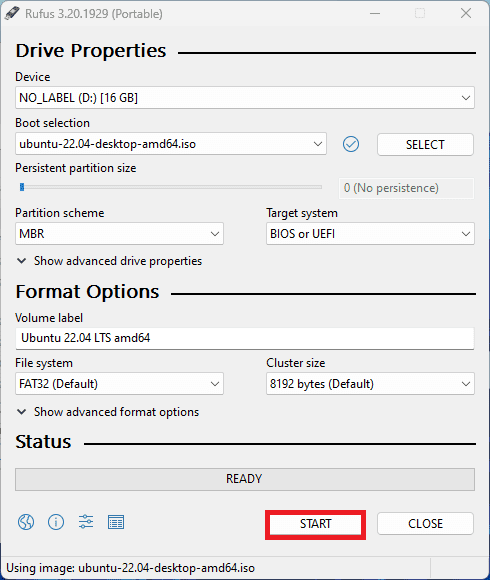
Choose start
Select Write in ISO Image mode (recommended) and press the OK button.
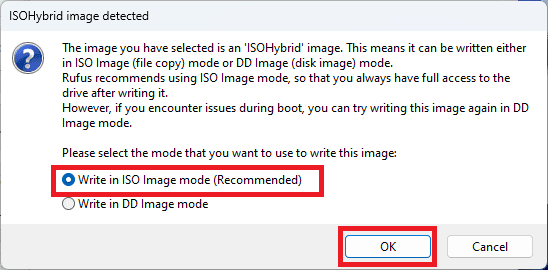
Write in ISO image mode
Click “OK”
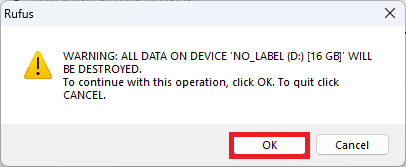
Click Ok
Rufus will begin copying the necessary files to the USB flash device. It could take some time to complete.
When the USB flash drive is READY, click the CLOSE button. This USB flash disk will allow you to install Fedora Workstation on your USB flash drive.
Creating a Fedora Workstation 37 Bootable USB Drive using Linux:
This section will demonstrate how to make a Fedora Workstation 37 bootable USB flash drive on Linux so that you can install Fedora Workstation 37 on your main USB drive.
Insert a USB thumb drive into your computer and run the following command to determine its device name. In my situation, the device name is sdb, as shown in the following image.
lsblk -e7
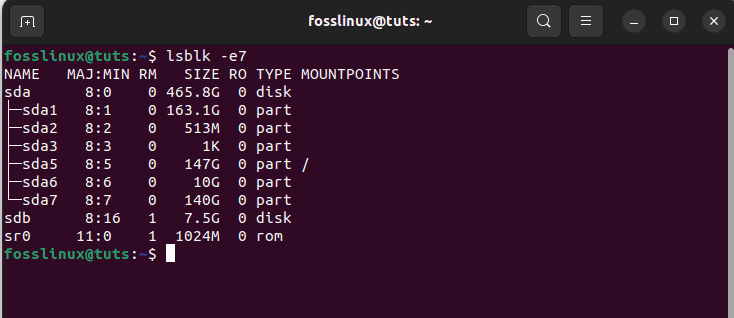
Check USB name
Follow these steps to navigate to the /Downloads directory:
cd ~/Downloads
The Fedora Workstation 37 ISO image should be located in the /Downloads folder, as seen in the image below.
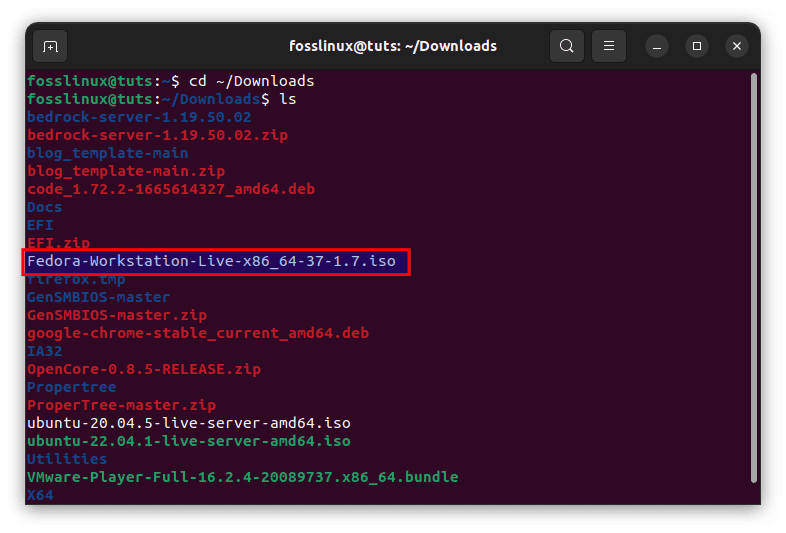
cd into Downloads
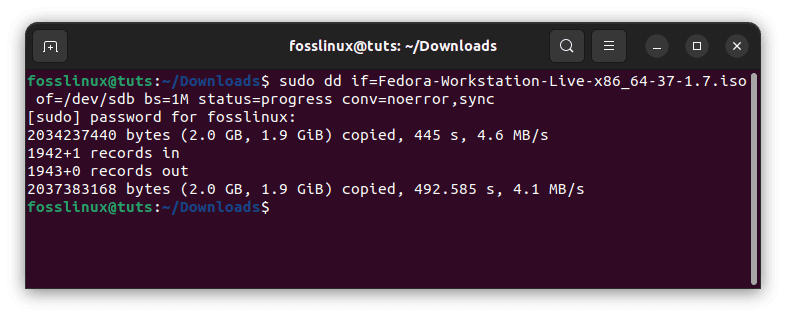
Execute the following command to write the Fedora Workstation 37 ISO image to the USB flash drive:
sudo dd if=Fedora-Workstation-Live-x86_64-37-1.7.iso of=/dev/sdb bs=1M status=progress conv=noerror,sync
The ISO image of Fedora Workstation 37 is being written to the USB flash device. It could take some time to complete.
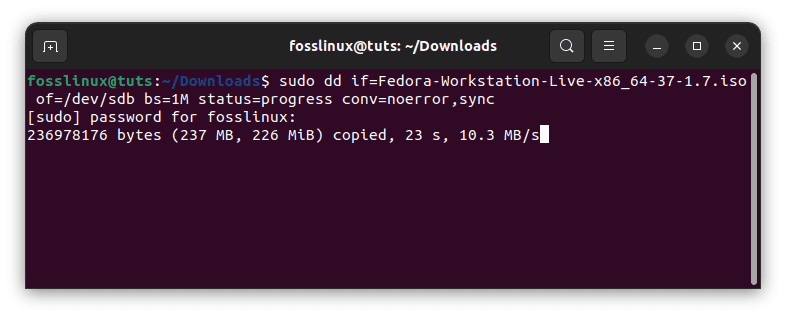
Write to USB
The Fedora Workstation 37 ISO image should be written to the USB flash device at this point.
Writing completed
The following command will eject the USB memory stick:
sudo eject /dev/sdb
You can now utilize this USB flash drive to install Fedora Workstation 37 on your main USB drive.
Step 2: Create Partitions on the Primary USB Drive
You must create two partitions on your Main USB drive using Gparted, Gnome Disk Utility, or a similar program.
- The root partition in ext4 format, sized according to your needs.
- Optionally, the remaining space can be formatted as a FAT partition for usage as a standard USB drive.
I have a 16GB USB drive on which I’ve made a 5GB root partition and used the remaining 11GB for a standard FAT partition. Therefore, my 16 GB USB drive gets reduced to 11 GB for use on any PC. Sounds great!
This step is also possible during the installation of Linux, although it will be more complicated when installing operating systems such as Arch Linux.
Once required partitions have been created on the Main USB device, now take a big breath since the Linux installation stage is about to begin.
Step 3: Install updatable Fedora workstation 37 on a USB drive
The mechanism for booting from a USB flash drive relies on the computer’s chipset. To boot from a USB thumb drive, navigate to your computer’s BIOS and select the USB thumb drive. Typically, you will press keys such as F2>, Del>, etc., immediately after turning on your computer. Refer to the motherboard’s manual for additional information.
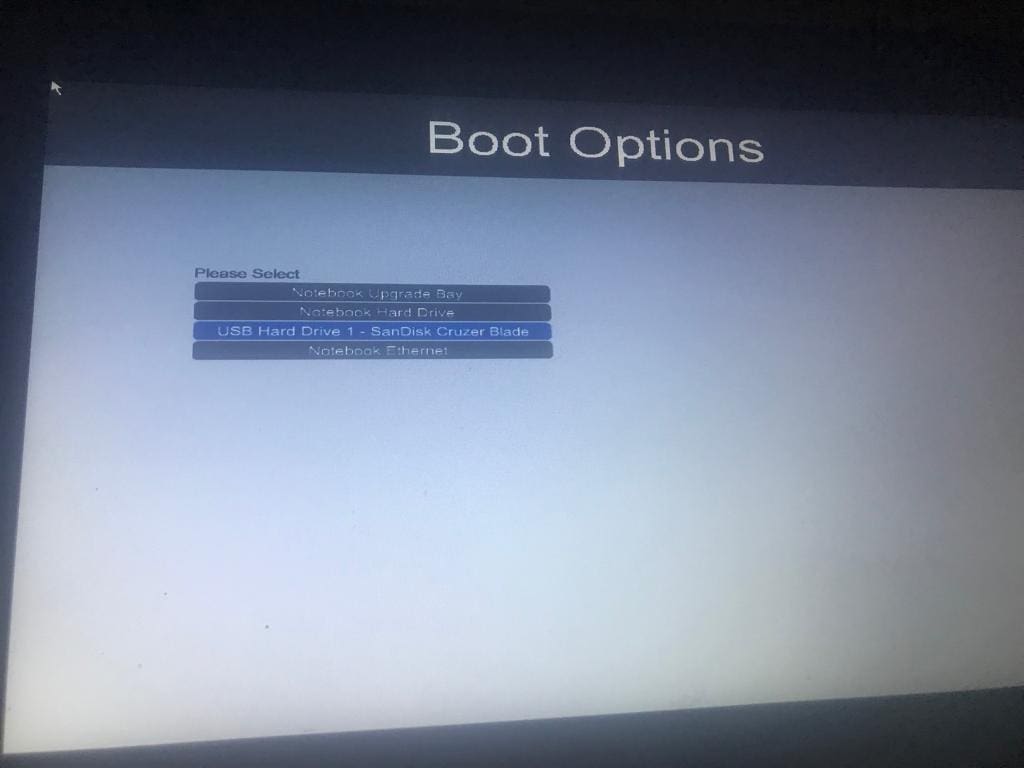
Boot options
After booting from the USB flash drive, the following window should appear. Choose Fedora-Workstation-Live 37 and press the Enter key.
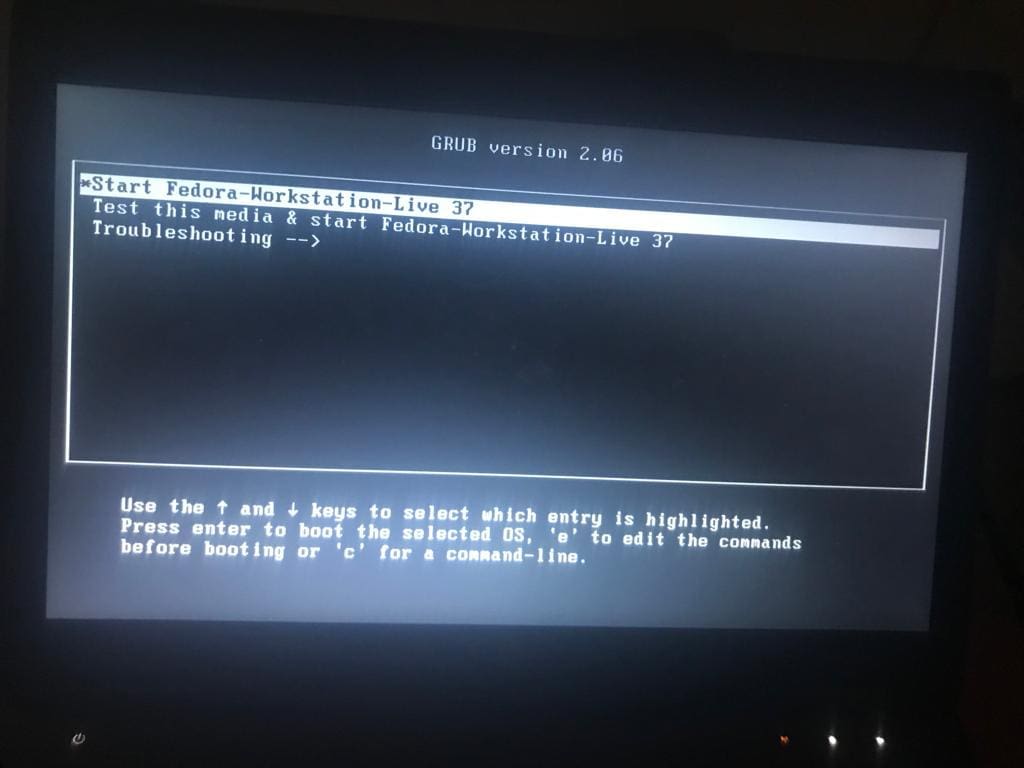
Choose Fedora Workstation
Here, you can test Fedora Workstation 37 in Live mode to determine how it runs on your machine. To accomplish this, click Try Fedora.
Install Fedora Workstation 37 on your main USB drive by selecting Install to Hard Drive.
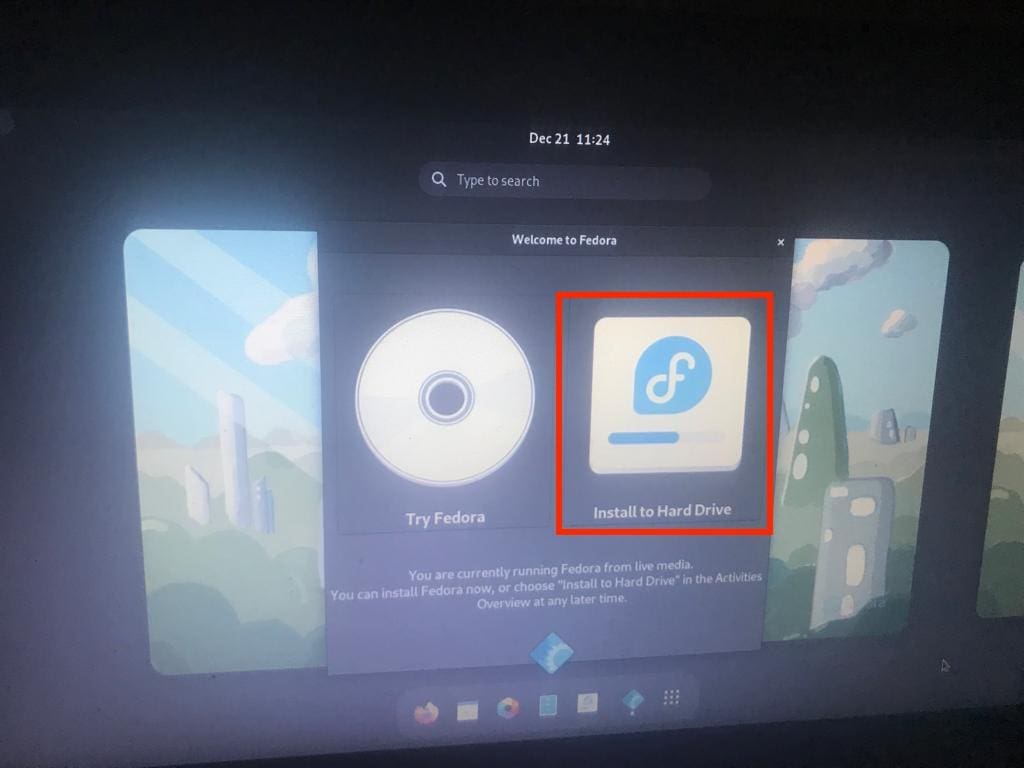
Install to hard drive
After clicking the Install to Hard Drive icon, the Fedora Workstation 37 installer will launch. Here you may install Fedora Workstation 37 on your main USB drive.
Select your preferred language, then click Continue.
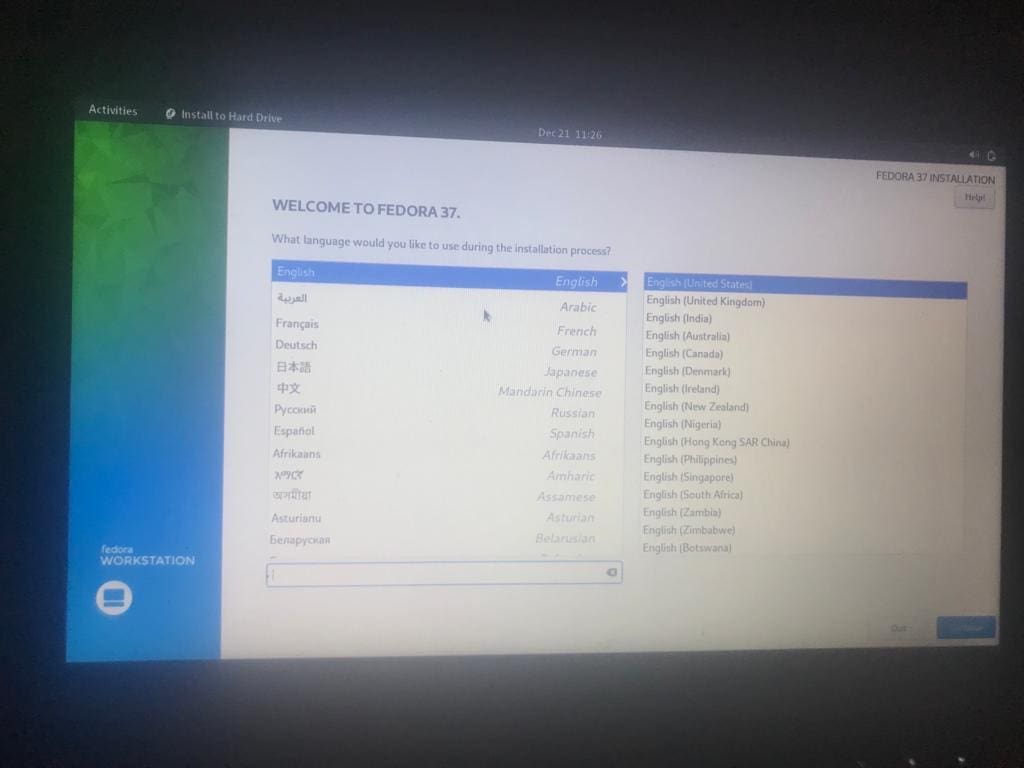
Choose Language
Select “Installation Destination.”

Installation destination
Select your storage device (main USB drive) and Storage Configuration from this menu.
- Automatic: This storage configuration will automatically generate all necessary partitions on the selected storage device. In the course of the procedure, your current partitions may be removed. This method is not recommended if the storage device contains sensitive data or another operating system. It is only useful for new storage devices or if the data on the storage device is irrelevant.
- Custom: This storage configuration enables manual partitioning of the selected storage device. It is beneficial if the storage device contains an operating system or sensitive information.
- Advanced Custom (Blivet-GUI): This storage configuration enables manual partitioning of the storage device of choice. For partitioning the storage drive, Blivet-GUI is utilized.
After selecting a storage device and storage configuration, click the Done button.
NOTE: This tutorial will demonstrate how to partition a storage drive manually using the Custom storage configuration.
There will be a new window shown. Here, you can partition your storage device.
Fedora Workstation 37 utilizes the Btrfs partitioning technique by default. Thus, the Btrfs filesystem will be used for each partition you create.
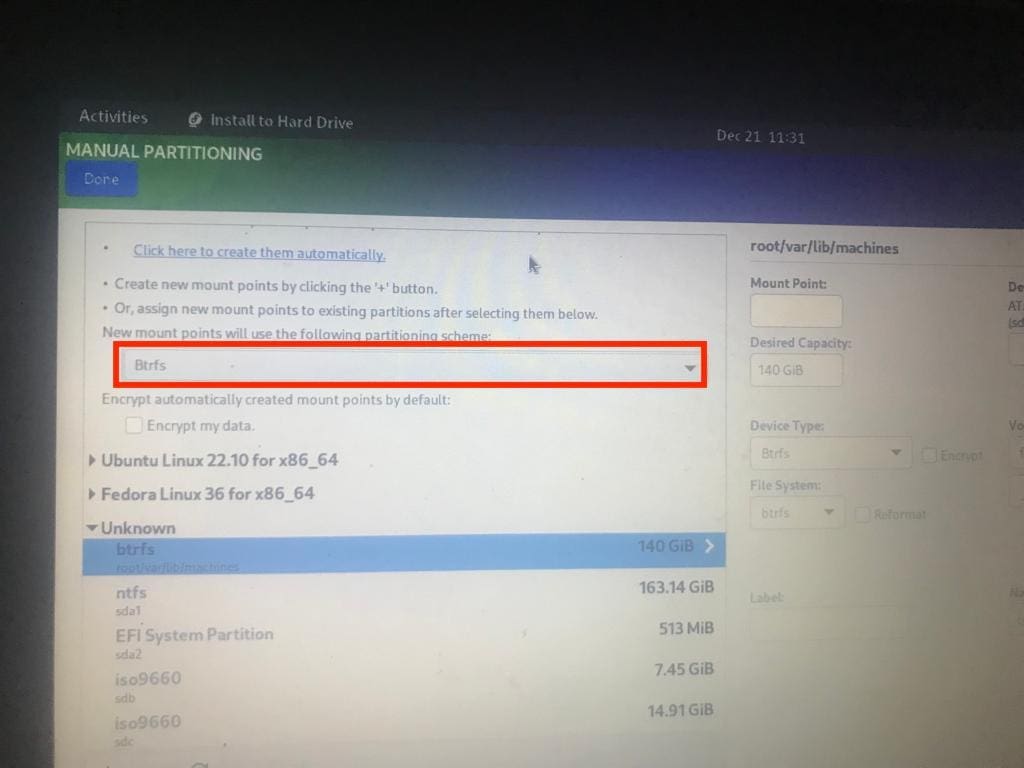
Btrfs partitioning
Using the dropdown option, you can alter the partitioning strategy if you so choose.
Fedora Workstation 37 permits the usage of the subsequent partitioning schemes:
- Standard Partition: This partitioning scheme enables you to build partitions on your storage device’s partition table (MBR or GPT) and choose your own filesystem for each partition. This is the most generally supported method of partitioning.
- Btrfs: This system utilizes Btrfs to handle the storage device’s partitions.
- LVM and LVM Thin Provisioning: These methods utilize LVM (Logical Volume Manager) to manage the storage device’s partitions.
In this essay, I will employ the Standard Partitioning technique.
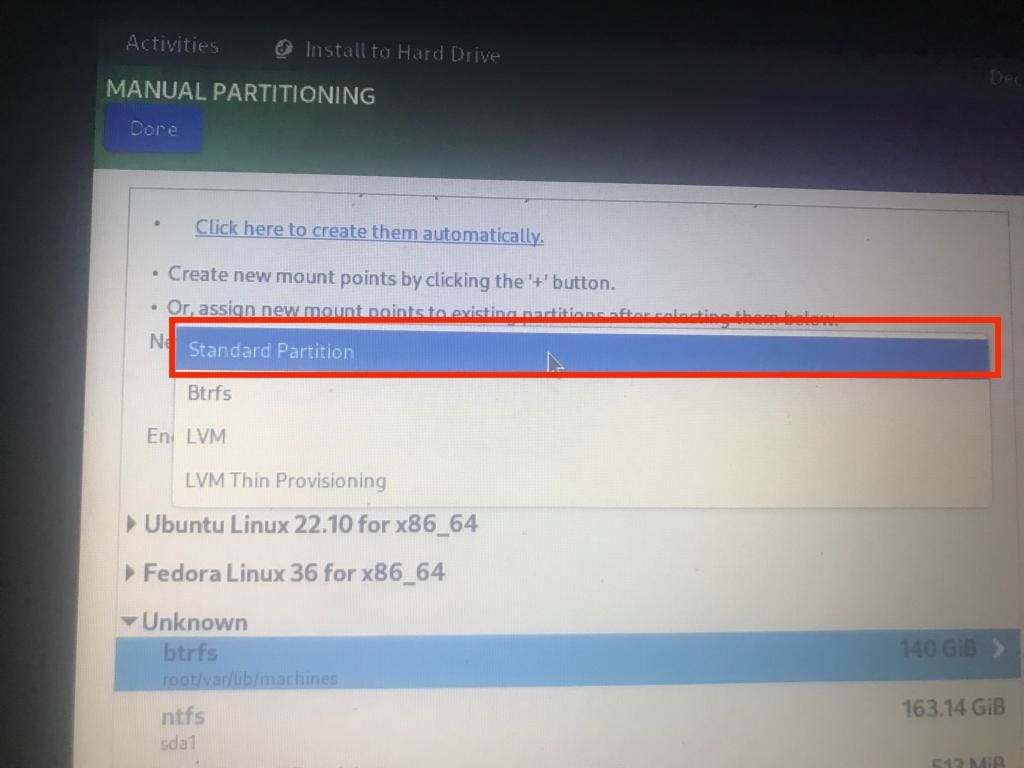
Standard Partitioning
To create a new partition on the storage device, click the plus sign, as depicted in the following image.
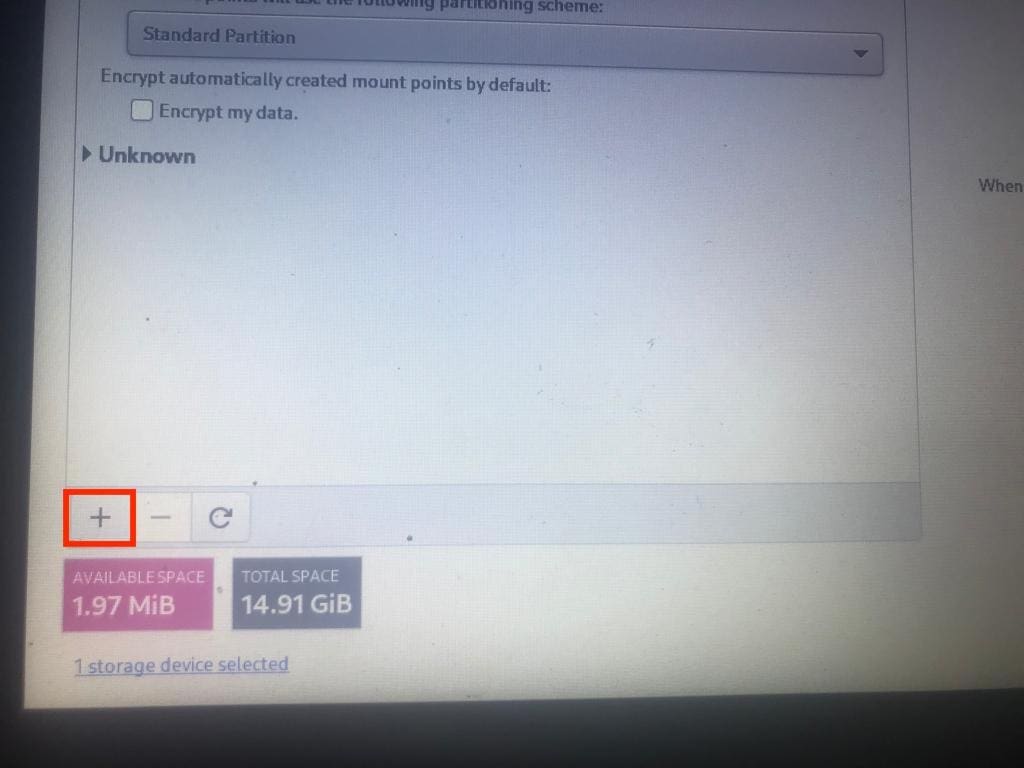
Plus sign
Choose a Mount point from the dropdown menu, enter the desired capacity, and click Add mount point.
To install Fedora Workstation 37, at least two partitions must be created.
- A boot (/boot) partition if your motherboard is BIOS-based. Or an EFI System Partition (/boot/efi) if your motherboard supports UEFI.
- A root partition (/).
Create the EFI System Partition or boot partition first. Select /boot from the Mount point dropdown selection if your motherboard is BIOS-based. Choose /boot/efi if your motherboard supports UEFI.
512 MB is sufficient disk space for the boot partition or EFI System Partition. Input 512M in the Desired Capacity field and click Add mount point. It is necessary to build a new boot partition or EFI System Partition. I have established an EFI System Partition because my motherboard is UEFI-based.
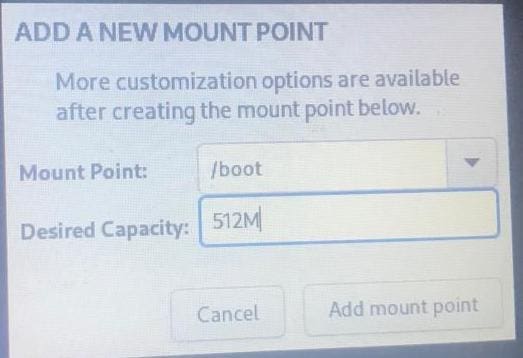
Create boot partition
Select / in the Mount point dropdown selection to establish a root partition. Input the root partition’s size in the Desired Capacity field. Leave it blank if you wish to use all available free disk space for the root partition. Once you’re done, click on Add mount point.
Creating a root partition is required. The root partition will utilize the ext4 file system if you have chosen the Standard Partition scheme. If you wish to change the file system to something different, you can use the File System dropdown menu.
The following filesystems are supported by Fedora Workstation 37 for the Standard Partition scheme.
You may optionally build a 2 GB swap partition with the following settings.
NOTE: Adjust the size of the swap partition according to your needs. After partitioning the storage drive, click the Done button.
Display a summary of the modifications to be made to the storage device. To accept the modifications, click “Accept Changes.”
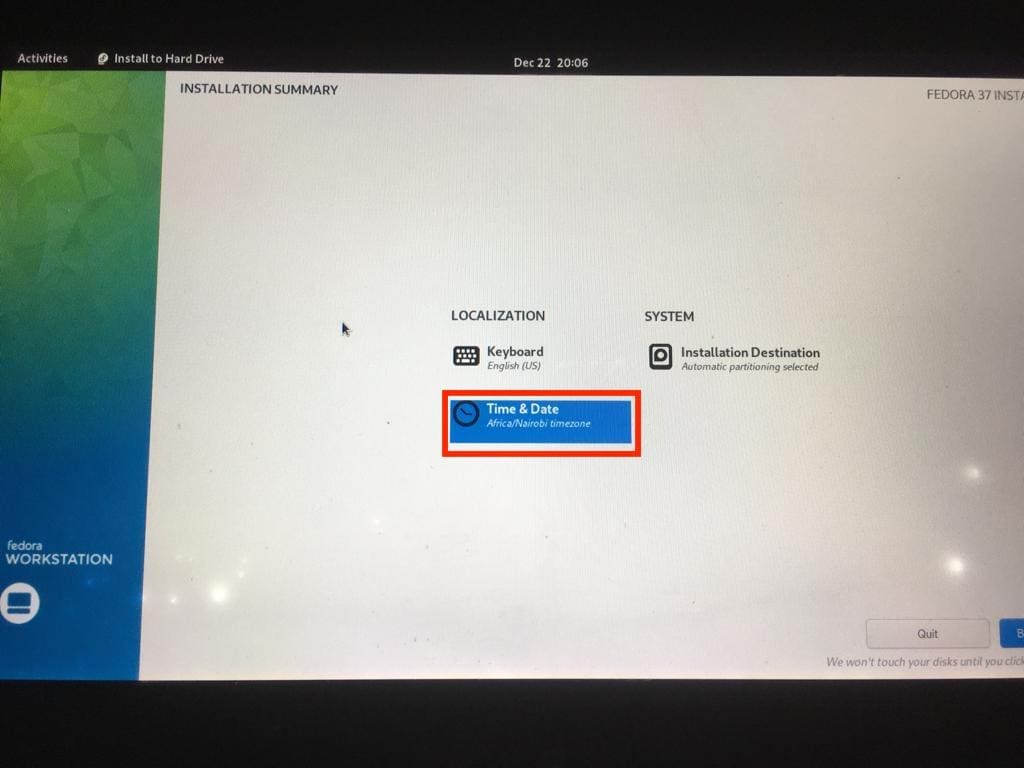
To choose a timezone, select Time & Date.
Time & Date
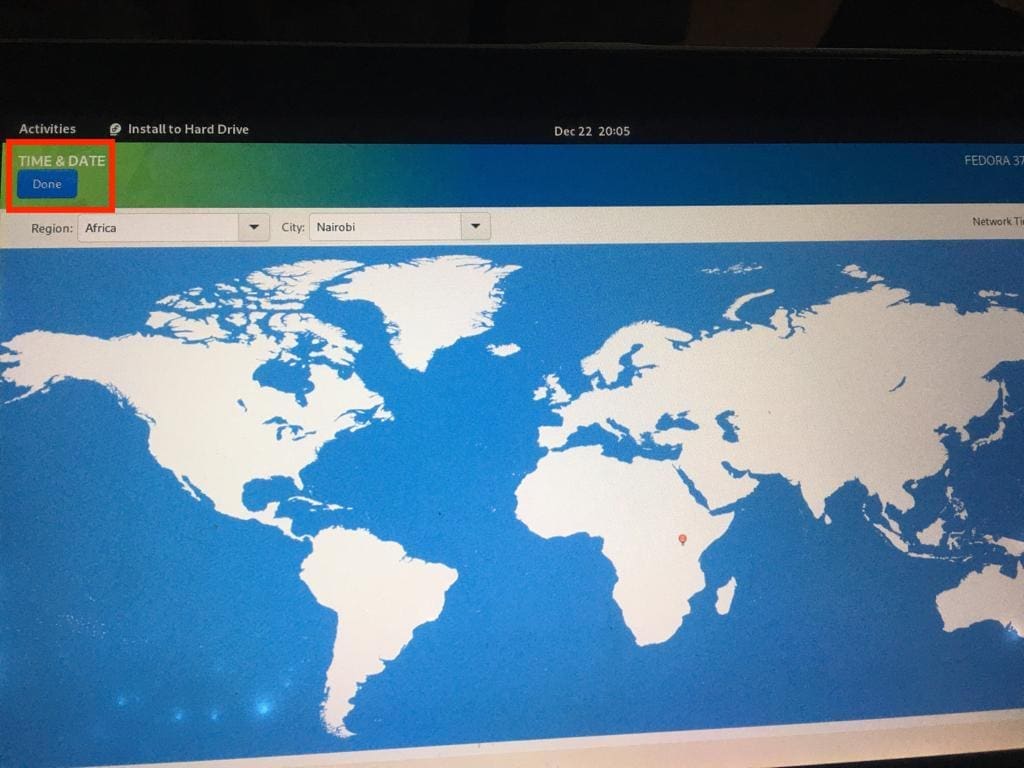
Select your region and city from the dropdown menus labeled Region and City, respectively. After configuring the timezone, click the Done button.
Set timezone
Select “Begin Installation.”
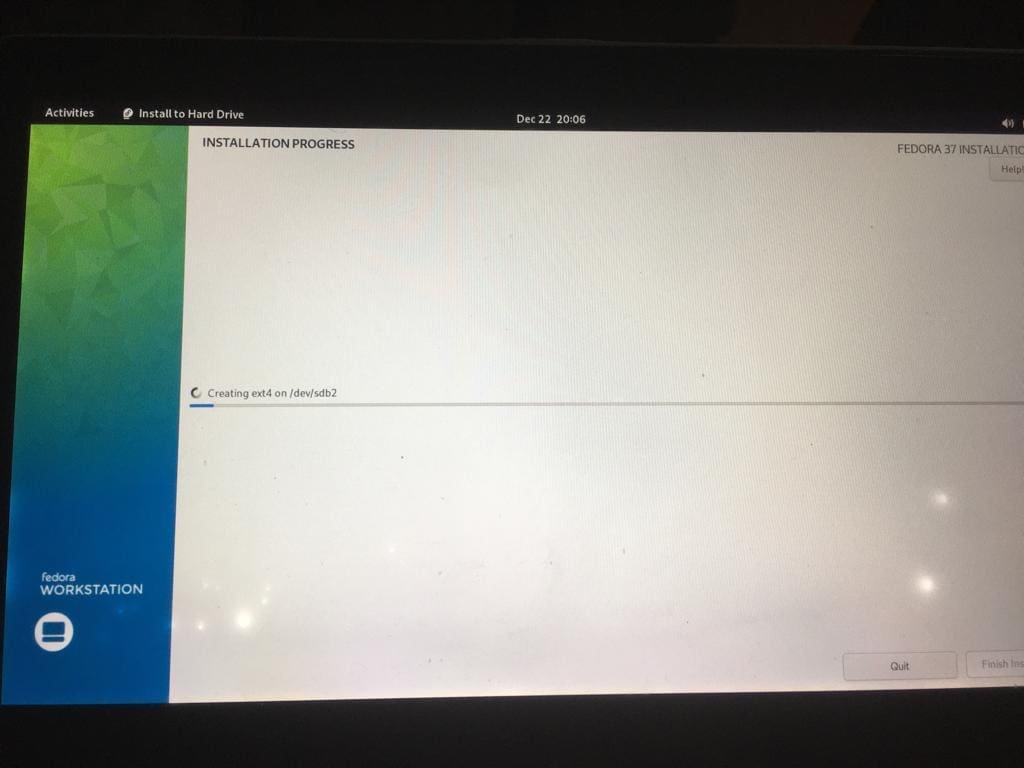
Fedora Workstation 37 is currently being set up. It could take some time to complete.
Installation progress
Once Fedora Workstation 37 has been installed on your computer, click the “Finish installation button.
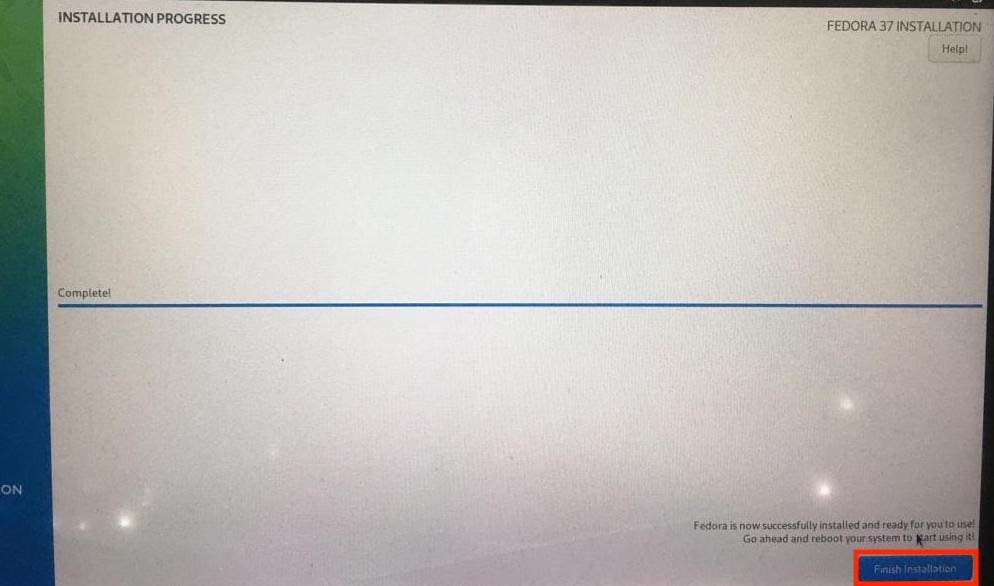
Installation Complete
To restart your computer, select “System Tray > Power Off/Log Out > Restart…”
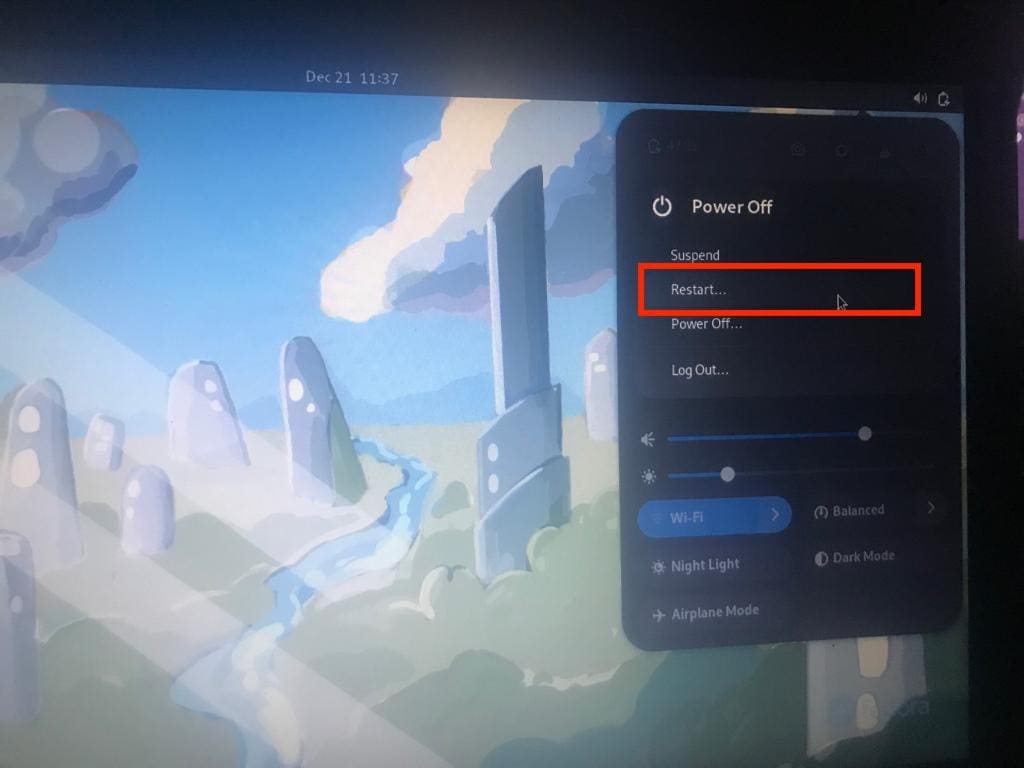
Restart
Select Restart. The system will reboot. You may now remove the USB flash device from the computer.
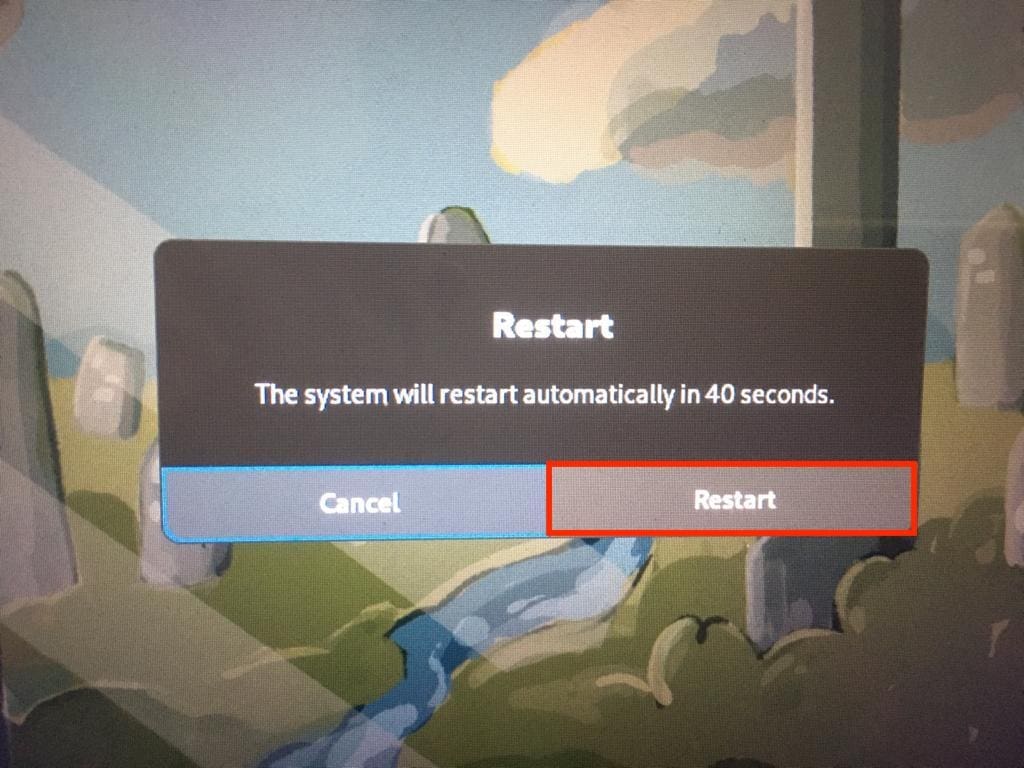
Select Restart
Step 4: Boot to your Fedora workstation 37 main USB
Now that the bootable flash drive has been successfully created, turn off or reboot your PC. Keep pressing the F12 button to choose the recently created USB drive.
Note: check out your computer’s manufacturer’s page to get the keys used to choose the boot menu since not all computers will use F12 like mine.
You will need to configure the system when you start Fedora Workstation 37 on your computer.
Click “Start Setup.”

Start setup
Select “Next.”
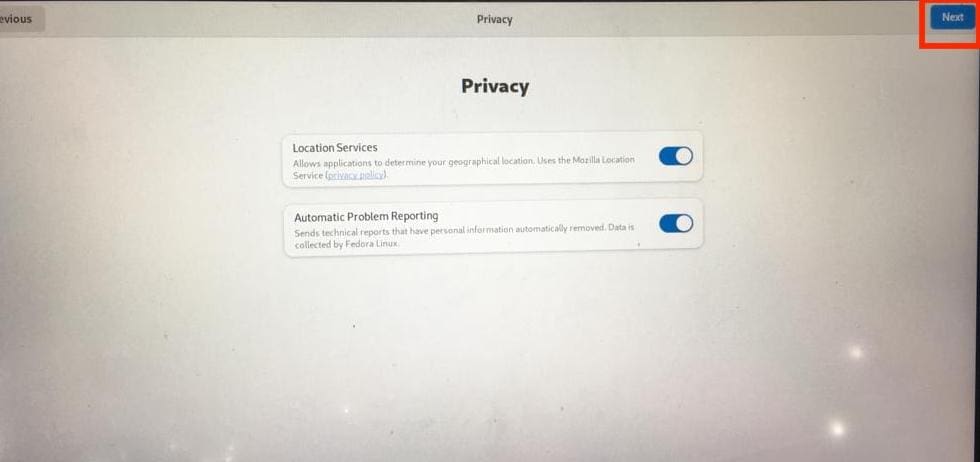
Click next
Select “Next.”
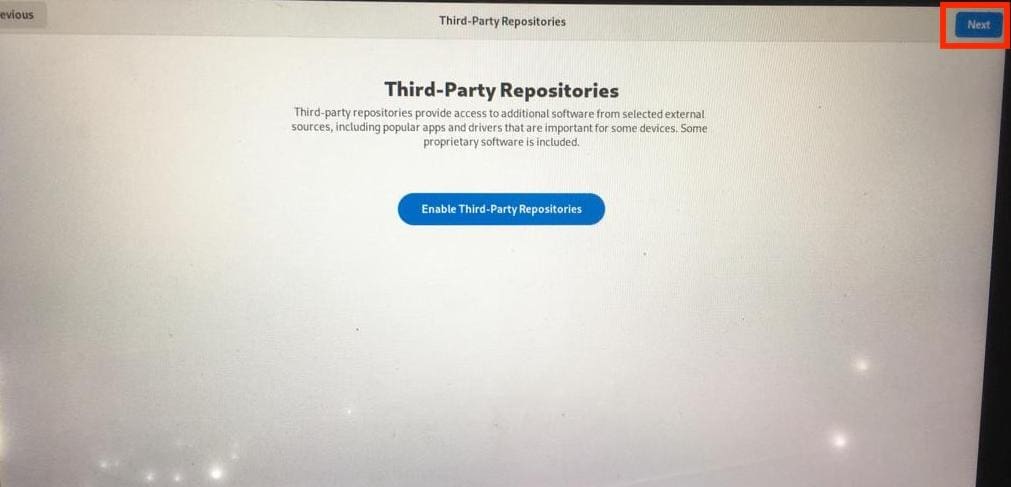
Enable third party repositories
Enter your name and username, then click the “Next” button.
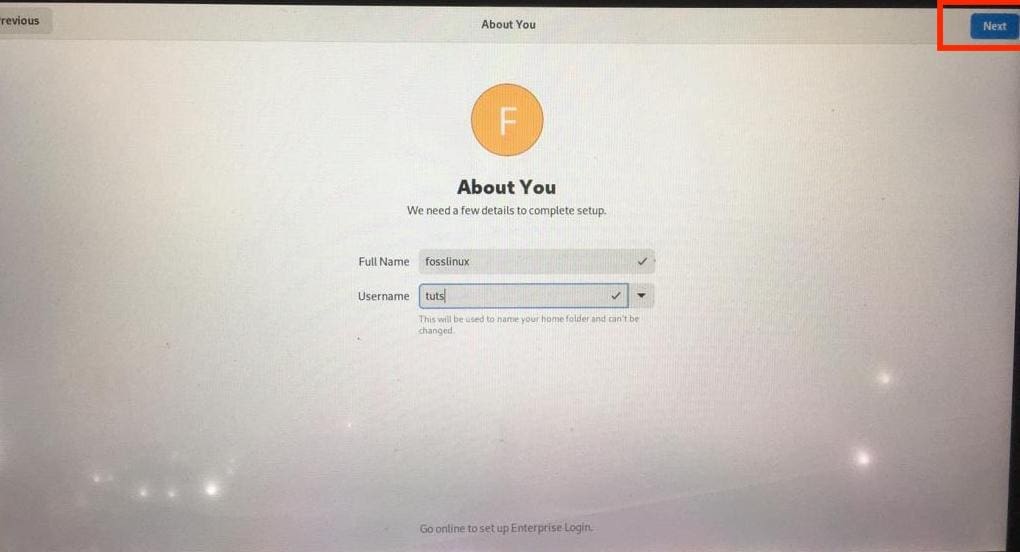
Input username
Enter your password and then click “Next.”
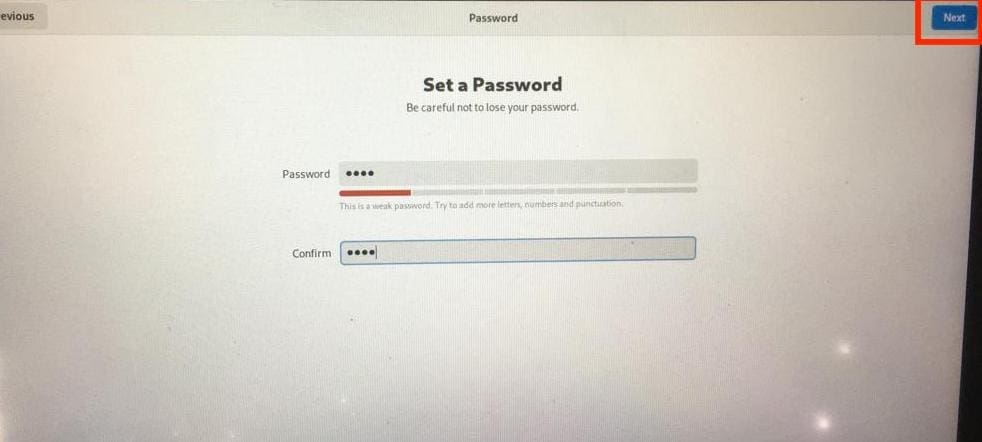
Set password
Select “Start Using Fedora Linux.”
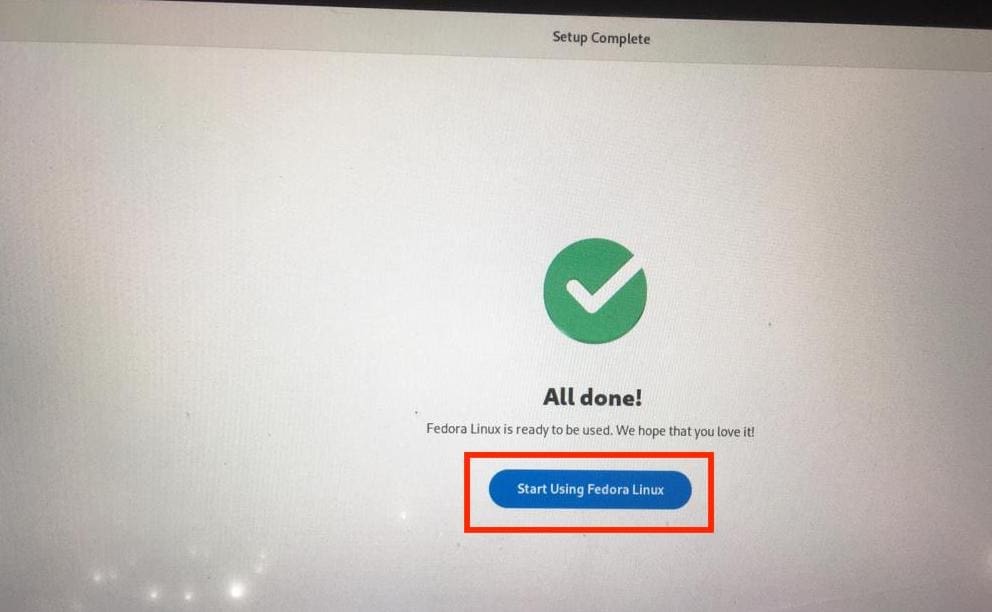
Start Using Fedora Linux
Select “No, thanks.”

No thanks
The Fedora Workstation 37 should be operational. Enjoy using a completely updatable Fedora workstation 37 on a USB flash drive.
Wrapping up
This article demonstrates how to download the Fedora Workstation 37 ISO image. I have also demonstrated how to make a Fedora Workstation 37 USB flash drive on Windows and Linux. Besides that, we have also demonstrated how to install Fedora Workstation 37 on a USB flash and how to perform the initial configuration on your machine. This strategy allows you to safely access your personal information and internet accounts on any computer. You can conduct secure online transactions on any available computer. If you have any questions about this article, please feel free to post them in the section below.