
With AnyDesk, you can access your Linux desktop from anywhere, whether you’re using another Linux system, a Windows computer, or a mobile device. You can control your Linux system as if you were sitting in front of it, and use all of your installed applications and files just as you normally would.
One of the most important features of AnyDesk is its speed. The software uses a unique compression algorithm that allows it to transfer data at high speeds, even over low-bandwidth connections. This means that you can access your computer from anywhere, without sacrificing performance.
Another important feature of AnyDesk is its security. The software uses the highest level of encryption to protect your data and privacy, ensuring that your information is always secure. Additionally, AnyDesk uses a highly secure connection protocol, which is immune to hackers and other cyber threats.
Once you have installed AnyDesk on Linux, you can start using the software to access your computer from any other device. You simply need to know your AnyDesk ID, which is a unique identifier for your computer. You can access your AnyDesk ID from the AnyDesk settings on your Linux system.
Installing AnyDesk On Ubuntu
- A computer running Ubuntu: AnyDesk is compatible with Ubuntu 14.04 LTS or later, so you’ll need to be running a recent version of the operating system to use the software.
- An internet connection: To download and install AnyDesk, you’ll need an active internet connection.
- Administrative privileges: You’ll need administrative privileges on your Ubuntu system to install AnyDesk. If you’re not the administrator, you’ll need to enter the administrator’s password when prompted.
- x86 or x64 architecture: AnyDesk is available for both x86 and x64 architectures, so you’ll need to ensure that your Ubuntu system supports one of these architectures.
Method 1: Command-line way by using terminal
For terminal fanatics, AnyDesk allows you to set up this excellent app by running a series of commands we will cover in this guide. Please stick with us as we cover every detail for you.
Step 1: Update your Ubuntu system
As usual, it is recommended to constantly update your Linux system at all times to avoid conflicts. This can be attained by issuing the following command:
sudo apt update
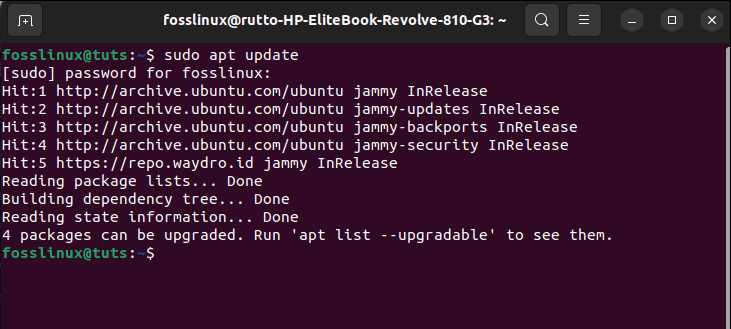
Update system
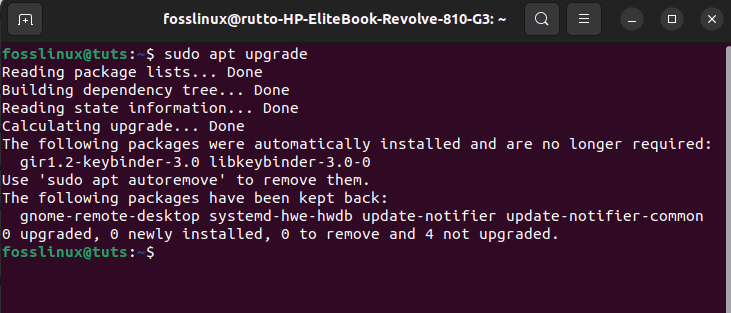
In case your Ubuntu system pops a message at the end of the update command of the number of packages that need an upgrade, like in our case, 4, then it is best practice if you upgrade the said packages using the following command:
sudo apt upgrade
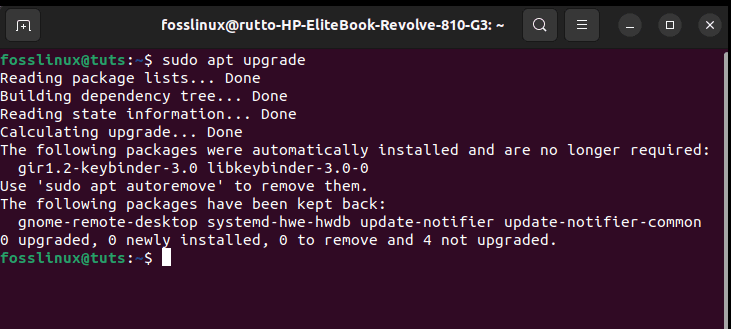
Upgrade system
Note: If all your packages are up to date, skip the second section of the above step.
Step 2: Add AnyDesk to trusted software providers on Ubuntu
Copy and paste the following command to add the trusted software providers list on your Ubuntu system:
wget -qO - https://keys.anydesk.com/repos/DEB-GPG-KEY | sudo apt-key add -
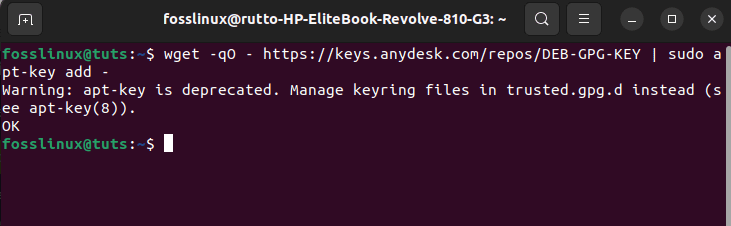
Add AnyDesk trusted Software
An “OK” status at the end of the above wget command indicates that the addition was successful.
Step 3: Add AnyDesk repo to your system’s repo
The next step is to append the repo to our system by executing the following command:
echo "deb http://deb.anydesk.com/ all main" | sudo tee /etc/apt/sources.list.d/anydesk-stable.list
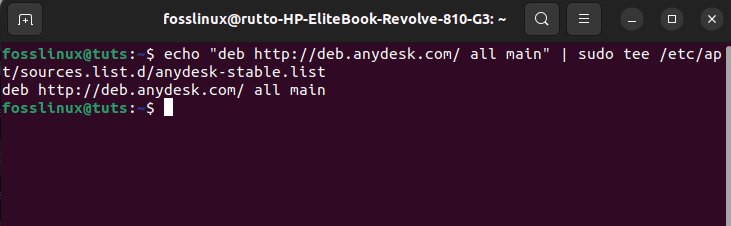
Add AnyDesk repo to your system
Step 4: Update your packages again
After the addition of those new repos on your system, ensure you update the package list once again to ensure all the newly made changes take effect by running the subsequent commands:
sudo apt update

Update system
Then:
sudo apt upgrade
Upgrade system
Step 5: Install AnyDesk
Finally, install AnyDesk using this command:
sudo apt install anydesk
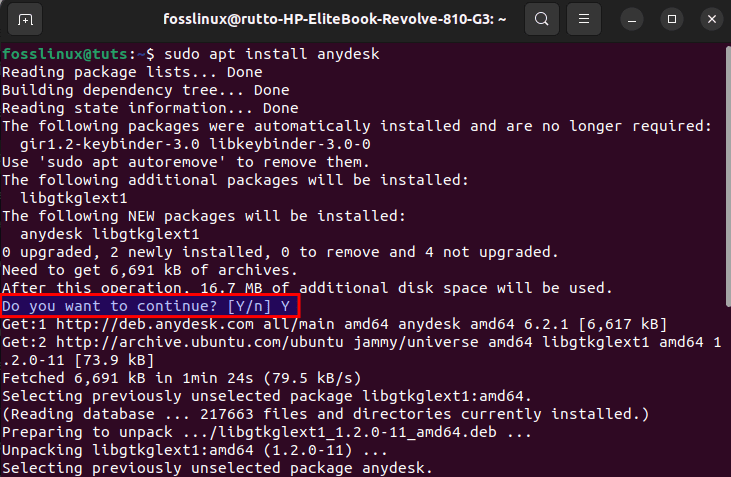
Install AnyDesk
Note: Ensure you type “y/Y” when prompted if you want to continue with the installation.
Let us explore the second method.
Method 2: Command-line way by downloading the Debian package
Step 1: Download the 64-bit package
To use the Debian package approach, visit AnyDesk’s official website and download the Ubuntu (64-bit) package from the highlighted link:
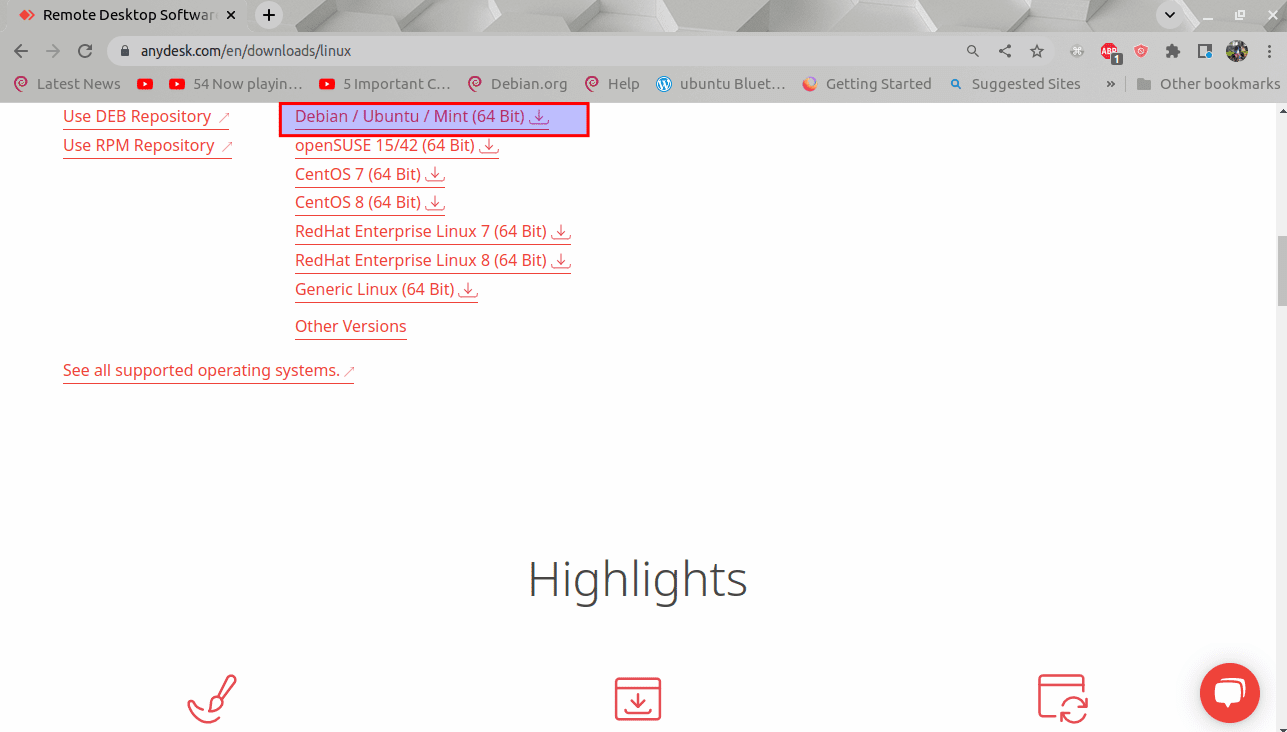
Select Debian or Ubuntu
Step 2: Install the package
Upon clicking the link, it will begin downloading in your local system download folder. After the download, navigate to the Downloads directory using the following command:
cd Downloads
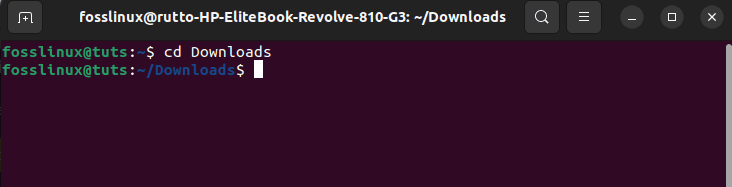
Navigate to Downloads
You can then set up the downloaded package using the following command:
sudo dpkg -i anydesk_6.2.1-1_amd64.deb
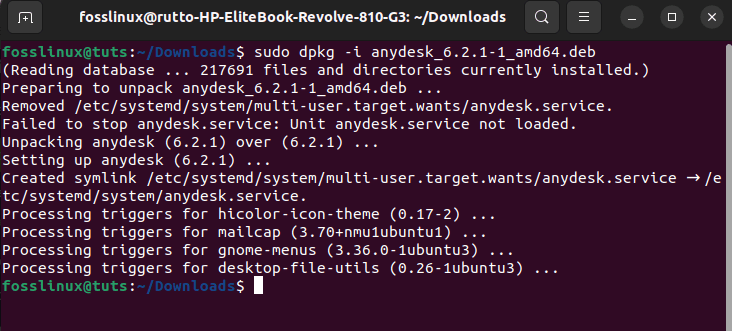
Install AnyDesk
Step 3: Verify the installation
After a successful installation, you can verify the just installed files using the dpkg -L AnyDesk command as shown below:
dpkg -L anydesk
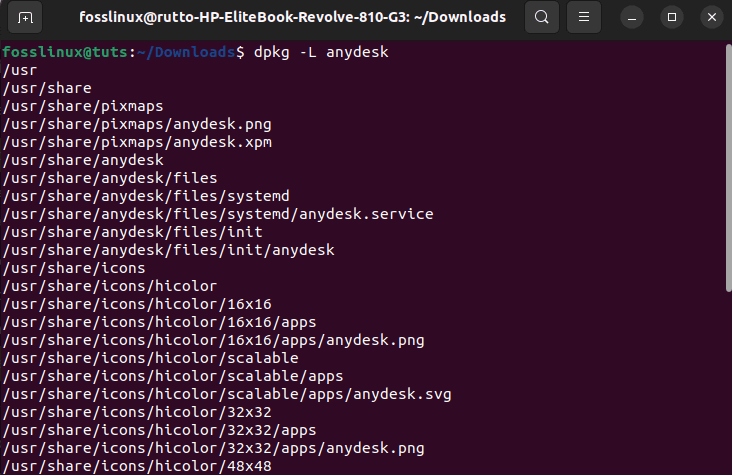
Verify installation
Method 3: Installation via GUI way
This is a simplified approach targeting users who are not command-line fanatics. Here are the steps to get this done.
Step 1: Visit AnyDesk’s official website
To begin, navigate to AnyDesk’s official website, where you will get the .deb file. This file is vital for the setup of AnyDesk. So, click on this link to get to the Downloads page of AnyDesk.
Step 2: Download the .deb file
Upon visiting the link, you will be redirected to AnyDesk’s official download page; go ahead and select your operating system as Linux and click on the “Download Now” button:

Click Download Now
Then select the Debian/Ubuntu/Mint (64 Bit) option:

Select Debian or Ubuntu
Step 3: Install the app
After you are done downloading, go to the Downloads directory to confirm whether or not the .deb file has been downloaded. Hopefully, you found the file. Let us now install the app. This can be done by right-clicking the .deb file and selecting the “Open with Other Application” option as highlighted in the snapshot below:
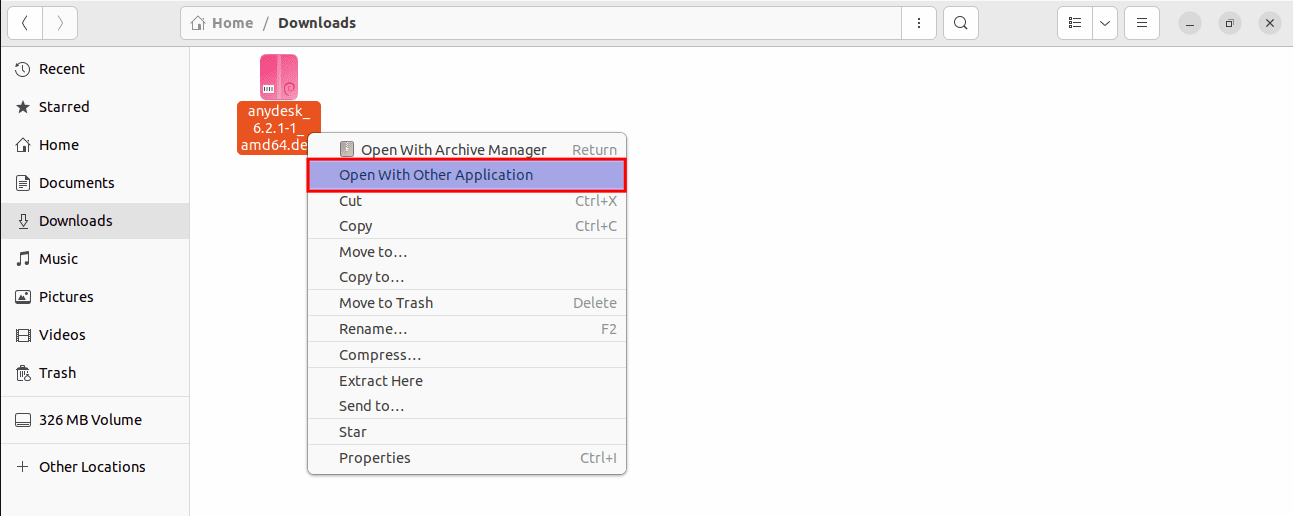
Select Open with other application
Step 4: Ubuntu software center redirection
After selecting open with another application, another window directing you to choose the app you will use to install the Software will pop up. Select the “Software Install” Application, which will then redirect you to the Ubuntu Software Center:
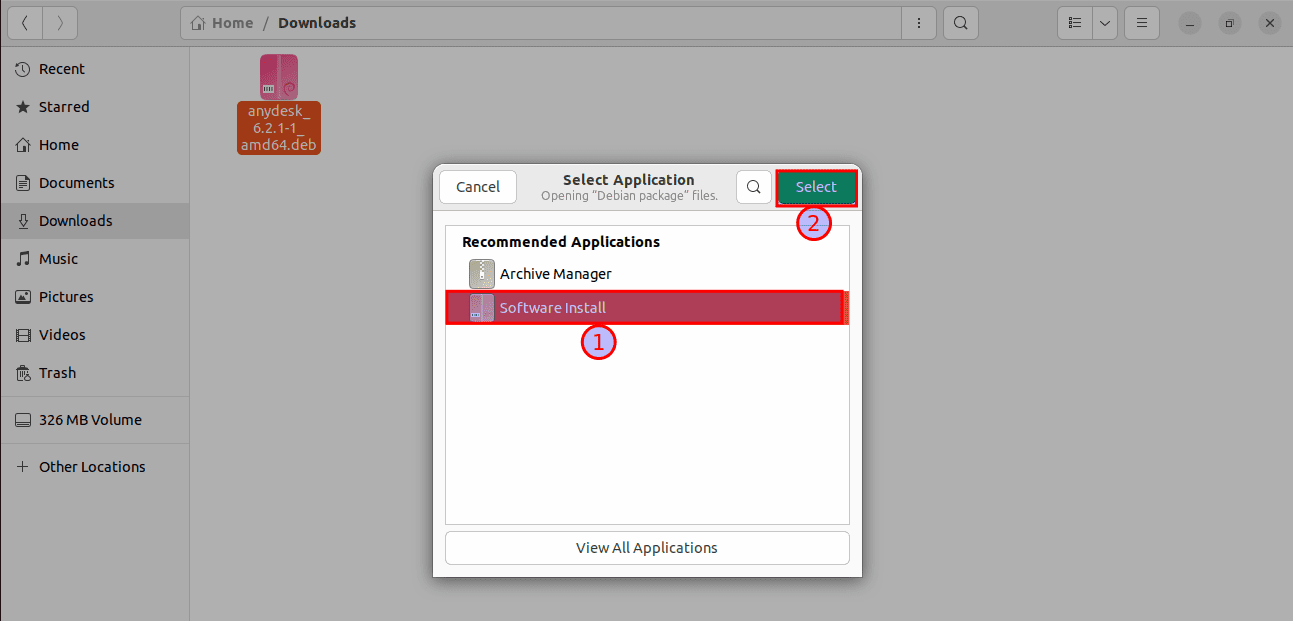
Select Software install
Step 5: Install the app
After you have been redirected to the Software Center, click on the Install button to initialize the installation process of the AnyDesk app:
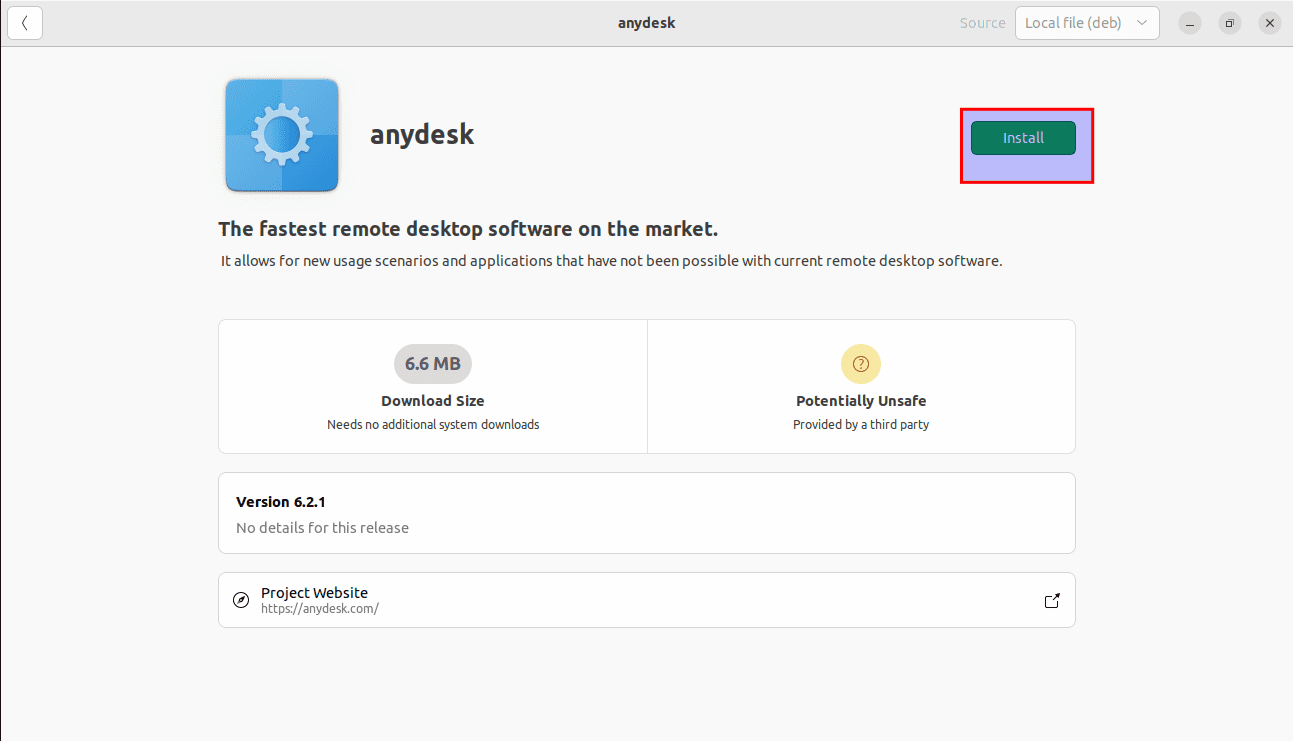
Click on Install
After clicking the install button, Ubuntu will, as usual, request you to authenticate the process. Type in your password and “Authenticate” the installation process:
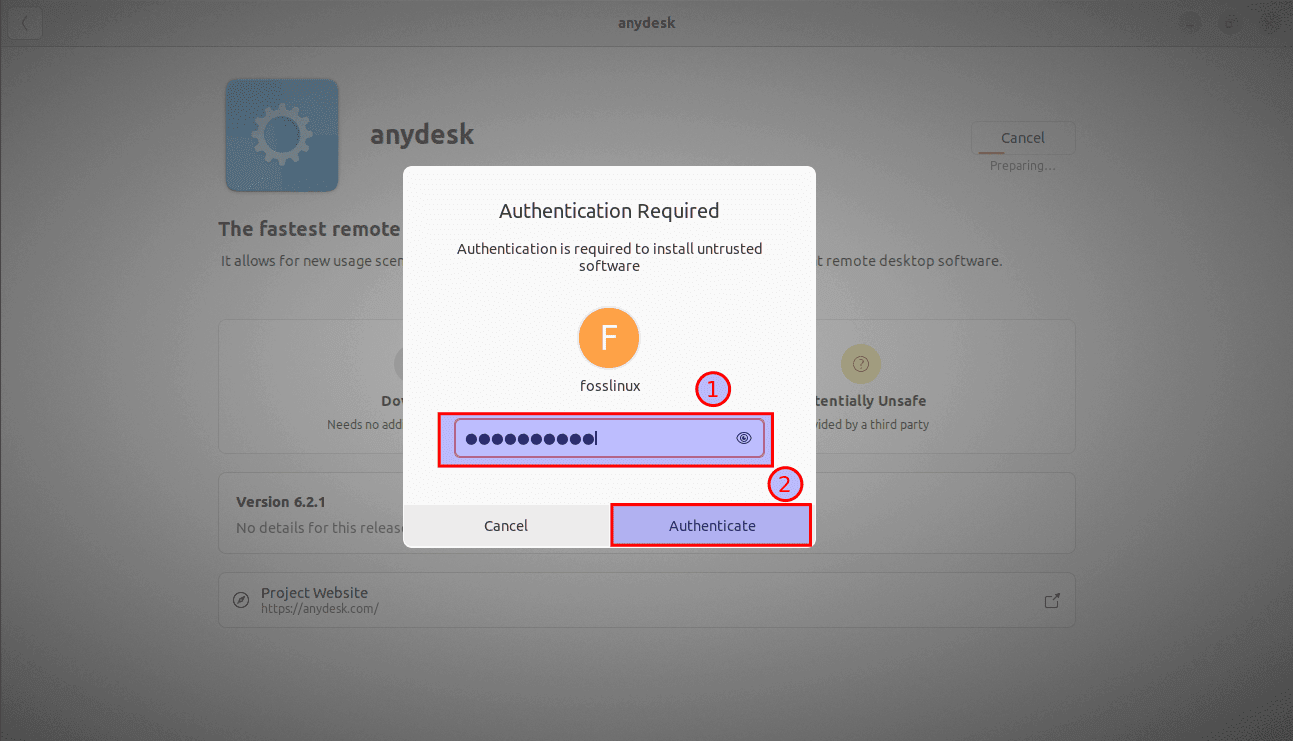
Authenticate the installation process
And that should do it on the installation phase. Let us see how we can launch the just-installed app on our Ubuntu system.
How to launch AnyDesk
One good thing about AnyDesk is that it even allows you to launch via two approaches:
The terminal and the graphical user interface methods.
The terminal approach
To launch the app for usage via the terminal, execute the following command:
anydesk
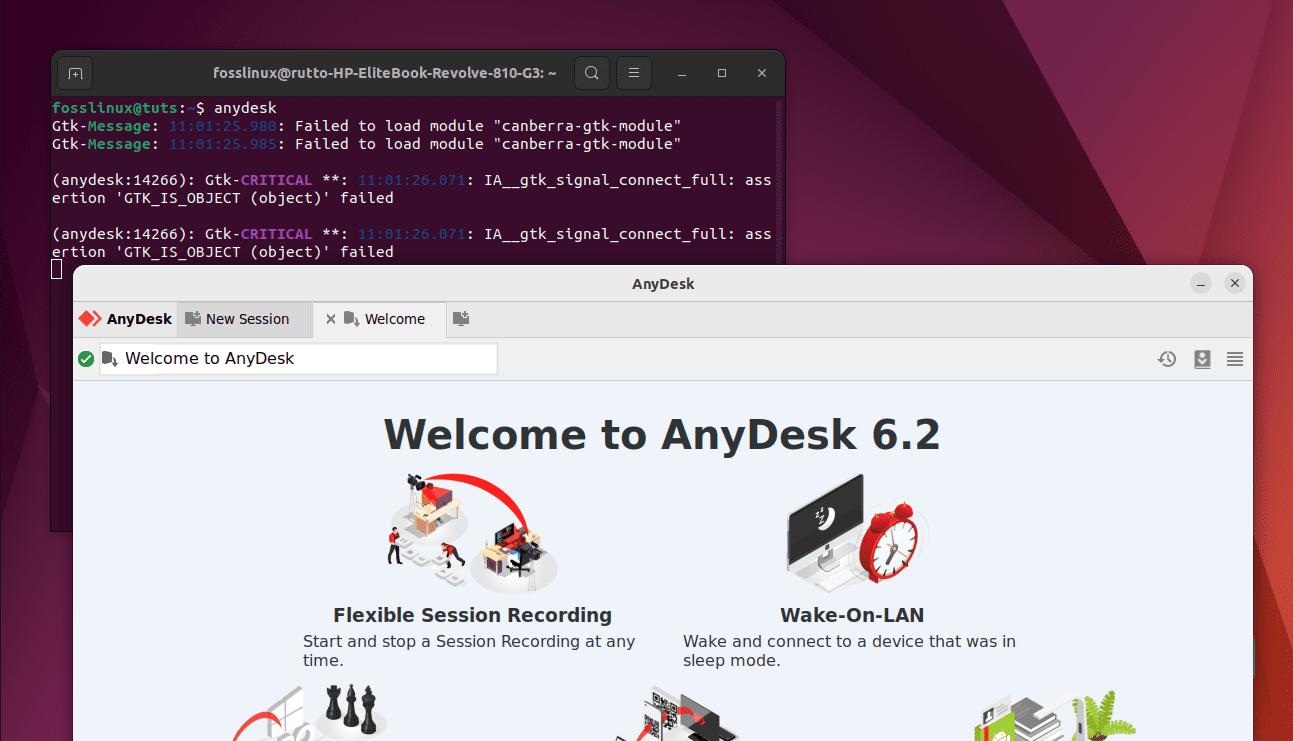
Launch AnyDesk
And the above command should open it, but in some cases, there can be an error saying that “cannot open shared object file : no such file in the directory.”
And this can easily be fixed by running the subsequent commands:
wget http://ftp.us.debian.org/debian/pool/main/p/pangox-compat/libpangox-1.0-0_0.0.2-5.1_amd64.deb
And then:
sudo apt install ./libpangox-1.0-0_0.0.2-5.1_amd64.deb
Launch AnyDesk via GUI
Click on “Activities” located on the top-left corner of your desktop:
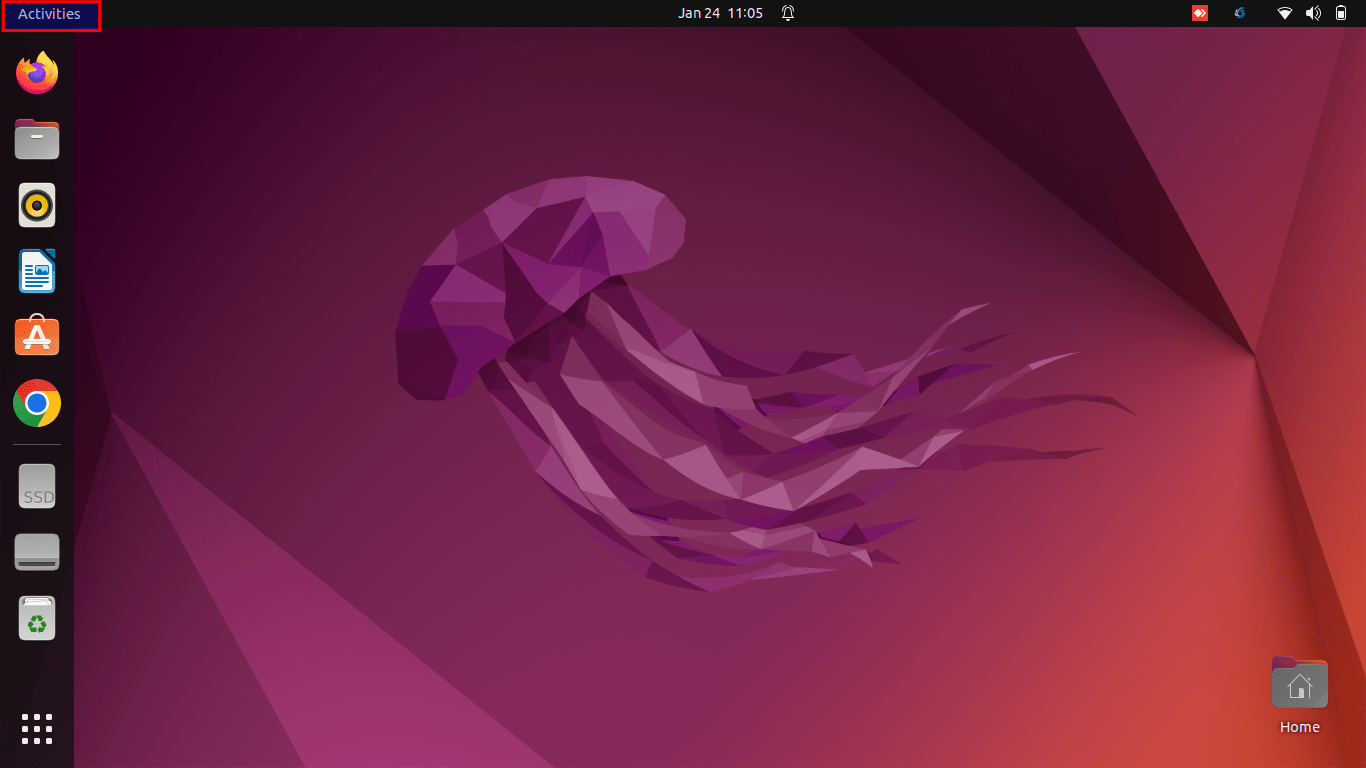
Click on Activities
After that, a search bar will appear; use it to search for AnyDesk. Such an icon will appear; click on it to open it:
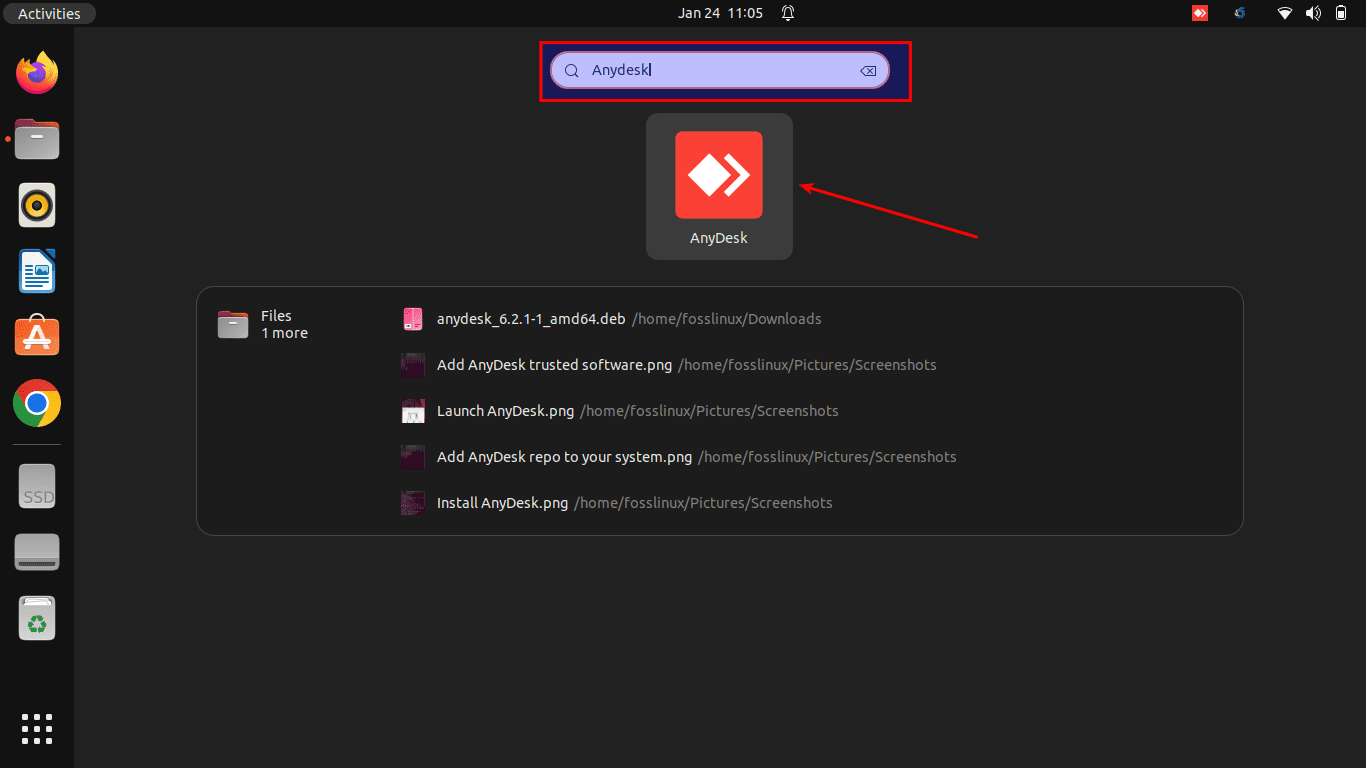
Search for AnyDesk
Let us see how we can remove this Software from our Ubuntu system.
Uninstalling AnyDesk from Ubuntu
How to remove AnyDesk from Ubuntu via the terminal
If you are done using AnyDesk, and you no longer need it on your Ubuntu system, you can opt to uninstall it from your system by running the following command on your terminal:
sudo apt remove anydesk
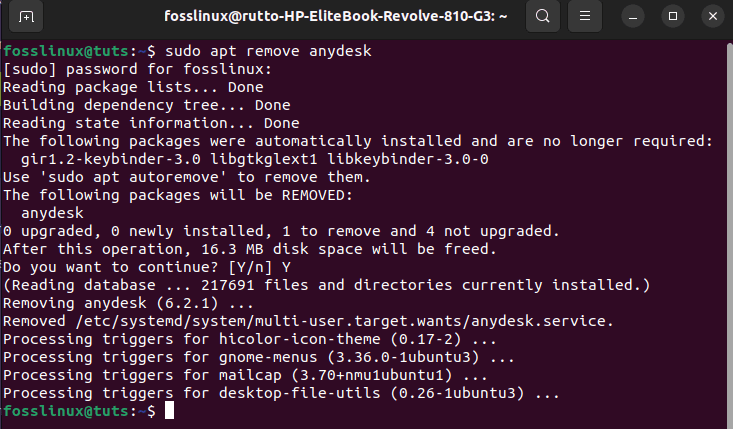
Uninstall AnyDesk
Note: Please be very careful when issuing the above command, as you might sometimes delete some packages used by other active applications. This might result in non-recoverable losses.
Gui’s approach to removing AnyDesk
To begin with, go to the Ubuntu software center and then navigate to the software center’s installed section. Then, scroll through the installed section, and you should see AnyDesk as highlighted [2] in the snapshot below:
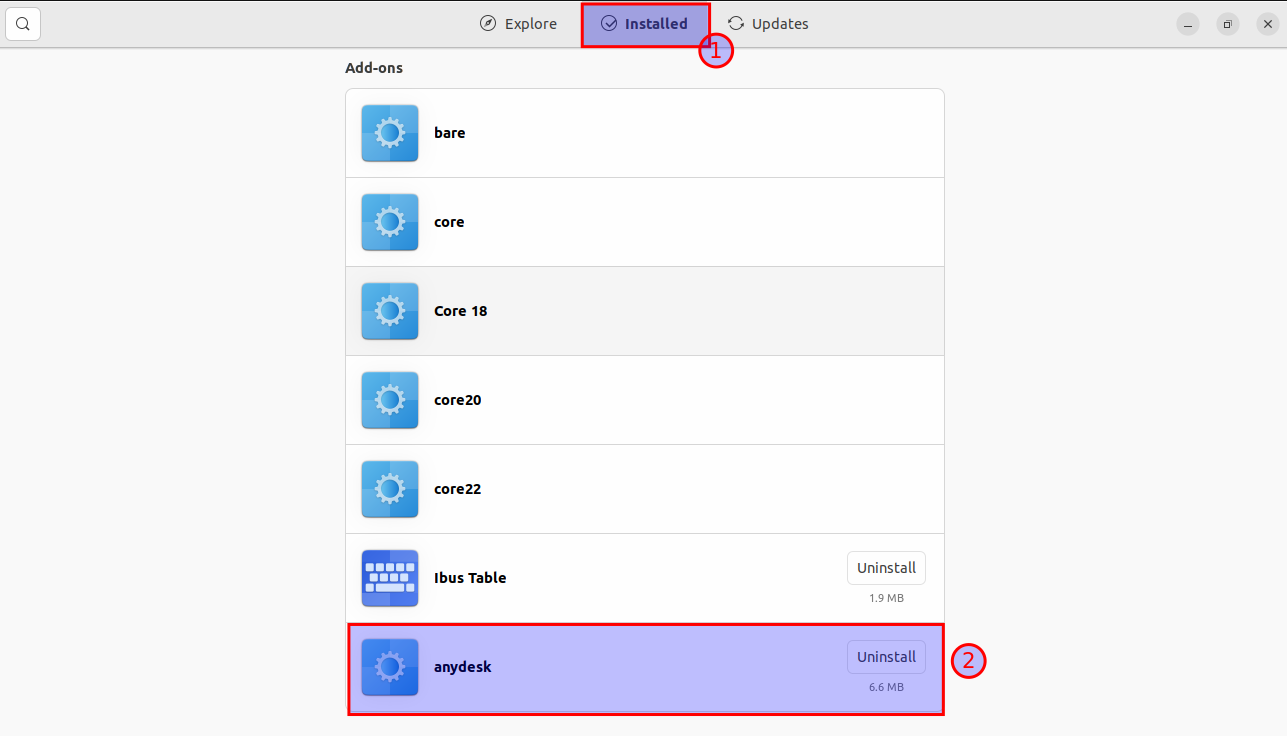
Click on Installed
After that, click on it, and such a window will be displayed; click on the bin-like button as shown below:
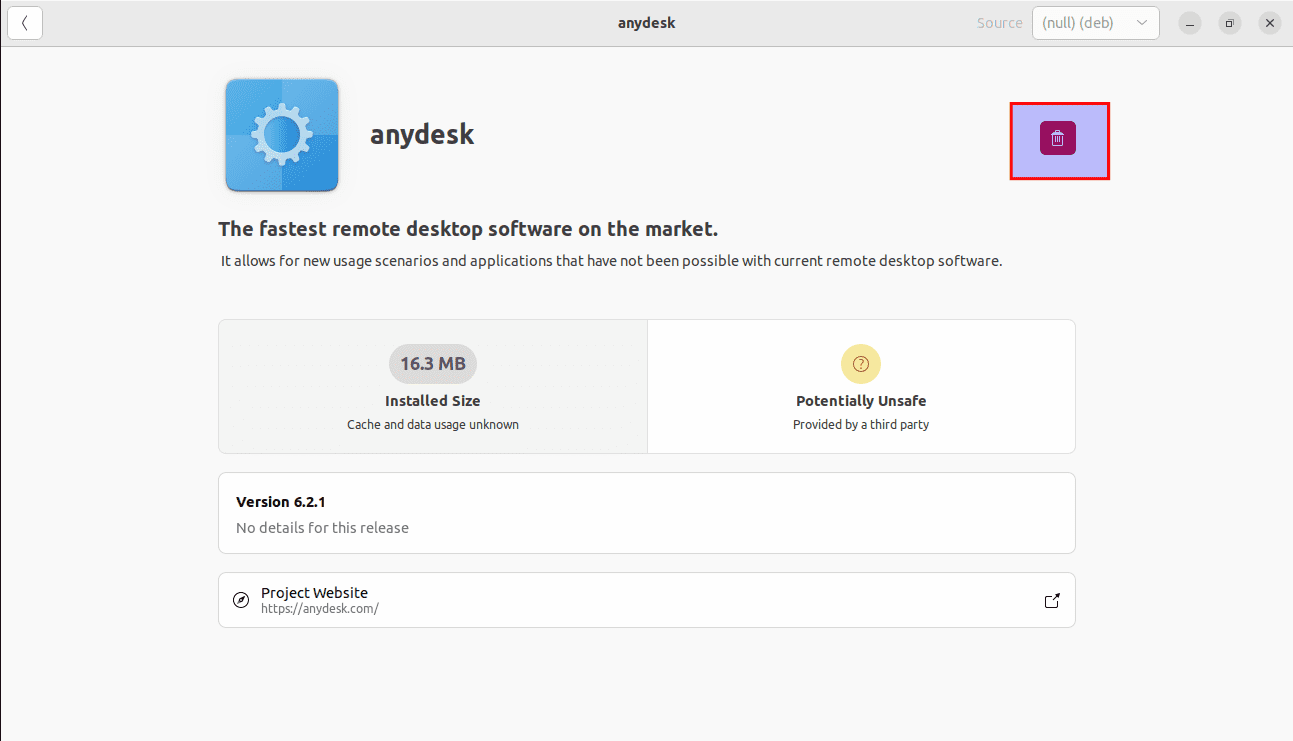
Click on the bin-like button
Upon clicking the button, you will be asked to affirm your decision to uninstall; click on the red highlighted uninstall button:
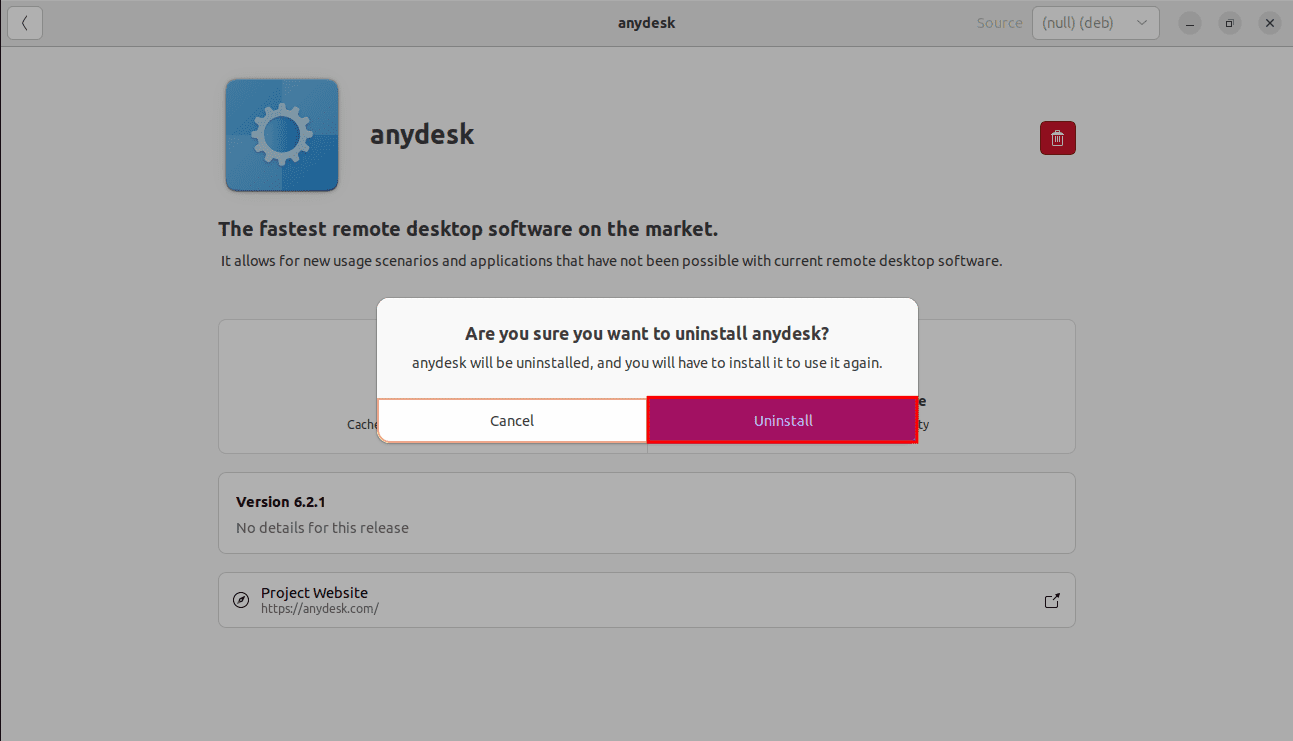
Click on Uninstall
Then you will be asked to authenticate the process; type in your PC’s password and hit the “Authenticate” button, and the uninstallation process should be underway:
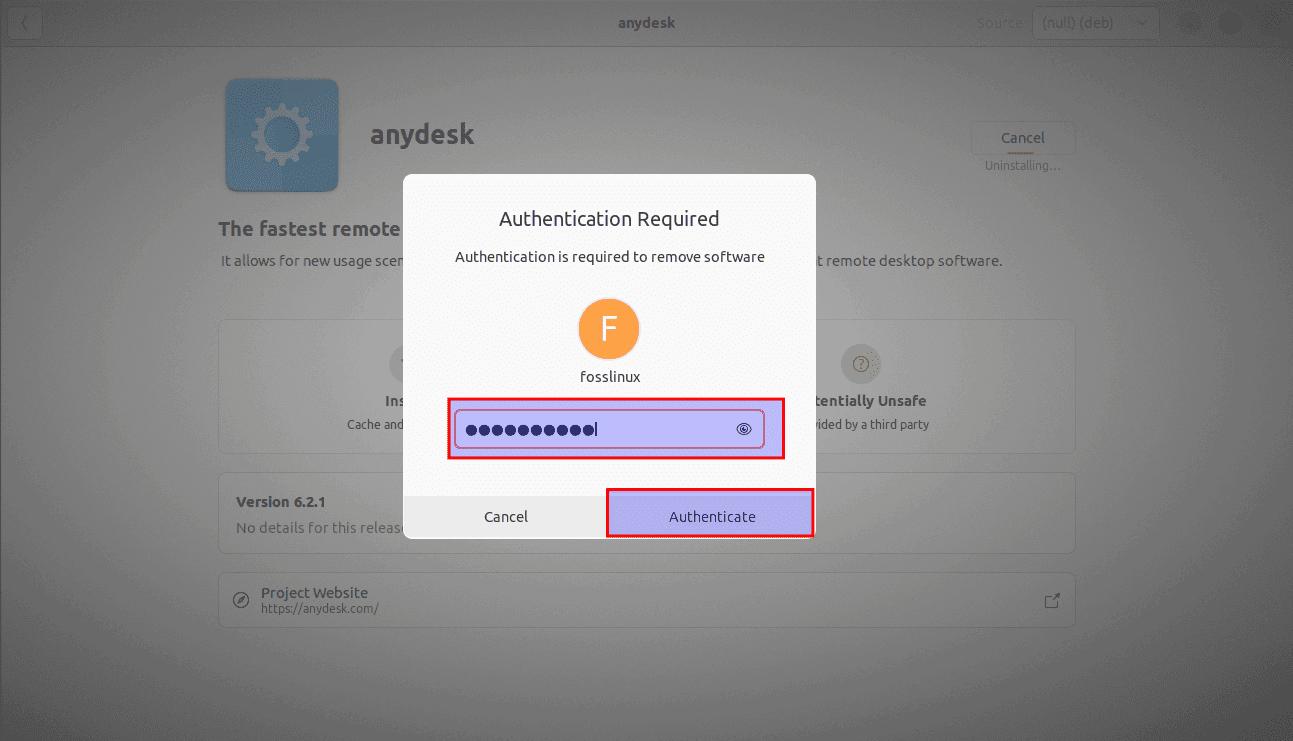
Authenticate
And that should do it!
Final Thoughts
The AnyDesk app is considered and has also proved to be one of the most innovative apps supported by nearly all operating systems. This great tool allows you to gain remote control and access to any device from a remote location. Documents and files can easily be accessed and transferred from multiple locations.
The above guide has gone through all the methods and steps of installing the AnyDesk app on the Ubuntu Operating System. We also mentioned an error that many encounter without knowing its immediate solution and also offered ways in which you can fix it. We hope this was education enough; otherwise, keep following FOSSLinux for more.