
Iptables is a basic firewall included by default in most Linux versions (a modern variant known as nftables will replace it soon). It is a front-end interface for kernel-level netfilter hooks that can control the Linux network stack. It decides what to do by comparing each packet that traverses the networking interface against a set of rules.
Using the user-space application software iptables, you may modify the tables provided by the Linux kernel firewall and the chains and rules included inside them. The iptables kernel module only applies to IPv4 traffic; for IPv6 connections, use ip6tables, which reacts to the same command chains as iptables.
Note: For firewall purposes, Linux employs the netfilter kernel module. The Netfilter module in the kernel enables us to filter incoming, outgoing, and forwarded data packets before they reach a user-level program. We have two tools to connect with the netfilter module: iptables and firewalld. Although it is feasible to utilize both services concurrently, it is not encouraged. Both services are mutually incompatible. Running both services at the same time will cause the firewall to malfunction.
About iptables
iptables allow or blocks traffic using policy chains. When a connection attempts to establish itself on the system, iptables searches its rule list for a match. If it cannot discover one, it falls back on the default action.
iptables is usually nearly included with each Linux distribution. To update/install it, download the iptables package by executing the following line of code:
sudo apt-get install iptables

Install iptables
Note: There are GUI alternatives to iptables, such as Firestarter, but iptables isn’t difficult after you’ve mastered a few commands. When establishing iptables rules, you should exercise great caution, especially if you’re SSH’d into a server. One erroneous command will permanently lock you out until it’s manually corrected at the actual machine. If you open the port, don’t forget to lock down your SSH server.
List current Iptables rules
Ubuntu servers do not have any limitations by default. However, you may inspect the current iptables rules using the given command for future reference:
sudo iptables -L
This will produce a list of three chains, input, forward, and output, identical to the outcome of the empty rules table example below:
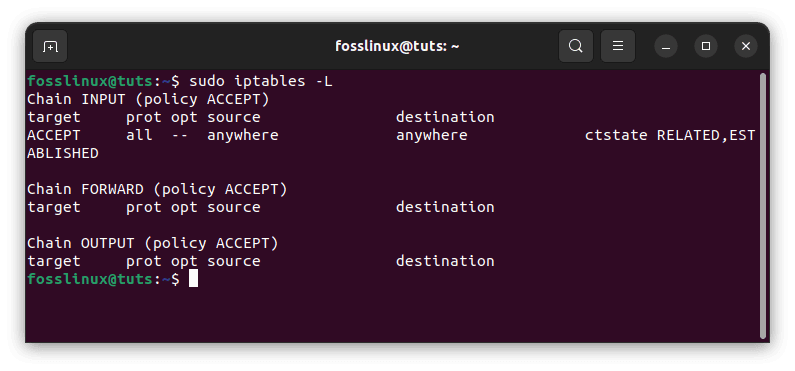
List current iptables rules
Iptables Chain Types
iptables employs three distinct chains:
- Input
- Forward
- Output
Let us look at the distinct chains in detail:
- Input – This chain governs the behavior of incoming connections. If a user tries to SSH into your PC/server, iptables will try to match the port and IP address to a rule in the input chain.
- Forward– This chain is used for inbound connections not being supplied locally. Consider a router: data is constantly being delivered, but it is rarely meant for the router itself; the data is simply routed to its destination. You won’t utilize this chain unless you’re performing routing, NATing, or anything else on your system that necessitates forwarding.
There is one sure-fire technique to determine if your system employs or requires the forward chain.sudo iptables -L -v
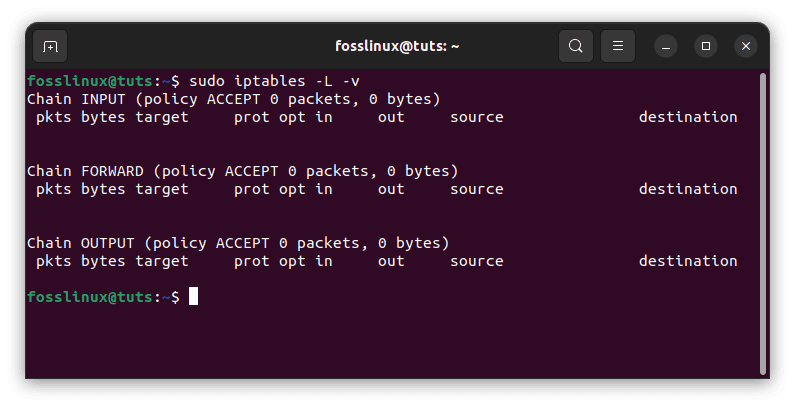
List rules
The image above shows a server running without limits on incoming or outgoing connections. As can be seen, the input chain processed 0 Bytes of packets, whereas the output chain handled 0 Bytes. In contrast, the forward chain has not had to process a single package. This is due to the server not forwarding or acting as a pass-through device.
- Output – This chain handles incoming connections. If you try to ping fosslinux.com, iptables will examine its output chain to determine the rules for ping and fosslinux.com before deciding whether to accept or reject the connection attempt.
Note: Even while pinging an external host appears to require only the output chain, keep in mind that the input chain will also be utilized to return the data. Remember that many protocols require two-way communication when using iptables to secure your system. Thus both the input and output chains must be correctly set. SSH is a popular protocol many people fail to allow on both chains.
Connection-Specific Reactions
After you’ve defined your default chain policies, you can add rules to iptables to tell it what to do when it detects a connection from or to a certain IP address or port. We’ll go through the three most basic and widely used “responses” in this article.
- Accept – Permit the connection.
- Drop – Disconnect the connection and pretend it never happened. This is preferable if you do not want the source to be aware of your system’s existence.
- Reject – Do not allow the connection and return an error. This is useful if you don’t want a particular source to access your system but want them to know that your firewall denied their connection.
Introducing new iptables rules
Firewalls are often set up in two ways: by setting the default rule to accept all traffic and then blocking any undesired traffic with particular rules or by utilizing the rules to specify authorized traffic and blocking everything else. The latter is a frequently advised strategy since it enables proactive traffic blocking rather than reactively rejecting connections that shouldn’t be attempting to contact your cloud server.
To start with iptables, create rules for approved inbound traffic for your required services. Iptables can maintain track of the state of a connection. As a result, execute the command below to allow existing connections to continue.
sudo iptables -A INPUT -m conntrack --ctstate ESTABLISHED,RELATED -j ACCEPT
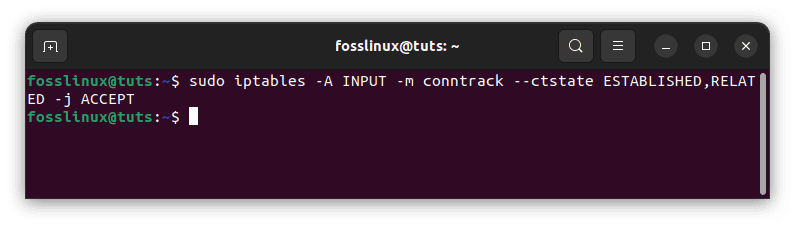
Add iptables rules
This may appear to be quite confusing, but as we go over the components, much of it will make sense:
- -A INPUT: The – A flag is used to attach a rule to the end of a chain. This part of the command tells iptables that we want to add a new rule, that we want that rule appended to the end of the chain, and that the chain we intend to work on is the INPUT chain.
- -m conntrack: iptables contain basic functions and extensions or modules that give additional capabilities.
In this command section, we specify that we want to use the capabilities of the conntrack module. This module provides access to instructions that may be used to make judgments depending on the relationship of the packet to prior connections. - -ctstate: This is one of the commands available when the conntrack module is invoked. This command permits us to match packets depending on how they are connected to previous ones.
To allow the packets that are part of an existing connection, we provide it with the value ESTABLISHED. To accept packets related to an established connection, we provide it with the value RELATED. This is the section of the rule that corresponds to our current SSH session. - -j ACCEPT: This option determines the destination of matched packets. In this case, we notify iptables that packets matching the previous criteria should be accepted and permitted through.
We placed this rule first because we want to ensure that the connections we already have are matched, approved, and taken out of the chain before we reach any DROP rules. You may confirm that the rule was added by running sudo iptables -L again.
To allow traffic to a specific port to permit SSH connections, execute the following line of code:
sudo iptables -A INPUT -p tcp --dport ssh -j ACCEPT
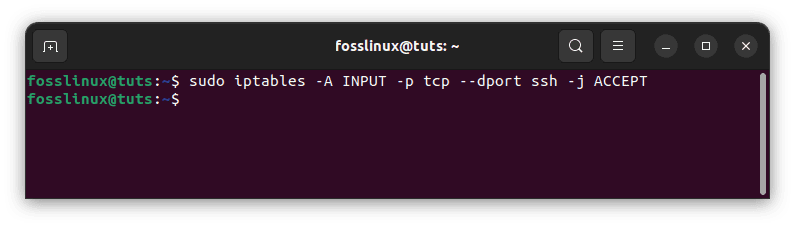
Allow traffic to a specific port
The ssh in the query corresponds to the protocol’s default port of 22. The same command structure can allow traffic to other ports as well. To provide access to an HTTP web server, use the following command.
sudo iptables -A INPUT -p tcp --dport 80 -j ACCEPT
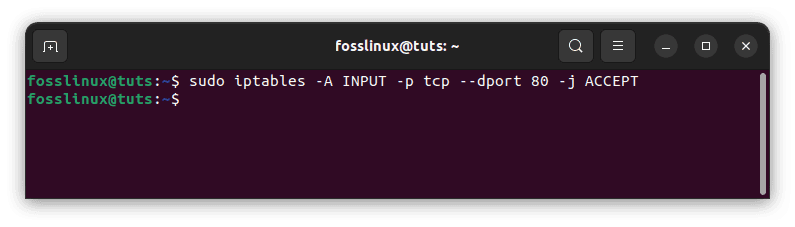
Allow access to an HTTP web server
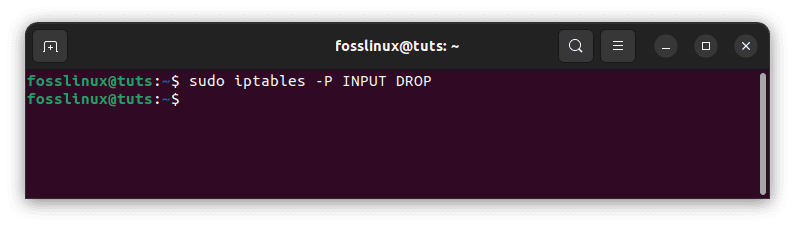
Change the input policy to drop once you’ve added all the required authorized rules.
Note: To accept only specifically permitted connections, change the default rule to drop. Before changing the default rule, ensure you’ve enabled at least SSH, as specified above.
sudo iptables -P INPUT DROP
Drop iptables
The same policy rules may be applied to other chains by providing the chain name and choosing DROP or ACCEPT.
How to save and restore Iptables rules
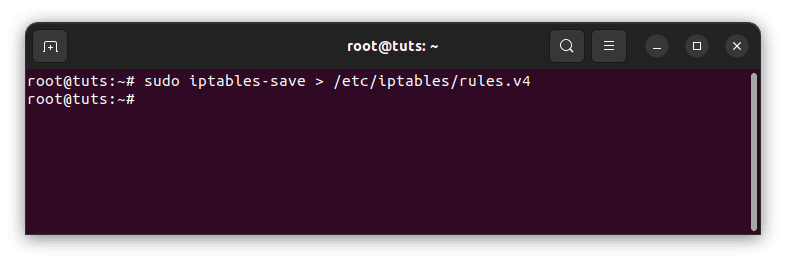
If you restart your cloud server, all the appended iptables configurations will be lost. To avoid losing the appended iptables configuration, save the rules to a file by executing the following line of code:
sudo iptables-save > /etc/iptables/rules.v4
Save iptables rules
You may then quickly restore the stored rules by reviewing the saved file.
# Overwrite the existing rules

sudo iptables-restore < /etc/iptables/rules.v4

# Append the new rules while retaining the current ones

sudo iptables-restore -n < /etc/iptables/rules.v4
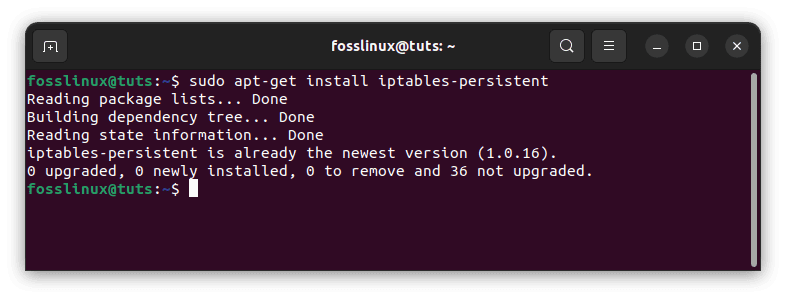
You may automate the restore operation upon reboot by installing an additional iptables package that loads saved rules. To accomplish this, use the following command.
sudo apt-get install iptables-persistent
Install iptables-persistent
After installation, the initial setup will request you to save the current IPv4 and IPv6 rules.
Choose Yes, and press Enter for both.

Install and configure iptables-persistent
If you make any more modifications to your iptables rules, ensure to save them using the same command as before. The iptables-persistent command searches /etc/iptables for the files rules.v4 and rules.v6.
Accept Other Required Connections
We told iptables to keep any existing connections open and to allow new connections connected to those connections. However, we must establish ground rules for admitting new connections that do not meet those requirements.
We particularly want to keep two ports open. We want our SSH port to be open. (we’ll assume in this article that it’s the standard 22. Modify your value here if you’ve altered it in your SSH settings). We’ll also presume that this PC runs a web server on standard port 80. You do not need to add that rule if this is not the case for you.
These are the two lines that will be required to add these rules:
sudo iptables -A INPUT -p tcp --dport 22 -j ACCEPT

sudo iptables -A INPUT -p tcp --dport 80 -j ACCEPT
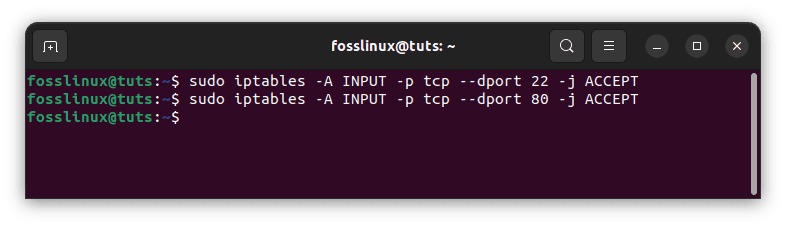
Add rules to keep ports available
As you can see, these are similar to our first rule but maybe more basic. The following are the new options:
- -p tcp: This option matches packets if the protocol is TCP. Because it offers dependable communication, most apps will use this connection-based protocol.
- -dport: This option is available if the -p tcp flag is used. It adds a requirement that the matched packet matches the destination port. TCP packets bound for port 22 are subject to the first limitation, whereas TCP traffic headed for port 80 is subject to the second.
We need one more accept rule to ensure that our server works correctly. Services on a computer frequently connect with one another via sending network packets to one another. They do this by employing a loopback device, redirecting traffic to themselves rather than other computers.
So, if one service wishes to interact with another service monitoring for connections on port 4555, it can send a packet to the loopback device’s port 4555. We want this sort of activity to be permitted since it is required for many applications to function correctly.
The rule that must be added is as follows:
sudo iptables -I INPUT 1 -i lo -j ACCEPT
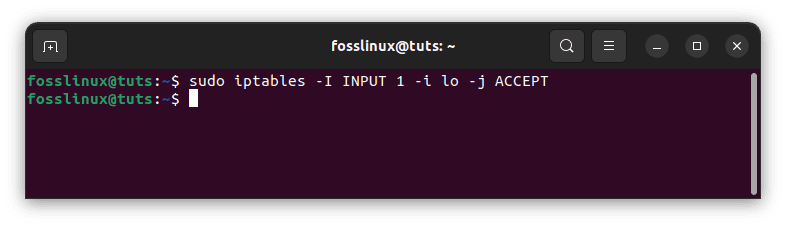
Interact with another service
This appears to be different from our previous instructions. Let us go through what it does:
- -I INPUT 1: The -I option instructs iptables to insert a rule. This differs from the -A flag, which adds a rule at the end. The -I flag accepts a chain and the rule location where the new rule should be inserted.
In this situation, we’re making this the first rule in the INPUT chain. The remainder of the regulations will be lowered as a result. This should be at the top since it is basic and should not be changed by future regulations. - -i lo: This rule component matches if the interface used by the packet is the “lo” interface. The loopback device is sometimes known as the “lo” interface. This indicates that every packet that communicates across that interface (packets created on our server, for our server) should be allowed.
Dropping traffic
After setting -dport rules, it is critical to use the DROP target for any other traffic. This will prevent unauthorized connections from connecting to the server over other open ports. Simply execute the command below to accomplish this task:
sudo iptables -A INPUT -j DROP
The connection will now be dropped if it is outside of the designated port.
Delete Rules
If you wish to delete all rules and start from scratch, use the -F option (flush):
sudo iptables -F

Flush iptables rules
This command deletes all existing rules. To remove a single rule, however, you must use the -D option. To begin, type the following command to view all possible rules:
sudo iptables -L --line-numbers
You will be given a set of rules:
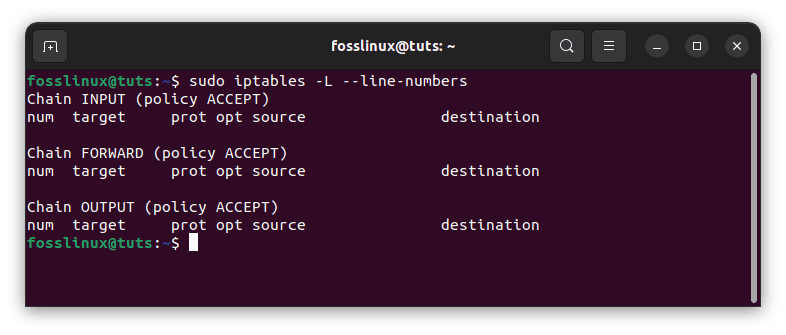
Determine the index number to input
Insert the relevant chain and number from the list to remove a rule. Let’s imagine we wish to remove rule two from the INPUT chain for this iptables lesson. The order should be:
sudo iptables -D INPUT 2
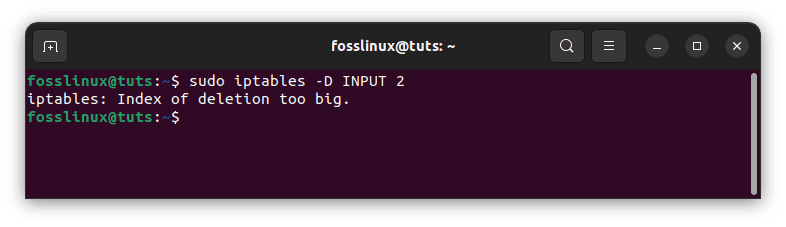
Delete rule 2
Conclusion
In conclusion, setting up Iptables firewall on your Linux system is a straightforward process that will help you secure your network from unwanted traffic. With this guide, you now have the knowledge and tools to easily set up and configure Iptables firewall on your Linux system. Remember to regularly update and monitor your firewall rules to ensure your network remains secure. With Iptables firewall in place, you can rest assured that your Linux system and network are protected.