
Like any other operating system, managing user accounts and groups is essential in Linux Mint. User accounts are used to control access to the system, while group accounts are for managing file permissions and access to resources. Managing these accounts is possible through the command line or the graphical user interface, depending on your preference and expertise.
Linux Mint User and Group Management
This article aims to provide a comprehensive guide to managing users and groups in Linux Mint, covering everything from creating and modifying user accounts to managing passwords and adding users to groups. A proxy server provides an effective solution by allowing access to restricted content anonymously. Learn how to use a proxy server in Linux Mint.
Understanding user accounts
A user account collects information to identify and authenticate a particular user. It includes a username, password, and a home directory, where a user’s files and data are stored. When you create a new user account, Linux Mint assigns a unique user ID (UID) and a group ID (GID) to that account. These IDs are used to manage permissions and access to resources on the system.
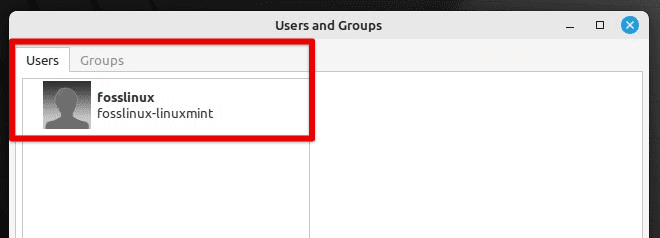
Users and groups in Linux Mint
In addition to the basic information, a user account includes various settings, such as the preferred language, time zone, and keyboard layout. User accounts are essential for controlling access to the system, as each account has its own set of permissions and privileges. By default, a newly created account is standard, meaning it has limited privileges and only has access to its own files and data.
Account privileges
The system also provides a root account, which is notable because it has complete control over the system. The root account has unrestricted access to all files and directories, and it can perform any operation, including modifying system files and installing software. User accounts are essential to Linux Mint, and understanding how they work is crucial for managing your system effectively. In the subsequent sections, we will cover how to create, modify, and delete user accounts in Linux Mint.
Note: The root account is generally not used for everyday tasks, as changing the system without proper knowledge and permissions is dangerous.
Creating a user account
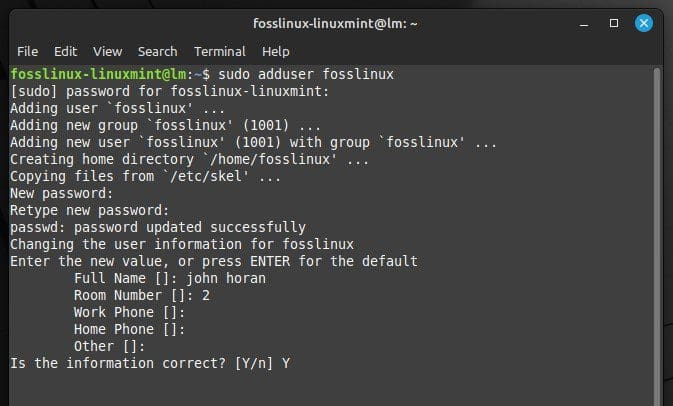
To create a new user account, use the “adduser” command. It makes a new user account and sets up the necessary files and directories for that account. Open the terminal window by pressing “Ctrl + Alt + T” on your keyboard or clicking the terminal icon in the system menu bar at the bLoco_marco32!ottom. Run the following command:
sudo adduser fosslinux

Creating a user account
Don’t forget to replace “fosslinux” with the desired username for the new account. You will be prompted to enter a password for the new user. Type the password and press “Enter”. Confirm the password by typing it in once again.
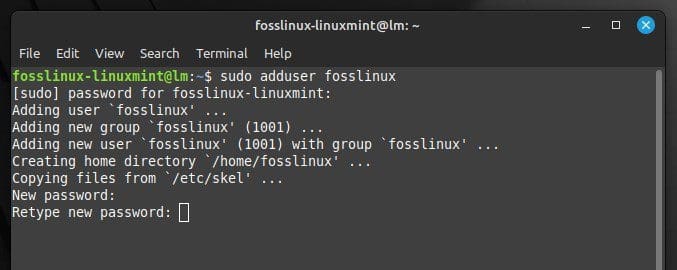
Setting a password for a new account
Next, you will be prompted to enter additional information about the user, such as their full name, phone number, and room number. Leave these fields blank, or add the information you require.
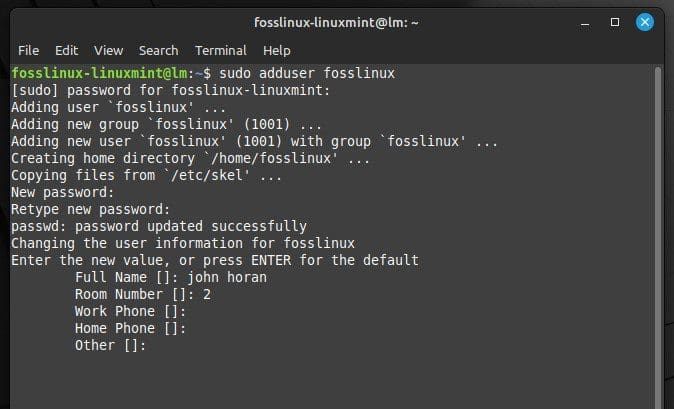
Additional information about the user
Finally, the system will ask you if the provided information is correct. If everything looks good, type Y and press Enter to finish the process. Once you have created the new user account, log in to it by selecting it from the system login screen.
Confirming the provided information
Other than the basic “adduser” command, several different options exist for customizing the newly created account. For example, a user may specify some custom home directory, set a default shell, or add their account to a specific group. To see a list of available options, run the following command in the terminal:
man adduser

Available options for adduser command
Many issues, including hardware incompatibilities, corrupted system files, or incorrect configurations, can cause boot problems in Linux Mint. These problems can lead to slow boot times, boot failures, or even a complete inability to boot the system for days. Want to avoid all of this? Go through our comprehensive guide to fixing Linux Mint boot problems.
Modifying user account properties
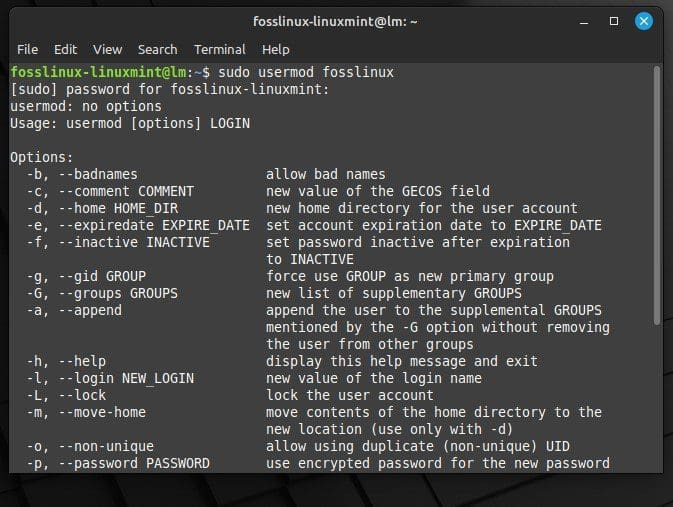
In Linux Mint, it is possible to modify various user accounts properties, such as the username, home directory, and shell. To do so, you will be using the “usermod”. Open the terminal window by pressing “Ctrl + Alt + T” on your keyboard or clicking the terminal icon in the system menu bar at the bottom. Run the following command:
sudo usermod fosslinux
Modifying user account properties
Replace “fosslinux” with the account username you want to modify. Next, add options to the usermod command to modify the desired properties. Following are some common examples:
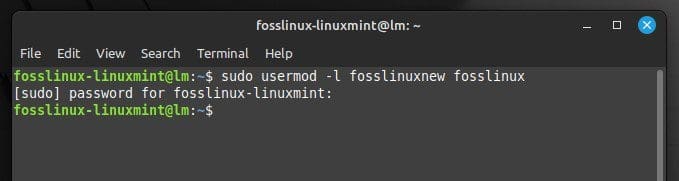
To change the username, use the -l option, followed by the new username:
sudo usermod -l fosslinuxnew fosslinux
Changing the username
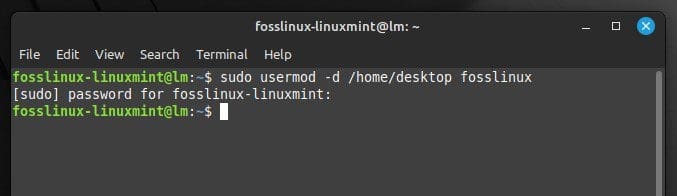
Do replace “fosslinuxnew” with the actual new username. For changing the home directory, use the -d option, followed by the new home directory path:
sudo usermod -d /home/desktop fosslinux
Changing the home directory
Replace “/home/desktop” with the path to the new home directory. For changing the default shell, use the -s option, followed by the path to the new shell:
sudo usermod -s /bin/bash fosslinux
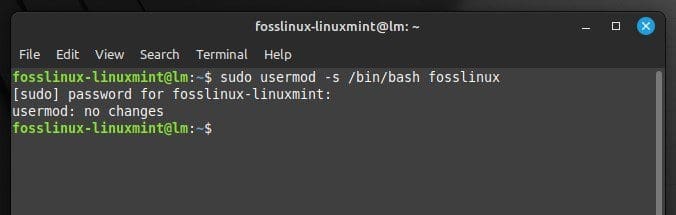
Changing the default shell
Replace “/bin/bash” with the actual path to the new shell. Once you have added these options, press Enter to execute the command. After running it in the terminal, the changes take effect immediately. Verify the changes by logging out of the account and logging back in. In addition to the options mentioned above, several others are available. To see a list of available options, run the following command in the terminal:
man usermod
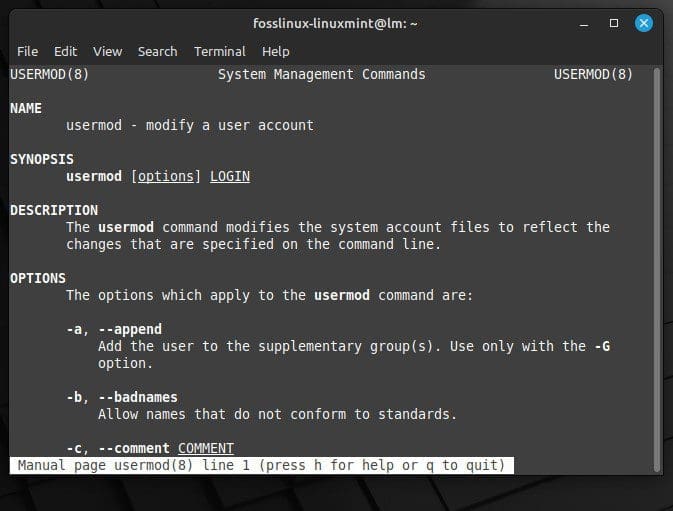
Available options for usermod command
Deleting a user account
Delete an account using the “deluser” command if it is no longer needed. Open the terminal window by pressing “Ctrl + Alt + T” on your keyboard or clicking the terminal icon in the system menu bar at the bottom. Run the following command:
sudo deluser fosslinux

Deleting a user account
Remember to replace “fosslinux” with the account username you want to delete. You will be prompted to confirm the process. Type “Y” and press “Enter”.
The “deluser” command will only delete the account and its home directory by default. Add the– remove-all-files option if you also want to delete the associated files or directories. This deletes all files and directories that belong to that account, including any files in the home directory.
sudo deluser --remove-all-files fosslinux

Deleting associated files and directories
Note: Deleting a user account is permanent and cannot be undone. Therefore, be sure to back up any critical files before carrying out the deletion.
Managing passwords
A strong password can help keep your user account and data secure from unauthorized access. Here’s how to manage passwords for user accounts in Linux Mint:
Setting a password:
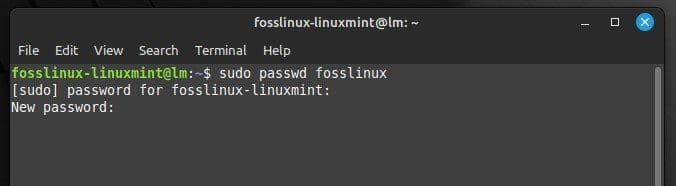
To set a password for the user account, use the “passwd” command. Open the terminal window by pressing “Ctrl + Alt + T” on your keyboard or clicking the terminal icon in the system menu bar at the bottom. Run the following command:
sudo passwd fosslinux
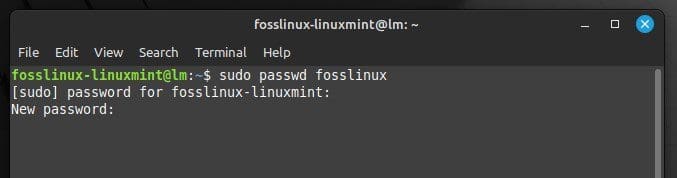
Setting a new password
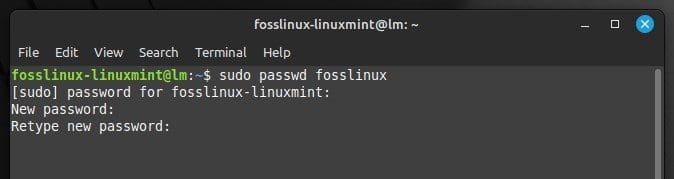
Make sure to replace “fosslinux” with the username of the account you want to set a password for. You will be prompted to enter and confirm the new password for the account. Type the new password and press “Enter”. Then, retype the password to confirm.
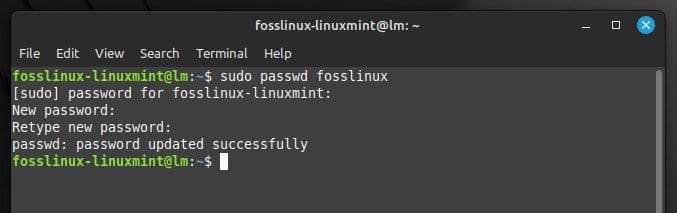
Password updated successfully
Once you have entered and confirmed the new password, it will be set immediately.
Resetting a password:
Use the same command if you forget your password or need to reset it for any reason. Open the terminal window by pressing “Ctrl + Alt + T” on your keyboard or clicking the terminal icon in the system menu bar at the bottom. Run the following command:
sudo passwd fosslinux
Resetting the password
Remember to replace “fosslinux” with the username of the account you want to reset the password for. You will be prompted to enter and confirm the new password. Type the new password and press “Enter” to proceed.
Retyping the default password
Note: When resetting the password for a root account, you will need to enter the sudo command to gain elevated privileges.
sudo passwd root
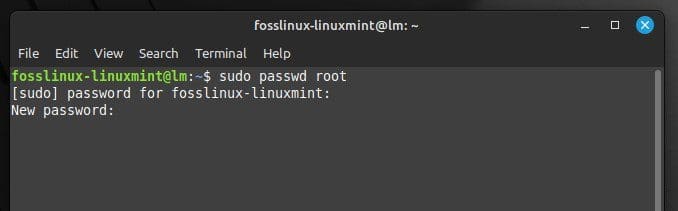
Resetting the password for the root account
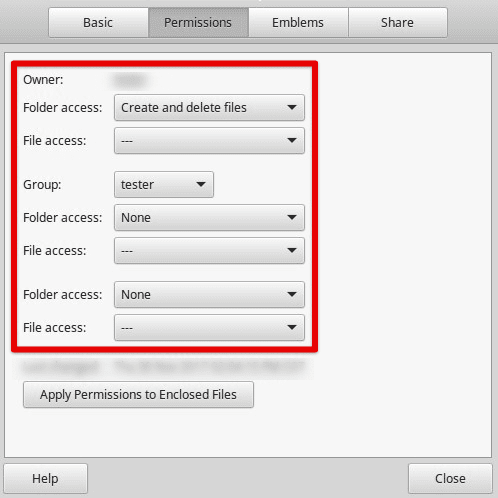
Understanding group accounts
Group accounts are a critical part of Linux Mint’s permission management system. A group is a collection of users who share a set of permissions for accessing files and directories on the system. A user and a group own each file and directory on a Linux Mint system. When a user creates a new file or directory, it is owned by the user who created it and by the default group for that user. Each user account in Linux Mint has its own group with the same name as the account itself.
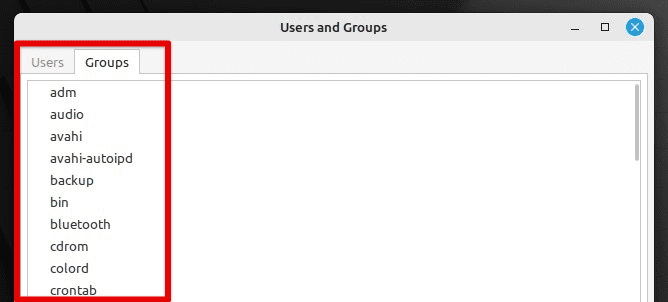
Groups in Linux Mint
So, when you create an account named “fosslinux”, a group called “fosslinux” will also be created along with it. The “fosslinux” group will also own any files or directories created by this user.
In addition to user-specific groups, Linux Mint has system-wide groups that provide access to system resources. For example, the “sudo” group grants administrative privileges to anyone on the system.
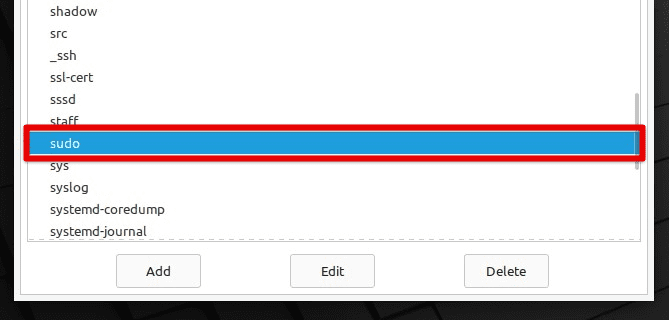
Sudo group in Linux Mint
These groups can be managed with the “groupadd”, “groupmod”, and “groupdel” commands, which allow you to create, modify, and delete groups, respectively.
Creating a group account
Open the terminal window by pressing “Ctrl + Alt + T” on your keyboard or clicking the terminal icon in the system menu bar at the bottom. Run the following command:
sudo groupadd fosslinuxgroup
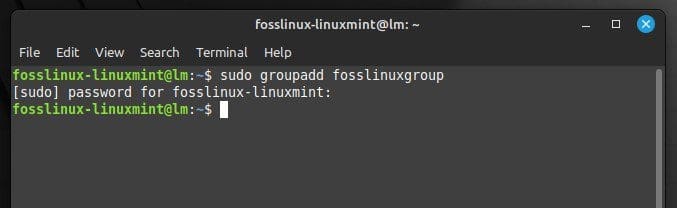
Creating a new group account
Remember to replace “fosslinuxgroup” with the name you want to give the new group. Once you run this command, the new group account will be created immediately. You can confirm this with the following command. It displays information about the newly created group, including its name and group ID.
getent group fosslinuxgroup
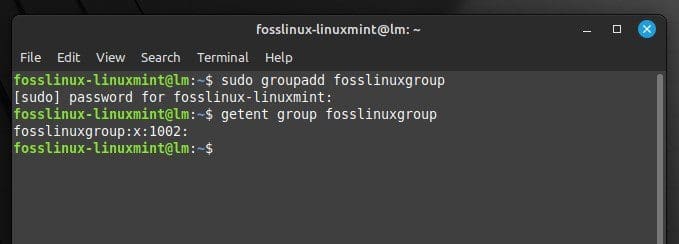
GroupID for the new group
Modifying group account properties
You can also modify various properties of a group account with the “groupmod” command. Open the terminal window by pressing “Ctrl + Alt + T” on your keyboard or clicking the terminal icon in the system menu bar at the bottom. Run the following command:
sudo groupmod -n fosslinuxgroup
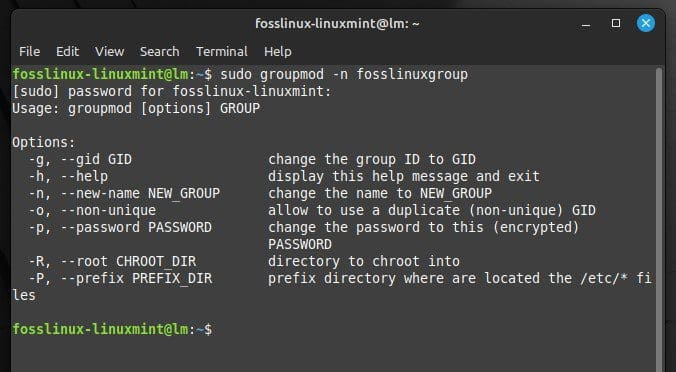
Modifying group account properties
Do replace “-n” with the specific options you want to use, and replace “fosslinuxgroup” with the name of the group you want to modify. Running this command will modify the group account properties according to the specified options. Following are some of the options you can use with this:
-n newgroupname: Changes the group’s name to “newgroupname”.
-g newid: Changes the group ID to “newid”.
-M john, horan: Modifies the group membership. “john, horan” must be replaced by a comma-separated list of usernames.
For changing the name of a group from “fosslinux” to “fosslinuxnew,” you would use the following command:
sudo groupmod -n fosslinuxnew fosslinux
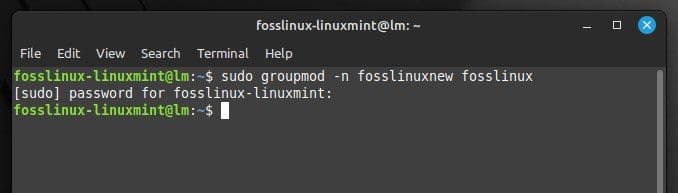
Changing the group name
For adding a user named “john” to a group called “fosslinux,” you would use the following command:
sudo groupmod -a -G fosslinux john
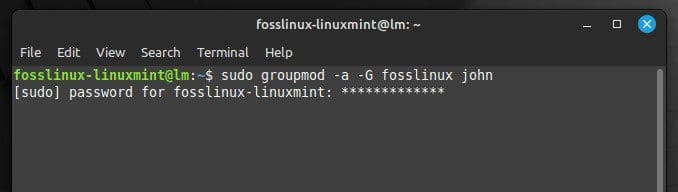
Adding a user to a group
Adding or removing users in a group
To add or remove users from a group account, you may employ the “usermod” command. Open the terminal window by pressing “Ctrl + Alt + T” on your keyboard or clicking the terminal icon in the system menu bar at the bottom. Run the following command:
sudo usermod -a -G fosslinux john
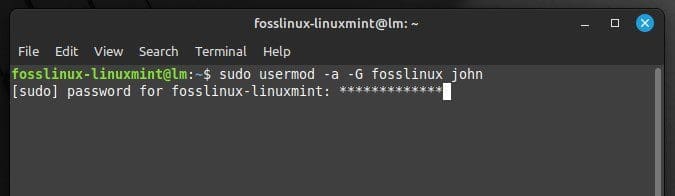
Adding a user with the usermod command
Replace “fosslinux” with the group’s name, and replace “john” with the username of the person you want to add. Similarly, to remove a user from a group, run the following command in the terminal:
sudo gpasswd -d john fosslinux
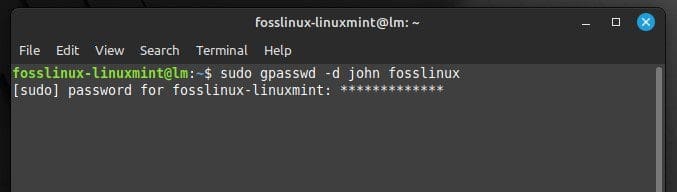
Removing a user from a group
Make sure to replace “john” with the account username you want to remove and replace “fosslinux” with the group’s name. It is also recommended to verify the changes in group membership by running the following command. Doing so displays a list of all groups the user is currently a member of.
groups fosslinux
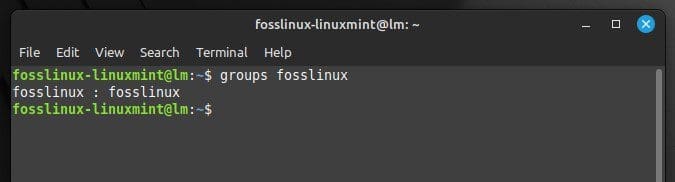
Listing groups of a user
Conclusion
This article has provided a comprehensive guide to help you effectively manage user and group accounts in Linux Mint. We covered various topics, from creating and modifying user accounts to managing passwords and adding or removing users to groups. The provided commands are helpful for system administrators, developers, or even regular users, to keep their systems secure and organized.
You should now be able to manage Linux Mint user and group accounts with ease. Another essential task for computer users is setting up and configuring their network settings, including wired and wireless connections. Here is an ultimate guide to Linux Mint network configuration.