
In today’s fast-paced world, collaboration has become essential to our daily work life. Furthermore, with the rise of remote work, it has become increasingly important for teams to collaborate effectively, regardless of location. Regarding software development, Tmux is a powerful tool for collaboration, as it allows multiple users to work on the same terminal session simultaneously. In this tutorial guide, we will review how to use Tmux with numerous users and discuss the benefits of using Tmux for collaborative coding.
Benefits of using tmux for coding
Collaborative coding can be challenging, primarily when multiple users simultaneously work on the same codebase. Tmux can help to simplify this process by allowing multiple users to work on the same terminal session simultaneously. With Tmux, you can create a shared session that multiple users can connect to and work on the same codebase together.
One of the key benefits of using Tmux for collaborative coding is that it helps to improve productivity. By allowing multiple users to work on the same codebase simultaneously, you can reduce the time required to complete a project. This is especially important for remote teams working in different time zones and needing to collaborate effectively.
Another benefit of using Tmux for collaborative coding is that it helps to improve code quality. By allowing multiple users to work on the same codebase simultaneously, you can ensure that everyone is on the same page and that the code is consistent across all team members. This can help reduce bugs and errors in the code, saving time and improving the project’s overall quality.
How to use Tmux with multiple users
Using Tmux with multiple users is a straightforward process involving creating a shared session to connect multiple users. Here are the steps to set up Tmux for collaborative coding:
Step 1: Install Tmux
The first step is to install Tmux on your machine. Tmux is available on most Linux distributions and can be installed using the package manager. For example, on Ubuntu, you can install Tmux by running the following command:
sudo apt-get install tmux
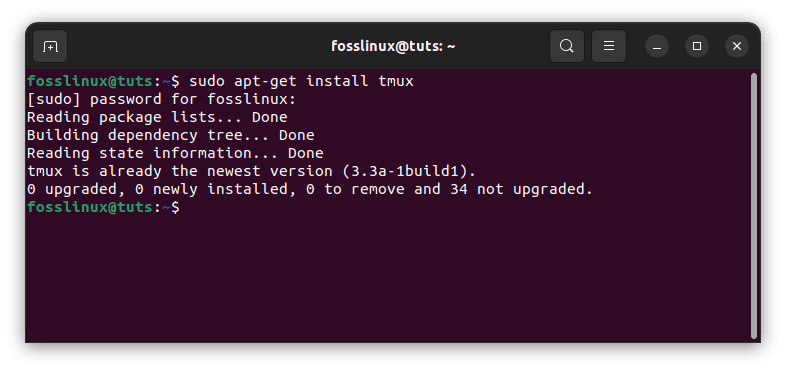
Install tmux
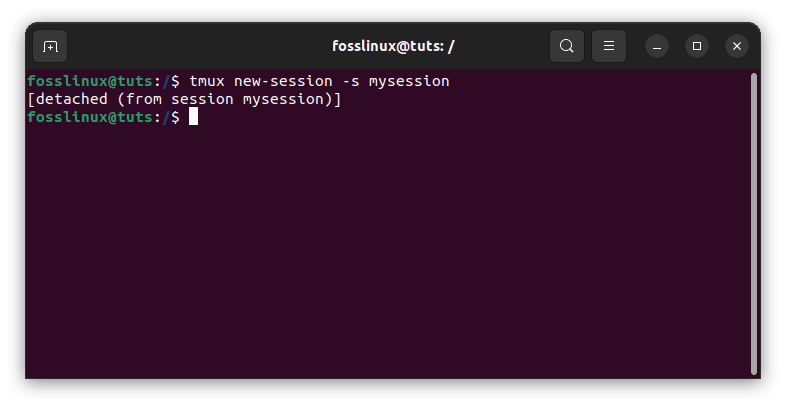
Step 2: Create a new Tmux session
Once you have installed Tmux, you can create a new session by running the following command:
tmux new-session -s mysession
Create mysession
This will initiate a new Tmux session named “mysession.” Of course, you can replace “mysession” with any name you prefer.
Step 3: Share the Tmux session
To share the Tmux session with multiple users, you need to give them access to the session. This can be done by running the following command:
tmux -S /tmp/mysession attach
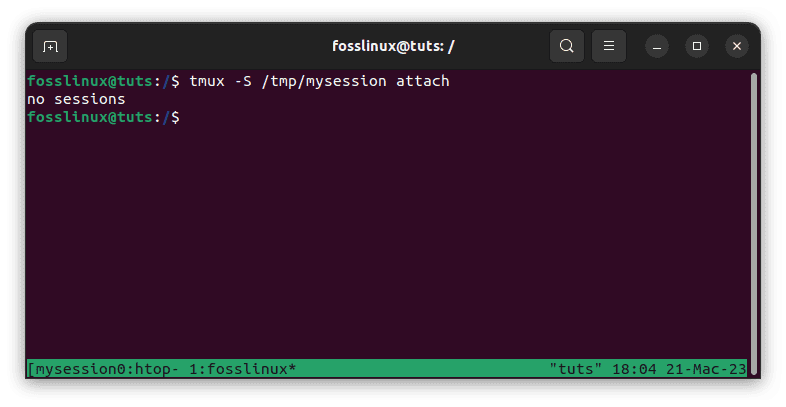
Share sessions
This will attach the session to the /tmp/mysession socket, which multiple users can access.
Step 4: Connect to the shared Tmux session
To connect to the shared Tmux session, other users can run the following command:
tmux -S /tmp/mysession attach
This will attach the user to the existing Tmux session and allow them to work on the same terminal session as other users.
Step 5: Create new windows and panes
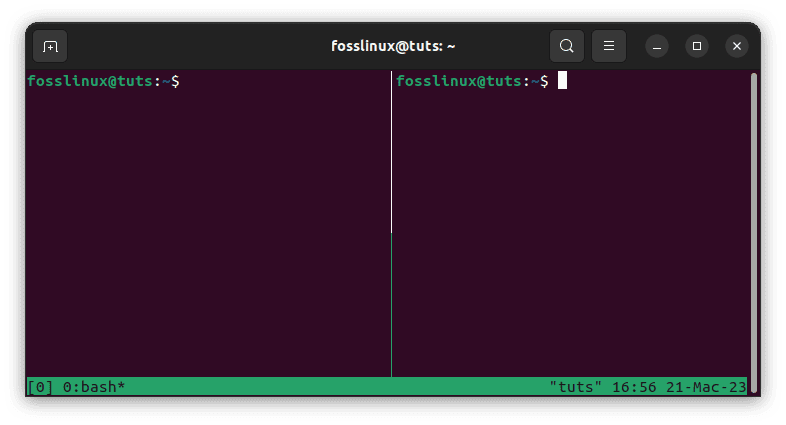
Once multiple users are connected to the same Tmux session, they can create new windows and panes within the session. To create a new window, press the “Ctrl-b” key combination and the “c” key. This will create a new window within the Tmux session.

Create new window
To create a new pane within a window, press the “Ctrl-b” key combination and the “%” key. This will split the current pane into two panes, one above the other.
Step 6: Use Tmux chat to communicate
One of the benefits of using Tmux with multiple users is the ability to communicate within the same terminal session. Tmux has a built-in chat feature that allows users to send messages to each other within the session.
To use Tmux chat, press the “Ctrl-b” key combination and the “:” key. This will bring up the Tmux command prompt. Type the following command to start a new chat:
setw -g mode-keys vi
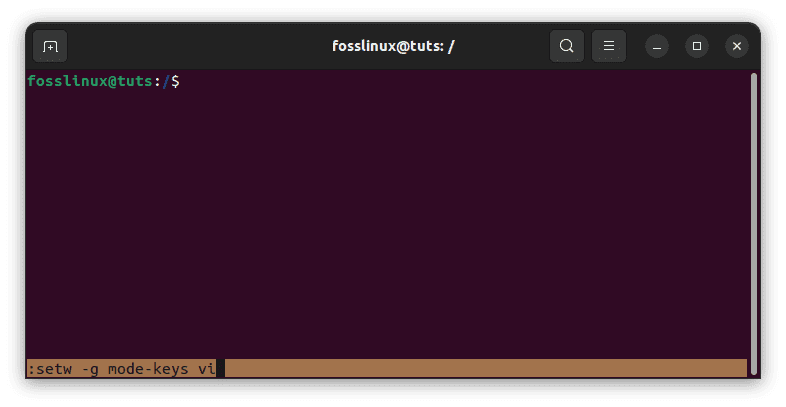
Enable tmux chat mode
Once the chat is started, users can send messages to each other by typing “Prefix” + “Shift-I.” “Prefix” is the “Ctrl-b” key combination by default
Step 7: Manage the Tmux session
Once multiple users have connected to the
shared Tmux session, you can manage the session using various Tmux commands. For example, you can split the window into multiple panes, create new windows, switch between windows, and detach from the session.
To split the window into multiple panes, you can use the following command:
Ctrl+b %
Split window vertically
This will split the window into two vertical panes. You can use the arrow keys to move between the panes.
To create a new window, you can use the following command:
Ctrl+b c
Create new window
This will create a new window within the Tmux session. You can switch between windows using the following command:
Ctrl+b <window_number>
For example, to change to window number 2, you can run the following command:
Ctrl+b 2
Switch to window 2
To detach from the Tmux session, you can use the following command:
Ctrl+b d
Detach the previous session
This will detach you from the session and allow you to resume your work later.
Benefits of Using Tmux with Multiple Users
Now that we’ve covered how to use Tmux with multiple users, let’s explore some of the benefits of doing so.
1. Improved collaboration
One of the primary benefits of using Tmux with multiple users is improved collaboration. By allowing multiple users to work on the same project or task within the same terminal session, Tmux makes it easy for team members to collaborate effectively. Users can share their screens, run commands, and chat with each other, all within the same terminal session.
2. Better resource utilization
Another benefit of using Tmux with multiple users is better resource utilization. Users can reduce the resources required to run multiple sessions simultaneously by sharing a single terminal session. This can be especially useful for resource-intensive tasks, as it can help to reduce the load on individual machines.
3. Greater control
Tmux also provides greater control over terminal sessions. By allowing users to detach and reattach to sessions, Tmux makes it easy to switch between tasks or projects without losing progress. This can be particularly useful for developers working on multiple projects simultaneously.
4. Increased security
Finally, using Tmux with multiple users can also increase security. By sharing a single terminal session, users can avoid the need to share passwords or other sensitive information with each other. This can aid in reducing the risk of security breaches or different types of cyber attacks.
Tips for using Tmux with multiple users
When using Tmux with multiple users, a few tips can help improve collaboration and productivity. Here are some tips to keep in mind:
1. Use descriptive session names: When creating a new Tmux session, use a descriptive name that other users can easily understand. This can help to avoid confusion when multiple sessions are running simultaneously.
2. Set up user permissions: To ensure that only authorized users can access the Tmux session, you can set up user permissions using Unix file permissions. For example, you can restrict access to the session socket to specific users or groups.
3. Use shared configuration files: To ensure all users can access the same configuration settings, you can use shared configuration files. For example, you can create a shared Tmux configuration file that contains keybindings and other settings that all users use.
4. Communicate effectively: When working on a collaborative project, it’s essential to communicate effectively with other team members. Tmux provides built-in chat functionality that allows users to communicate within the terminal session. You can use the following command to enable chat:
Ctrl+b :
This will bring up the Tmux command prompt. You can then type “setw synchronize-panes on” to enable chat.
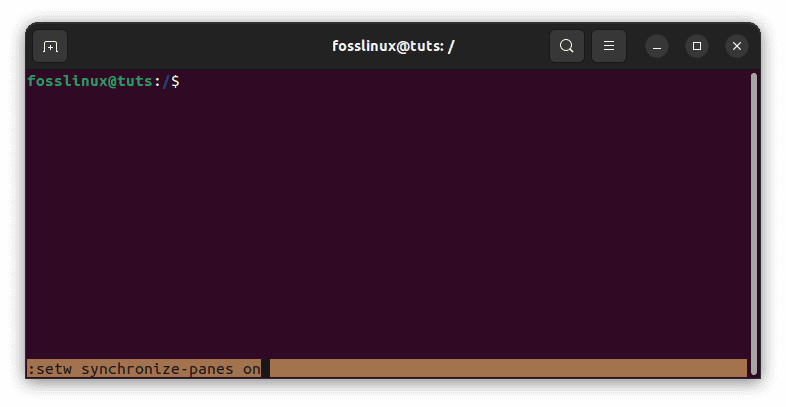
Enable chat
5. Use plugins: Tmux has a rich ecosystem of plugins that can help to enhance collaboration and productivity. For example, the tmux-resurrect plugin allows you to save and restore Tmux sessions, which is useful when switching between projects or workstations.
Conclusion
Tmux is a powerful tool for collaborative coding that allows multiple users to work on the same terminal session simultaneously. Using Tmux, you can improve productivity, code quality, and collaboration within your team. With the steps outlined in this article, you can set up Tmux for multiple users and start collaborating effectively. By following the tips provided, you can take your collaborative coding to the next level and work more efficiently with your team members. We hope this guide has given you a comprehensive understanding of using Tmux with multiple users.
1 comment
set-window-option -g mode-keys vi enables VI key bindings; this has nothing to do what any chat functionality at all