
Gaming has become an increasingly popular form of entertainment, captivating millions of individuals worldwide. While Windows has traditionally dominated the gaming scene, Linux-based operating systems have gained considerable traction among gaming enthusiasts.
Pop!_OS, a Linux distribution known for its user-friendly interface and focus on productivity, has emerged as a promising choice for gamers seeking a stable and customizable platform. In this detailed article, we will explore the process of setting up Steam and Lutris on Pop!_OS, enabling you to dive into a world of gaming possibilities.
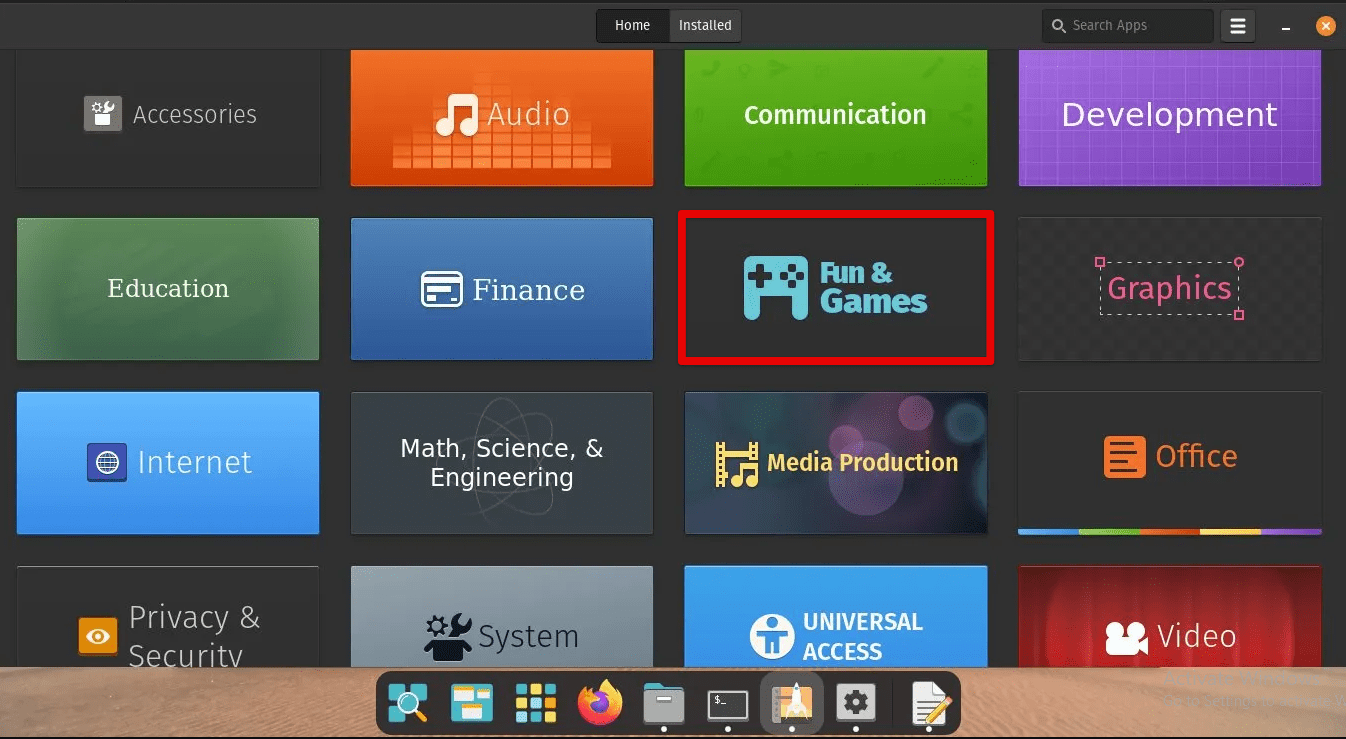
Pop!_OS and gaming
The combination of Pop!_OS, Steam, and Lutris offers an excellent gaming experience, with a diverse library of games and the flexibility to run both native and Windows-based titles seamlessly. Irrespecitve of whether you are a casual gamer or a hardcore enthusiast, this guide will provide you with step-by-step instructions, tips, and insights to optimize your gaming setup on Pop!_OS.
Pop!_OS for Gamers: How to Install Steam and Lutris
System requirements
To ensure a smooth and enjoyable gaming experience on Pop!_OS, it is essential to meet the minimum system requirements. While Pop!_OS can run on a wide range of hardware configurations, meeting the recommended specifications will provide optimal performance and compatibility with demanding games. Let’s take a closer look at the system requirements for running Pop!_OS and the hardware specifications necessary for a seamless gaming experience.
Processor: A 64-bit processor with at least 2 cores is required.
RAM: Pop!_OS recommends a minimum of 4 GB of RAM. However, for a smoother gaming experience, it is advisable to have 8 GB or more.
Storage: At least 20 GB of available storage space is required for the installation of Pop!_OS and basic software. However, for a gaming setup, consider allocating additional space for game installations.
Graphics: Pop!_OS supports a wide range of graphics cards, including both AMD and NVIDIA GPUs. Ensure that your graphics card is compatible with the latest open-source or proprietary drivers for optimal performance.
Display: A display with a resolution of at least 1024×768 pixels is recommended.
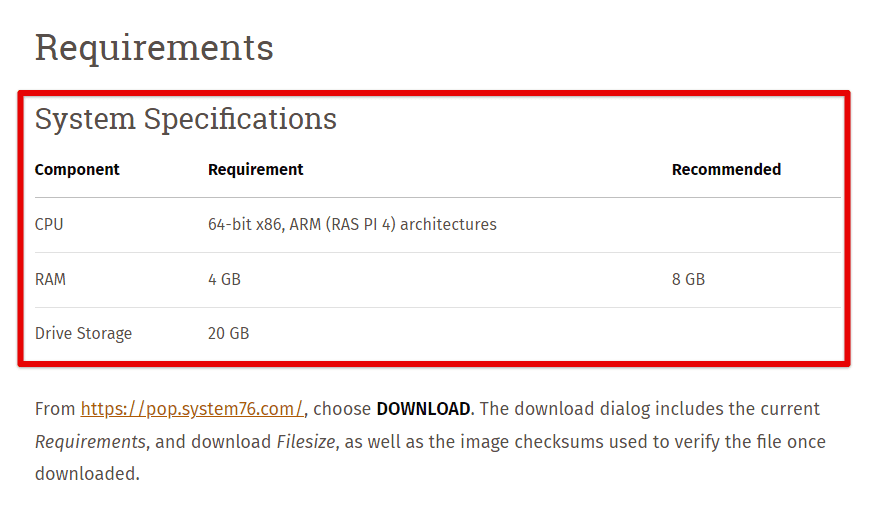
System requirements
Investing in a powerful processor, ample RAM, a dedicated graphics card, and a fast storage solution like an SSD will significantly enhance your gaming performance on Pop!_OS. It is worth noting that as technology advances and game requirements evolve, the hardware specifications necessary for optimal gaming may change. Therefore, it is always advisable to stay up to date with the latest hardware trends and consider future-proofing your system to enjoy upcoming gaming experiences without any hindrances.
Enabling proprietary drivers
Proprietary drivers play a crucial role in optimizing gaming performance on Pop!_OS. While open-source drivers are generally available by default and offer good compatibility, proprietary drivers, provided by hardware manufacturers like NVIDIA and AMD, often deliver superior performance and additional features. In this section, we will explore the importance of proprietary drivers for gaming and guide you through the process of identifying and installing the appropriate drivers for your hardware.
Proprietary drivers for gaming performance: Proprietary drivers are typically optimized for gaming, offering improved performance, reduced latency, and better frame rates. These drivers are frequently updated to address compatibility issues and provide performance optimizations for new game releases. Proprietary drivers typically offer advanced features like hardware-accelerated graphics rendering, support for specific gaming technologies (such as NVIDIA’s CUDA or AMD’s Radeon Software), and more extensive control over graphics settings. These features can greatly enhance the visual quality and overall gaming experience.

Proprietary drivers for gaming performance
Proprietary drivers undergo rigorous testing and validation, ensuring better stability and compatibility with a wide range of games. They are designed to work seamlessly with the respective hardware, reducing the likelihood of crashes or graphical glitches.
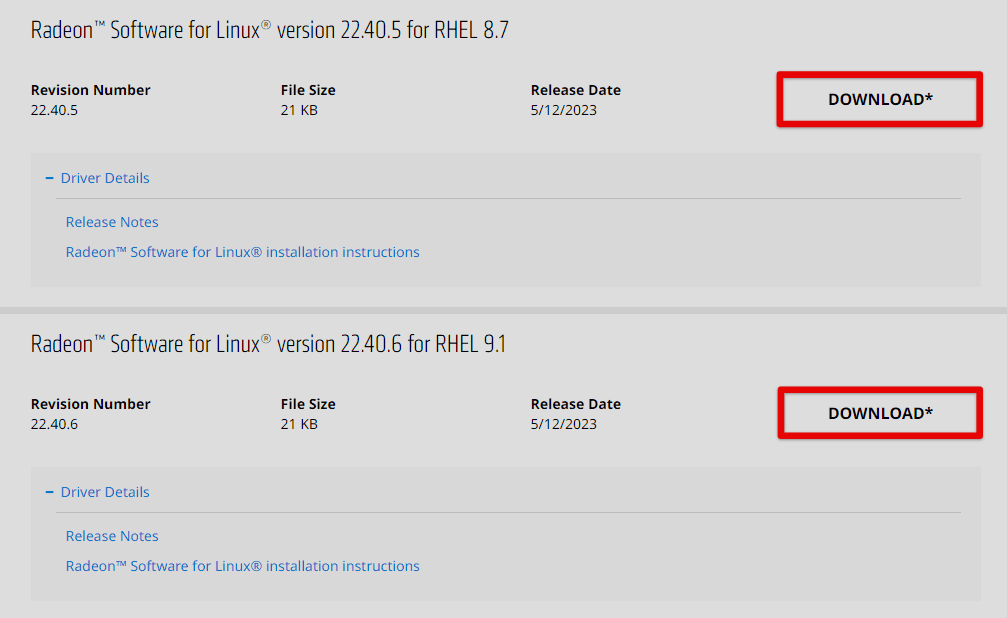
Identifying appropriate drivers: If you have an NVIDIA graphics card, you can visit the official NVIDIA website to identify the appropriate drivers. NVIDIA provides a driver search tool that automatically detects your GPU and suggests the latest compatible driver version for your system.
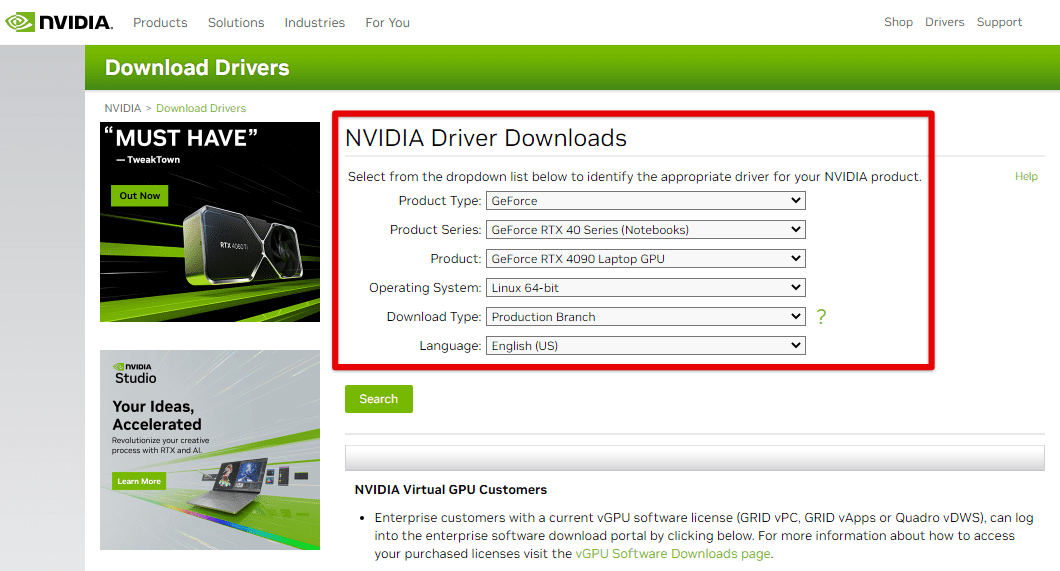
Identifying appropriate drivers
For AMD graphics cards, you can visit the AMD website to identify and download the latest drivers. AMD also offers an automatic driver detection tool called “AMD Driver Auto-Detect” that simplifies the process by identifying your graphics card and recommending appropriate drivers.
Installing proprietary drivers: If you have an NVIDIA graphics card, you can install the proprietary drivers using the following methods:
Graphical interface: Pop!_OS provides a “Software & Updates” application, which includes an “Additional Drivers” tab. Open the application, and it will scan for available proprietary drivers. Select the recommended NVIDIA driver, click “Apply Changes,” and follow the on-screen instructions to install it.
Graphical interface
Command Line: Alternatively, you can install NVIDIA drivers through the command line. Open a terminal and use the appropriate command, such as “sudo apt install nvidia-driver-212” (replace 212 with the version number suggested by the NVIDIA website).
If you have an AMD graphics card, Pop!_OS generally includes open-source AMD drivers by default. These drivers are actively maintained and often provide excellent performance. However, for the latest proprietary drivers, you can visit the AMD website and follow their instructions for installation. After installing proprietary drivers, it is recommended to reboot your system to ensure the changes take effect.
Installing AMD drivers
It is crucial to keep your proprietary drivers up to date to take advantage of the latest optimizations and bug fixes. Check the manufacturer’s website or use the system’s built-in update tools to stay informed about driver updates and install them promptly.
Introduction to Steam
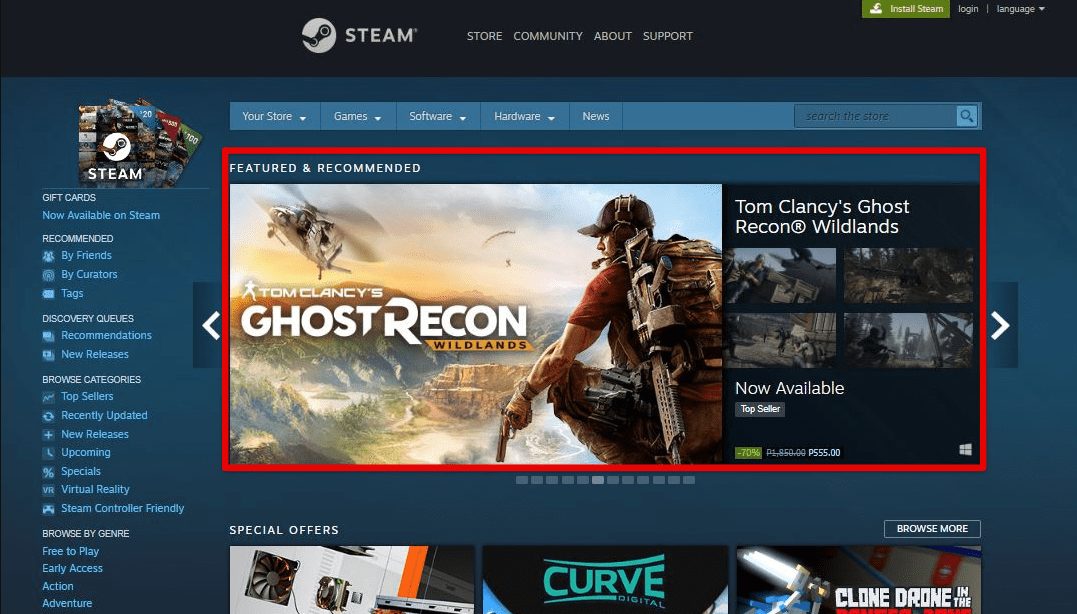
Steam, developed by Valve Corporation, has revolutionized the gaming industry by offering a comprehensive platform for gamers to discover, purchase, and play a vast library of games. With its user-friendly interface and extensive community features, Steam has become a go-to choice for gamers worldwide. In this section, we will introduce Steam as a popular gaming platform and delve into the benefits and features it brings to gaming on Pop!_OS.
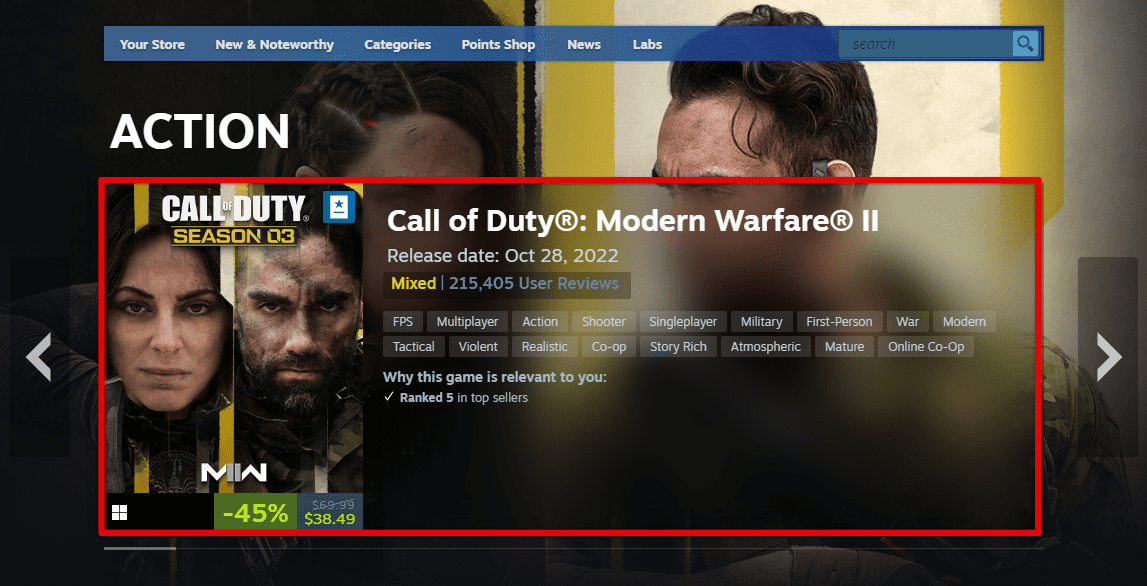
Popular gaming platform: Steam boasts an extensive collection of games, ranging from indie titles to AAA blockbusters. With thousands of games available, covering various genres and styles, Steam provides something for every type of gamer. Steam offers a vibrant community where players can connect, join groups, participate in discussions, and share game-related content. This social aspect enhances the gaming experience by fostering interactions and collaborations among players.
Popular gaming platform
Steam incorporates a robust achievement system, challenging players to unlock in-game accomplishments and earn rewards. Additionally, many games on Steam feature collectible trading cards that can be obtained, traded, or used to craft badges, adding a layer of fun to the gaming experience. Steam’s built-in broadcasting and streaming features enable players to showcase their gameplay to a wider audience. Whether you want to share your gaming skills or watch others play, Steam facilitates these interactions seamlessly.
Benefits of installing Steam on Pop!_OS: Steam provides an optimized environment for gaming on Pop!_OS, leveraging its extensive game library and community features. With Steam, you can easily discover, purchase, and install games directly on your Pop!_OS system, streamlining the gaming process. Steam is designed to be platform-agnostic, making it compatible with various operating systems, including Pop!_OS. This cross-platform support allows you to access your Steam library and play games seamlessly on different devices, providing flexibility and convenience.

Installing steam on Pop!_OS
Steam Play is a feature within Steam that leverages Proton, a compatibility layer, to enable running Windows games on Linux-based systems like Pop!_OS. This expands the gaming possibilities by making a broader range of games accessible on the Linux platform. Steam automates game updates, ensuring you have the latest patches and improvements without manual intervention. Additionally, the platform offers cloud save functionality, allowing you to synchronize your game progress across multiple devices, providing a seamless gaming experience wherever you play.
Steam’s Workshop feature enables players and developers to create and share game modifications, allowing for a rich ecosystem of user-generated content. Pop!_OS users can take advantage of this feature to enhance their gaming experience with custom content, mods, and community-driven enhancements.
Installing and configuring Steam
To embark on your gaming journey with Steam on Pop!_OS, you need to download and install the Steam client on your system. In this section, we will provide you with detailed instructions on how to install Steam and explore the necessary configurations and settings to ensure optimal performance.
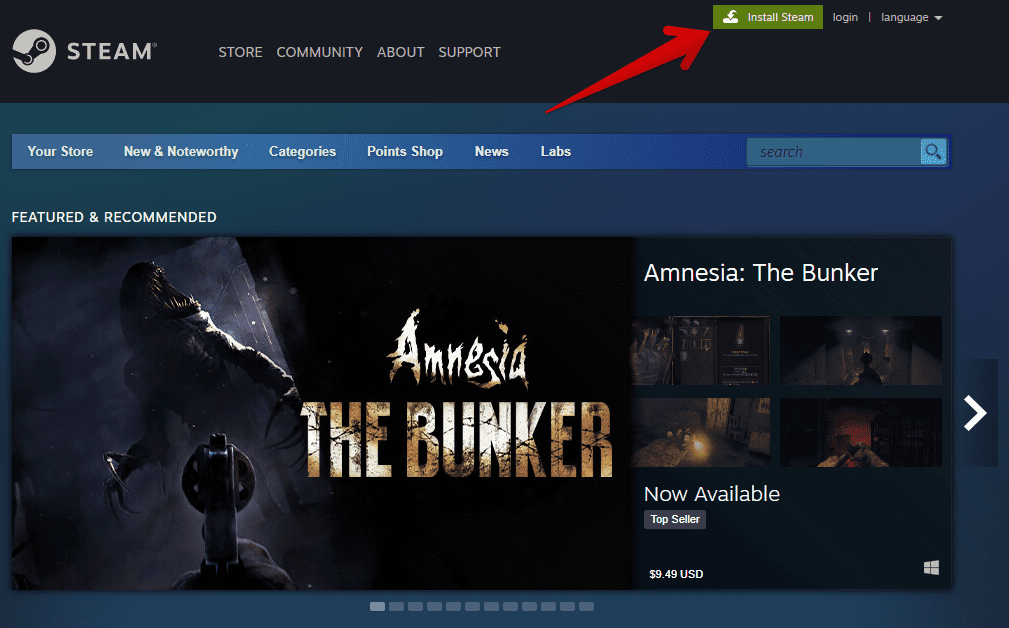
Downloading and installing Steam: Open a web browser and visit the official Steam website. On the website, locate and click on the “Install Steam” button. This will initiate the download process. Once the download is complete, locate the downloaded file (usually named “steam_latest.deb”) in your Downloads folder.
Downloading and installing Steam
Double-click on the downloaded file to open it in the software installation tool. The software installation tool will display the Steam package details. Click on the “Install” button to proceed. You may be prompted to enter your system password to authorize the installation. Provide your password and click “Authenticate” to continue.
The installation process will begin, and you will see a progress bar indicating the installation status. Once the installation is complete, you can close the software installation tool.
Initial configuration: Launch Steam by searching for it in the Applications menu or by clicking on its icon if it’s available on your desktop. On the initial Steam setup screen, you will be prompted to either create a new Steam account or log in with an existing one. Follow the on-screen instructions to set up or log in to your account. After logging in, Steam will automatically update itself to the latest version if necessary. This may take a few minutes, depending on your internet connection speed.
Initial configuration
Configuring Steam for optimal performance: Click on the “Steam” menu in the top left corner of the Steam client and select “Settings.” In the Settings window, navigate to the “In-Game” tab. Here, you can adjust settings such as the Steam Overlay, which provides in-game access to the Steam community and features. Customize these settings according to your preferences.

Configuring Steam for optimal performance
Next, go to the “Downloads” tab. Here, you can specify the download region and adjust the download bandwidth limit to ensure smooth and uninterrupted downloads while gaming. Proceed to the “Interface” tab, where you can customize the appearance of the Steam client, such as the theme and font size. If you have a controller, go to the “Controller” tab to configure controller support and settings. After configuring your desired settings, click “OK” to save the changes.
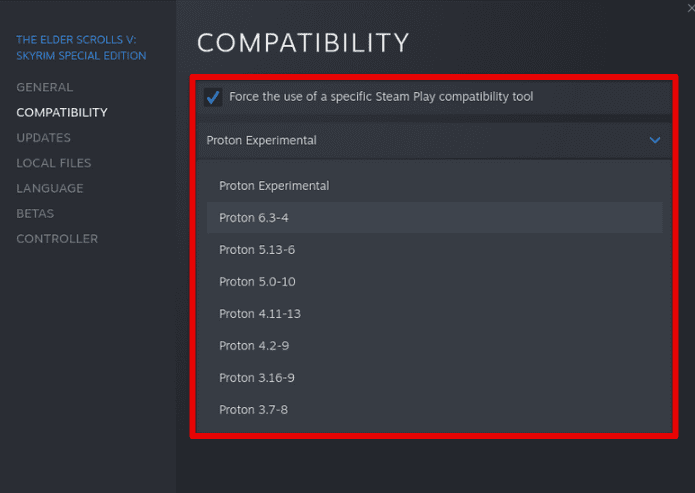
Enabling Steam Play (Proton): Steam Play (powered by Proton) enables you to play Windows games on your Pop!_OS system. To enable Steam Play, go to the “Steam” menu, select “Settings,” and navigate to the “Steam Play” tab. Check the boxes that say “Enable Steam Play for supported titles” and “Enable Steam Play for all other titles.”

Enabling Steam Play (Proton)
Under “Advanced,” you can choose the version of Proton to use. The default option, “Use global defaults,” should suffice for most users. Click “OK” to save the changes.
Game compatibility and installation
When it comes to gaming on Pop!_OS through Steam, compatibility is a vital aspect to consider. In this section, we will explore the compatibility of games on Pop!_OS and Steam and provide tips and troubleshooting advice for installing and running games smoothly.
Compatibility of games on Pop!_OS and Steam: While the availability of games for Linux has significantly improved over the years, it’s essential to note that not all games on Steam are officially supported on Pop!_OS or Linux. However, the number of games with native Linux support continues to grow, and many popular titles are compatible.
Compatibility of games
Steam Play, powered by Proton, allows you to play a broader range of Windows games on Linux-based systems like Pop!_OS. Proton is a compatibility layer that translates Windows API calls to Linux equivalents, enabling many Windows games to run smoothly. This feature significantly expands the gaming possibilities on Pop!_OS.
Installing and running games smoothly: For games with native Linux support, installation is generally straightforward. Simply search for the game on the Steam store, click “Play,” and follow the on-screen instructions to install and run the game. These games are specifically designed and optimized for Linux, providing the best performance and compatibility.
Installing and running games smoothly
For games that don’t have native Linux support, Steam Play (Proton) can be a game-changer. When attempting to install and run these games, ensure that Steam Play is enabled in the Steam client settings as mentioned in the previous section. This allows Proton to automatically handle compatibility for unsupported games. Before installing a Windows game through Steam Play, check the “Steam Play Compatibility Reports” available on the Steam community forums. These reports provide valuable insights into how well a particular game runs under Proton and any specific tweaks or workarounds required for optimal performance.
If a game doesn’t run well using the default Proton version, try different versions available in the Steam Play settings. Some games may perform better with older or newer versions of Proton, so experimentation can be helpful. In the Steam Play settings, you can customize various Proton options for specific games. These options include adjusting compatibility settings, enabling or disabling certain features, and applying custom launch parameters. Refer to the Proton documentation and the Steam community for recommended settings for specific games.

Configuring Steam Play settings
Many Steam community members actively share their experiences and solutions for running games under Proton. Search for the game in question on the Steam forums, Reddit, or other gaming communities to find potential fixes, workarounds, or mods that enhance compatibility.
Lutris: An overview
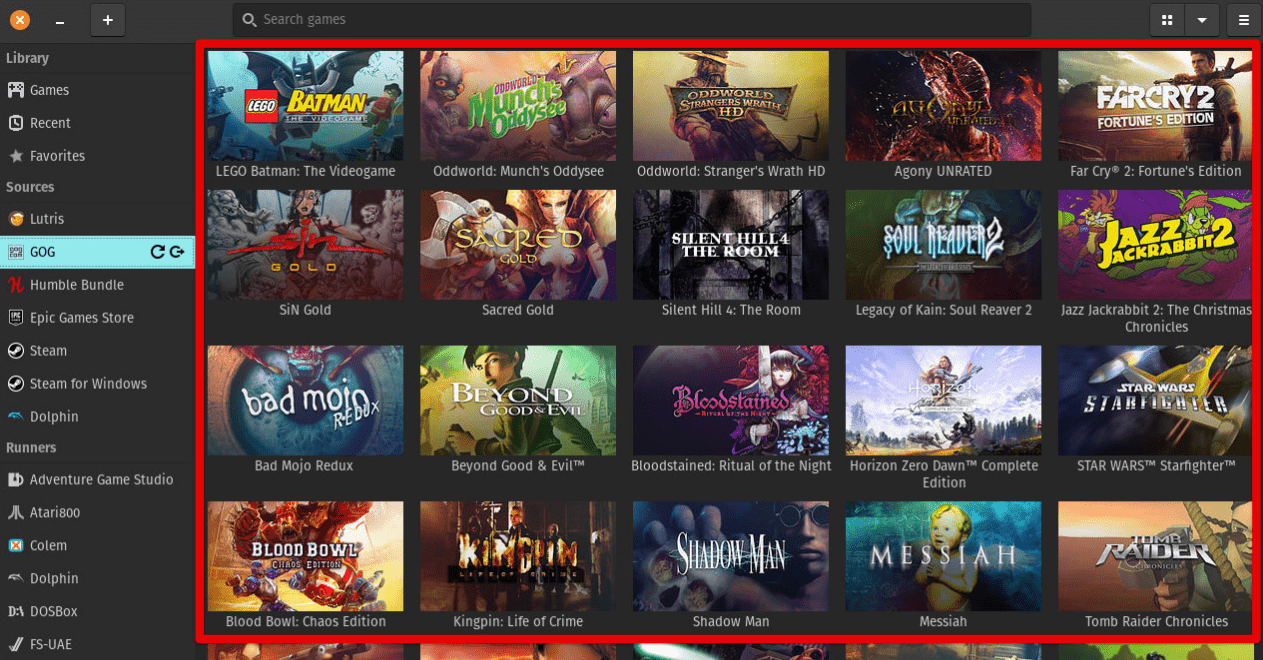
Lutris is a powerful gaming platform and game manager designed specifically for Linux-based systems. It provides a centralized hub for organizing, installing, and launching games from various sources, including Steam, GOG, Epic Games Store, and more. In this section, we will introduce Lutris as a gaming platform and explore the advantages of using it alongside or as an alternative to Steam on Pop!_OS.
Introduction to Lutris: Lutris aims to simplify the gaming experience on Linux by offering a unified platform for managing games from different sources. It provides a centralized library where you can organize and access your game collection, regardless of the storefront or distribution platform.
Introduction to Lutris
Lutris incorporates a wide range of compatibility layers, including Wine, Proton, and DOSBox, allowing you to run games originally designed for Windows or other platforms seamlessly on Linux-based systems. It integrates with various gaming services and platforms, such as Steam, GOG, and Humble Bundle, providing a holistic gaming experience. Lutris is an open-source project with an active community of developers and contributors. This community-driven approach ensures regular updates, improvements, and support for an expanding list of games, compatibility layers, and features.
Advantages of using Lutris: Lutris offers extensive game compatibility through its integration with various compatibility layers. This allows you to play a wider range of games on Pop!_OS, including those not officially supported on Linux. Lutris leverages Wine, Proton, and other technologies to provide a seamless gaming experience for both native Linux games and Windows games.
Advantages of using Lutris
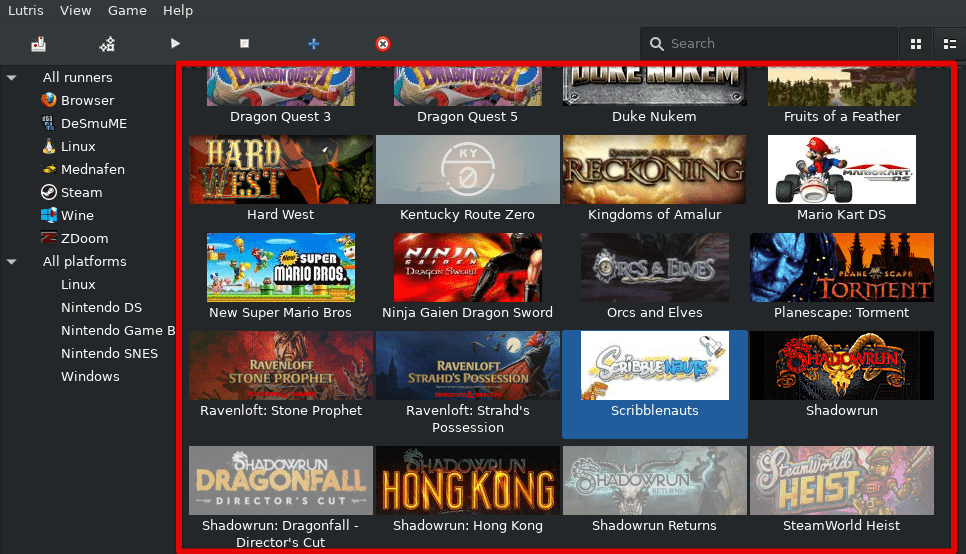
It simplifies the installation and setup process for games by automating many of the steps required to run them on Linux. It provides pre-configured installation scripts, called “runners,” which automatically handle dependencies, libraries, and other requirements. These runners can be customized or shared with the Lutris community, enabling easy installation and configuration of games. Lutris acts as a centralized game library and management tool, allowing you to organize your game collection effectively. You can categorize games, create custom collections, and apply tags for easy navigation and quick access to your favorite titles. Lutris provides a unified interface, streamlining the game management process.
Quick access to favorite titles
Lutris allows advanced users to customize their gaming experience by creating or modifying installation scripts and configurations. This flexibility enables users to fine-tune game settings, apply performance optimizations, and customize compatibility options, tailoring the gaming experience to their specific preferences. Lutris fosters an active and passionate community of gamers and developers. The Lutris community shares game-specific installation scripts, tips, and troubleshooting advice, making it easier to set up and run games. Additionally, Lutris supports community-created game integrations, enabling users to access and install games from different platforms without leaving the Lutris interface.
Installing and configuring Lutris
To enjoy the benefits of Lutris on your Pop!_OS system, you need to download and install the Lutris application. In this section, we will provide detailed instructions on how to install Lutris and guide you through the initial setup and configuration process.
Downloading and installing Lutris: Open a web browser and visit the official Lutris website at https://lutris.net/. On the Lutris website, locate and click on the “Download” button. This will direct you to the download page. On the download page, you will find installation instructions specific to different Linux distributions. Locate the instructions for Pop!_OS and follow them accordingly. Typically, for Pop!_OS, you can install Lutris by opening a terminal and running the following commands:
sudo add-apt-repository ppa:lutris-team/lutris

sudo apt update

sudo apt install lutris
Enter your system password when prompted to authorize the installation. This will initiate the installation process. Wait for the installation to complete. Once finished, Lutris will be installed on your system.
Initial setup and configuration: Launch Lutris by searching for it in the Applications menu or by clicking on its icon if it’s available on your desktop. Upon launching Lutris for the first time, you will be prompted to agree to the Terms of Service and Privacy Policy. Read through the terms and, if you agree, click on the “I Agree” button.
Initial setup and configuration
Next, Lutris will ask if you want to enable anonymous statistics to help improve the software. You can choose whether to enable this feature by selecting the appropriate option and clicking “Next.” Lutris will then prompt you to log in or create an account. Logging in allows you to sync your game library and settings across multiple devices. If you don’t want to log in at this time, you can click on the “Skip” button. After completing the initial setup, Lutris will open the main application window.
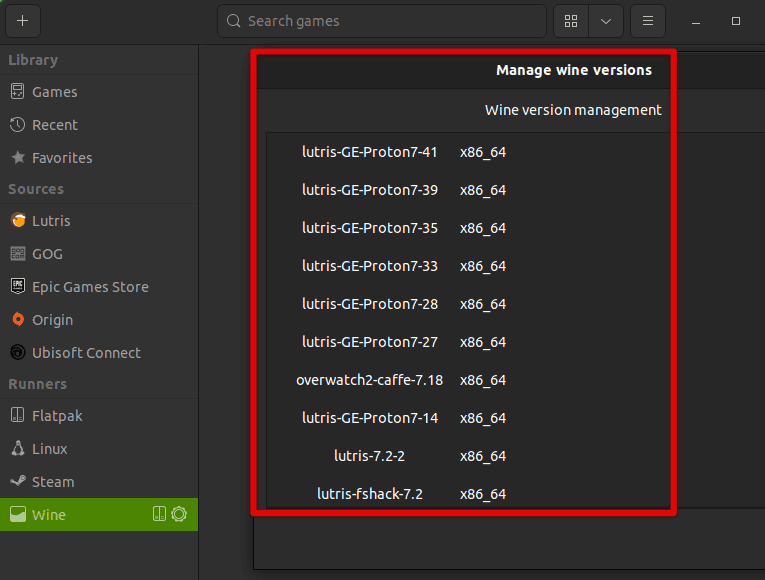
Configuring Lutris: To install and manage games from different platforms, such as Steam or GOG, you need to add the respective platforms to Lutris. To do this, click on the “Configure” button located in the top right corner of the Lutris main window. In the drop-down menu, select “Runners / Wine versions.”
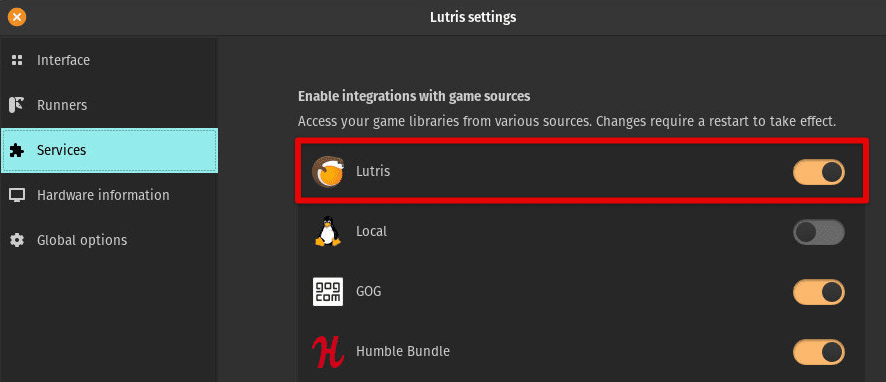
Configuring Lutris
In the “Runners / Wine versions” settings window, you can add or remove various gaming platforms and compatibility layers. Click on the “Add” button to add a platform, select the platform you want to add (e.g., Steam), and follow the on-screen instructions to complete the setup.
Game installation and management
Once you have Lutris installed and configured on your Pop!_OS system, you can start adding games to Lutris and effectively manage your game installations. In this section, we will discuss the process of adding games to Lutris and provide guidance on managing game installations, including importing existing games from other platforms and installing games directly through Lutris.
Adding games to Lutris: Launch Lutris by searching for it in the Applications menu or clicking on its icon if it’s available on your desktop. In the Lutris main window, you will find a search bar at the top. Enter the name of the game you want to add and press Enter or click on the magnifying glass icon. Lutris will search its database and display matching results. Click on the game you want to add to open its details page.
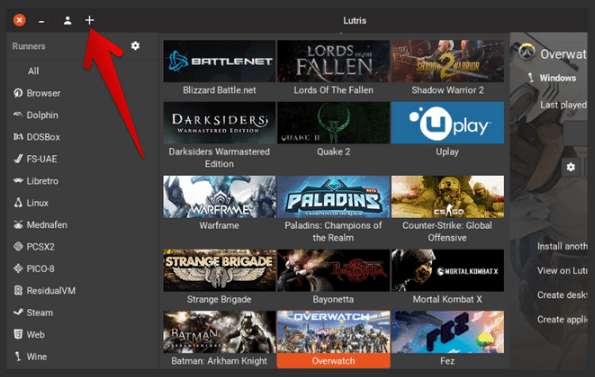
Adding games to Lutris
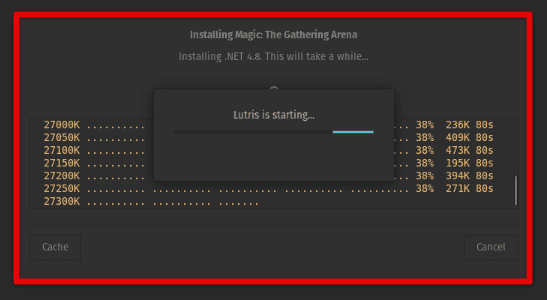
On the game’s details page, you will find information about the game, including its description, compatibility status, and installation instructions. Click on the “Install” button to proceed. Lutris will prompt you to choose an installation location and create a name for the game. You can customize these settings if desired, or leave them as they are and click “Install” to begin the installation process. Lutris will automatically download and configure the necessary components, compatibility layers, and dependencies to install and run the game. Follow the on-screen instructions and wait for the installation to complete. Once the installation is finished, you can click on the “Play” button to launch the game directly from Lutris.
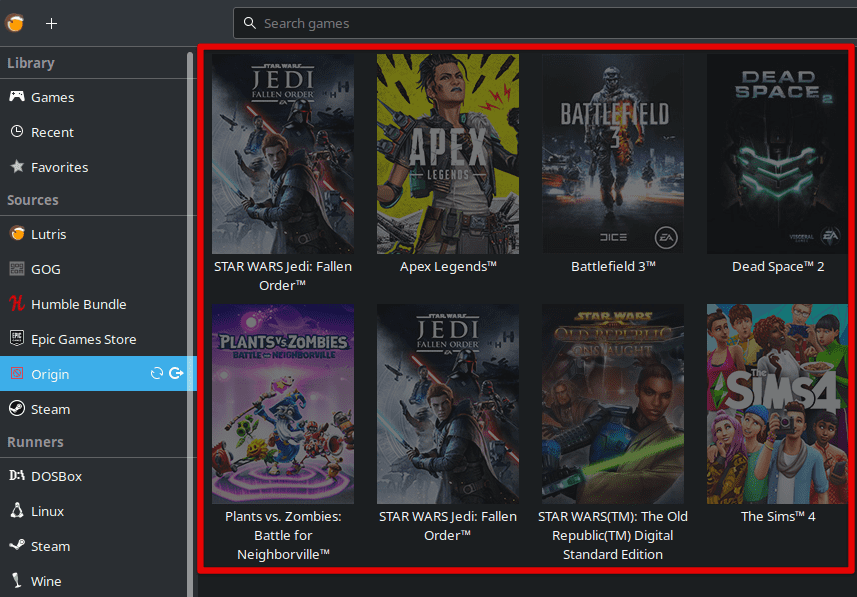
Managing game installations: To play a game you’ve installed through Lutris, simply click on the game’s entry in the Lutris library or main window. Lutris will handle the necessary configurations and launch the game using the specified compatibility layer. Lutris provides options for organizing and sorting your game library to suit your preferences. You can categorize games, create custom collections or tags, and filter games based on various criteria such as platform, genre, or installed status. Right-click on a game in the Lutris library to access options for categorization and management.
Managing game installations
It automatically checks for updates to installed games and provides notifications when updates are available. To update a game, click on the game’s entry in the Lutris library and look for an “Update” button if an update is available. Clicking on “Update” will initiate the update process for that specific game. If you want to remove a game from Lutris, right-click on the game’s entry in the Lutris library and select “Uninstall.” Lutris will remove the game files, configurations, and dependencies associated with that game.
Conclusion
In this comprehensive article, we explored the process of setting up Steam and Lutris for gaming on Pop!_OS. We covered various aspects, including system requirements, enabling proprietary drivers, installing and configuring Steam, game compatibility and installation, an overview of Lutris, and installing and configuring Lutris. By following the instructions and guidelines provided in each section, you should now have a solid foundation for enjoying a seamless gaming experience on Pop!_OS.
Now armed with the knowledge and step-by-step instructions provided throughout this article, you are ready to embark on your gaming journey on Pop!_OS. Enjoy discovering new games, exploring compatibility options, and optimizing your gaming experience with Steam and Lutris. Let the adventures begin!