
Steam is considered the largest Linux-based gaming platform. Installing it on your PC allows you to play games on Linux just as quickly as on the Windows operating system. This tutorial will demonstrate how to install Steam on a Linux Mint PC.
Are you a frustrated gamer because you are a Linux user? Don’t be anymore. The days when Windows appeared to be the exclusive platform for gaming are long gone. Now that we’ve reached this point, all you need to do to play the most recent and greatest games is hit a few buttons (and maybe run some commands). Thanks to Steam, the world is rapidly evolving.
With over 30,000 titles and over 100 million active users, Steam is amongst the most popular gaming distribution platforms on the planet. For Linux users, Steam is the equivalent of a gold mine. It supports Linux as an official gaming platform. Additionally, Steam is a leader in making games Linux-compatible.
Even though Steam is readily available for Linux, not all of its games are compatible with Linux distributions. Only games published initially by developers with Linux support may be Linux-compatible. Fewer games are available for Ubuntu and other Linux distributions than Windows, but what is known is sufficient to satisfy the gaming appetite on open-source platforms. The games have DRM protection.
This post will concentrate on installing the Steam client on Linux Mint.
Linux Mint is a well-known Linux distribution derived from Ubuntu. Any package available for Ubuntu will run flawlessly on Linux Mint (with a few exceptions). Similar procedures are required to install Steam on Ubuntu, Debian, and derivatives. So let’s begin the installation of Steam on Linux Mint.
Setting up Steam on Linux Mint
We can use several methods to install Steam on our Linux Mint OS. The main techniques that will be discussed in this article guide include:
- Using the APT package manager to install Steam
- Using the Synaptic package manager to install Steam
- Using the GUI (Graphical User Interface) to install Steam
- Adding the official Steam repo to your Linux Mint
Method 1: Using the APT package manager to install Steam
In this method, we shall use APT to install Steam. First, launch a terminal. Then, execute the following command to update the APT cache. Additionally, it will update all installed packages to the most recent version.
sudo apt update && sudo apt upgrade -y
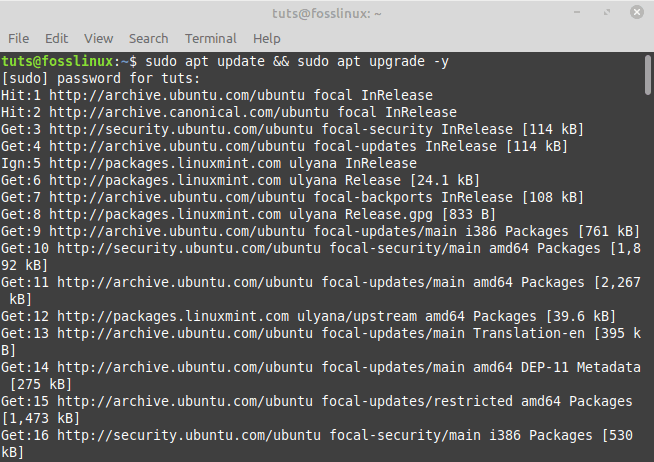
Update installed packages
Execute the following command now.
sudo apt install steam
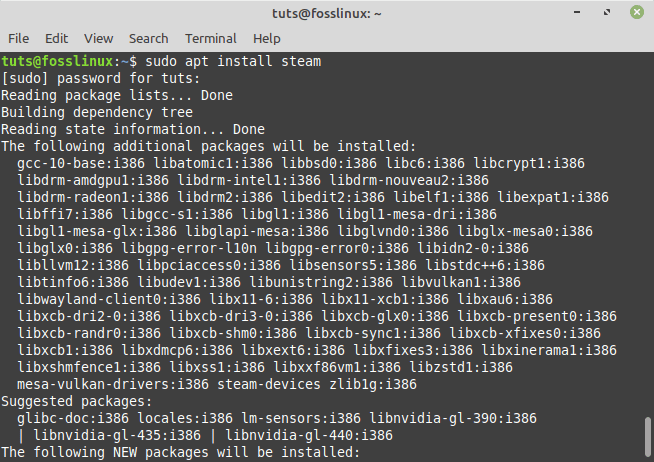
Install steam
The Steam client is not yet fully operational. However, we will demonstrate how to do so in the subsequent section.
Method 2: Using the Synaptic package manager to install Steam
Now is the right moment to learn how to install Steam using the Synaptic package manager. It is less complicated than dealing with the command line. Synaptic is for those who prefer working using a GUI. Synaptic serves as the APT front end.
- Launch package manager Synaptic.

Launch the synaptic package manager
- Input the root password to enable Synaptic root access.
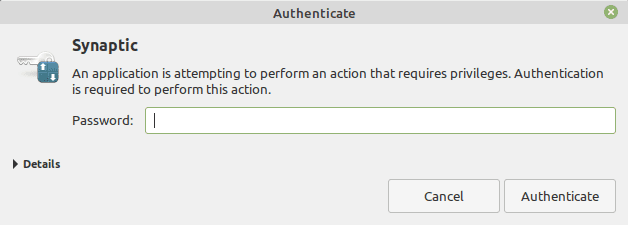
Input synaptic password
- Click the “Reload” button located in the upper ribbon. It will update the APT cache.
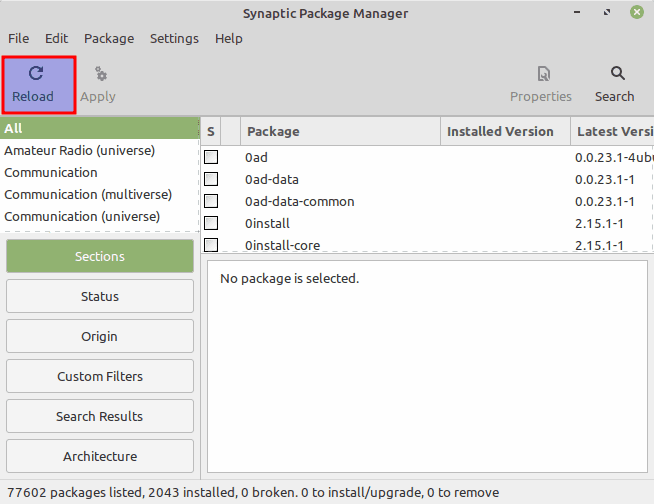
Click reload
- Use the phrase “steam” while clicking the “Search” button (without quotes). Then, choose “Name” from the “Look in” drop-down menu.
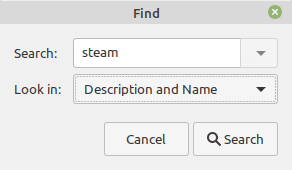
Search for steam
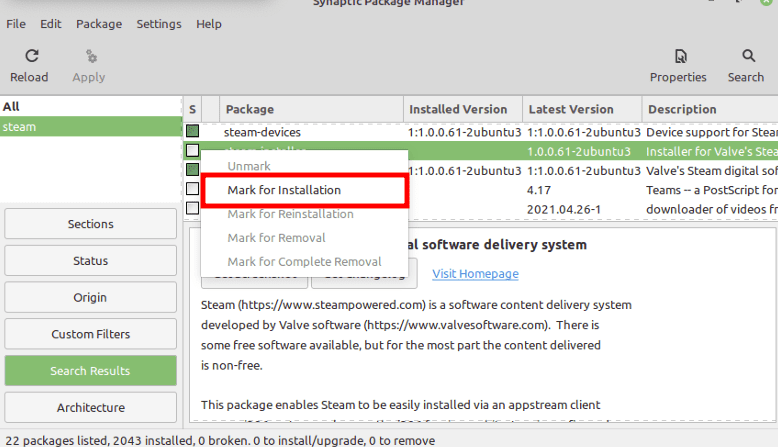
- Select the Steam installer entry. Next, select “Mark for Installation” using the context menu that pops up when you right-click.

Mark for installation
- Synaptic will bring up a box that lists the dependencies to be installed along with Steam. Hit “Mark.”
Mark for installation
- Click “Apply” to implement the modification.
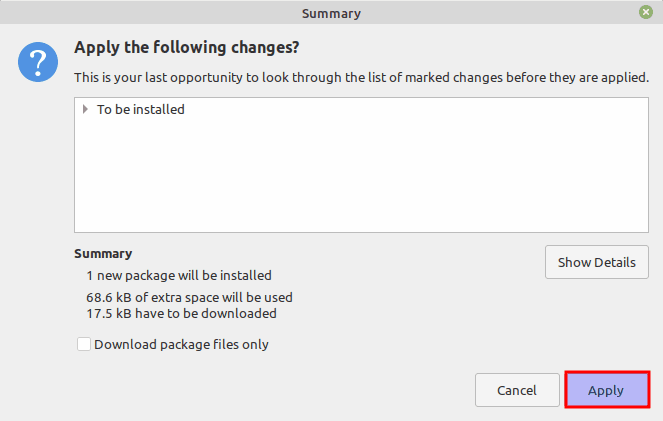
Click the apply button
- Be patient until the process completes
- Once it completes installing, click the “Close” button
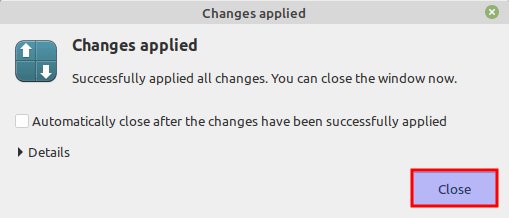
Click the close button
Method 3: Using the GUI (Graphical User Interface) to install Steam
Follow the steps provided herein to install Steam via the graphical user interface:
Step 1: Launch Program Manager
If you are a Linux Mint or LDME user, the graphical user interface would be your first choice for installing software. Therefore, let’s begin by employing it to set up the Steam client application. First, click the Linux Mint Start menu to access the Application launcher, then look for the “Software manager” there. Finally, click on the icon to run the program.
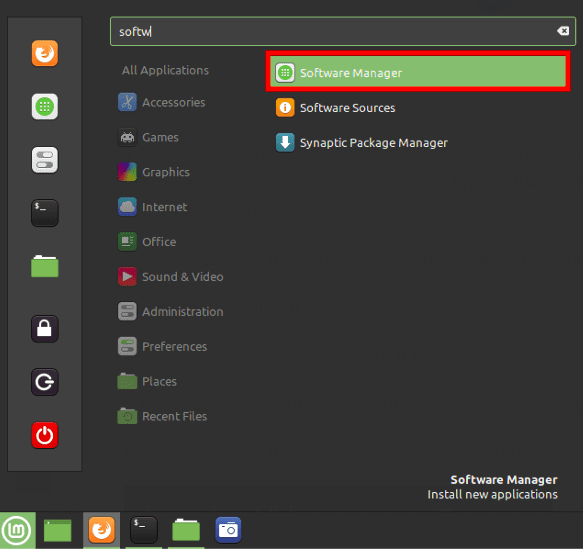
Launch software manager
Step 2: Search for Steam
Once you have launched the program manager, navigate to the search section and type “Steam.” Next, click “Enter” or the search button to initiate the search process. Steam will appear in the search results as illustrated in the image below:
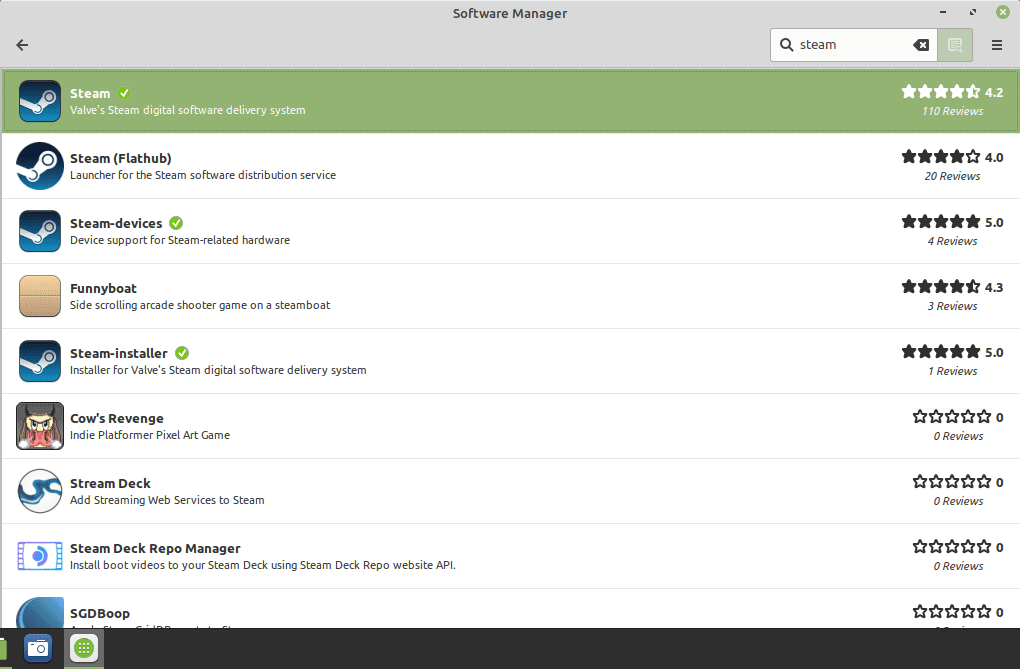
Steam search results
Step 3: Install Steam on your Linux Mint
After searching, click on the “Steam” icon that appeared in the previous step and click on the “Install” button to start installing it on your Linux Mint OS. Be patient, as the process might take quite a while, dependent on your laptop specs.
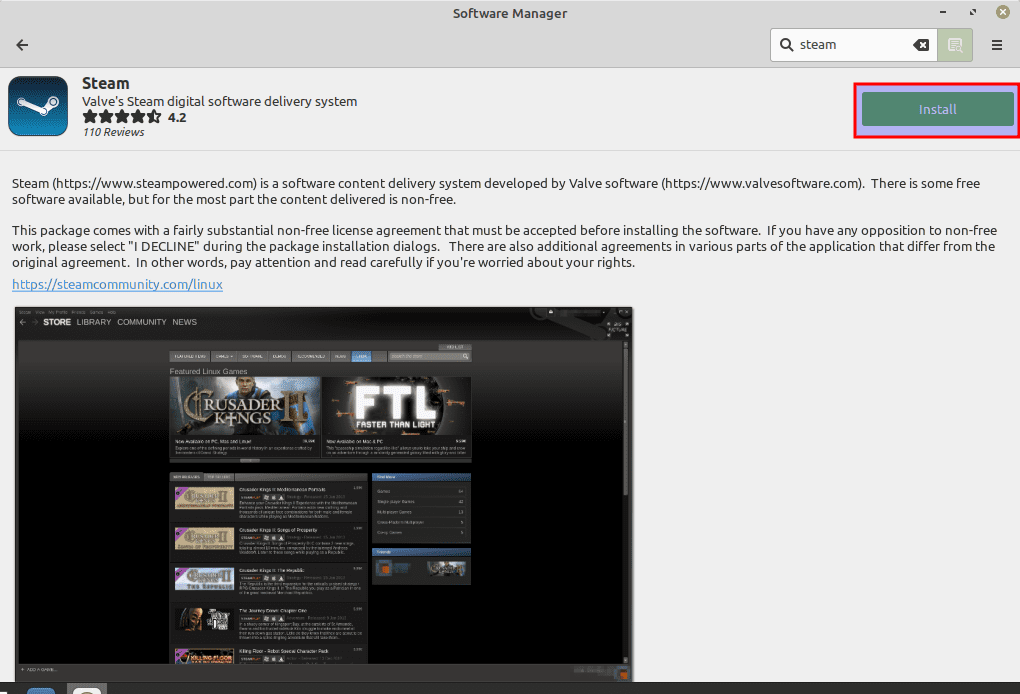
Click the install button
Method 4: Adding the official Steam repo to your Linux Mint
The major downside of using the previous methods is that you cannot install the latest version of Steam on all occasions. Besides, if you are in quest of testing steam’s beta version for the latest features, you might not be able to do so from Linux Mint’s default system repo. Therefore if you are interested in installing an up-to-date steam version, you need to manually add and integrate Steam’s official repo to your Linux Mint system. To do so, add the following GPG key:
sudo wget -O- http://repo.steampowered.com/steam/archive/stable/steam.gpg | gpg --dearmor | sudo tee /usr/share/keyrings/steam.gpg
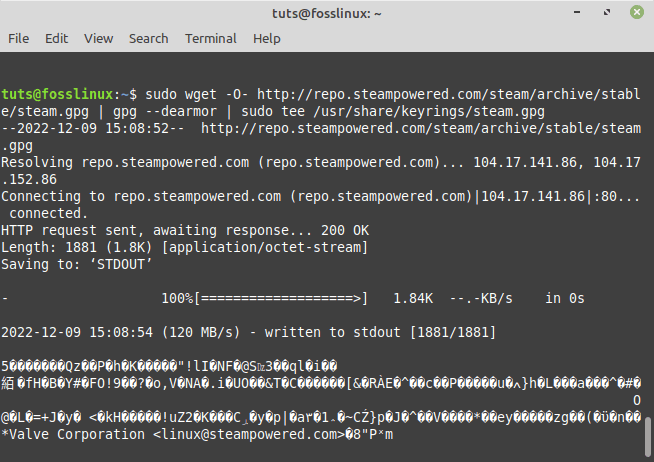
Add GPG key
Now add the repo using any of the methods given below:
- For a stable version, execute this line of code:
echo deb [arch=amd64 signed-by=/usr/share/keyrings/steam.gpg] http://repo.steampowered.com/steam/ stable steam | sudo tee /etc/apt/sources.list.d/steam.list
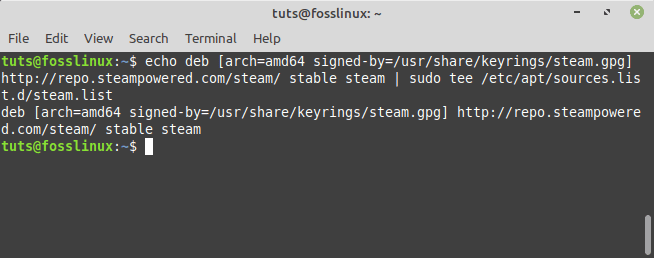
Add stable version repo
- For a beta version, execute this line of code:
echo deb [arch=amd64 signed-by=/usr/share/keyrings/steam.gpg] http://repo.steampowered.com/steam/ beta steam | sudo tee /etc/apt/sources.list.d/steam.list
Once you have added the repo, run a system update by executing this line of code:
sudo apt update
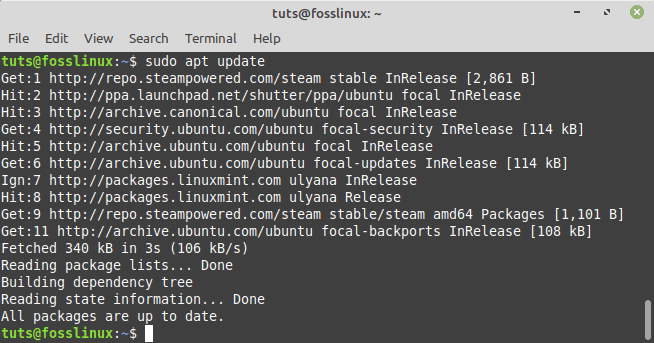
Update system resources
After adding the repo, install the latest Steam client on your Linux Mint OS. To do this, we shall use the regular APT package manager that we used previously while installing using the terminal to install the Steam client on our Linux OS. However, the difference this time is that instead of fetching install packages from the system’s default repo, it will fetch the install packages from the newly added Steam client repo. Execute this line of code to complete the installation:
sudo apt install steam
Install steam
Configuring Steam on Linux Mint
A Steam thin client is now installed on the machine. When executed, it will install the remainder of the application. After that, you can log in to your Steam account. Let’s get started!
Launch the Steam client using the menu.
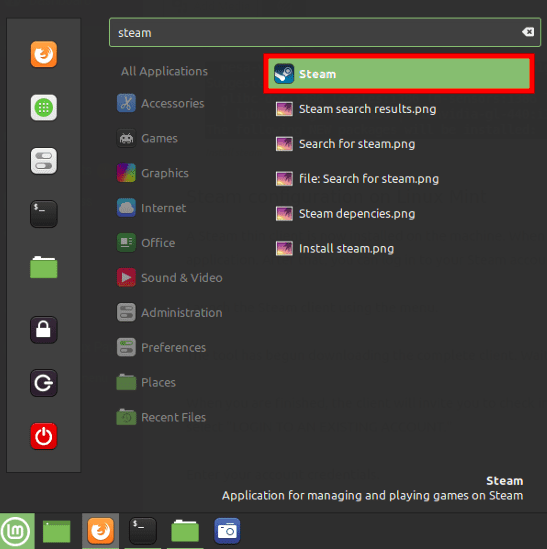
Launch steam client
The tool has begun downloading the complete client. Wait for the process to complete.
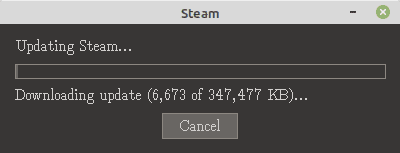
Download progress
When you finish, the client will invite you to check your account. If you already have one, select “LOGIN TO AN EXISTING ACCOUNT.”
Enter your account credentials.
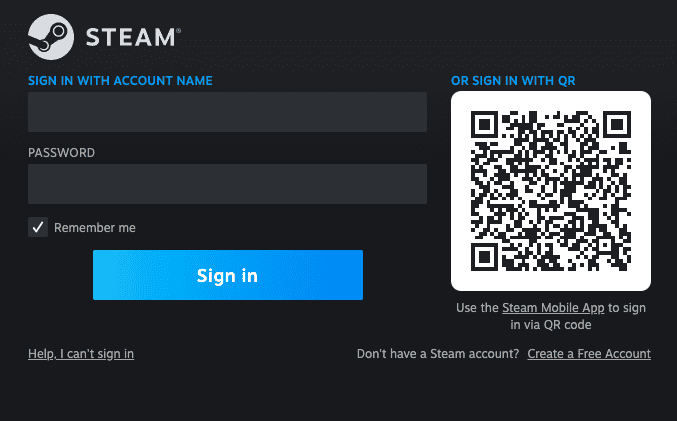
Enter Credentials
To protect your account, steam will demand a confirmation code, which will be issued to the connected email address. To confirm the action, select the first choice and click “NEXT.”
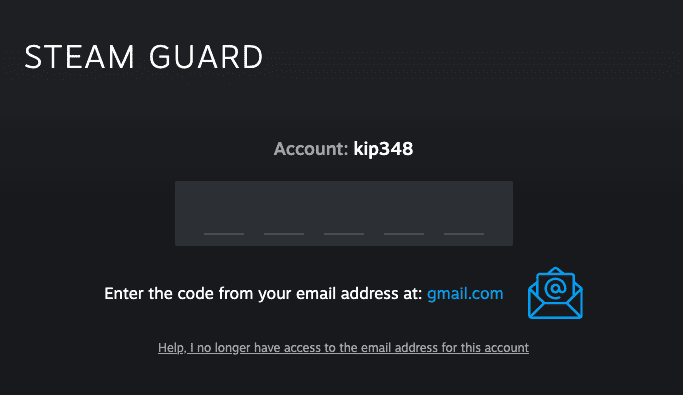
Enter confirmation code
Enter the Steam verification code you received.
You are now logged into your Steam account. Click the “FINISH” button to conclude the process.

Steam home screen
Voila! The time has come to start playing games that you purchased from the Steam online store.
How to filter the game by Linux Distribution
To view only the games on Steam that are compatible with Linux distributions, such as Mint, click Categories -> SteamOS + Linux from the Store menu. This will display the available games for your system.
How to make SteamOS+Linux the default operating system?
Additionally, you can designate Linux as the default operating system for displaying and searching games on Steam. First, select Account Defaults by clicking on your Account name. Then, click Preferences from the menu on the left and scroll to the bottom to choose the SteamOS+Linux option.
How to update/upgrade Steam
Since we used Steam’s official system repo to install the Steam client on our Linux Mint, we shall therefore execute the following line of code to update/upgrade it:
sudo apt update && sudo apt upgrade
How to uninstall Steam
In case you are no longer interested using this gaming distribution platform, you can use the command line provided herein to delete it from your Linux Mint system:
sudo apt autoremove --purge steam
Conclusive Remarks
Steam’s installation process is child’s play. However, a flawless operation is not promised for every game. After all, the vast majority of games were originally intended for Windows. You may also require supplementary software like Wine, and Lutris, to achieve optimal compatibility. Check out ProtonDB as well, though. It integrates seamlessly with Steam. It also has an extensive database that tracks many games and is maintained by the community. Enjoy playing games on your Linux Mint using Steam.