
Neovim is an extendable, highly configurable text editor designed for efficient coding. As a fork of Vim, Neovim retains the same mode-based usage while introducing new features, such as improved GUI, better integration with external tools, and asynchronous job control. If you are using Ubuntu and looking for a powerful, customizable text editor, Neovim could be the perfect solution.
This guide will walk you through the process of installing and using Neovim on Ubuntu, helping you improve your programming efficiency and productivity. However, before we get down to installation and usage, let’s briefly look at the rise of NeoVim.
NeoVim text editor
The VIM text editor, “Vi IMproved,” was first released in the early 1990s by a developer called Bram Moolenaar. Before that, there was another popular text editor called Vi. Therefore, Bram Moolenaar developed his text editor based on Vi, hence the name “Vi improved.” However, you must note that Vim is not a fork of the Vi text editor.
Vim was designed to be compatible with the Vi text editor but includes additional features and improvements. It offers more functionality, such as syntax highlighting, multiple undo/redo, split windows, and a plugin system.
So how did NeoVim come to be?
NeoVIM is a modern fork of Vim that aims to improve upon the Vim text editor while maintaining compatibility with Vim scripts and configurations. NeoVIM was initially created in 2014 as an effort to refactor and enhance Vim’s codebase.
NeoVim Features
NeoVIM shares many similarities with Vim but introduces several new features and enhancements. Some notable features of NeoVIM include:
- Asynchronous plugin system: NeoVIM allows plugins to execute tasks asynchronously, resulting in a more responsive and efficient editing experience.
- Better terminal integration: NeoVIM provides improved integration with terminal emulators, allowing you to run interactive terminal applications within the editor.
- Enhanced Lua scripting support: NeoVIM supports Lua as an additional scripting language alongside Vimscript, offering more flexibility and power for customization.
- Improved user interface: NeoVIM introduces various UI improvements, such as floating windows, better status line customization, and improved mouse support.
- Built-in language server protocol (LSP) support: NeoVIM has built-in support for the Language Server Protocol, making integrating language-specific features like auto-completion and linting easier.
NeoVIM aims to provide a modern and extensible editing experience while staying compatible with Vim’s vast plugin ecosystem.
Installing NeoVim on Ubuntu
There are two different ways that you can use to install NeoVim on Ubuntu; you can install it directly from the Ubuntu repository using the apt package manager or using a third-party package manager like Snap. Let’s look at both methods.
Method 1: Install NeoVim using the apt package manager
Launch the Terminal from the applications menu and run the commands below to install NeoVim.
sudo apt update
sudo apt-get install neovim
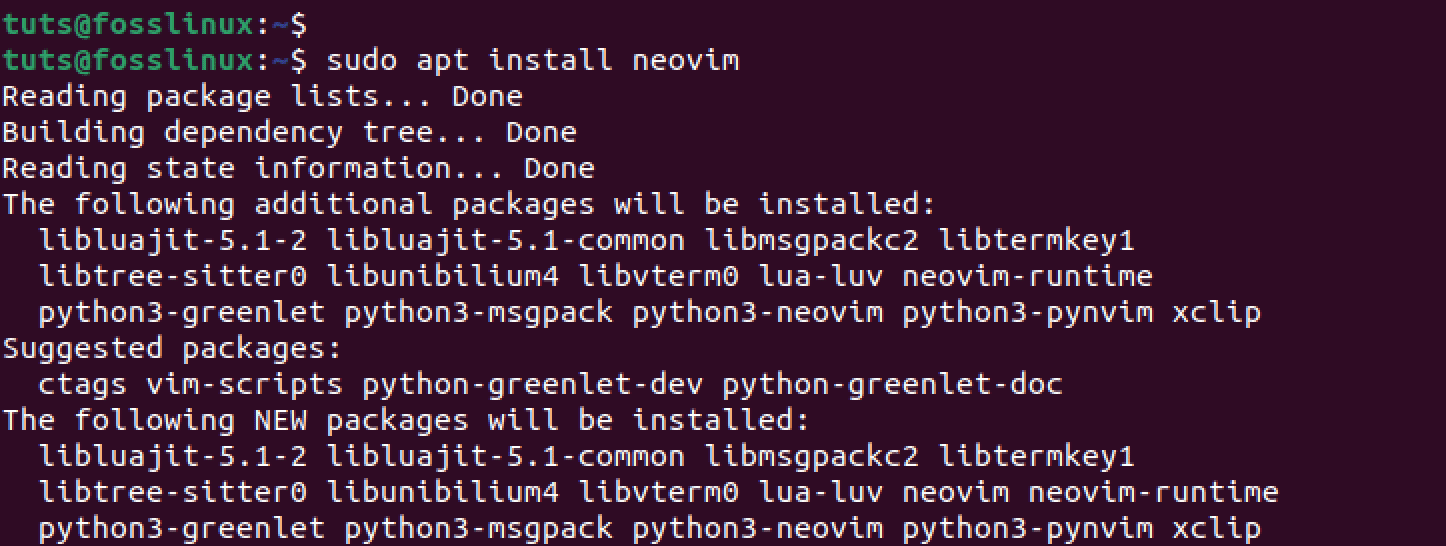
Install NeoVim
After a successful installation, you should see the NeoVim app in your applications menu, as shown in the image below.

NeoVim
Method 2: Install NeoVim using Snap
Snap is a distribution-independent package manager developed by Canonical, the company behind Ubuntu. It allows users to install, manage, and update applications on various Linux distributions, regardless of their package management systems. You can read more about distribution-independent package managers in our comprehensive article – Snap vs. Flatpak vs. AppImage: Know The Differences, Which is Better.
Follow the steps below to install NeoVim with Snap.
Launch the Terminal and execute the commands below to install the Snap daemon.
sudo apt update
sudo apt install snapd
After successfully installing Snapd, Use the command below to install the NeoVim Snap package.
sudo snap install nvim --classic
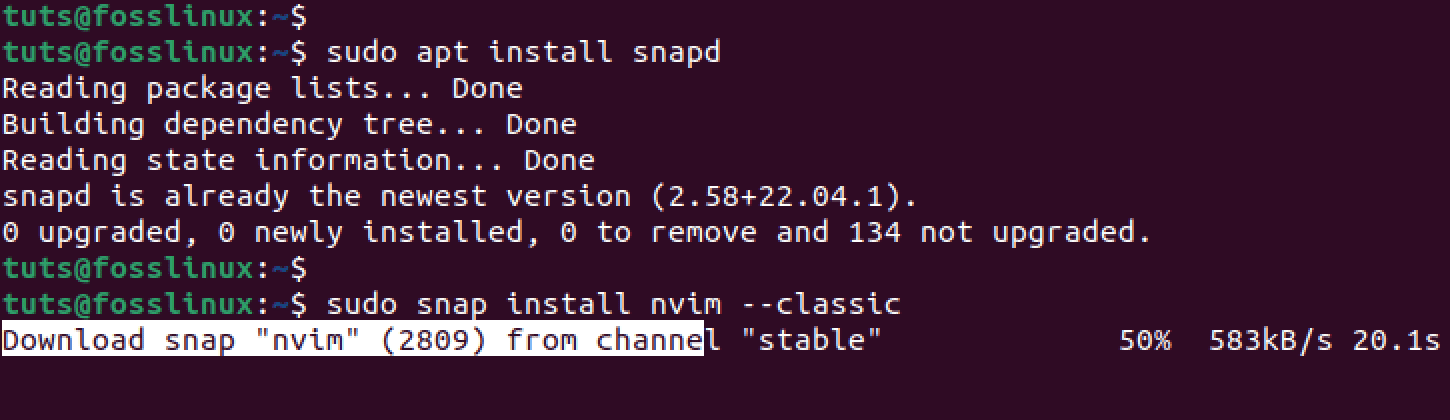
Install NeoVim snap package
After a successful installation, you can launch NeoVim from the application menu, as shown below.
NeoVim
Method 3: Install NeoVim via Software Center (GUI)
Alternatively, you can install NeoVim graphically from the Software Center if you are not a command line person. Head over to the applications menu and search for “Ubuntu Software.”
Ubuntu Software
Launch the application and search for “NeoVim.” You will see several results, including the NeoVim-Qt, a separate graphical user interface (GUI) frontend for NeoVim. It provides a graphical interface to interact with NeoVim’s functionality. However, select “NeoVim,” as shown below, which runs on the command line.
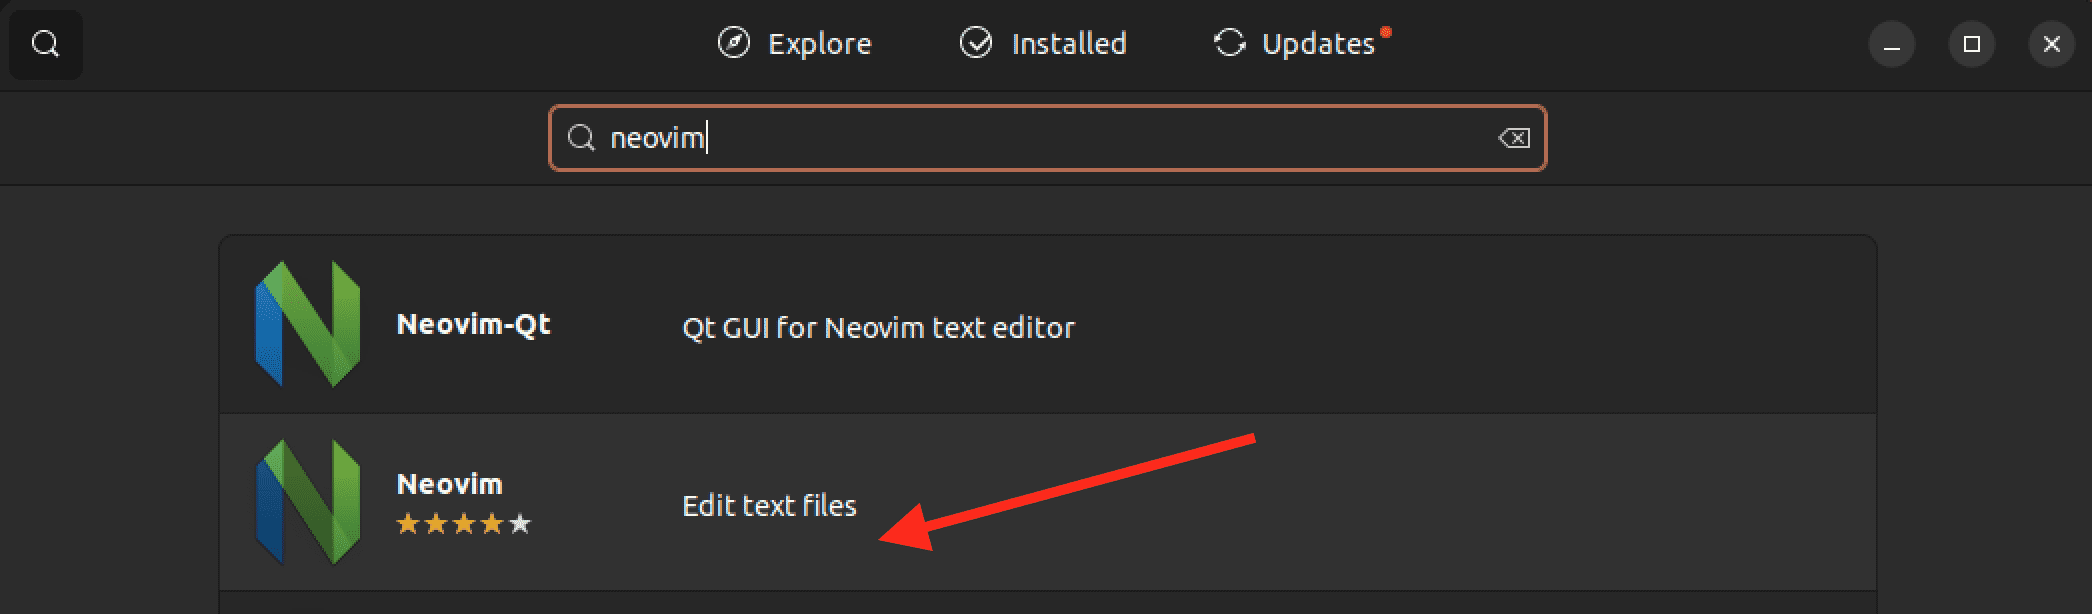
NeoVim
Using NeoVim
After successfully installing NeoVim, you can launch it from the applications menu by clicking on the “Activities” button at the top-right and searching for “NeoVim.”
Alternatively, you can launch NeoVim from the terminal by typing the command below.
nvim
Note: You must type “nvim” and not “neovim.”
That will launch the NeoVim editor on your Terminal, as shown in the image below.
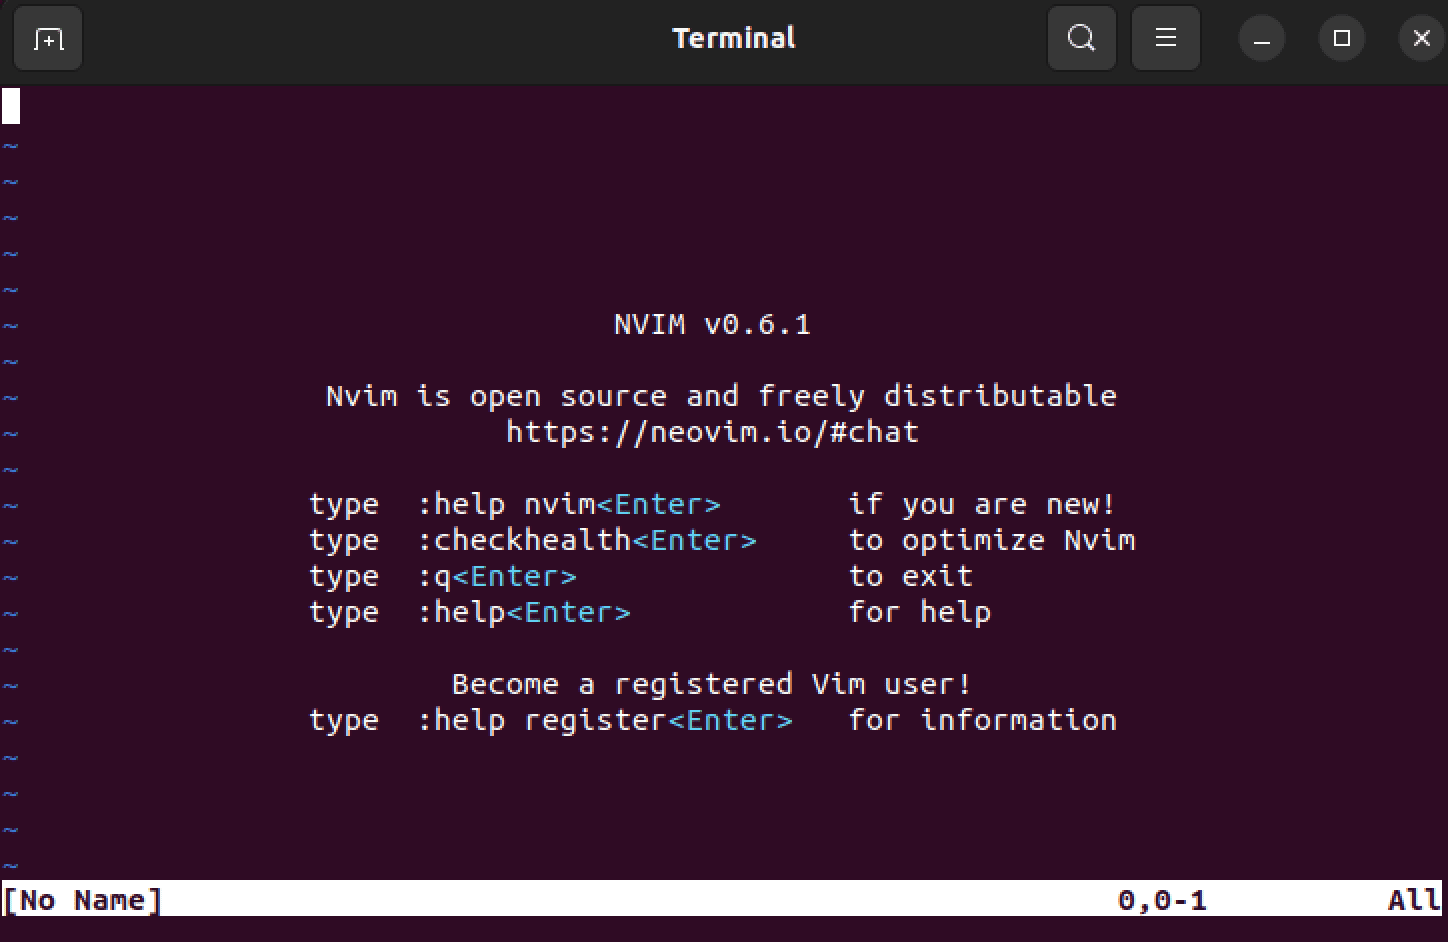
NeoVim
Now if you have no experience with the Vim text editor, you might find NeoVim quite intimidating, mainly if you are used to other editors like Nano or sublime text. For example, if you start typing, nothing appears in the editor.
Getting started with NeoVim involves learning some basic commands and navigation techniques. Here are a few essential commands to help you get started:
1. Switching between modes
NeoVim has different modes:
- Normal mode
- Insert mode
- Command-line mode.
By default, NeoVim opens in Normal mode. Pressing i switches to Insert mode, allowing you to type text. Pressing Esc switches back to Normal mode from Insert mode. Therefore, to type anything inside the NeoVim editor, you must first press i on your keyboard to enable “Insert” mode.
Tip: When you enable insert mode, the word “INSERT” appears at the bottom of the NeoVim window, as shown in the image below.
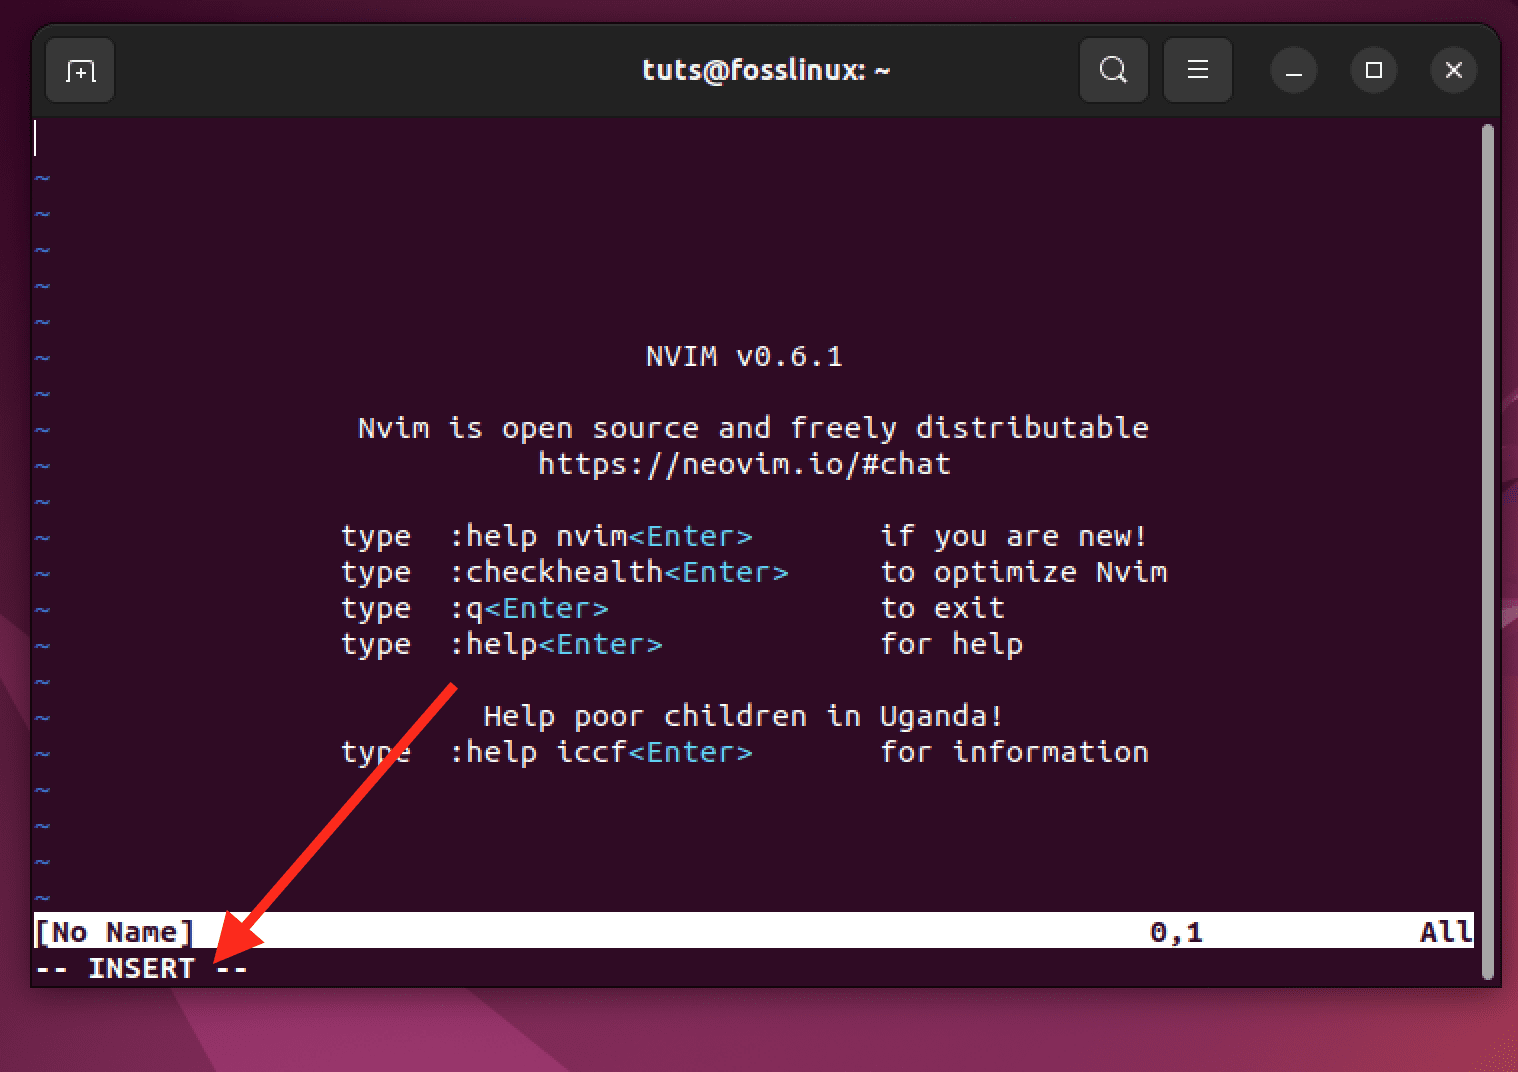
Insert mode
2. Basic navigation
In Normal mode, you can navigate using the following commands:
- h: Move the cursor left.
- j: Move the cursor down.
- k: Move the cursor up.
- l: Move the cursor right.
Alternatively, you can use the arrow keys to navigate in normal mode if you find the above keys quite confusing.
3. Editing/ writing text
To edit or write any text using the NeoVim editor, you must first switch to insert mode by pressing “i” on your keyboard. Now you can proceed to type your edit your desired text. Always use the arrow keys for navigation (either moving left, right, up, or down).
When done, press “Esc” to return to Normal mode.
4. Saving and closing NeoVim
To save any changes you did when in “insert” mode, you must first exit “insert” mode by pressing “Esc” on your keyboard. Once you have enabled “normal” mode, you can save your changes and exit NeoVim with the following command:
- :wq or :x: Save and quit.
- :q!: Quit without saving changes.
Tip: Please keep note of the “full-colon” before every letter.
5. Searching for text
To search for any text using the NeoVim editor, you must first enable “Normal” mode by pressing the “Esc” key on your keyboard. Next, press / to enter search mode.
Here, you can type the text that you want to look up. for example, let’s search for “Ipsum.” See the image below.
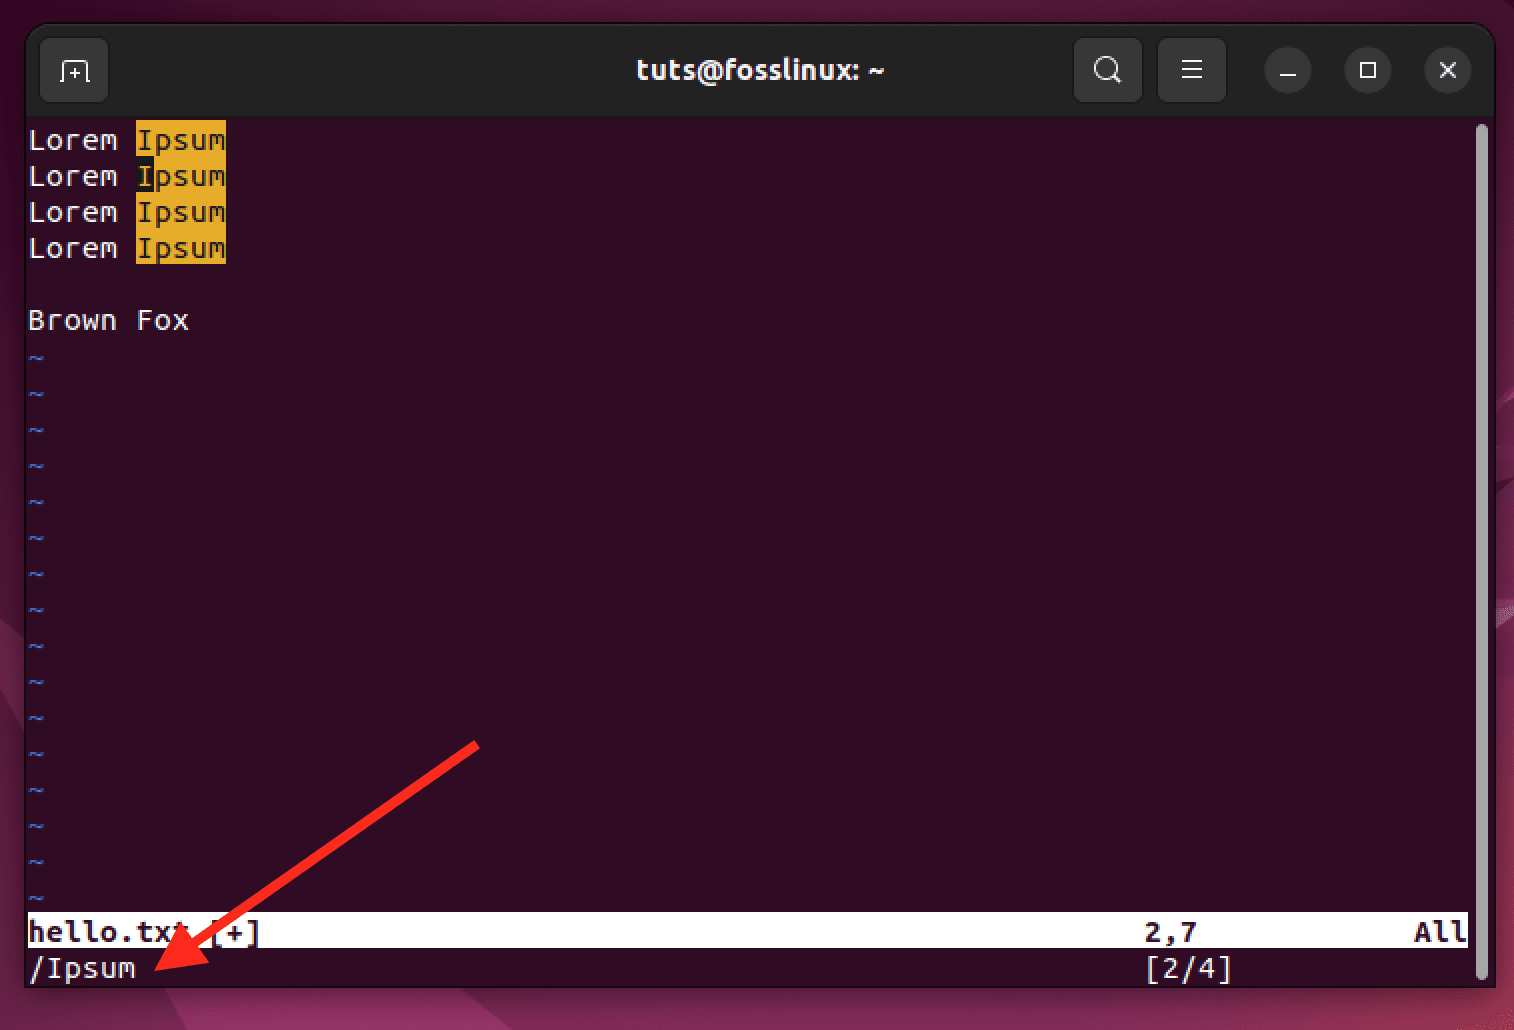
Search for text
One exciting feature of NeoVim is that it will highlight any match found just as your type your text. Once done, hit enter. You can now use the letter “n” (small case) to jump to the next occurrence and “N” (uppercase) to go to the previous occurrence.
These are just a few basic commands to get started with NeoVim. The editor offers numerous additional features and customization options. You can explore the NeoVim documentation for more in-depth information on its functionalities and configurations.
Conclusion
This post has provided a comprehensive guide on NeoVim, a modern fork of the Vim text editor. We explored the origins of Vim and its evolution into NeoVim, highlighting the additional features and improvements it brings. From installation methods on Ubuntu to basic commands and navigation techniques, we covered the essentials to help you get started with NeoVim.
Whether you’re looking for a more responsive editing experience, enhanced customization options, or improved terminal integration, NeoVim offers a powerful and extensible solution.