
A properly configured firewall is a crucial part of establishing preliminary system security. Keeping this in mind, here we will go over how to configure the firewall on your Ubuntu PC.
Now, by default, Ubuntu comes with a dedicated firewall configuration tool known as UFW or Uncomplicated Firewall. It is an intuitive front-end system designed to help you manage iptables firewall rules. With UFW, you will be able to use almost all the necessary firewall tasks without having to learn iptables.
As such, for this read, we will be using UFW to help set up a firewall for our Ubuntu PC. We have also put together a detailed step-by-step tutorial on how to use UFW to perform.
Configuring Ubuntu Firewall (UFW)
UFW is a simple and effective firewall application installed on Ubuntu by default, but not enabled. However, if you think that you might have accidentally deleted it, you can type the following command in your terminal to reinstall it again on your system.
sudo apt install ufw
This will install UFW on your system. And if it was already installed, you will get the following screen:
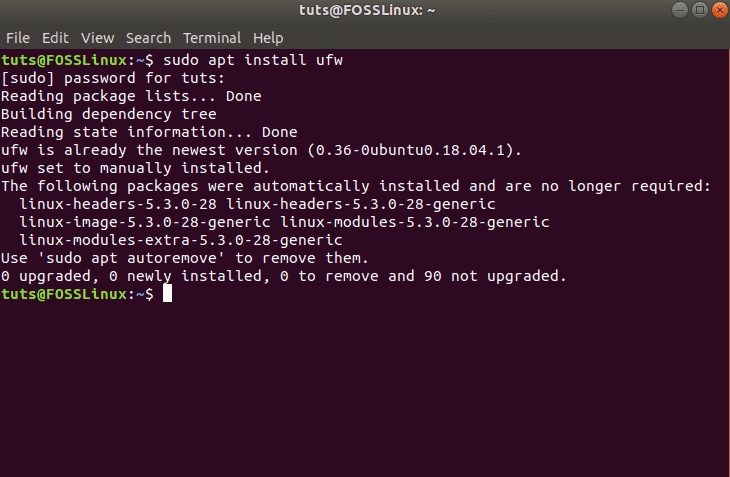
Installing UFW on Ubuntu
Once installed, you need to make sure that it is enabled and working. To do this, use this command:
sudo ufw status verbose
As you can see from the image, in our system, it shows that UFW is inactive.
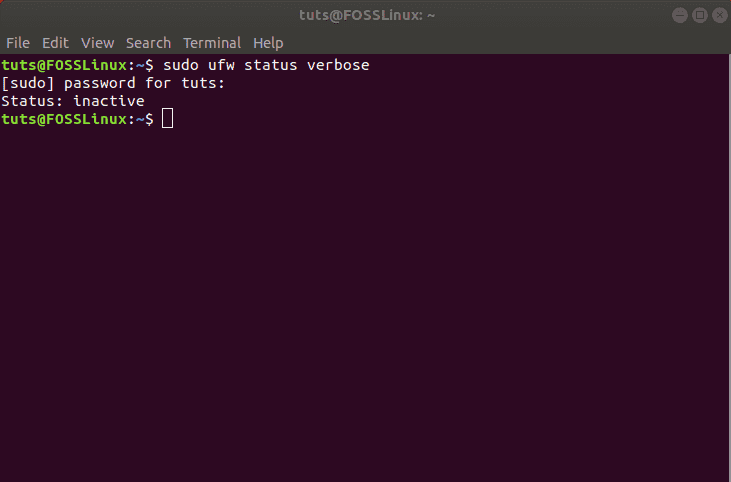
Checking UFW status
In this case, to activate UFW, type in the following command:
sudo ufw enable
This should activate UFW on your system and display this message:
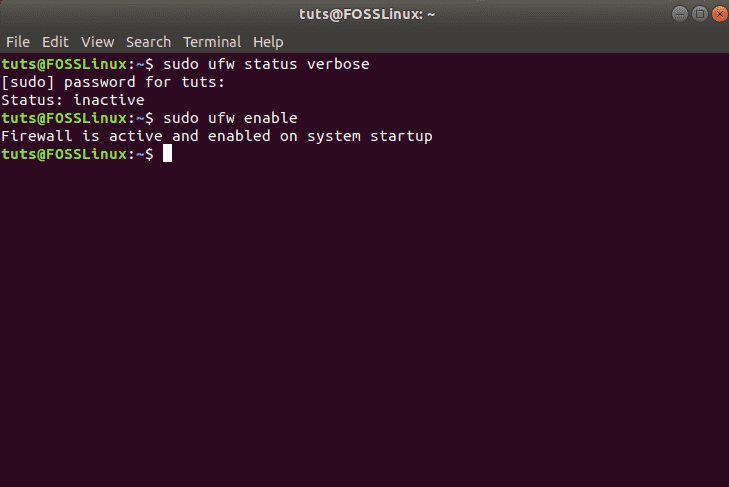
Enabling UFW on Ubuntu
Set Up Default Policies
With UFW activated, you can go and recheck its status using the previous command:
sudo ufw status verbose
You should now see something like this:
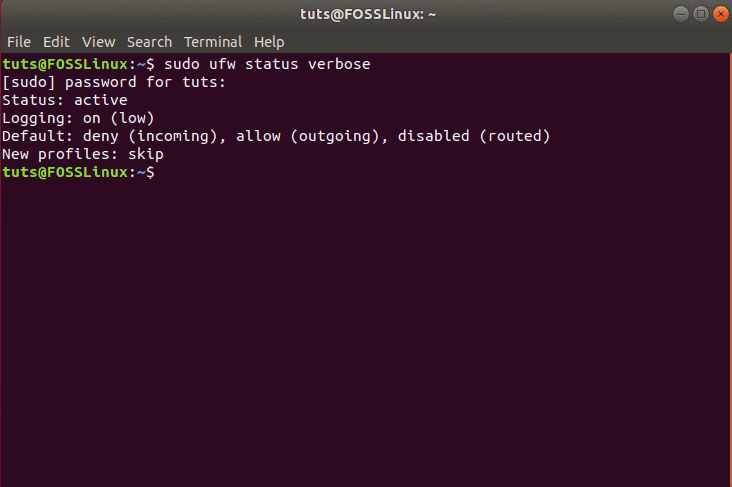
Default policies on UFW
As you can see, by default, UFW denies all incoming connections and allows all outgoing connections. This prevents clients from connecting to our server from outside but will enable applications from our server to communicate with external servers.
However, you can fine-tune these rules to create a custom firewall specific to your needs and requirements.
In the following sections, we will discuss different ways in which you can control the firewall settings.
Configure UFW Behaviour Based on Incoming Connections to Different Ports
If you wish to allow connections that are using secured SSH, then use this command:
sudo ufw allow ssh
or
sudo ufw allow 22
You should receive the following message:

Allowing the SSH connection
Port 22 is the default port that the SSH Daemon listens to. As such, you can either configure UFW to allow the service (SSH) or the specific port (22).
Keeping this in mind, if you have configured your SSH daemon to listen to a different port, say port 2222, then you can just replace the 22 with 2222 in the command, and the UFW firewall will allow connections from that port.
Similarly, let’s say you want your server to listen to HTTP on port 80, then you can enter either of the following commands, and the rule will be added to UFW.
sudo ufw allow http
or
sudo ufw allow 80
To allow HTTPS on port 443, you can use the following commands:
sudo ufw allow https
or
sudo ufw allow 443
Now, if you want to let more than one port at the same time, that too is possible. However, in this case, you need to mention both – the port numbers as well as the specific protocol you want to activate.
Here is the command you will use to allow connections from ports 6000 to 6003 coming from TCP as well as UDP.
sudo ufw allow 6000:6003/tcp
sudo ufw allow 6000:6003/udp
Deny Specific Connections
In case you are interested in preventing individual connections, then all you need to do is just swap “allow“ with “deny“ in any of the above commands.
For example, let’s say you have seen suspicious activities coming from an IP address 1.10.184.53. In that case, you can use this command to prevent that IP address from connecting with your system:
sudo ufw deny from 1.10.184.53
Configure UFW for IPv6
All the commands we discussed above assume that you are using IPv4. In case your server is configured for IPv6, then you also need to configure UFW to support IPv6. This is done using the following command:
sudo nano /etc/default/ufw
Check and make sure that the value for IPv6 is set to Yes. It should look like this:
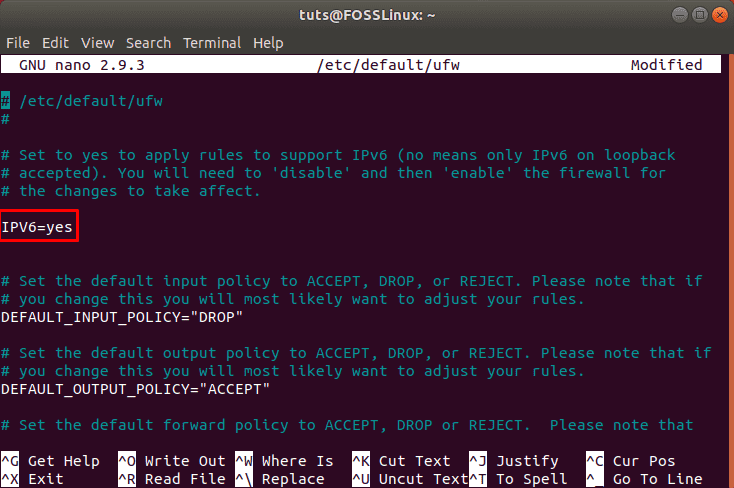
Enabling IPv6
Now UFW and all the preconfigured rules will support both IPv4 as well as IPv6.
Delete a Specific UFW Rules
Now that you know how to create new rules for UFW, it is also time to learn how to delete specific rules to give you complete control over the firewall toolset.
In case you have set several rules and don’t remember all of them, you can use the following command to get a list of all your firewall rules.
sudo ufw status numbered
This will generate a numbered list of all the UFW rules that you have set up. Now, let’s say you are looking to delete rule number 7. Then you can follow up with this command:
sudo ufw delete 7
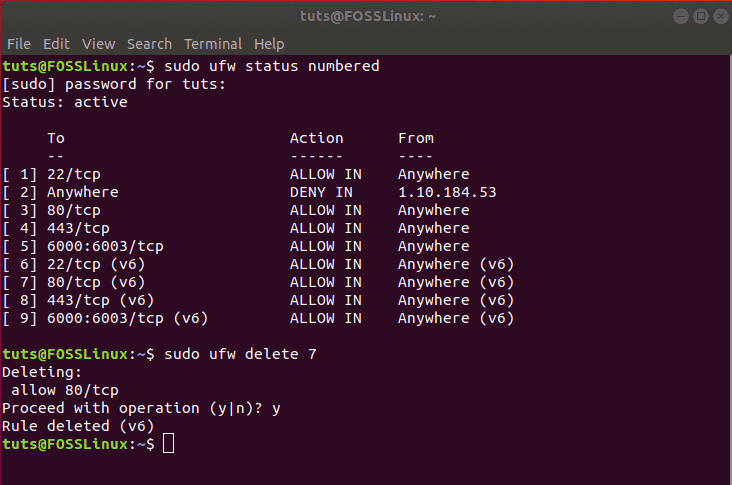
Deleting a UFW rule
Alternatively, if you already know which rule you want to delete then you can directly enter that into the command like this:
sudo ufw delete allow http
Note: If you have UFW configured for both IPv6 and IPv4, then the delete command is going to remove the rule for both instances.
Access the Firewall Logs
It is important to check your firewall logs from time to time. This will help you identify attacks, notice any sort of unusual activity in your network, and even troubleshoot firewall rules.
Now that being said, you must first enable UFW to create logs, which can be done using the following command:
sudo ufw logging on
The logs will be stored in /var/log/messages, /var/log/syslog, and /var/log/kern.log from where you can access them.
Disable/Reset UFW
If you wish to deactivate UFW along with all its rules, you can use this command:
sudo ufw disable
You will get a message like this:
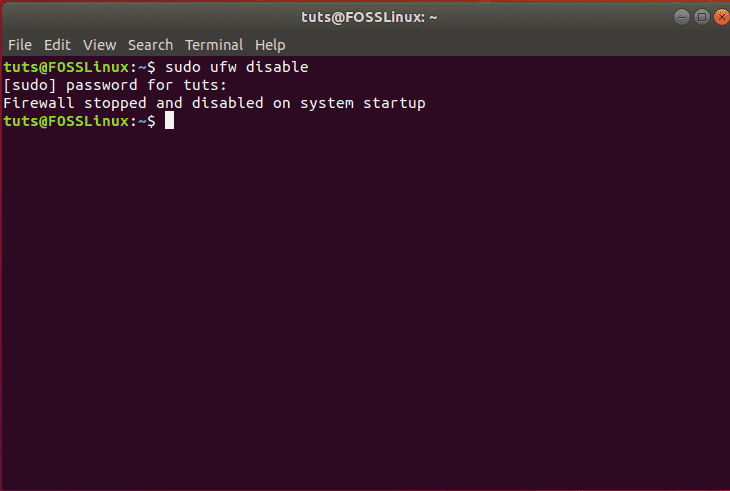
Deactivating UFW
You can then reactivate UFW using one of the commands discussed above:
sudo ufw enable
However, if you are looking to start afresh and delete all active rules, then you can simply reset UFW using this command:
sudo ufw reset
This should generate the following message, and UFW will be reset, removing all existing rules.

Reset UFW
Wrapping Up
So this was our in-depth tutorial on how to enable and configure UFW on your Ubuntu. We hope that you found this guide useful and that it helped you in setting up a custom firewall for your Ubuntu system. We have covered all the basic rules and areas of control that you want from your firewall. Got any additional tips on the Ubuntu Firewall? Do let us know in the comments below.