
If you’re like me, you’ve found yourself needing different Java versions for various projects. Java, being a prevalent programming language, has seen many updates and versions. Sometimes, the software we run or develop requires a particular version. So, how do you switch between these versions on Linux? Let me guide you step by step.
Why you might need different Java versions
Before we dive into the process, it’s worth understanding why one might need multiple Java versions. Java is constantly evolving, with newer versions offering enhanced performance, features, and security. But with these advancements, backward compatibility isn’t always guaranteed.
For instance, while developing a new application, I might be thrilled to use the latest Java features. However, when maintaining a legacy application, an older Java version might be a strict requirement. Hence, the need to swiftly switch between different versions arises.
1. Checking the installed Java versions
Before switching, you should know which versions are currently installed on your machine.
Installing update-java-alternatives:
First, let’s install the required package:
sudo apt-get install java-common
Run this command:
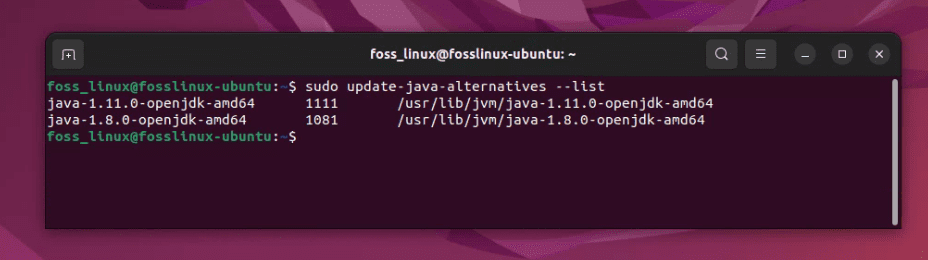
sudo update-java-alternatives --list
Listing installed Java versions on Ubuntu
This command lists all installed Java versions. It might look something like:
java-1.11.0-openjdk-amd64      1111       /usr/lib/jvm/java-1.11.0-openjdk-amd64
java-1.8.0-openjdk-amd64       1081       /usr/lib/jvm/java-1.8.0-openjdk-amd64
This output tells you that Java 8 and Java 11 are installed on this machine.
Check the current version by using the following command:
java -version
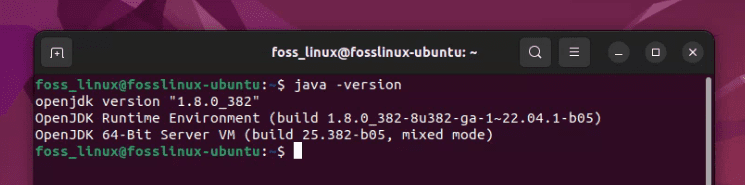
Checking active Java version (8 is active)
As you can notice, Java 8 is active on my test computer.
2. Installing a new Java version
What if the version you need isn’t already installed? Here’s how you add it:
Update Package Repository
First, update your package repository:
sudo apt update
Install Desired Java Version
Say you want to install Java 11:
sudo apt install openjdk-11-jdk
Verify Installation
To ensure the new version is installed:
sudo update-java-alternatives --list
Listing installed Java versions on Ubuntu
You should now see Java 11 in the list.
3. Switching between Java versions on Ubuntu
Now for the main event!
Method 1: Using update-java-alternatives
This tool can be used to switch between installed versions:
sudo update-java-alternatives --set java-11-openjdk-amd64
Replace java-11-openjdk-amd64 with your desired version.
Note: If you encounter any issues with update-java-alternatives, it might be because some links of the selected version do not exist. This is caused by missing .jinfo file. Unfortunately, many users are reporting the issue even after reinstalling Java. If you are in the same boat, do not fret; there’s an alternative method!
Method 2: Using alternatives
This command allows more manual control:
sudo alternatives --config java
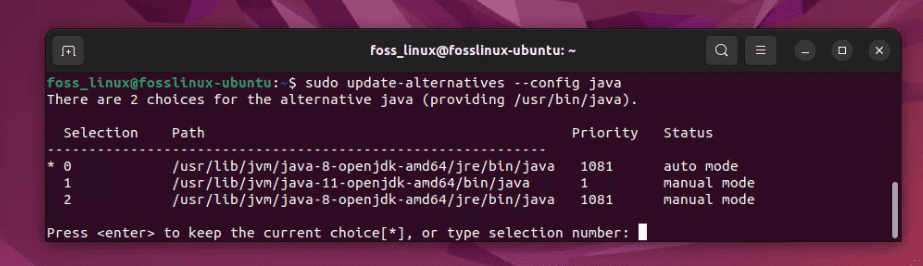
Selecting a Java version
You’ll see a list of installed Java versions. Just pick the number corresponding to the version you wish to use.
4. Setting the JAVA_HOME environment variable
After switching Java versions, it’s a good idea to set the JAVA_HOME environment variable accordingly.
Find the Java Installation Path
sudo alternatives --config java
This might look like /usr/lib/jvm/java-11-openjdk-amd64.
Edit .bashrc or .bash_profile File
Open the file using:
nano ~/.bashrc
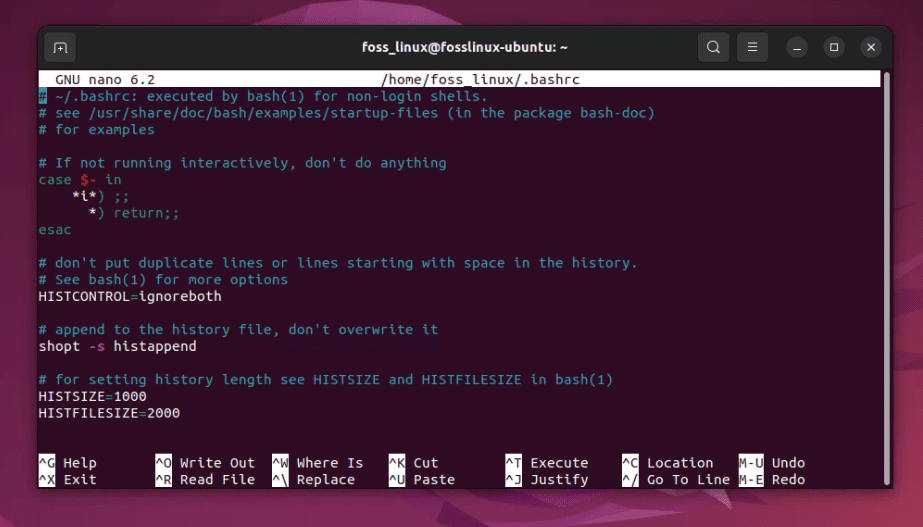
Editing bashrc file to add path
Add this line at the end (Replace the path with your Java installation’s path):
export JAVA_HOME="/usr/lib/jvm/java-11-openjdk-amd64"
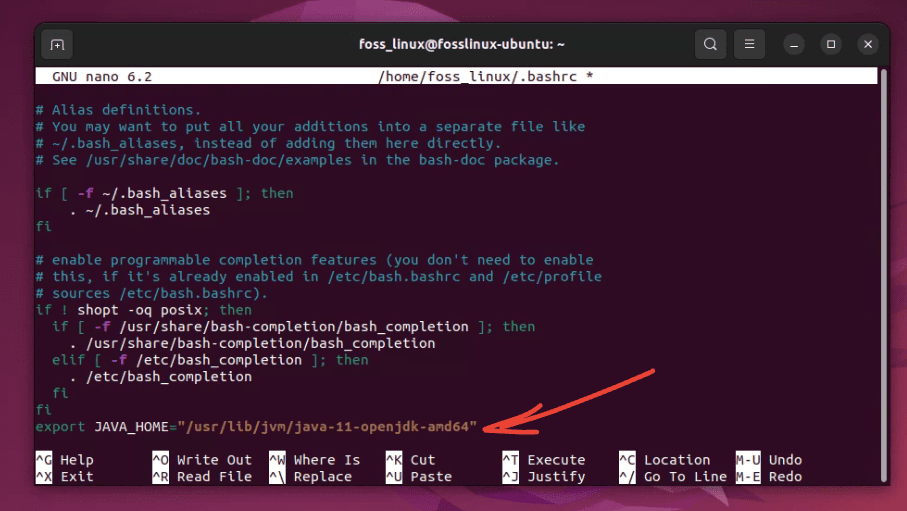
Adding the path to the file
Apply Changes
source ~/.bashrc
5. Verifying the switch
To ensure you’ve switched successfully:
java -version
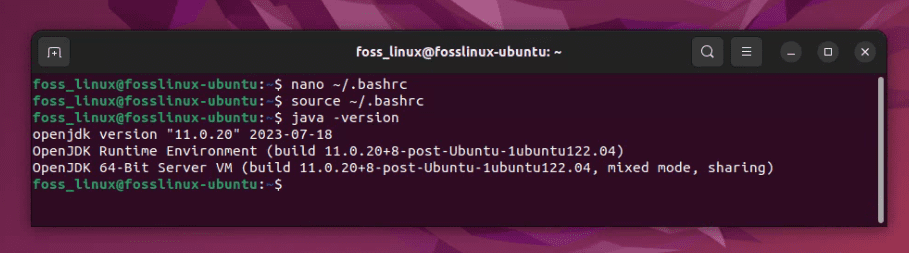
Checking the Java Version (Changed to 11)
The output should reflect your selected Java version.
Pro tips
- Remember Your Needs: Always keep in mind the project’s requirements. While it’s tempting to always use the latest Java version, it might not always be the best choice for compatibility.
- Automate the Process: If you switch frequently, consider writing a script to change versions and set
JAVA_HOMEwith a single command. - Stay Updated: Java sees regular updates. Make it a habit to check for new releases, especially when security patches are concerned.
Conclusion
I personally love the improvements Java has seen over the years. The performance and new features of the latest versions always excite me. However, there’s a nostalgia associated with the older versions. They remind me of my early coding days. Nevertheless, the ability to switch between versions makes my life as a developer easier, letting me enjoy the best of both worlds!