
Ubuntu is an open-source operating system that is widely used among programmers, developers, and businesses. The operating system is user-friendly and easy to use. However, when it comes to sharing a folder on Ubuntu to access from Windows, the process can be pretty challenging for some users. Sharing a folder on Ubuntu to access from Windows allows you to share files between two operating systems, making it easier to collaborate on projects and share vital data.
This article will explore how to share a folder on Ubuntu to access from Windows. We will provide you with a step-by-step guide and various methods that you can use to share a folder on Ubuntu to access from Windows.
What to do before sharing a folder on Ubuntu to access from Windows
Before sharing a folder on Ubuntu to access from Windows, there are a few things you should do to ensure that the process goes smoothly and securely:
- Update Ubuntu: Ensure your Ubuntu system is up-to-date with the latest security patches and updates. This can help to ensure that your system is secure and that any known vulnerabilities are patched.
- Install Samba or SSHFS: Depending on the method you choose to share the folder, you may need to install Samba or SSHFS on your Ubuntu system. Ensure you have installed the required packages before proceeding with the sharing process.
- Create a shared folder: Choose the folder you want to share and create it in a location that is easily accessible. You may also want to set the appropriate permissions for the folder to ensure that users on the network can access it.
- Configure the sharing settings: Depending on your chosen method, you must configure the sharing settings for the folder. This may involve setting up a Samba server or configuring SSHFS to mount the remote filesystem.
- Secure your network: Ensure that your network is secure and that only authorized users can access the shared folder. You may want to set up a password or use encryption to protect the files on the network.
By following these steps, you can ensure the sharing process is secure, and your files are protected.
Creating shared folders on Ubuntu for Windows users
Now that we know what to do before sharing a folder on Ubuntu to access from Windows let us delve deeper into the different methods we can employ to complete this task
Method 1: Using Samba
Samba is a software package that allows Windows and Linux systems to share files and printers. To use Samba, you must install the software on your Ubuntu system. You can install Samba using the command line. Follow the steps below:
Step 1: Open the terminal on your Ubuntu system.
Step 2: Enter the following command to install Samba:
sudo apt-get install samba
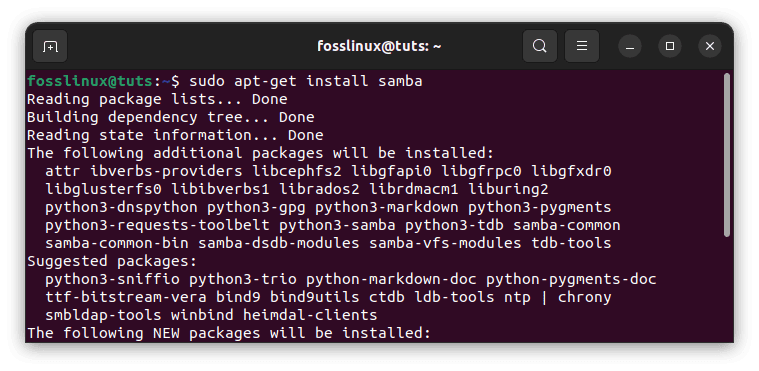
Install Samba
Step 3: Once Samba is installed, you must create a folder you want to share. You can create the folder using the command line or the file explorer.
Step 4: To create a folder using the command line, enter the following command:
sudo mkdir /home/username/sharedfolder
Replace “username” with your Ubuntu username and “sharedfolder” with the name of the folder you want to create.
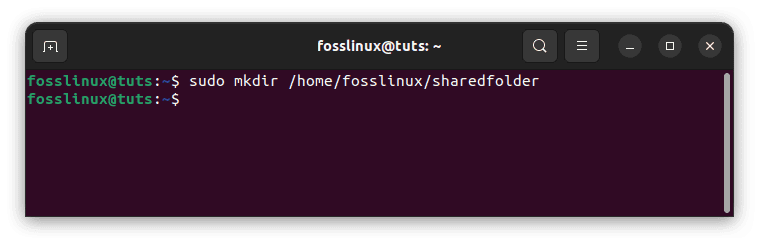
Create sharedfolder directory
Step 5: Once the folder is created, you need to configure Samba to allow access to the folder. Open the Samba configuration file using the following command:
sudo nano /etc/samba/smb.conf
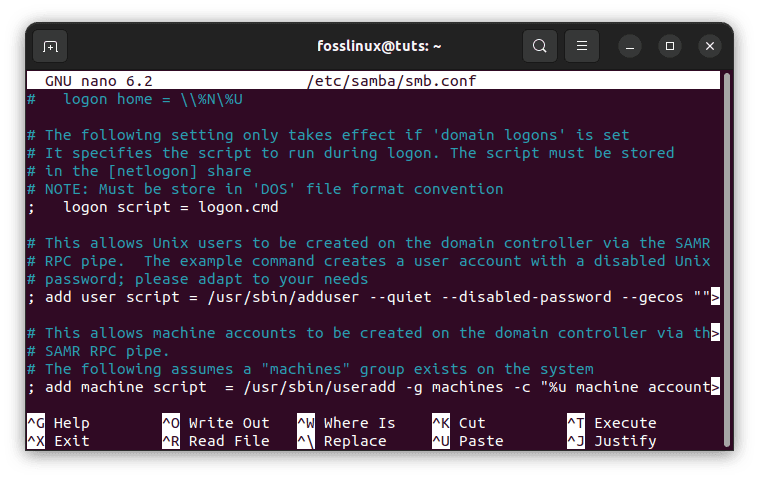
Open Samba configuration file
Step 6: Scroll down to the bottom of the file and add the following lines:
[sharedfolder]

path = /home/username/sharedfolder

available = yes

valid users = username

read only = no

browseable = yes

public = yes

writable = yes
Replace “sharedfolder” with the name of the folder you created in Step 4 and “username” with your Ubuntu username.
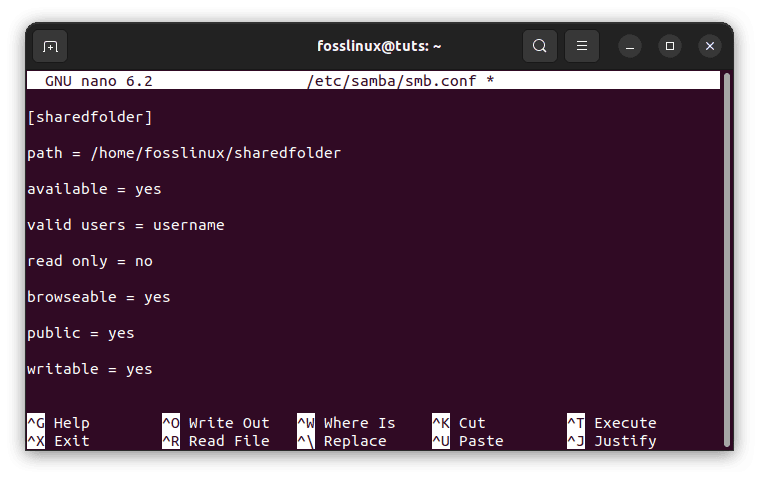
Append the following lines
Step 7: Save the file and exit.
Step 8: Restart Samba using the following command:
sudo service smbd restart
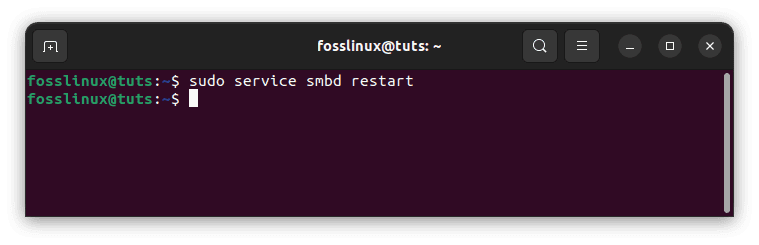
Restart Samba service
Step 9: You can now access the shared folder from a Windows system. Open File Explorer on your Windows system and enter the following in the address bar:
\\<IP-address-of-Ubuntu-machine>\<shared-folder-name>
Replace <IP-address-of-Ubuntu-machine> with the IP address of your Ubuntu system and <shared-folder-name> with the name of the shared folder you created in Step 6.
For example, if your Ubuntu system has the IP address 10.211.55.8 and you named your shared folder “sharedfolder,” enter the following in the address bar:
\\192.168.1.100\sharedfolder
Press Enter to connect to the shared folder. You may be prompted to enter your Ubuntu system’s username and password to authenticate.
Once connected, you can transfer files between your Windows system and the shared folder on your Ubuntu system. You can also create shortcuts to the shared folder for quick access in the future.
That’s it! You have successfully shared a folder on Ubuntu to access from Windows using Samba.
Method 2: Using SSHFS
SSHFS is a filesystem client that allows you to mount a remote filesystem over SSH. You can use SSHFS to share a folder on Ubuntu to access from Windows. Follow the steps below:
Step 1: Install SSHFS on Ubuntu
SSHFS is not installed by default on Ubuntu, so you must install it first. Launch the terminal and run the following command:
sudo apt-get install sshfs
Enter your password when prompted, and press Enter to continue with the installation.
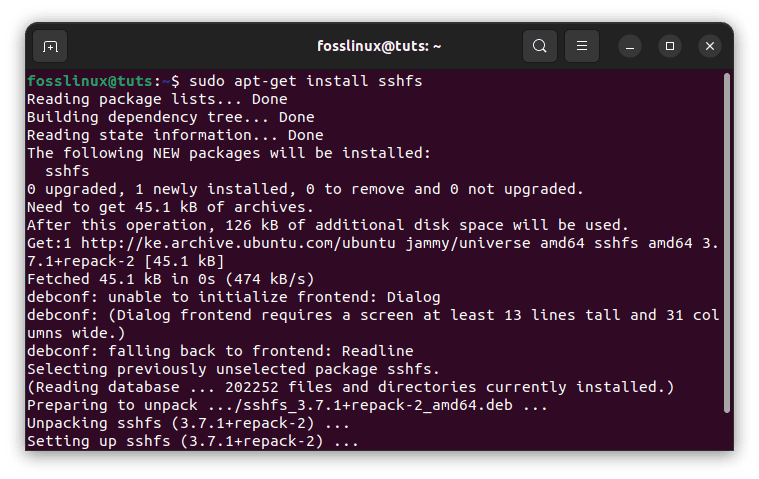
Install sshfs
Step 2: Create a new directory for the shared folder
Create a new directory on your Ubuntu system where you will mount the shared folder. You can name the directory anything you like, but for this example, we will name it “myshare.” Open a terminal and run the following command:
mkdir ~/myshare
Create myshare directory
This will create a new directory named “myshare” in your home directory.
Step 3: Mount the shared folder over SSH
Now, you can mount the shared folder over SSH using the SSHFS command. Run the following command in the terminal:
sshfs <username>@<IP-address-of-Ubuntu-machine>:/path/to/shared/folder ~/myshare
Replace <username> with your Ubuntu system username, <IP-address-of-Ubuntu-machine> with the IP address of your Ubuntu system, and /path/to/shared/folder with the path to the folder you want to share.
For example, if your Ubuntu system has the IP address 10.211.55.8 , your username is “fosslinux,” and you want to share the folder located at /home/fosslinux/myshare, run the following command:
sshfs fosslinux@10.211.55.8:/home/fosslinux/myshare
Enter your Ubuntu system password when prompted to authenticate the SSH connection.
Step 4: Enable SSH traffic on Windows
Before accessing the shared folder on Windows, you must enable SSH traffic in the Windows Firewall. Follow the steps below:
- Open the Windows Firewall with Advanced Security by searching for “Windows Firewall” in the Start menu and clicking on “Windows Defender Firewall with Advanced Security.”
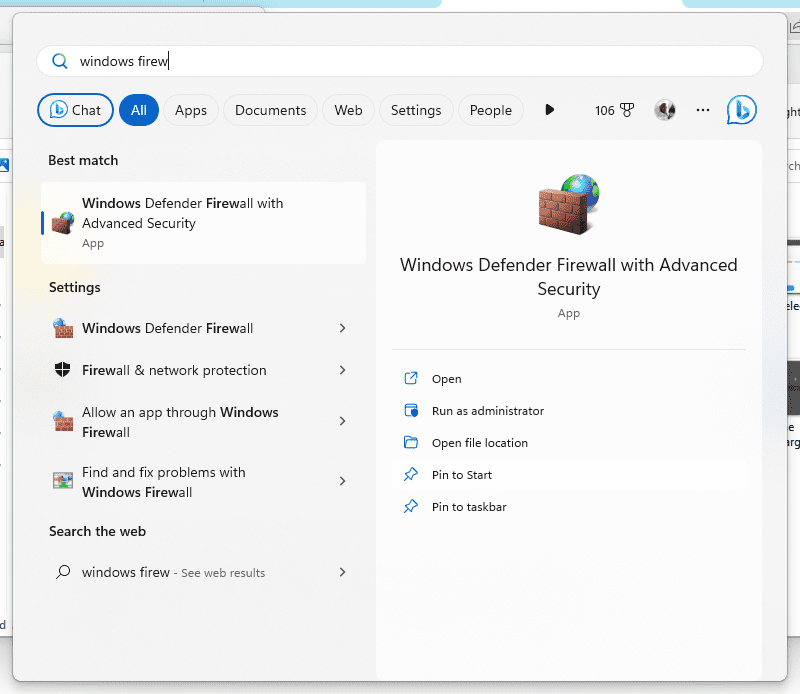
Open windows firewall with advanced security
- Click on “Inbound Rules” in the left pane.
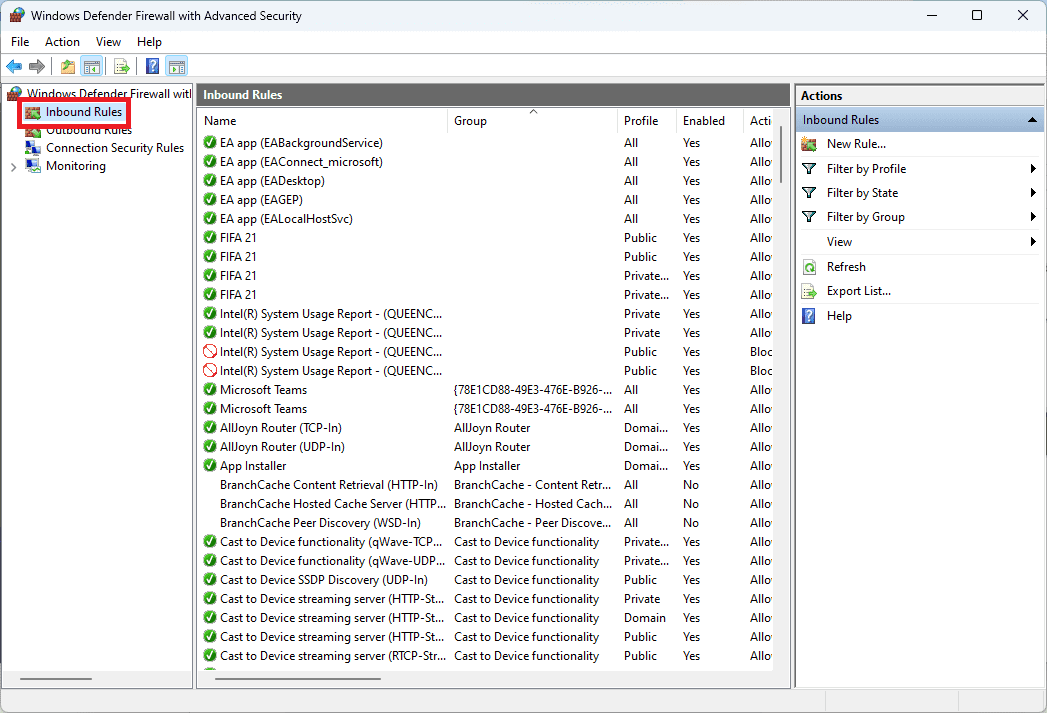
Click on Inbound rules
- Click on “New Rule…” in the right pane.
- Select “Port” and click “Next.”
- Select “TCP” and enter “22” in the “Specific local ports” field. Click “Next.”
- Select “Allow the connection” and click “Next.”
- Leave all options checked and click “Next.”
- Enter a name for the rule, such as “SSH,” and click “Finish.”
Step 5: Access the shared folder from Windows
Now, you can access the shared folder from a Windows system. Open File Explorer on your Windows system and enter the following in the address bar:
\\<IP-address-of-Ubuntu-machine>\myshare
Replace <IP-address-of-Ubuntu-machine> with the IP address of your Ubuntu system and “myshare” with the name of the directory you created in Step 2.
For example, if your Ubuntu system has the IP address 192.168.1.100 and you named your directory “myshare,” enter the following in the address bar:
\\192.168.1.100\myshare
Press Enter to connect to the shared folder. You may be prompted to enter your Ubuntu system’s username and password to authenticate.
Once connected, you can transfer files between your Windows system and the shared folder on your Ubuntu system
Method 3: Using FTP
FTP (File Transfer Protocol) is a common network protocol that transfers files from one host to another over the Internet. You can use FTP to share a folder on Ubuntu to access from Windows. Follow the steps below:
Step 1: Install vsftpd (Very Secure FTP Daemon) on your Ubuntu system using the following command:
sudo apt-get install vsftpd
Step 2: Configure vsftpd by editing the configuration file using the following command:
sudo nano /etc/vsftpd.conf
Step 3: Uncomment the following lines in the configuration file:
anonymous_enable=NO

local_enable=YES

write_enable=YES

chroot_local_user=YES

allow_writeable_chroot=YES

pasv_enable=YES

pasv_min_port=10000

pasv_max_port=10100
Step 4: Save the file and exit.
Step 5: Create a user account for FTP access using the following command:
sudo adduser ftpuser
Step 6: Set a password for the user account using the following command:
sudo passwd ftpuser
Step 7: Create a folder you want to share using the command line or the file explorer.
Step 8: Set the permissions for the folder using the following command:
sudo chmod 777 /path/to/sharedfolder
Replace “/path/to/sharedfolder” with the path to the folder you want to share.
Step 9: Restart vsftpd using the following command:
sudo service vsftpd restart
Step 10: You can now access the shared folder from a Windows system. Open File Explorer on your Windows system and enter the following in the address bar:
ftp://username:password@ipaddress/sharedfolder
Replace “username” with the username created in Step 5, “password” with the password you set in Step 6, “ipaddress” with the IP address of your Ubuntu system, and “sharedfolder” with the name of the folder you created in Step 7.
Critical aspects to put into consideration
Below are a few key aspects that we need to put into consideration about sharing a folder on Ubuntu to access from Windows:
1. Firewall settings
When sharing a folder on Ubuntu, you should ensure that the necessary ports are open in your firewall settings. Depending on the method you choose to share your folder, you may need to open different ports. For example, if you use Samba, you need to open ports 137-139 and 445. If you use FTP, you need to open ports 20 and 21 for FTP traffic and ports 10000-10100 for passive mode traffic.
To open ports in Ubuntu’s firewall, you can use the following commands:
sudo ufw allow 137:139/tcp

sudo ufw allow 445/tcp

sudo ufw allow 20/tcp

sudo ufw allow 21/tcp

sudo ufw allow 10000:10100/tcp
2. User permissions
When sharing a folder on Ubuntu, you should ensure that the user account you use to access the shared folder has the necessary permissions to read and write files. Depending on the method you choose to share your folder, you may need to set up user accounts specifically for that purpose.
For example, when using Samba, you can set up a user account for SMB access using the following command:
sudo smbpasswd -a username
Replace “username” with the username you want to use for SMB access.
When using FTP, you can create a user account for FTP access using the following command:
sudo adduser ftpuser
You can then set a password for the user account using the following command:
sudo passwd ftpuser
3. Accessing the shared folder from Windows
When accessing the shared folder from a Windows system, you may encounter some issues with authentication or connectivity. Here are some troubleshooting tips that you can try:
- Ensure your Windows system is in the same workgroup or domain as your Ubuntu system.
- Make sure that your Windows system can ping your Ubuntu system by its IP address or hostname.
- Ensure you have the correct login credentials for the user account you set up on Ubuntu.
- Make sure that you have the necessary software installed on your Windows system to access the shared folder. For example, if you use Samba, you must install the Samba client on your Windows system.
By following these tips and ensuring that your firewall settings and user permissions are set up correctly, you should be able to access your shared folder on Ubuntu from Windows without any issues.
4. Security considerations
Sharing a folder on Ubuntu to access from Windows can be a security risk if not done correctly. To minimize the risk, you should ensure you use strong passwords for your user accounts and limit the shared folder access to only the users who need it. You should also keep your Ubuntu system up-to-date with the latest security patches and updates.
In addition, you can consider using SSHFS to share your folder, as it provides encryption and secure authentication by default. You can also configure Samba to use encrypted communication by enabling the “encrypt passwords” option in the configuration file.
Conclusion
Sharing a folder on Ubuntu for access from Windows is a practical and effective way to facilitate seamless file sharing between the two operating systems. By using the Samba protocol, you can ensure cross-platform compatibility and make it easy for users to access shared resources. The process is quite straightforward, involving the installation of necessary packages, configuring the shared folder, and enabling the appropriate permissions. With this guide, you should now be well-equipped to create a shared folder on Ubuntu and access it from a Windows computer. This will not only streamline your workflow but also enhance collaboration and productivity in a mixed-OS environment.