
Notepad++ is a free and powerful tool with multiple functions to edit texts and source codes. The editor is embedded with numerous features like autosave, guided indentation, simultaneous editing, searching text strings with opened tabs, macros, searching text strings in a directory, etc. Furthermore, Notepad++ is coded in C programming language with pure Win32 API, ensuring a boosted execution speed.
This famous editor was formerly developed to operate specifically on the Windows platform, but with the help of Wine, it can be set up on all Linux devices.
Wine refers to a compatibility layer with the ability to run Windows applications on several POSIX-compliant operating systems like BSD, macOS, and Linux. The software was first released to the public on the 24th of November 2003 by DevOp Dan Ho and is still in active development.
Installing Notepad++ on Ubuntu
Prerequisites
- Snap.
- Access to Terminal.
- Internet connectivity.
- A non-root user with sudo privileges.
- Ubuntu-Linux.
Note: You can use this post for Ubuntu 14.04, Ubuntu 16.04, Ubuntu 18.4, Ubuntu 20.04, Ubuntu 21, and the new version of Ubuntu 22.04, which is the core focus of this article.
This article will solely focus on two methods to install Notepad++ on our Ubuntu 22.04 system:
- How to install Notepad++ using the terminal.
- How to install Notepad++ using Graphical User Interface(GUI).
Let us get started!
Method 1: How to install Notepad++ using the terminal in Ubuntu 22.04
Here is the procedural guide on how to install Notepad++ on Ubuntu.
Step 1: Update the apt database
First, before we kick off the installation procedure, updating the apt database system and existing packages is mandatory. For this reason, open up your terminal by hitting the “CTRL+ALT+T” key shortcuts on your keyboard. After that, run the following command:
sudo apt update
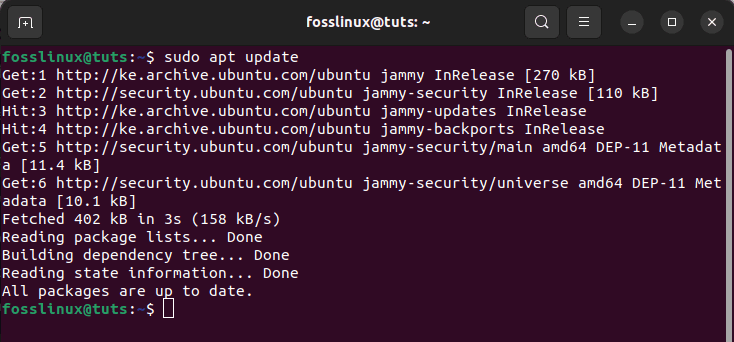
update system
Step 2: Upgrade apt packages
Next, you will be provided with the number of packages that need to be upgraded at the end of running the update command. As such, issue the following command to upgrade the said packages; However, you have the luxury of skipping this step after running the update command, and there are no packages to be upgraded:
sudo apt upgrade
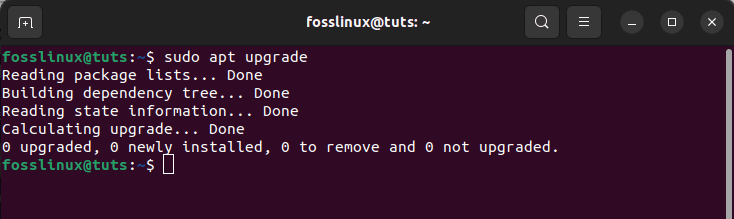
upgrade system
The system should now be set for the installation process.
Step 3: Install Notepad++
To set up Notepad++, you must have the snap package on your system. In some instances, you may find snap not set up on your system; as such, utilize the following command to help setup Notepad++
sudo snap install snapd
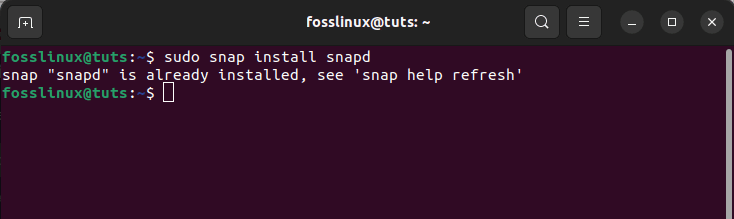
install snapd
As seen from the given output, snap is already set up on our system. Now, we can forge ahead with the snap core setup process on our Ubuntu system. To set up the snap core on Ubuntu, run the following command:
sudo snap install core
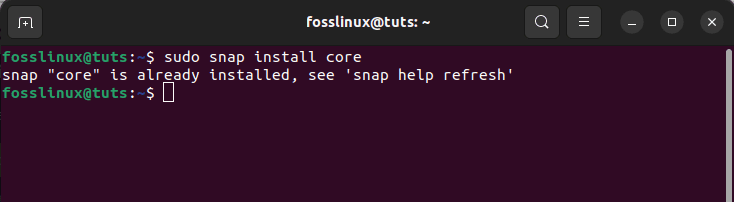
install core
Lastly, let us use the snap package for the installation of Notepad++ on our Ubuntu system:
sudo snap install notepad-plus-plus
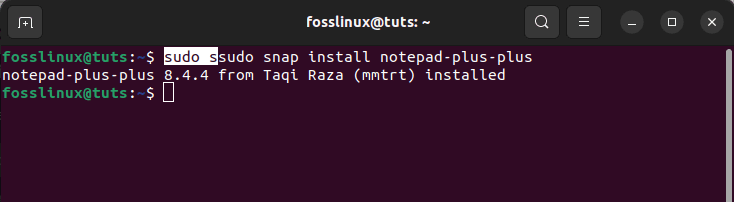
Install snap Notepad ++
The above snapshot clearly shows that Notepad++ 8.4.4 has been installed successfully.
Let’s change our focus and look at the second method of setting up Notepad++.
Method 2: How to install Notepad++ on Ubuntu using GUI
Follow the below-mentioned steps to install Notepad++ using the graphical user interface method.
Step 1: Open the Ubuntu software center
To open the Ubuntu center, click on the “Activities” menu on the left side of the desktop, as highlighted in the snapshot below.
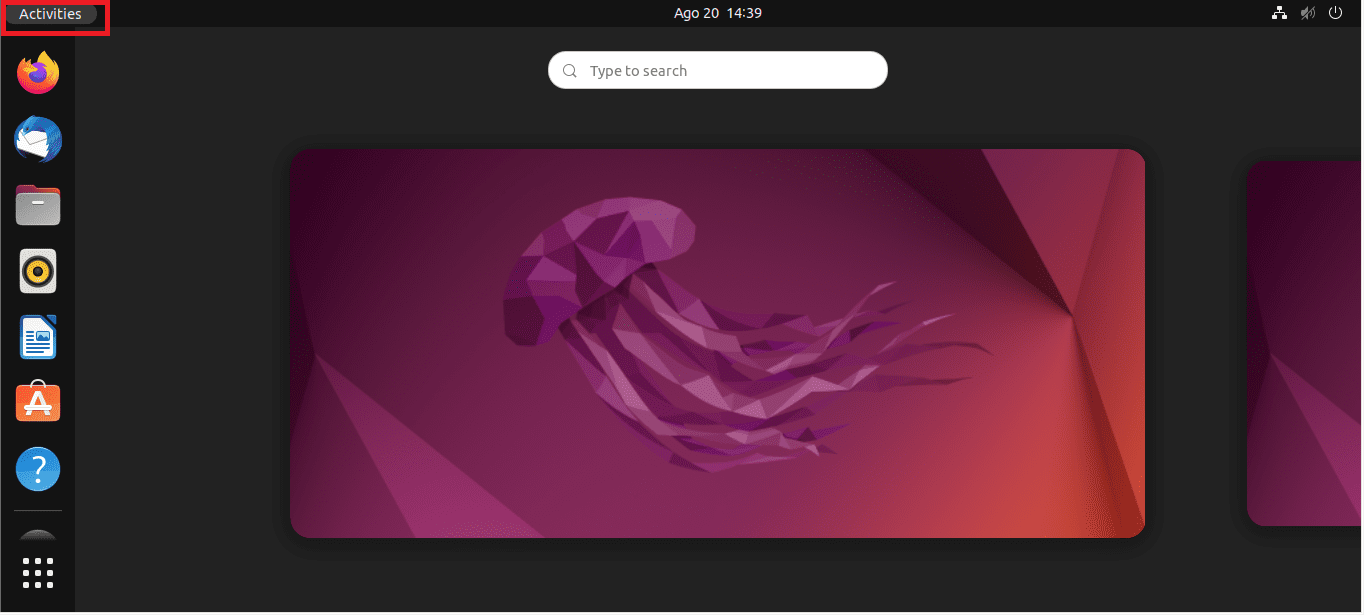
Click on activities
After that, go to the search bar, and type in “Ubuntu software,” and such an icon will appear, click on it to open:
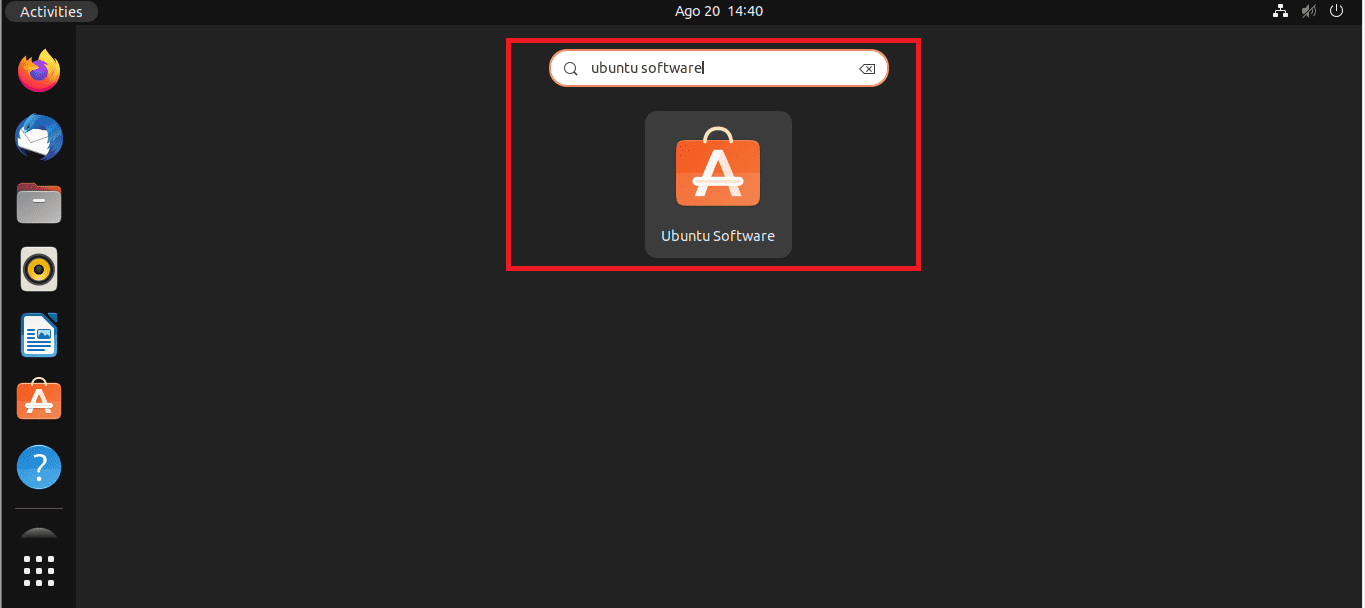
Search for ubuntu software
Step 2: Search Notepad++
Once the Ubuntu software is up, click on the search icon on the left-hand side of the Ubuntu software display menu. After that, search “Notepad++(WINE)” in the search bar and select it from the displayed results:
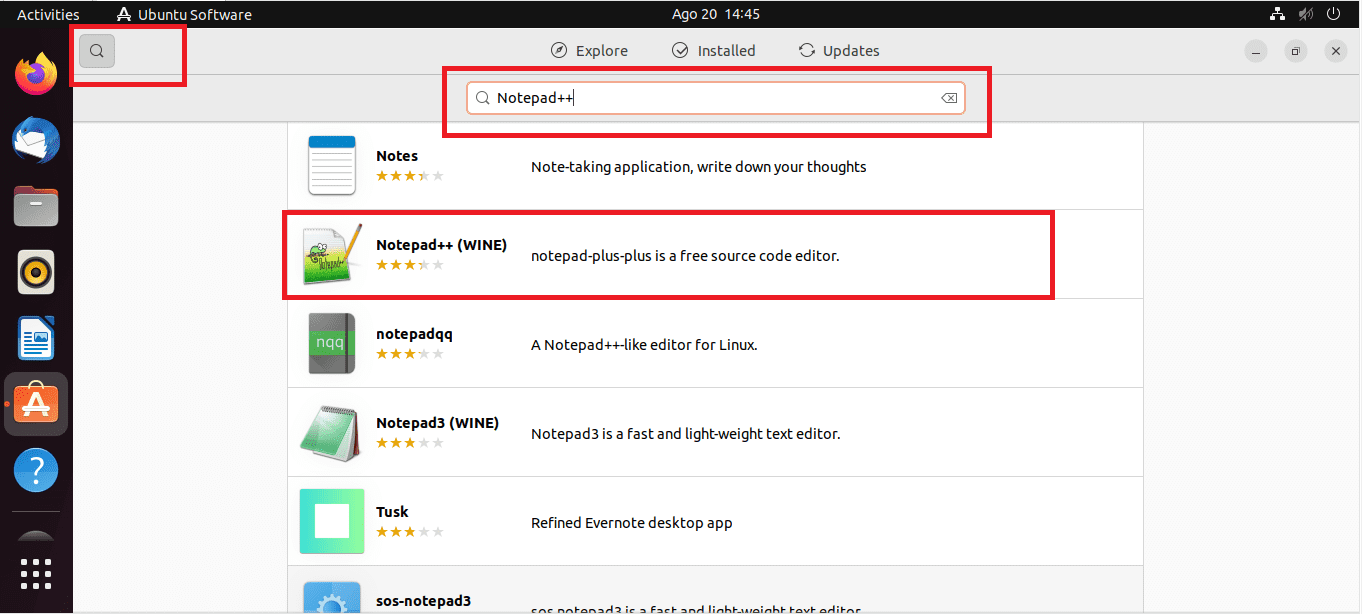
Click the search menu, and type in Notepad++
Step 3: Install Notepad++
Once you select the application, a Notepad++ (WINE) window will appear. You should see a green highlighted button named install at the right-hand side of the window. Click on it to initiate the installation of Notepad++.
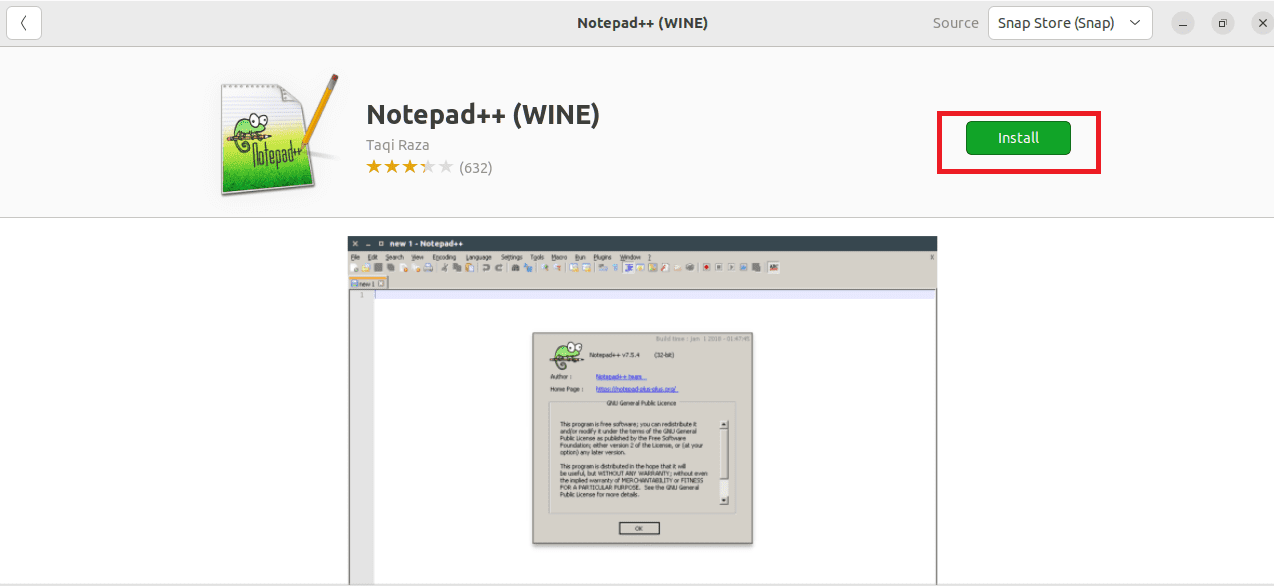
Click on install
Step 4: Give login credentials
The “Authentication Required” wizard will appear on your screen during installation. This notifies you that for the process to continue, you must first authorize it. Provide your PCs system password credentials and click on the “Authenticate” button as highlighted in the snapshot below:
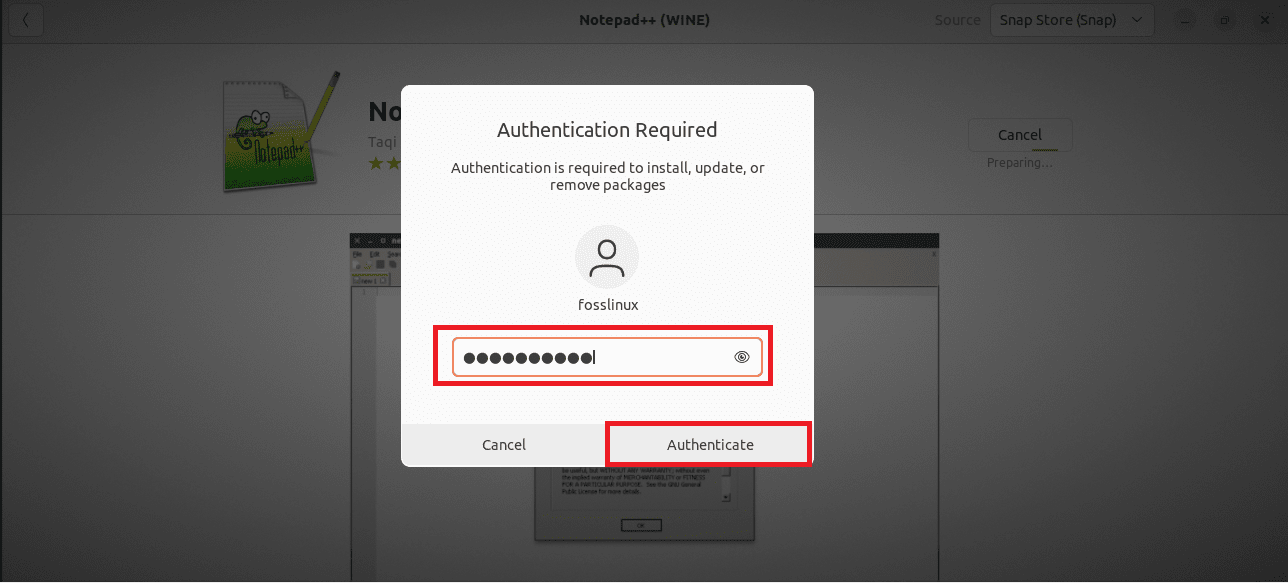
Authentication Wizard
And that is it! The snapshot below is a clear indication that Notepad++ is effectively set up on our Ubuntu system:
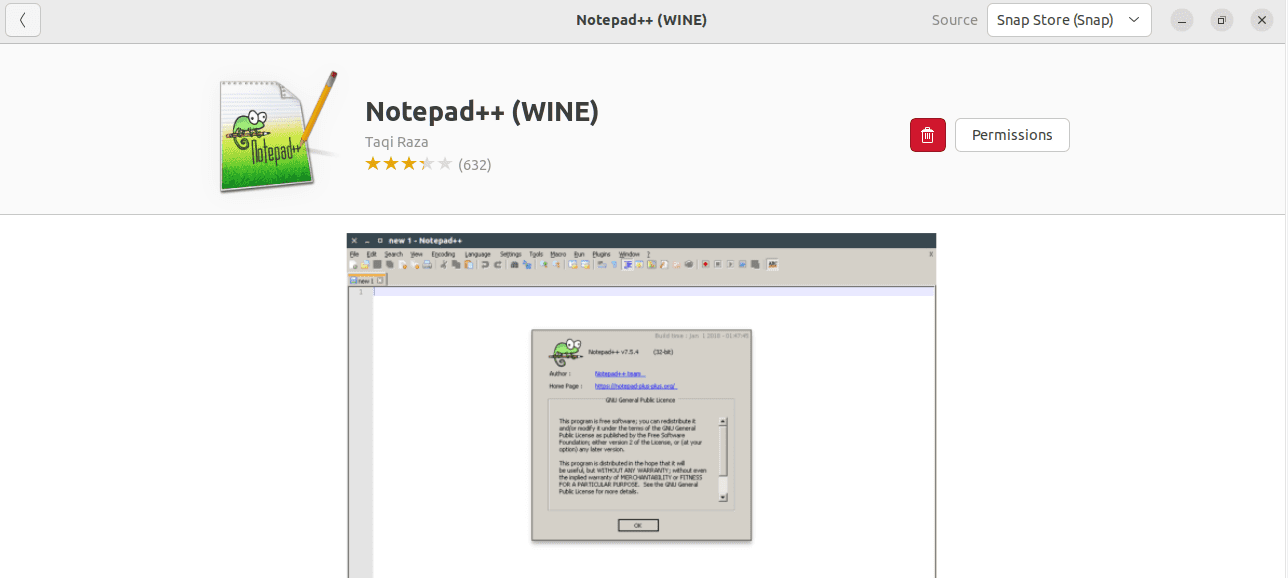
Notepad++ installed
Let us proceed further and look at how we can launch the already installed Notepad++ app.
How to launch Notepad++ on Ubuntu 22.04
To use this app after installation, you need to launch it. This can be achieved using the following commands:
Run:
notepad-plus-plus
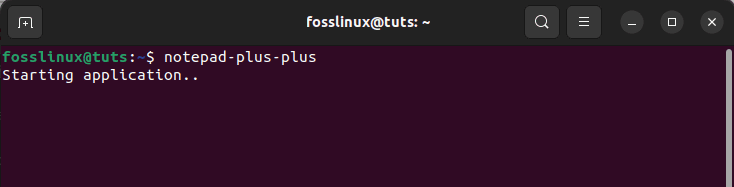
run notepad++
or
notepad-plus-plus &
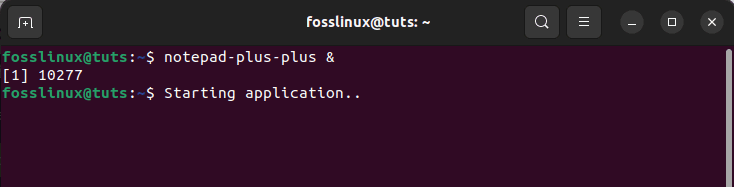
Open notepad++
This should launch the editor for you.
The above method may not be practical for those who are not terminal fanatics, so here is a graphical approach to launching Notepad++.
How to launch Notepad++ using GUI
Step 1: First, click on “Activities,” located on the left side of your desktop.

Click on activities
Step 2: After that, search for “Notepad++” in the search bar as shown in the snapshot below:
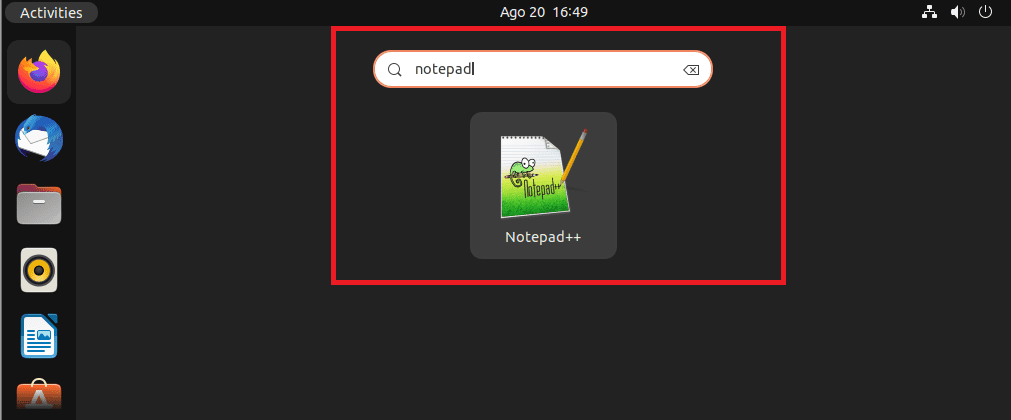
Search for notepad++
Step 3: Once the icon appears, click on it. Upon clicking the Notepad++ icon, a wine configuration window will pop up; give it some time as it finishes up the final configuration settings as shown below:
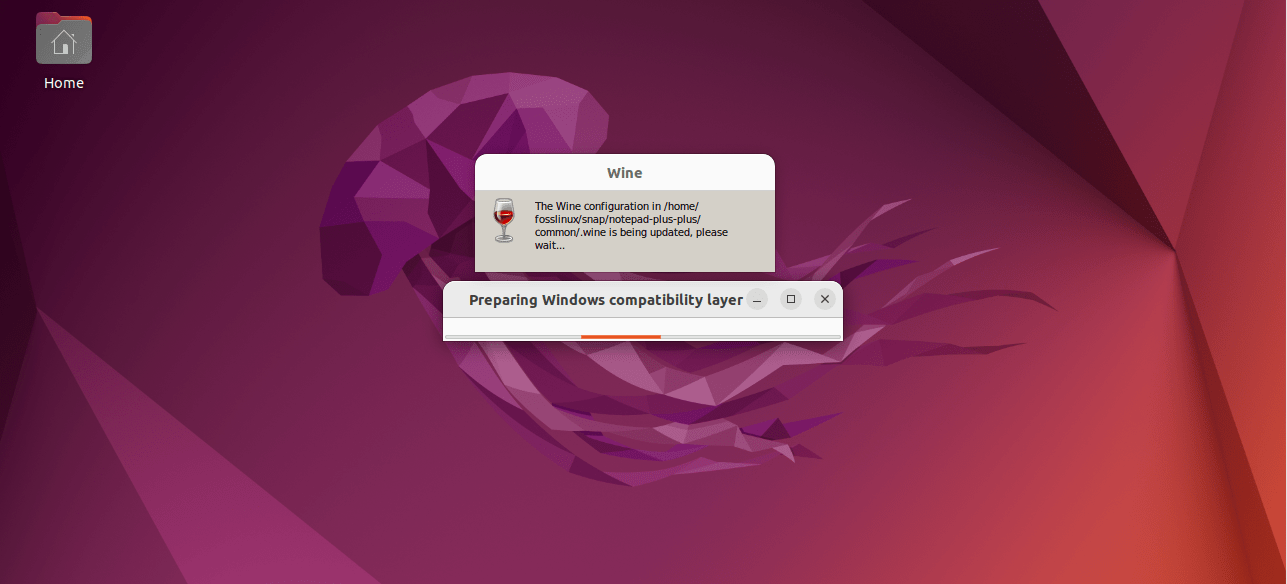
wine configuration
After that, you will arrive at the default new notepad blank page, where you can kick off using the programmer’s notepad software.
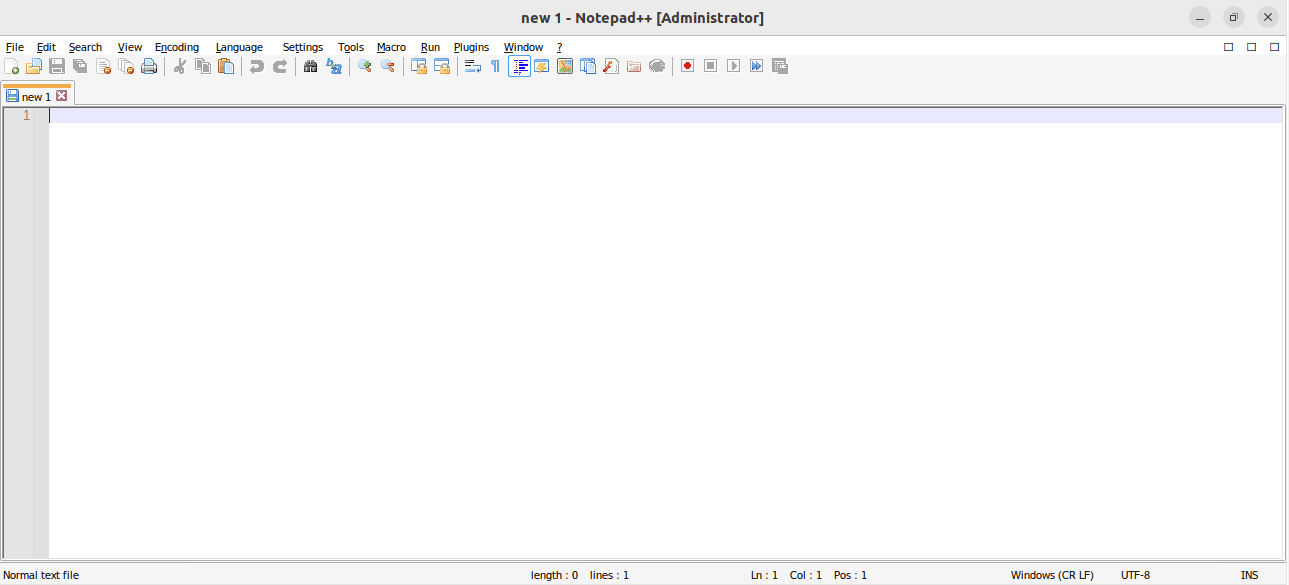
notepad++ window
It is also substantial to note that this software does not only use “light” mode but also has “dark” mode, which is sometimes challenging to find, but this guide has you covered. Here is a quick cover of how you can switch modes in this application:
First, click on the “Settings” menu located on the first line of the menu bar of Notepad++: Afterward, go to “style configurator” in the menu bar to open the design menu. You should then be able to locate “select theme,” beneath this section, you will find a few themes to select from, with “Default” being the default setting.
It is also significant to know that there are a couple of dark themes to select from: There is the “Dark Mode default,” which is the normal mode with predominantly black and gray tones. But “Obsidian,” “Deep Black,” “Twilight,” or “Zenburn” also provide a dark background.
Nonetheless, the issue is that even after switching to dark mode, the menu bar remains bright at all times. You can then utilize the distraction-free method, accessed through “View” in the menu bar. Unfortunately, this will hide the top menu spontaneously, and you will ultimately be left with a dark editor. To exit the distraction-free mode, use the plus button at the editor screen’s top right.
That is covered; let us also look at how you can update and upgrade Notepad++ on your Ubuntu 22.04 system.
How to update Notepad++ on Linux
Given that we used the snap package installation method, the update process is pretty straightforward. Here is the command to ensure the software is on the latest release packages:
sudo snap refresh notepad-plus-plus
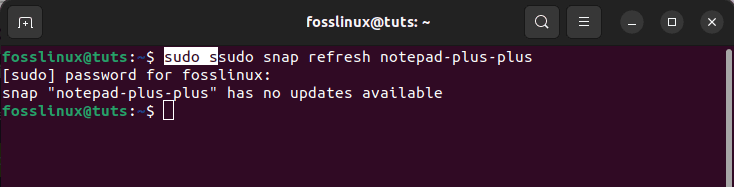
refresh
Let us understand how we can do away with this software from our Ubuntu system.
How to uninstall or remove Notepad++ from Ubuntu 22.04 system
If, for one reason or the other, you want to uninstall the Notepad++ application from your Ubuntu 22.04 system, then issue the following command:
sudo snap remove notepad-plus-plus
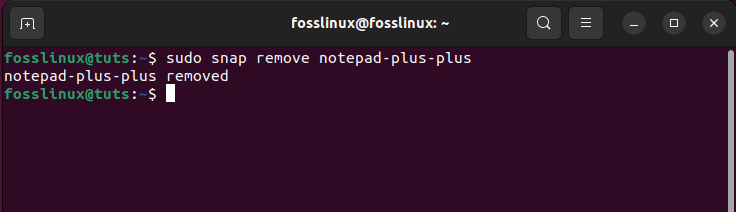
remove notepad++
The screenshot above signifies that Notepad++ has been removed from our Ubuntu 22.04 system.
Ending Notes
Notepad++ is a powerful programming editor installed using Ubuntu’s command line or the Graphical User Interface(GUI). To set up this software, you first need to install snap. After that, set up the snap core, then run the snap command to install notepad-plus-plus on the terminal, as covered in this post. To use the GUI method, open your Ubuntu software center, search for Notepad++ and install it. This post has exclusively elaborated on the two methods, how to launch, update and upgrade, and finally, how to uninstall Notepad++ on Ubuntu 22.04. We hope this was detailed enough. Keep following FOSSLinux for more tips.