
Skype is probably one of the most popular communication apps worldwide. It is a cross-platform software made available on Linux, macOS, and Windows despite being owned by Microsoft. With this app, you can make free audio calls, share files with team members, send messages, and video group calls locally and internationally on mobiles and landlines across the globe. Furthermore, the software permits screen sharing, which is essential for those trying to explain stuff on their device to other parties.
It is important to note that Skype is not an open-source application and is not incorporated in the standard Ubuntu repos. Besides that, this app is vital in so many aspects; take an instance where your family, relatives, and friends, are already using Skype and you want to communicate with them, you have to set it up on your machine, and you are good to go. Also, many companies prefer skype for meetings, interviews, and calls.
Let us quickly take you through several ways you can install Skype on your Ubuntu Linux machine.
Installing Skype on Ubuntu
This post will cover several methods to install Skype, as mentioned below:
- Using the Snap package
- Using GUI
- Using dpkg
- Using apt
With the four said methods, we will start with the first. You can choose either way that suits you and follow the step-by-step instructions to set up the app.
Method 1: How to install skype using the Snap package
The Skype snap package is distributed and maintained by Microsoft. Snaps are self-contained software packages that include the binary of all dependencies needed to run the application. Unlike the standard deb packages, snaps have a larger disk footprint and longer application startup time.
Let us start.
Step 1: Install the Snap package
To set up Skype snap, open your terminal using the “Ctrl+Alt+T” keyboard shortcuts and run the following command:
sudo apt install snapd
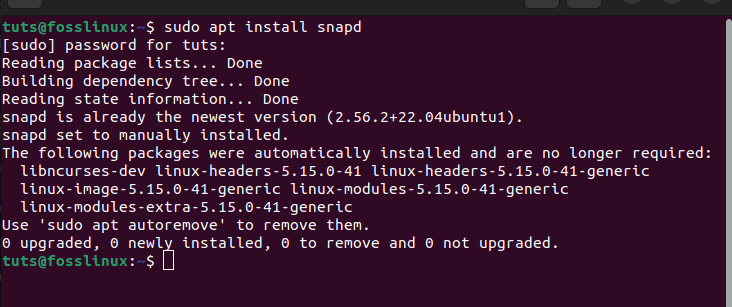
install snapd
And voila! You have successfully set up Snap on your Ubuntu machine. Next, let us now install Skype.
Step 2: Skype set up
Now, run the following-given command to install skype:
sudo snap install skype --classic

install skype
The above error-free-given output displays that our snap Skype application has been successfully installed on your Ubuntu system.
Let us look at the second method of installing Skype.
Method 2: How to setup Skype on Ubuntu 22.04 using the Graphical User Interface (GUI)
Some Linux users prefer the graphical approach instead of a command line or terminal for the installation tasks. If you are one of them, then utilize the following given instructions.
Step 1: Open the Ubuntu Software Center
First, click on “Activities,” located on the left side of the desktop. After that, type in “Ubuntu software” on the search bar. Such an icon will appear; click on it.
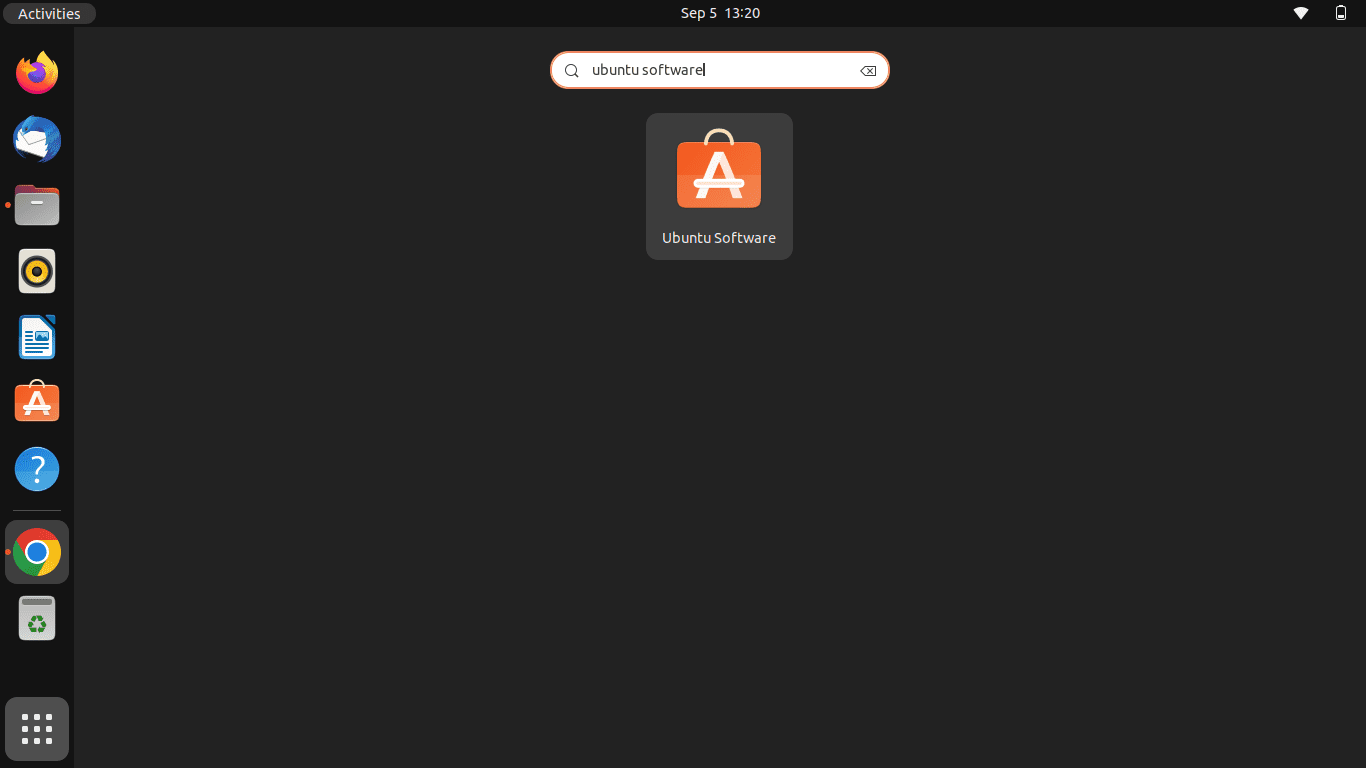
Click on activities and search ubuntu software
Step 2: Look for Skype in Ubuntu Software Center
Now, hit the “search icon” on the left corner of the opened Ubuntu software center. After that, type in “Skype.” You should see a blue icon(skype); click on it to open it.
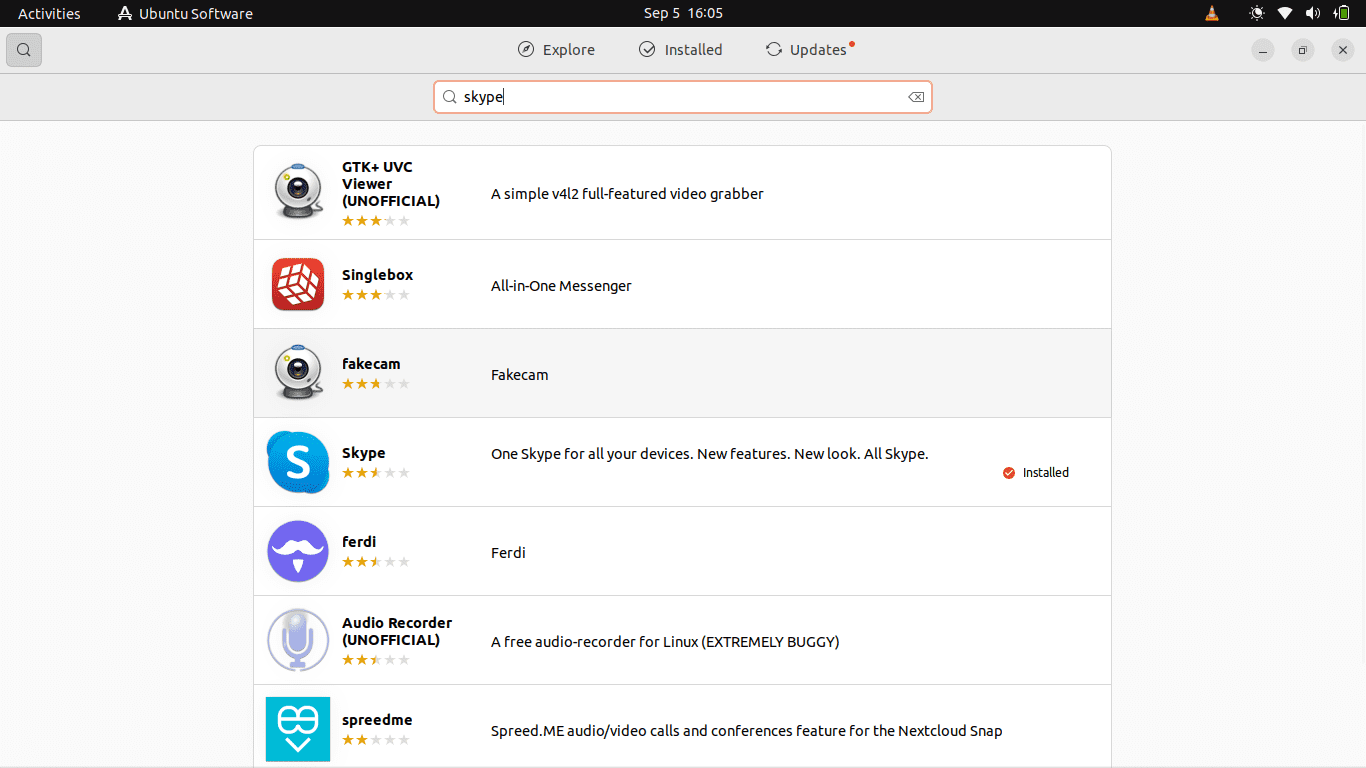
Skype
Step 3: Install the app
After selecting the Skype application from the search results, click on the “Install” button:
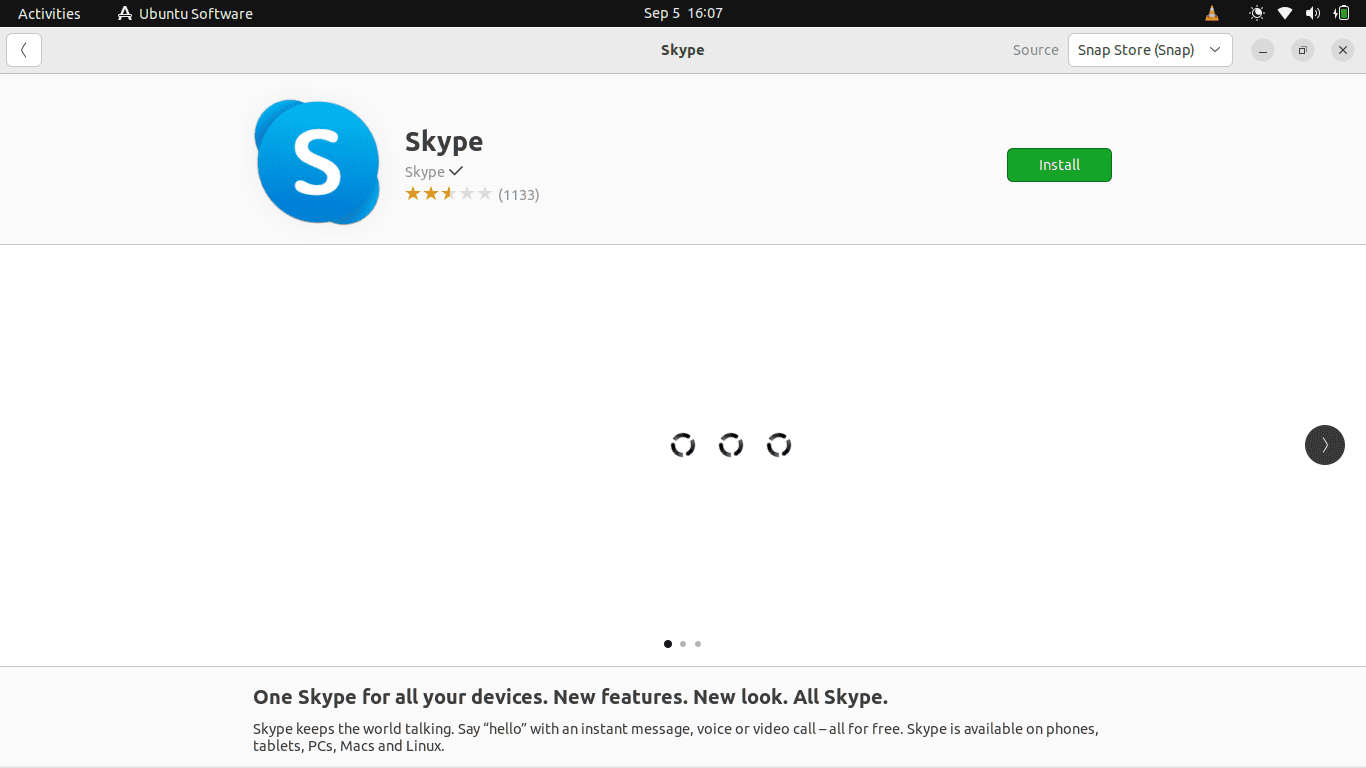
click install
And that should do it!
Next, let us push the article further and look at how we can do the same installation with apt.
Method 3: How to install Skype in Ubuntu using apt
Apt is a command-line utility for installing, removing, updating, and managing deb packages on Debian, Ubuntu, and derivatives. The utility combines the most frequently utilized commands from the apt-get and apt-cache tools with different default options. It is critical to note that most of the apt commands must be issued by users with Sudo privileges.
Since skype is available from the Official Microsoft Apt repositories. Install it using the following given steps:
Step 1: Download Skype .deb package
First, open the terminal and copy-paste the following command on the terminal to help download the latest skype deb package:
wget https://go.skype.com/skypeforlinux-64.deb
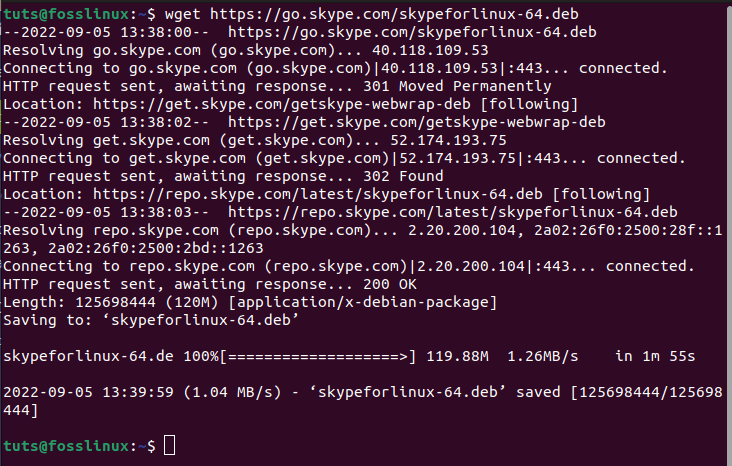
Download and install skype
Step 2: Install the application
Once the download is done, use the subsequent command with Sudo privileges to install Skype:
sudo apt install ./skypeforlinux-64.deb
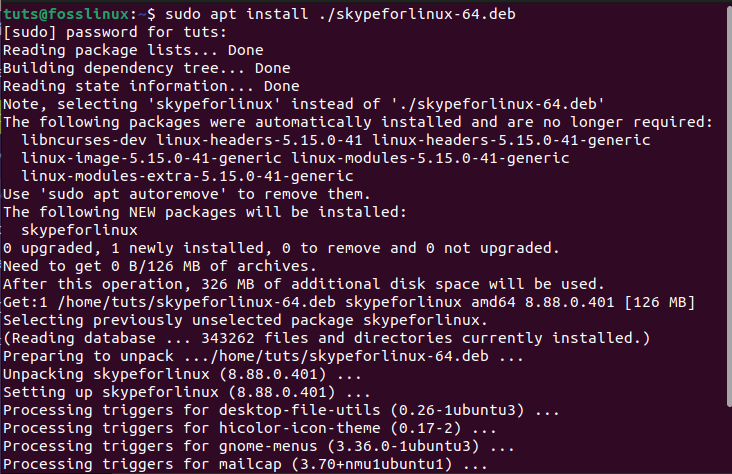
install skypeforlinux
You will be notified to enter your password upon running the above command—key in your login credentials and press enter.
The official Skype repo will be appended to your system during the setup process. When a new version is emancipated to the market, you can update the Skype package via your desktop standard software update tool or, conversely, by issuing the following commands in your console:
sudo apt update
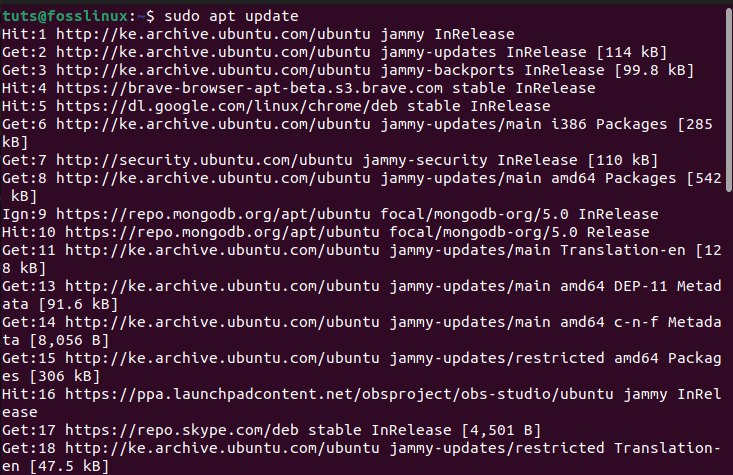
update system
After updating packages and you realize that there are packages that need to be upgraded, run the following command:
sudo apt upgrade

upgrade
Now let us turn our focus and look at how to carry out the same process using dpkg.
Method 4: How to install Skype on Ubuntu using dpkg
Dpkg is software at the base of the package management system in the free OS Debian, Ubuntu, and its derivatives. Dpkg is utilized in installing, removing, and providing info about .deb packages. The tool itself is a low-level tool. That said, here are the steps to get it done.
Step 1: Update system repositories
Hit the “Ctrl+Alt+T” keyboard combinations to open the terminal. After that, run the subsequent commands to update the system repo:
sudo apt update

update system
Once you run the above command, the terminal will show you the number of packages that need to be upgraded. If you find any, run the following command to upgrade the packages. Otherwise, feel free to skip this step.
sudo apt upgrade

upgrade
Step 2: Download the Skype package
Once you are done updating and upgrading the system repos, proceed further and download the skype deb package from the official repo:
wget https://repo.skype.com/latest/skypeforlinux-64.deb
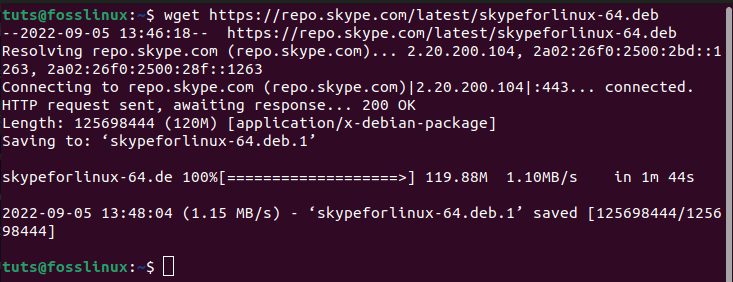
Download skype package
Step 3: Install Skype on your system
Next, set up skype on Ubuntu by issuing the following command:
sudo dpkg -i skypeforlinux-64.deb
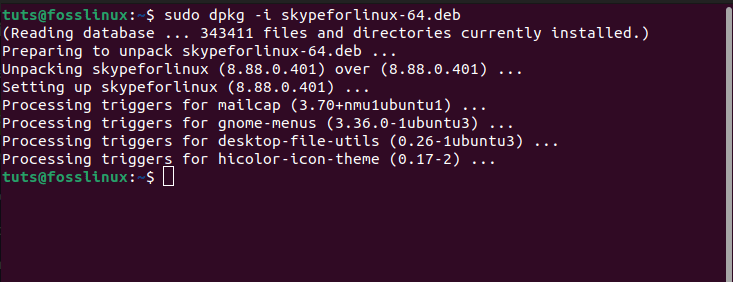
dpkg install
After issuing the above command, your skype application will be set up on your system quickly.
To start the Skype app, execute the following command:
skypeforlinux
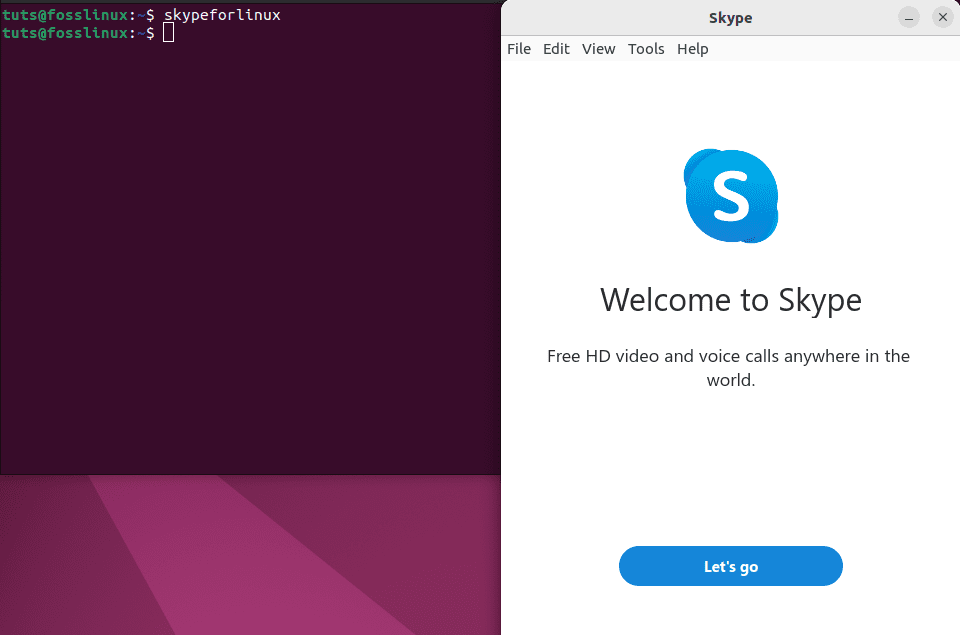
start skype
And that is all there is to it. You should be able to see the application on your app’s menu. Now, let us proceed to the adjoining section and look at how to launch the application using GUI.
How to launch Skype using GUI
Here are the steps to get the application up and running.
First, go to “activities” on the left corner of your desktop and use the search bar to look for “skype,” as shown below.
Click on the blue icon to open it.
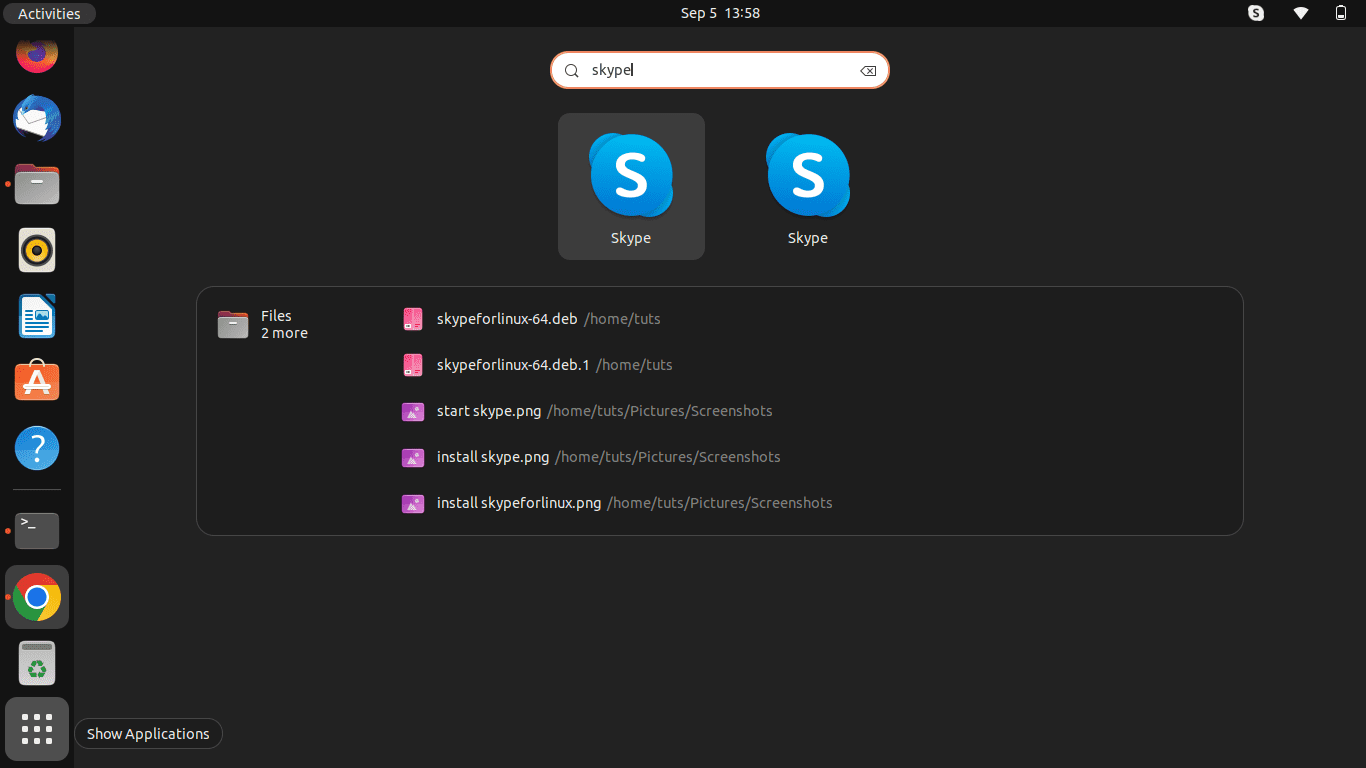
look for skype
On the welcome window, click on “Let’s go.”
Next, you will be dispensed with a login screen. Click “sign-in” to log in with an existing account or create a new one.

Sign in section
After logging in, test the audio if you want to, select the microphone and click on “continue” as shown below:
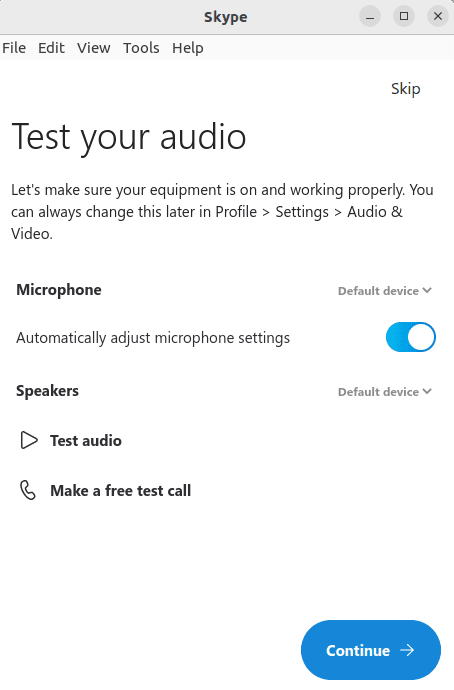
test audio
After that, Skype is ready for use, as shown below.

Ready for use
That is covered; let us see how we can remove Skype from our system.
How to uninstall skype from the Ubuntu system
Here are the steps for whichever reasons you want to remove the skype software.
First, open the terminal. After that, issue the following command:
sudo apt remove skypeforlinux
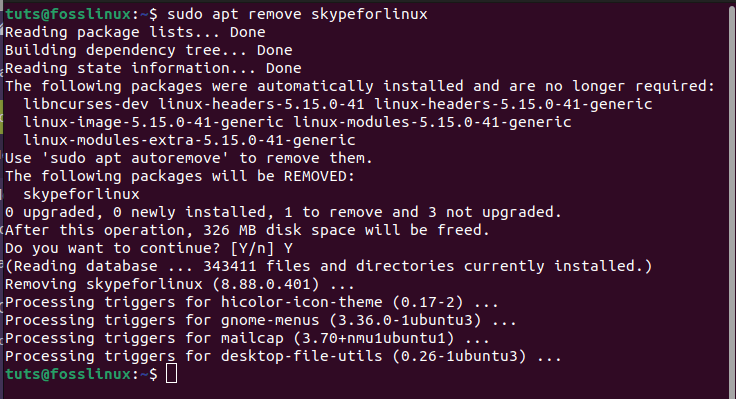
uninstall skype
And that should do it.
Conclusion
Skype is a helpful app for sending messages, making video and audio calls, screen sharing, and files. It is also important to note that the software is free and cross-platform and thus can be installed on any system (macOS, Windows, and Linux).
For this post, we showed several methods of setting up Skype. First, we looked at how to download and install the official Skype on Ubuntu using the snap package. We also discussed how to install Skype on Ubuntu using GUI, how to install skype using apt, and finally, doing the same using dpkg. You can use whichever approach suits you.
5 comments
Thanks a lot for this tutorial, really easy to follow for a newbie 😀 keep up the good work. ^_^/
does not work. Message in terminal:
dpkg: error: parsing file ‘/var/lib/dpkg/available’ near line 45587 package ‘fonts-tlwg-sawasdee’: διπλή τιμή για το πεδίο
Priority'διπλή τιμή για το πεδίοPriority’ = double value for the ‘Priority’ field
Thanks for the tutorial. Helpful
thanks. YOU are Great.
It’s perfect. Thank you so much.