
Dropbox is one of the most popular and powerful online file hosting services. When you drag some files/directories to your Dropbox directory on your computer, those files/directories will be synchronized automatically to your online cloud account and any other linked devices to your account.
During this article, we are going to cover the command line and GUI methods of Dropbox Installation on Ubuntu. Also, we will show you how to enable sync and some other options.
First Method: Dropbox Installation Via Command Line or Terminal
Before starting in the installation process, first you need to make sure that your system is up-to-date using the next commands:
sudo apt update
sudo apt upgrade
Next, make sure that the wget package is installed on your system. If it is not installed, you can install it using the following command:
sudo apt install wget
Now you can start in the Dropbox installation process by following the next steps.
Step 1. Download the Dropbox version (32 or 64 bit) that suits you well.
For the 32 bit version you can use the following command:
cd ~ && wget -O - "https://www.dropbox.com/download?plat=lnx.x86" | tar xzf -
For the 64 bit version as in our case, you can use the following command:
cd ~ && wget -O - "https://www.dropbox.com/download?plat=lnx.x86_64" | tar xzf -
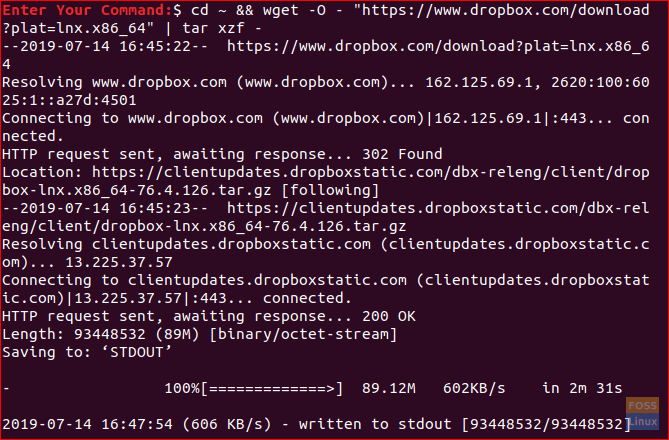
Download Dropbox and Extract To Home Directory
It will download the dropbox and extract it to your home directory. The extracted folder will be hidden as you can see in the next screenshot:
Hidden Directory Created
Step 2. To start Dropbox, you can run the following command.
~/.dropbox-dist/dropboxd

Start Dropbox Installation
Step 3. When the installation is complete, Dropbox will open your browser. Enter your Dropbox account username and password, or you can create an account case you do not have one.
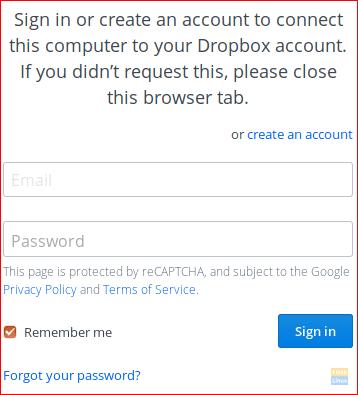
Enter Your Dropbox Username Or Create New Account
Step 4. After you enter your account details, you will get a message like the below telling you that your Ubuntu is now linked to your Dropbox account.
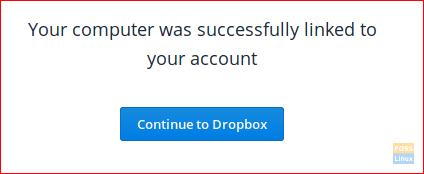
Confirmation Message For Linking Your Account
Step 5. You will find a directory named “Dropbox” is created in your home directory. In this directory, you will find your saved files from your Dropbox account. Also, you can use it to put files/folders in it, and they will be synchronized to all your devices.
ls -l
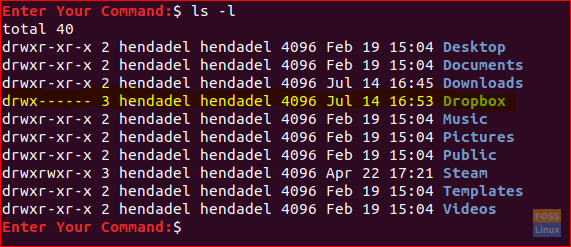
Dropbox Directory Created
Step 6. Next, we will install the Dropbox command-line interface, that will enable us to start, stop, sync, and get the status of our saved files.
First, we need to install the Python package.
sudo apt install python
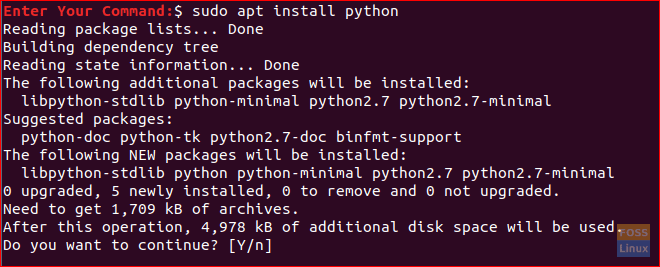
Install Python
Next, download the Dropbox python script and move it to your PATH.
sudo wget -O /usr/local/bin/dropbox "https://www.dropbox.com/download?dl=packages/dropbox.py"
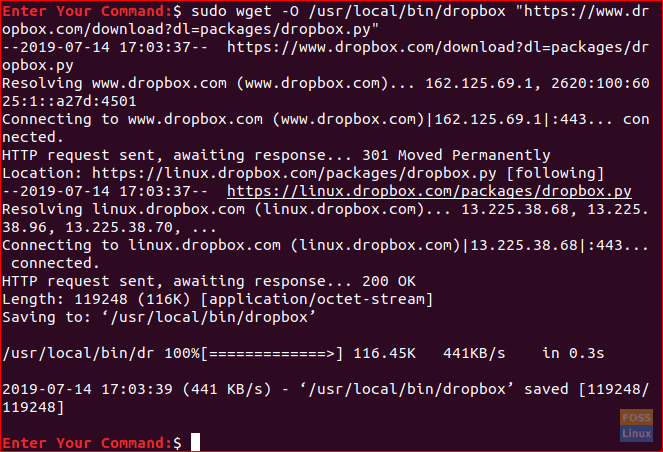
Download Python Script
Finally, we need to make this python script executable.
sudo chmod +x /usr/local/bin/dropbox

Make The Python Script Executable
Step 7. Now you can start using the Dropbox command-line interface.
For example, to preview the options associated with the Dropbox command use the following command.
dropbox
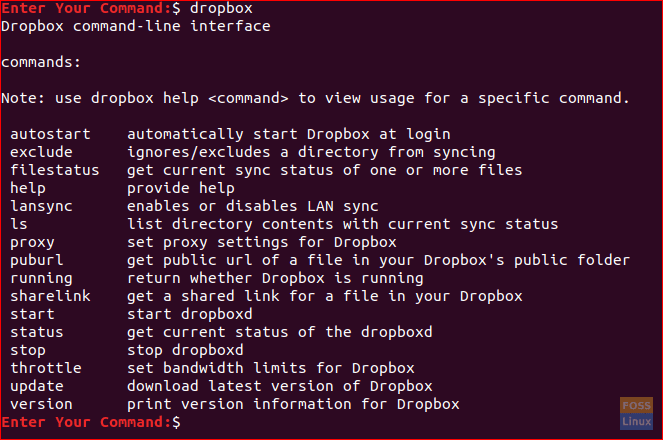
Dropbox Command Line
To get the status of the Dropbox, if it is running or not.
dropbox status

Get The Dropbox Status
To stop and start the dropbox.
dropbox start
dropbox stop
Keep in your mind that the Dropbox will keep running until you reboot the system. So you need to stop the dropbox service if you do not need it anymore.
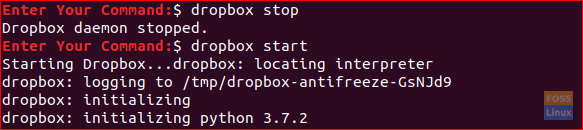
Start and Stop Dropbox Daemon
To get the current sync status of a specific file.
dropbox filestatus Dropbox/Database.doc

Get Sync Status For A File
To get a shared link of a specific file, you can use this link and pass it to anyone to start accessing this file.
dropbox sharelink Dropbox/Database.doc

Get A Shared Link For A File
To enable lansync.
dropbox lansync y

Enable Lan Sync
To disable lansync.
dropbox lansync n

Disable Lan Sync
Step 8. To enable Dropbox to start automatically with every system startup, you need to create a systemd service file for the Dropbox and to do so, use the next command.
sudo vi /etc/systemd/system/dropbox.service
The previous command will open an empty file then you need to add the next lines to it, but do not forget to enter the appropriate user and group:
[Unit]
Description=Dropbox Service
After=network.target

[Service]
ExecStart=/bin/sh -c '/usr/local/bin/dropbox start'
ExecStop=/bin/sh -c '/usr/local/bin/dropbox stop'
PIDFile=${HOME}/.dropbox/dropbox.pid
User=#####
Group=#####
Type=forking
Restart=on-failure
RestartSec=5
StartLimitInterval=60s
StartLimitBurst=3

[Install]
WantedBy=multi-user.target
Save and quit your file:

To Start Dropbox Automatically
Next, reload the Dropbox daemon.
sudo systemctl daemon-reload

Reload Dropbox Daemon
Then, enable the Dropbox service.
sudo systemctl enable dropbox

Enable Dropbox Service
Finally, start the Dropbox service.
sudo systemctl start dropbox

Start Dropbox Service
Also, you can check for the current status of the Dropbox service using the next command.
sudo systemctl status dropbox
Second Method: Dropbox Installation Via GUI
For this method you can download the Dropbox package manually from the official Dropbox website:
https://www.dropbox.com/install-linux
Step 1. Use your favorite browser and use the above URL.
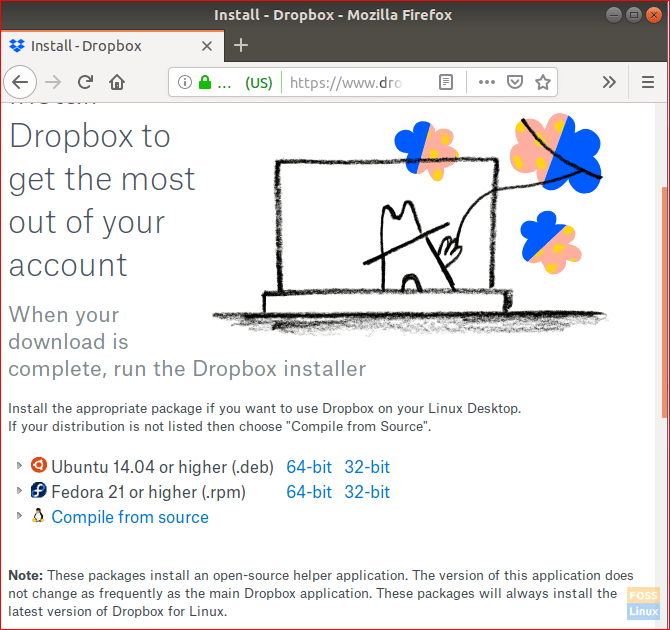
Open Dropbox From Your Browser
Step 2. Download the Dropbox version that you need (32 or 64 bit).
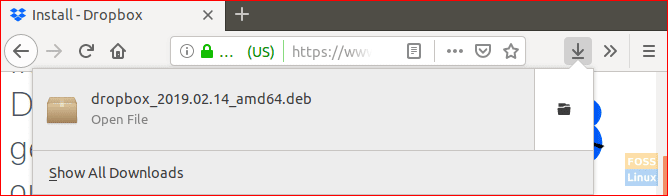
Download Dropbox Package
Step 3. Go to your downloads folder and double click on the Dropbox package to open it.
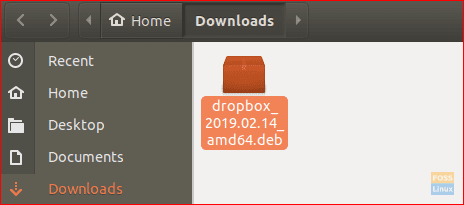
Open Downloads Directory
Step 4. The Dropbox installer will start, and you can press the install button.
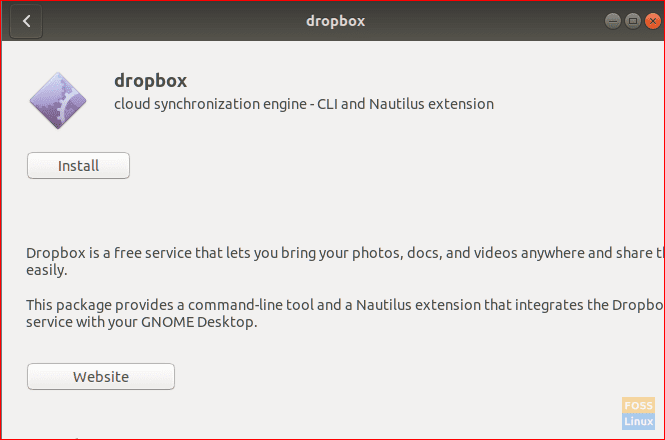
Dropbox Installer
Step 5. You can see the installation progress as in the below screenshot:
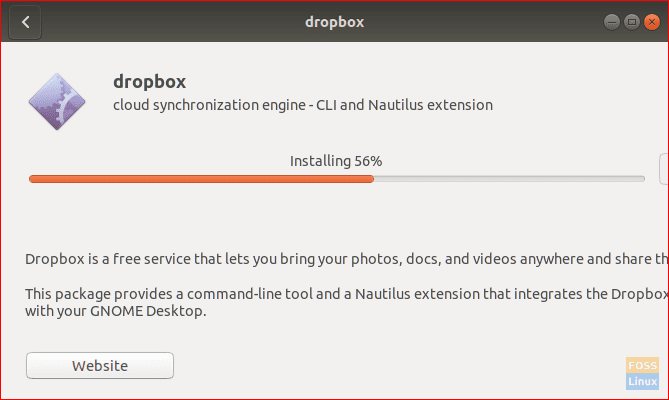
Dropbox Installation Progress
Step 6. When the installation finishes successfully, you will get a screen like the below:
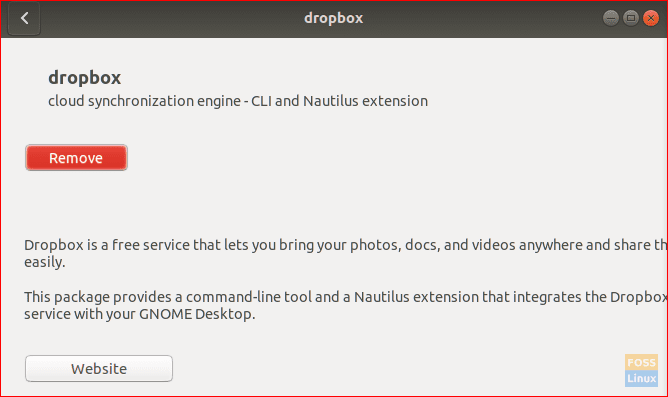
Dropbox Finish Installation Successfully
Step 7. You need to restart to make the Dropbox function properly; then you can press “Next.”
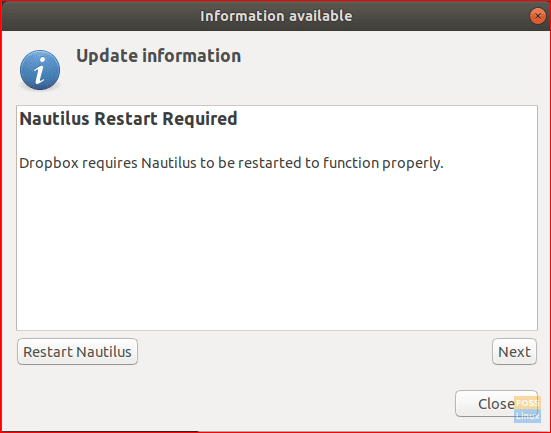
Restart Required
https://www.fosslinux.com/17181/linux-mint-19-2-tina-beta-released-here-are-the-new-features.htmStep 8. Then, you will be prompted to start the Dropbox application as you can see below:
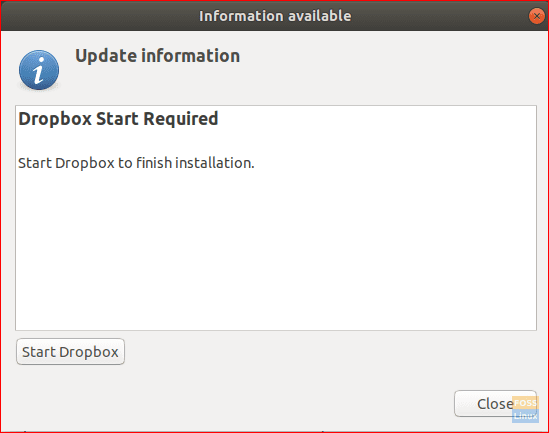
Start Dropbox Window
Step 9. The next message will appear the first time you open the Dropbox application; you can press the OK button to start installing the Dropbox user interface tool:
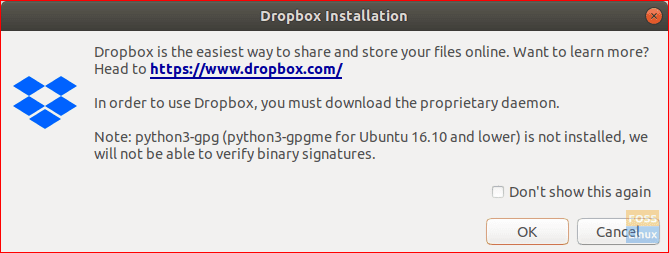
Download The Proprietary Daemon
Step 10. You can see the download progress as below screenshot:
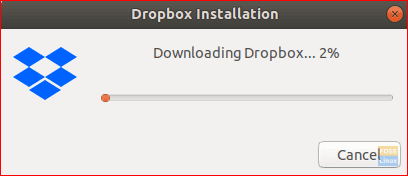
Downloading Required Daemon
Step 11. Once the download finishes successfully, your browser will be opened to enter your Dropbox account username and password:
Enter Your Dropbox Username Or Create New Account
Step 12. After you link your Ubuntu with the Dropbox, you will find a Dropbox directory created at your home directory. Whatever you put and save in this directory, it will be automatically uploaded to your online Dropbox account.
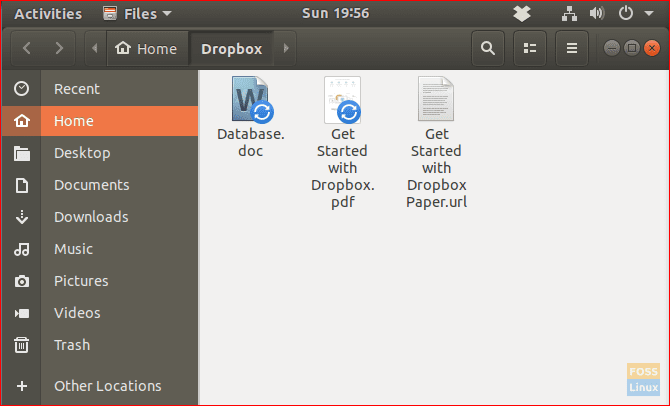
Dropbox Directory
Step 13. You can find the Dropbox icon at the top panel on the right side of your screen. This icon can be used to open the Dropbox directory, get the status of files, and change some useful options.
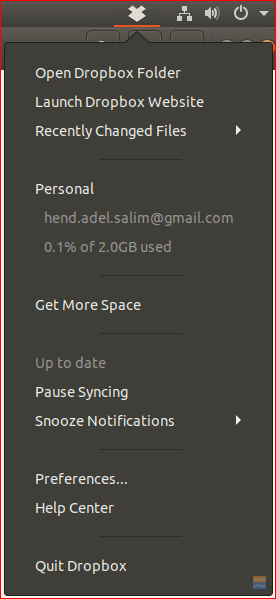
Dropbox Menu
Step 14. By default, while installing the Dropbox in the GUI method, it will download the Dropbox command-line interface on your system too. So you can open your terminal and use it.
Dropbox Command Line
And finally, you have just installed and configured the Dropbox on your Ubuntu.
1 comment
I followed the command-line method.
By running command: ~/.dropbox-dist/dropboxd
it stalled with this message: (dropbox:4838): LIBDBUSMENU-GLIB-WARNING **: 16:17:52.054: About to Show called on an item wihtout submenus. We’re ignoring it.
What to do now?