
That’s one of the basic rules of using any operating system or internet in general. If you are using any modern devices, the chances are that they can break or become unusable. Linux is no different.
There can be an instance where you installed a package that made your Linux installation go haywire. In short, things can go wrong, and so you should always do backups.
Like Windows, Ubuntu also comes equipped with a backup feature called TimeShift. Its working is similar to that of System Restore in Windows or TimeMachine on macOS.
Timeshift is a free-to-use tool that lets you take backup system settings and files. By protecting these critical files, you can always restore them if something goes wrong. However, the tool is not there to protect your files, including pictures, music, and documents.
Installing Timeshift
The first step that we are going to take is to install Timeshift. Installing it is very easy. All you need to do is download it through the Debian and Ubuntu repositories.
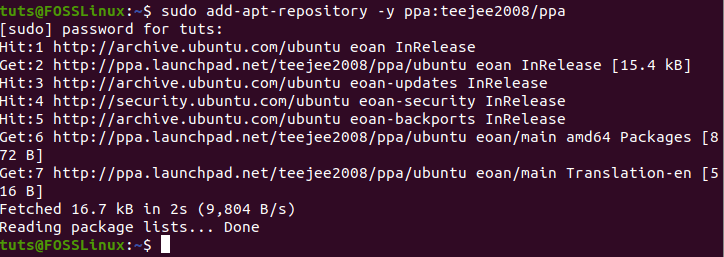
To add the repository, type the command in the terminal.
sudo add-apt-repository -y ppa:teejee2008/ppa
Adding repository
Next, run the apt update to update the system packages.
sudo apt update
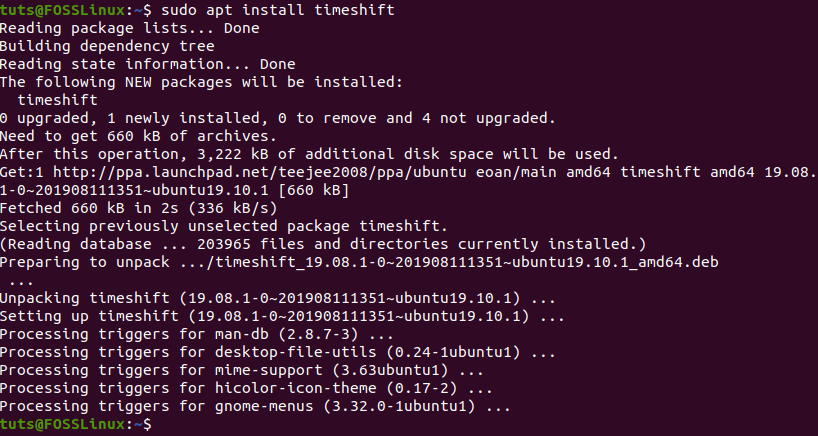
Once everything is done, it is now time to install Timeshift.
sudo apt install timeshift
Installing Timeshift
Learning about Timeshift
Timeshift offers two modes when it comes to creating incremental filesystem snapshots — rysnc+hardlinks and BTRFS snapshots.
The main difference between the two backup modes is how they create and store the backup. For instance, BTRFS Mode, it utilizes the inbuilt features of the BTRFS filesystem. If BTRFS mode is used, then the created snapshots should only be supported on systems with the Ubuntu-type subvolume layout.
The RSYNC mode creates backups with the help of hard-links and rysnc. In this case, each of the snapshots is full backups. These backups can easily be browsed using file managers as well. Also, if you create multiple RSYNC mode, then the backups save disk space by skipping the same files.
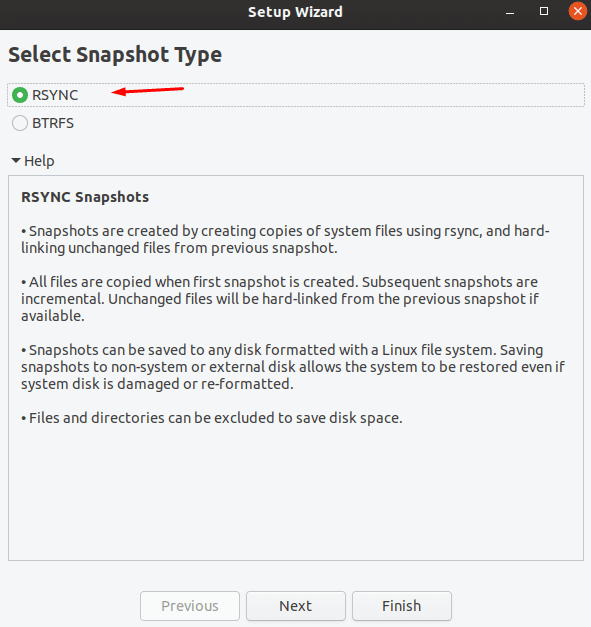
When you open Timeshift, you should be asked to select the snapshot type. There is also a help section where the setup wizard tells you about each snapshot type.
Opening Timeshift for the first time — setup wizard
It then asks you to select the snapshot location. You can also cancel the wizard and do all of these things later.
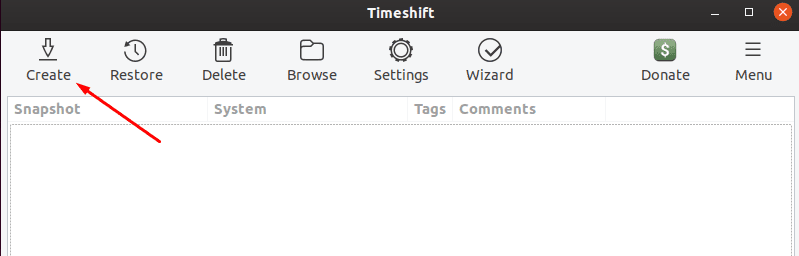
Creating a backup
To create a backup, you need to click on create, as shown below.
Creating a snapshot using Timeshift
Next, it asks you about the snapshot levels. These levels are used to determine how often the system should take snapshots.
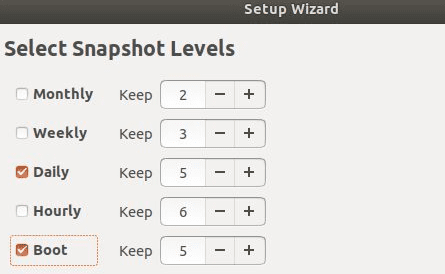
Selecting-snapshot-levels
Now click on Finish to start the process. Once done, it should begin to create a snapshot. And, it should get listed under the snapshot window.
Restoring a snapshot
Restoring a snapshot is as simple as creating it. To get started, you need to select the snapshot from the list of snapshots and then click “restore.”
Once done, the restore snapshot window should open where it should ask you where you want the files to be restored. Once the location is set, click on next to start the dry run. In the dry run, Timeshift compares data with rysnc and verifies the files and directory.
Next, it should ask you to confirm the actions. Finally, it shows the disclaimer, and as soon as you click the “next” button, the restoration process should start.
It should take some time for it to get completed. Please be patient.
Conclusion
It is imperative to back up your files often. By using Timeshift, you get the peace of mind that you have the restore option when the disaster strikes on your Linux system. Using TimeShift is an easy way to create snapshots and restore them when needed.
4 comments
Hello,
I installed timeshift a few days ago. Executed it today for the first time. The only thing it did was to consume some 9.5gb of my external storage device, but when I checked, it created a snapshot of system folder and files, but didn’t backup the folders I created myself.
Is there a more detailed backup setup document?
Thank you
Alex
Hi Alex,
TimeShift is designed to only protect the system files and folders. It doesn’t backup user created files. For backing up user data, you can try Ubuntu Backup utility. We have a detailed article here: https://www.fosslinux.com/14004/how-to-setup-files-and-folders-backup-on-ubuntu.htm
Yes correct. TimeShift is designed only for protecting system files and folders. Netbackup Veritas, Veeam should be an options for protecting users data.
Hi there.
I backed up my system using Timeshift. My hard drive failed, I replaced it, installed a fresh copy of Ubuntu Server 20.04, along with Timeshift and having trouble restoring using the backup I created before the hardware crash.
This should be easier than it is.
Thanks in advance,
Dean