
Today, I’ll guide you on a important journey on how to install a virtual machine on Ubuntu, featuring two of my favorite applications – VirtualBox and VMware Player. My aim is to keep the steps simple, so even if you’re just dipping your toes in this field, you can still follow along. Now, let’s dive right in!
Understanding virtual machines
Before we start, I think it’s crucial to understand what a virtual machine is. Simply put, a virtual machine (VM) is an emulation of a computer system. Think of it as a computer within a computer, where the ‘host’ system runs a software that allows the creation of a ‘guest’ system. The beauty of this is that the guest operating system behaves as if it were running directly from the hardware, even though it’s just a simulation. This is immensely useful for running multiple different operating systems simultaneously, testing applications, creating backups, and so on.
I must say, I was initially quite reluctant to dive into this seemingly complicated domain. The mere idea of running a computer inside my computer was pretty intimidating. But I soon realized that the functionality it offers is indispensable, especially in today’s technologically advanced world.
Choosing the right virtual machine software
The first step to setting up a virtual machine is to choose the right software, and we have two main contenders – VirtualBox and VMware Player. VirtualBox is an open-source solution, which automatically gives it brownie points in my book, because who doesn’t love free stuff, right? On the other hand, VMware Player, although free for personal use, is a proprietary product.
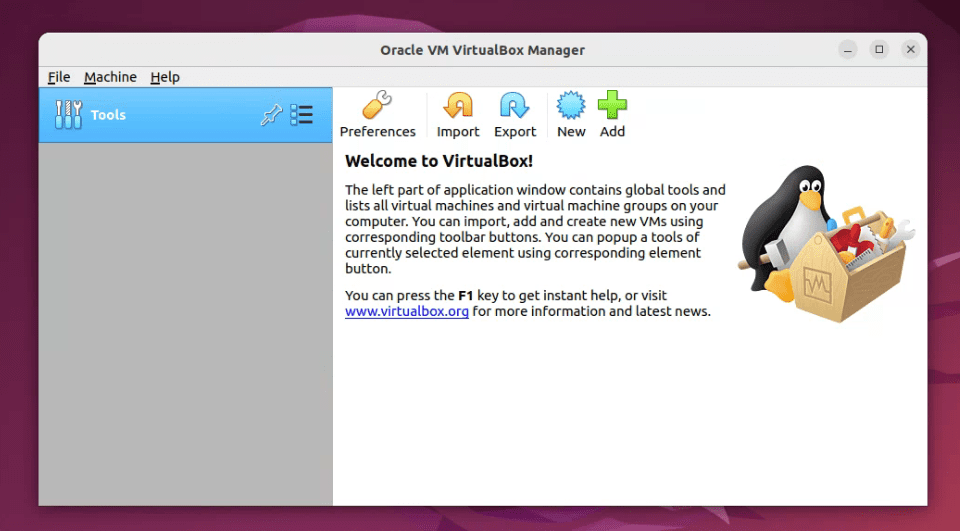
VirtualBox on Ubuntu
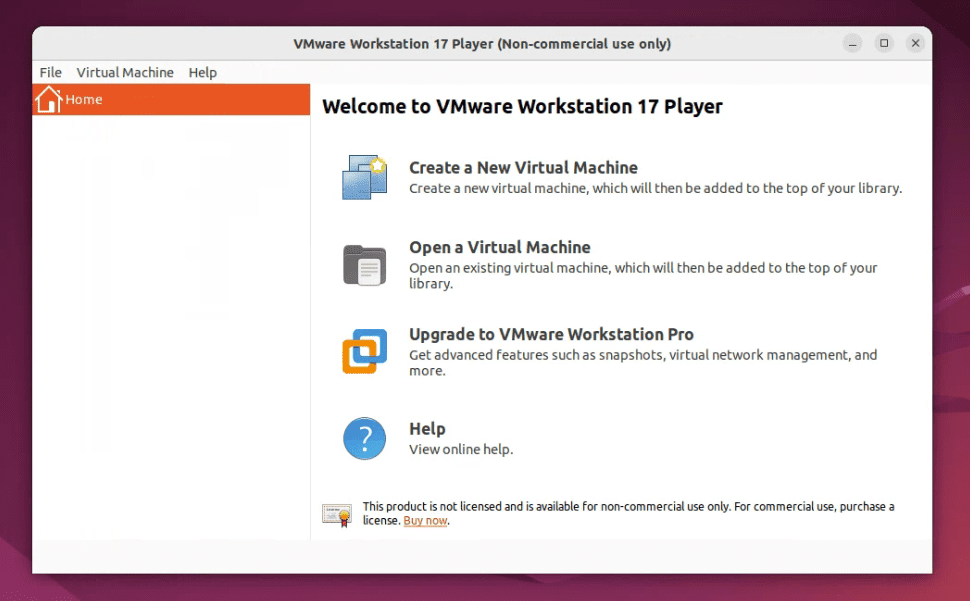
VMware Player Free Version on Ubuntu
Despite my personal affinity towards open-source solutions, I must admit that both applications have their unique strengths. VirtualBox shines in its cross-platform capabilities and broad guest support, while VMware Player impresses with its robustness and integration capabilities.
Installing VirtualBox on Ubuntu
Update your system: Before we begin, ensure your system is updated. Open Terminal and type the following commands:
sudo apt update
sudo apt upgrade
You would have to enter your password to execute these commands, as ‘sudo’ gives you super user privileges.
Install VirtualBox: After updating the system, let’s install VirtualBox. Type this command in the Terminal:
sudo apt install virtualbox
Pay attention to the progress in the terminal and enter “Y” when prompted.
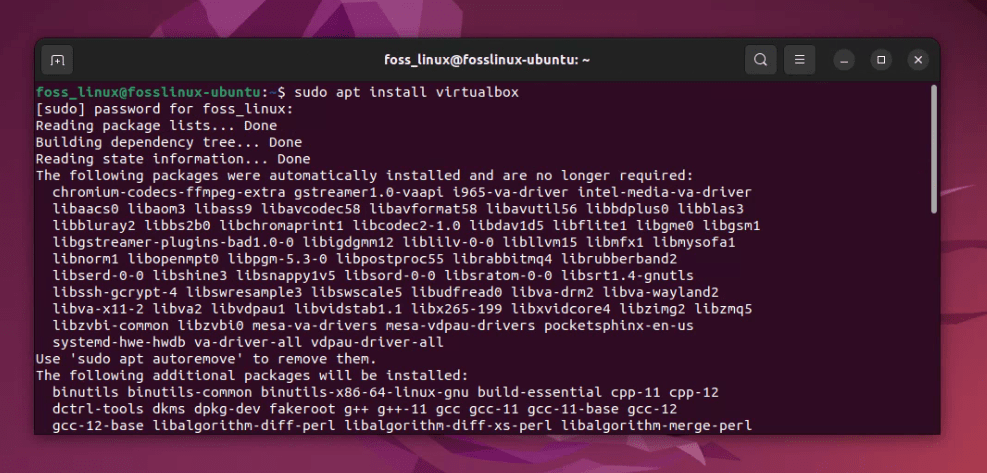
Installing VirtualBox on Ubuntu
Launch VirtualBox: Once the installation is complete, you can launch VirtualBox from the ‘Show Applications’ menu. Now, you’re ready to create your first virtual machine!
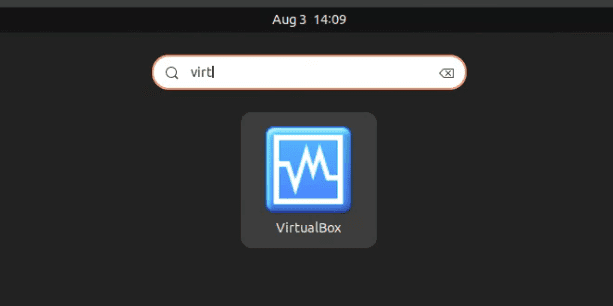
Launching VirtualBox on Ubuntu
Installing VMware Player on Ubuntu
Download VMware Player: Visit the VMware Player download page and download the latest version. I’ve had some issues with older versions in the past, so it’s always better to stick with the latest one. Ensure you download by file “VMware Workstation 17.0.2 Player for Linux 64-bit”.
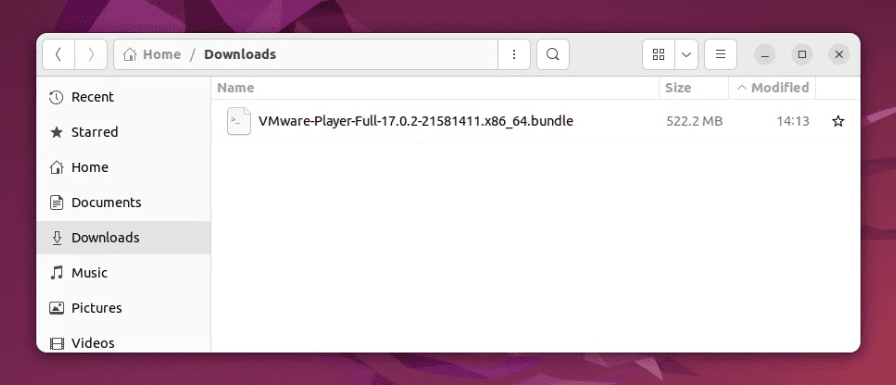
VMware Player downloaded
Make the download executable: You need to make the downloaded file executable. You can do this from the Terminal with the following command (replace ‘file_name’ with your downloaded file’s name).
sudo chmod +x file_name.bundle
Here is a tip. Just rename the downloaded file to something easy to type like for instance “vmware-player”. The default downloaded file as shown above is quite lengthy, and easy to miss type it in the Terminal.
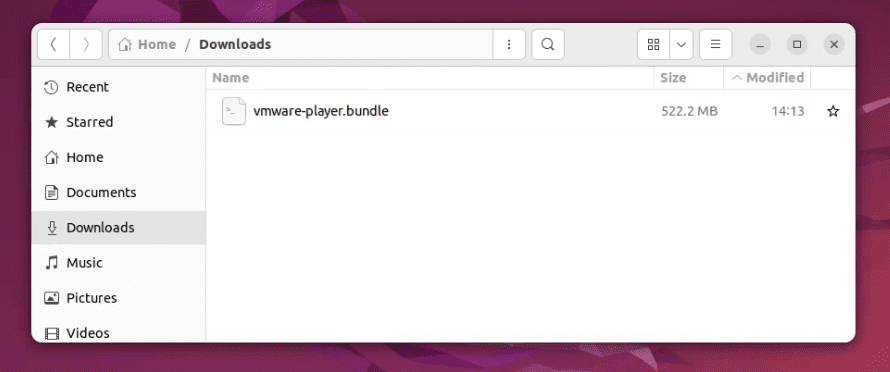
Renaming the downloaded VMware Player file
So, considering my tip above, the revised command should look something like this:
sudo chmod +x vmware-player.bundle
You can use the “cd” command to navigate to the directory like shown in the below screenshot.
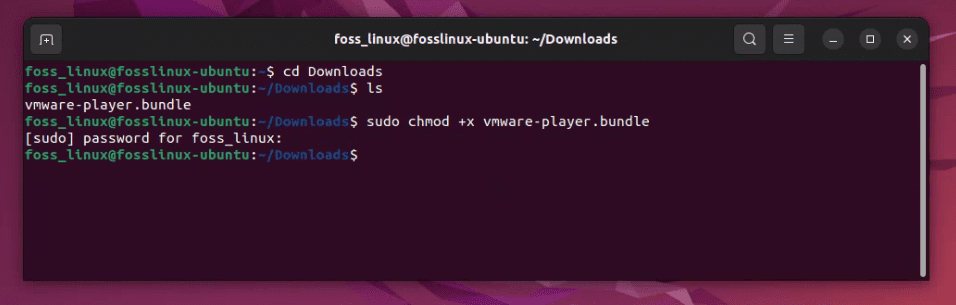
Applying permissions to the vmware player file
Install VMware Player: Now, run the following command to install VMware Player:
sudo ./file_name.bundle
In our example, the command should be:
sudo ./vmware-player.bundle
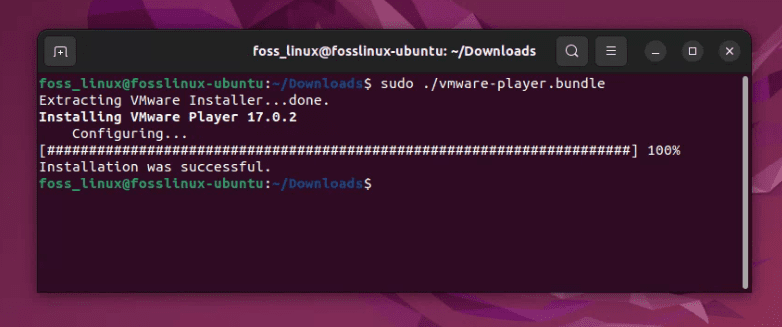
Installing VMware Player on Ubuntu
Launch VMware Player: After successful installation, you can find VMware Player in your ‘Show Applications’ menu. Voila! You’re all set to create your first virtual machine using VMware Player.
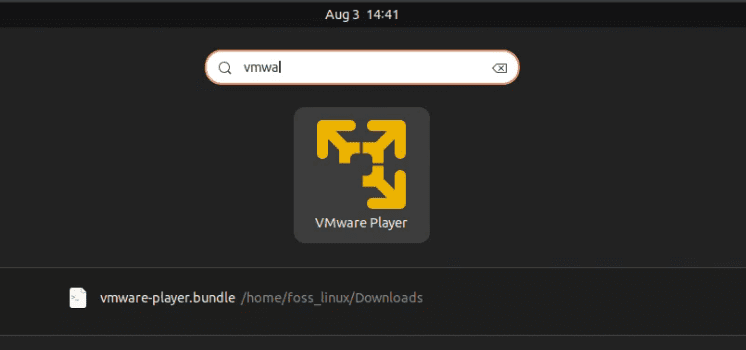
Launching VMware Player on Ubuntu
What’s Next After Installing VirtualBox or VMware Player?
Congratulations! You’ve successfully installed either VirtualBox or VMware Player on your Ubuntu system, a significant step into the world of virtualization. But what’s next? Let’s explore some exciting steps you can take after this initial setup.
Creating Your First Virtual Machine
Now that you have your virtualization software installed, the first logical step is to create your first virtual machine. Whether you want to test a new Linux distro, explore a different operating system like Windows, or create a safe testing environment for coding, the possibilities are endless.
While creating your VM, make sure to allocate appropriate resources like memory, CPU cores, and storage space. Remember, the performance of your VM will largely depend on how you configure these settings. But also be careful not to over-allocate, as it might affect your host system’s performance.
Recommend Articles:
- A step-by-step guide to installing Linux on VirtualBox
- Step-by-step guide to installing CentOS Stream on VirtualBox
- How to install Fedora on VirtualBox
Installing Guest Additions (VirtualBox) or VMware Tools (VMware Player)
For VirtualBox users, installing ‘Guest Additions’ should be your next step. Guest Additions significantly improves the functionality of your VM, providing features such as seamless mouse switching, shared folders, better video support, and a shared clipboard.
For VMware Player users, a similar tool exists – the ‘VMware Tools’. It provides enhanced graphics, improved device handling, and better performance.
Installing these tools will help to make your virtualization experience much more seamless and enjoyable.
Experiment with Different Operating Systems
One of the greatest advantages of virtual machines is that they allow you to run multiple operating systems on one machine. This provides an excellent opportunity to experiment with different OSes without the need to dual-boot or risk your primary system. So why not try out a new Linux distro or even a different operating system like FreeBSD or Windows?
Clone, Snapshot, and Backup
As you progress, learn to utilize advanced features like snapshots, clones, and backups. These features are not only for protection against potential mistakes or system failures but also for preserving the state of your system at a particular point in time. I can’t count the number of times I’ve been saved by a well-timed snapshot when experimenting with new software.
Network and Share
Last but not least, learn to network your virtual machines and share files between your host and guest systems. These can open up new horizons in your virtualization journey.
Remember, installing VirtualBox or VMware Player is just the beginning. The true fun begins as you dive deeper into the fascinating world of virtual machines. So, get started on creating your first VM and embark on this exciting journey!
Keep learning, keep exploring, and most importantly, keep enjoying the process!
Why VirtualBox is Often Recommended Over VMware Player for Linux Systems
One common question I encounter is why, despite the bells and whistles offered by both VirtualBox and VMware Player, VirtualBox is often recommended over VMware for Linux systems, particularly Ubuntu. Well, I believe it’s a combination of factors that lean in favor of VirtualBox in this context.
Open-source Advantage
Firstly, VirtualBox is an open-source solution, which resonates well with the Linux philosophy of open-source software and free distribution. This means that it’s subject to continuous improvements from a global community of developers. Consequently, issues and bugs usually get fixed rather quickly, and compatibility with various Linux distributions tends to be high.
Greater Flexibility
Secondly, VirtualBox offers greater flexibility, especially for those running different versions of Linux or even different operating systems altogether. VirtualBox supports a wide range of guest operating systems, making it more versatile. For a curious tinkerer who loves exploring different operating systems, VirtualBox has always been a friend in disguise.
Easy to Use
Thirdly, VirtualBox is incredibly easy to use, with a very intuitive interface. It’s quite straightforward to create and manage virtual machines, even for beginners. I remember when I was just starting my journey with virtual machines; the simplicity of VirtualBox eased my initiation into this new world. And I believe the same holds true for many Linux users, especially those who are new to the world of virtualization.
Robust Community Support
Lastly, due to its wide usage within the Linux community, VirtualBox enjoys robust community support. Numerous online forums, tutorials, and troubleshooting guides are available, making problem-solving a lot easier. There’s something comforting about knowing there’s a vast community ready to lend a hand when you encounter a snag.
However, I would like to mention that this does not mean VMware Player lacks capabilities. It’s quite powerful, and its strong integration features are indeed commendable. I’ve seen it perform exceptionally well in a corporate or enterprise environment.
But for a home user or a hobbyist working with Linux, VirtualBox often appears to be a more appealing choice. At the end of the day, the choice between VirtualBox and VMware Player will boil down to personal preference and specific requirements. Both are great tools, each with its own set of advantages. As for me, my heart leans slightly more towards VirtualBox when it comes to Linux. But again, your mileage may vary.
Pro Tips
Over the years, I’ve picked up a few tips and tricks that have considerably enhanced my VM experience. Here are some for you:
- Allocate enough resources: Ensure you allocate enough resources (CPU, RAM, and storage) to your virtual machines. But also keep in mind not to starve your host system. It’s a delicate balancing act, I must say!
- Use snapshots: One feature I can’t stress enough is the ‘snapshot’. It saves the current state of your VM and lets you revert back to it anytime. It has saved me from many mishaps!
- Install Guest Additions in VirtualBox: This feature in VirtualBox enhances your VM by providing better video support, seamless mouse switching, shared clipboard, and more.
- Use Unity Mode in VMware: Unity Mode in VMware integrates your guest applications with your host system, making it feel like they’re part of the same system.
Conclusion
Virtual machines are invaluable tools that provide flexibility and security to both developers and general users alike. Whether you prefer VirtualBox or VMware Player, the experience of creating a digital sandbox within your computer is a thrilling experience. Although it may seem daunting initially, the journey is definitely worth it as you can now play with several Linux distros inside your Ubuntu OS. I hope this guide has been helpful. Let me know your experiences in the comments below.