
Device temperature control has proven vital for any user’s machine. Unfortunately, most of the time, your PC or laptop gets too hot because the diverse parts and components of the laptop are closely coupled together. This is evident in small/slim laptops as there seems to be little space for airflow between the laptop components. With the reduced airflow in your system, the heat can harm the physical components of the PC.
The Central Processing Unit (CPU), a latency-optimized general-purpose processor designed to handle a wide array of distinct tasks sequentially, or Graphics Processing Unit (GPU), a throughout-optimized specialized processor designed for high-end parallel computing, depends entirely on the usage of running programs or applications. Sensitive computer elements such as CPUs have a finite lifespan, and running them at a temperature that exceeds a specific limit can shorten their lifespan. It can additionally cause thermal throttling, especially in cases where the fan is not providing adequate cooling.
Believe it or not, it is essential to monitor your system’s CPU temperature to avoid damage due to overheating. This tutorial will highlight and share some valuable tips on installing temperature sensor packages on elementary OS and other Debian-based distros. To emphasize, we will look at the command line method and conclude with the GUI method of CPU and HDD temperature monitoring.
Monitoring the hard disk and CPU temperatures on elementary OS
Step 1: Update the system
We will first update our system to install the temperature sensors properly. After updating our system, in some cases, you might find your system with several packages that need to be upgraded. If that is the instance, then you need to update and upgrade your system as follows:
Update command:
sudo apt update
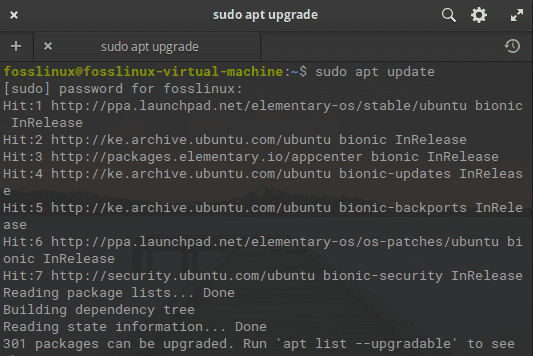
update system
Immediately after you run the update command, the system will prompt you to input your sudo password for the apt update to start. So after keying your password, press “Enter” to proceed.
Note: During the installation process, you will be queried, “Do you want to continue?” So, type “Y” or “y” and press “Enter” to proceed with the update process.
Step 2: Update error
In some cases, you might trip into some third party errors while updating apt; if that is the case, run the following command to fix the missing package:
sudo apt upgrade –fix-missing
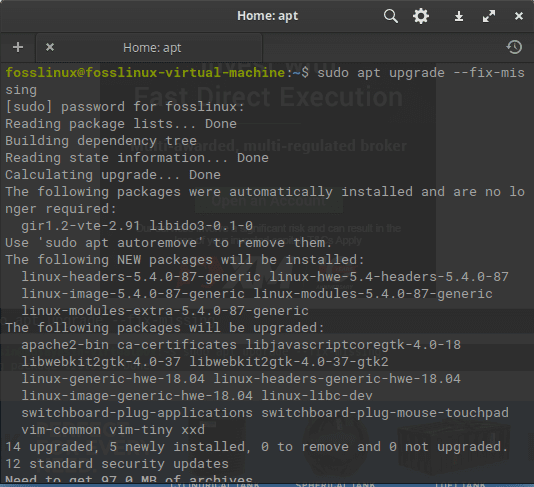
fix command
Upon running the commands, be patient for a while for the system to update. After that, run the upgrade command:
Upgrade command:
sudo apt upgrade
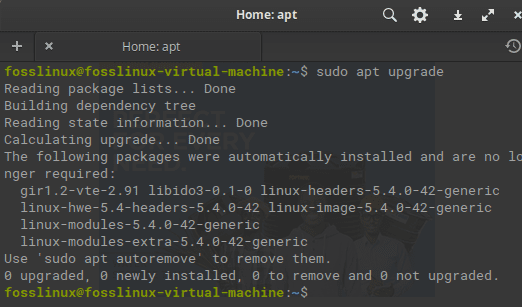
upgrade command
Without further ado, we will start by looking at how to monitor the CPU temperature.
CPU temperature monitoring
The sensor instruction monitors the current sensor chips and CPU temperature in a Linux OS. So, in this case, you need to counter-check the already configured sensors on your elementary system. For this course, we will make use of the following command to achieve this:
sensors
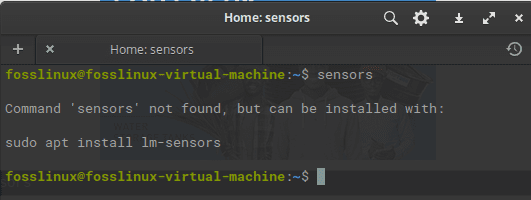
we have no sensors
Upon running the command, you should see system adapters, chips, and CPU temperature information. As you can see, it is clear that our elementary system lacks sensors. So we will go ahead and install the sensors into our system.
To check for HDD, SSD, and CPU temperature, you need to install some hddtemp package and ls-sensor package. So, it would be best to look for sensors compatible with your system using the following commands separately.
apt-cache search lm-sensors
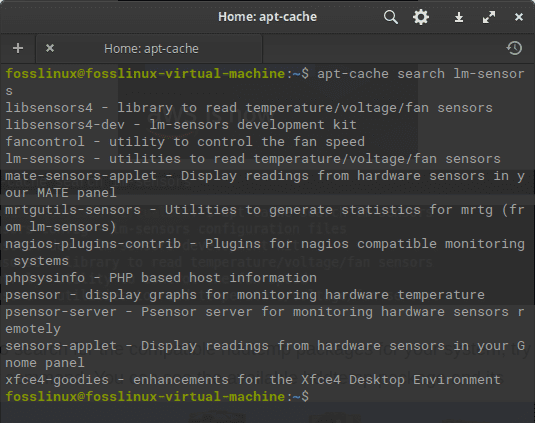
sensor search
The above command will show all the available lm-sensors packages and their specifications in the image.
Now, to search for the attuned/compatible hddtemp packages for your system, run the following command, and you should see the available hddtemp package and its specifications.
apt-cache search hddtemp
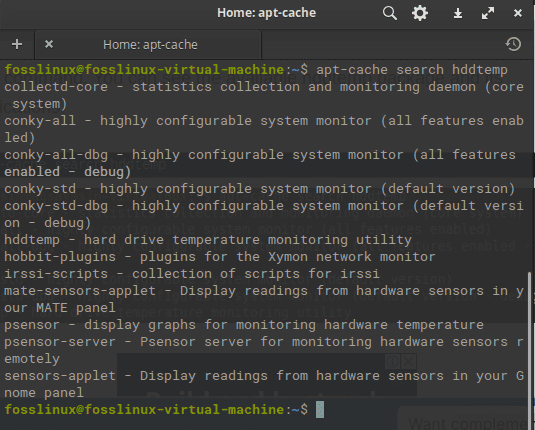
compatible HDD
The two listed commands will only display the available lm-sensors and hddtemp, respectively, without being installed in your system. Better still, we have made this easier for you as we will break down the installation steps of the two features for you.
How to install lm-sensors and HDDtemp in elementary OS
After a successful apt update, you need to install lm-sensor and HDDtemp in your elementary OS. To do this, run the following commands:
sudo apt install lm-sensors
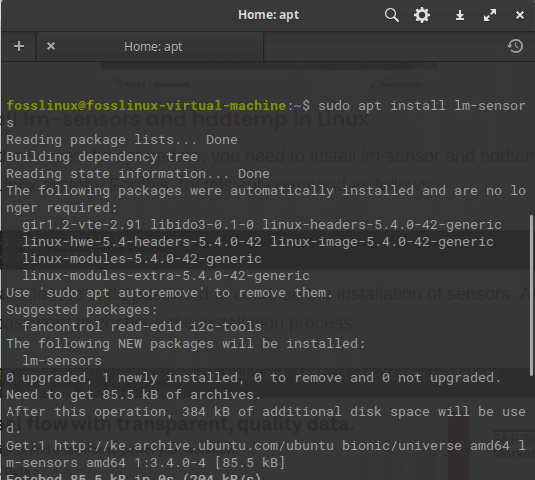
install lm-sensors
After installing the lm-sensors, we will go ahead and install hddtemp using the following command:
sudo apt install hddtemp
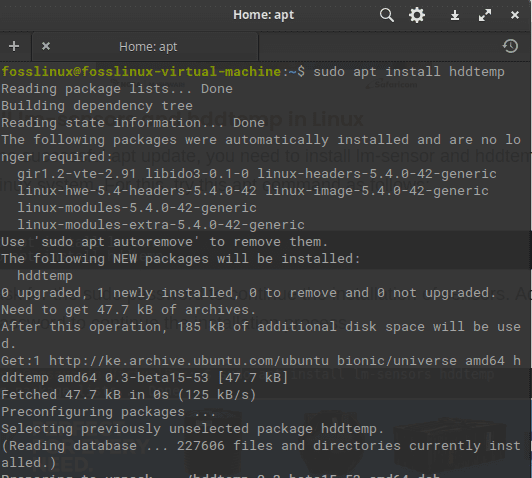
install HDD temp
Note: After running each of the two commands, you will be asked to key in the sudo password for the process to continue. So, what you do here is only enter your PC password, and the installation process will be underway.
Detect Hardware Monitoring Chips
After some time of patience, the lm-sensors will be installed on your system, and you should be able to cross-check the hardware monitoring chips that you recently installed to your elementary system using the following command:
sudo sensors-detect
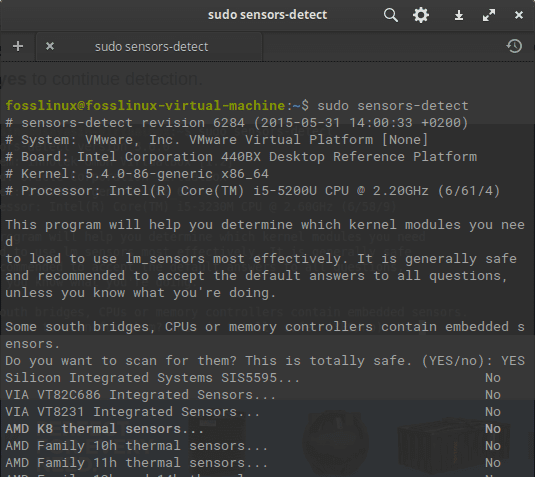
sensors detect
If you run the command, you will be asked to enter your sudo password for the command to run the process. After typing your password, hit the “Enter” button, and it will affirm your action by querying you to type “Yes” or “No.” And to detect the hardware, we suggest typing “yes.”
The sensors-detect command will ensure that you can check for info concerning your elementary system’s already entrenched sensors in the CPU and hardware monitoring chips. Now add the sensor command again to help view the temperature of the CPU. Finally, if this does not work for you, try the GUI method in your elementary system.
sensors
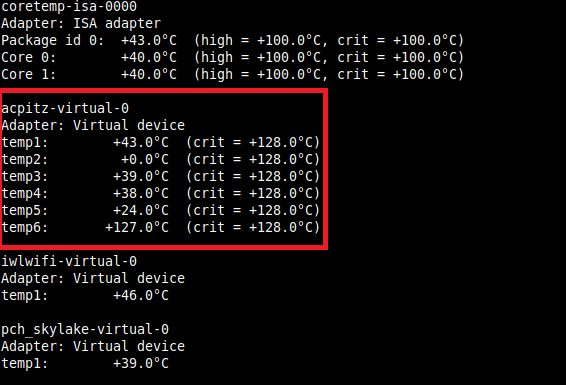
sensors command
Using GUI tools
Installing Psensor
Interestingly, the Psensor’s new update Psensor offers elementary OS with an applet predictor that simplifies the device’s temperature control on the elementary system and other Linux distros. On the other preview pane side, you can decide to display the device temperature levels. When the temperature reaches the threshold, it will give you a desktop notification update. Now, after installing and enabling lm-sensor and hddtemp, we can finally install Psensor on our elementary OS. To install Psensor, run the following command:
sudo apt install psensor
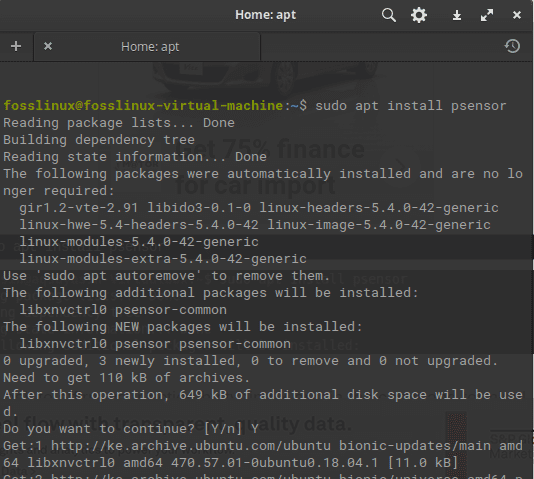
install psensor
During the installation, you may be asked to affirm your action by typing Y or y to accept or N to cancel. So, type “y” to continue. Upon completion, the Psensors should be installed and ready for your system.
After that, navigate to the Menu bar of your elementary OS, and search for Psensor. After finding the application, click on it to open it.
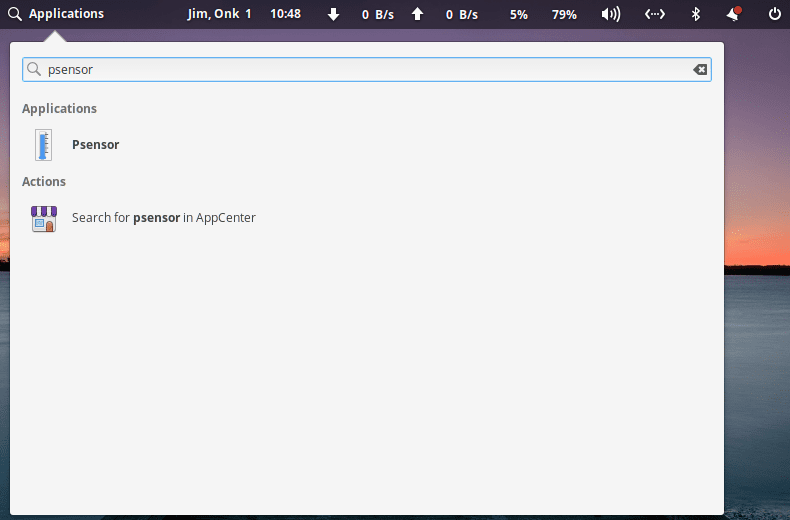
open psensor
Once you open it, you will see the graph displaying your CPU’s statistics in the Psensor temperature monitor window.
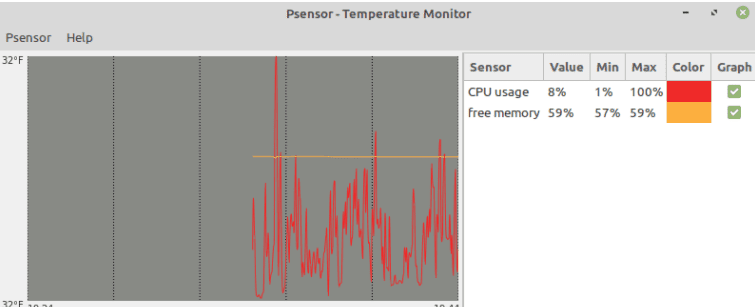
temperature graph
To update your preference, maneuver to the top menu, and click on Psensor. After that, go to the Sensor preferences and update graph settings.
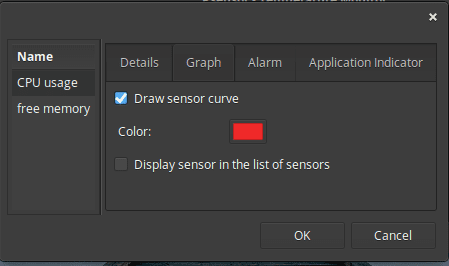
graph preference
Check the box next to the Active desktop notification to get notified.
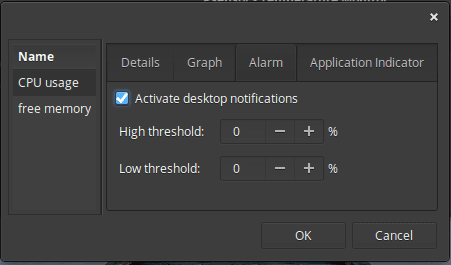
check to activate notifications
Additionally, you are allowed to customize the Psensor display to your preference.
customize sensor
If you want to modify the temperature units, go to the topmost menu and click on Psensor. After that, click on Preferences to update. You can either select Celsius or Fahrenheit As well.
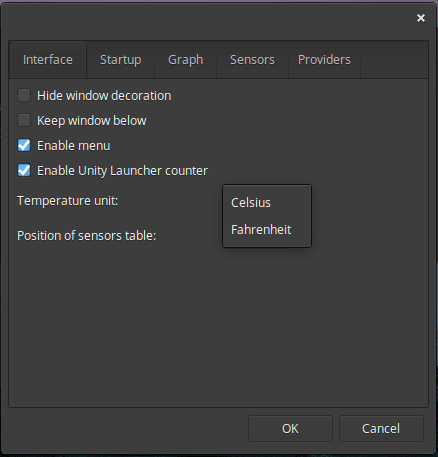
units change
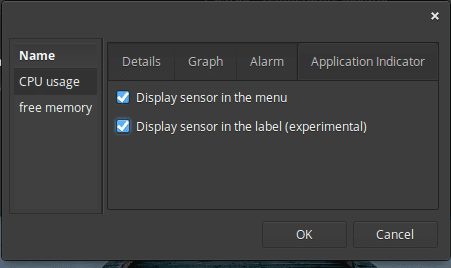
You can also modify the graph preference as per your choice.

change graph preference
You can permit the different provider’s support from it and check-marking the provider’s packages.
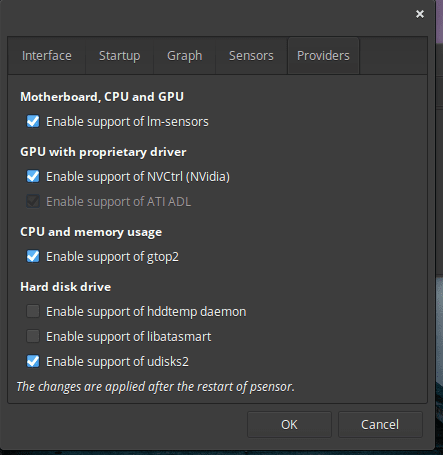
providers
How to uninstall Psensor
If you want to uninstall Psensor for any reason, then this section is for you, pal. To do this, run the following command:
sudo apt remove psensor
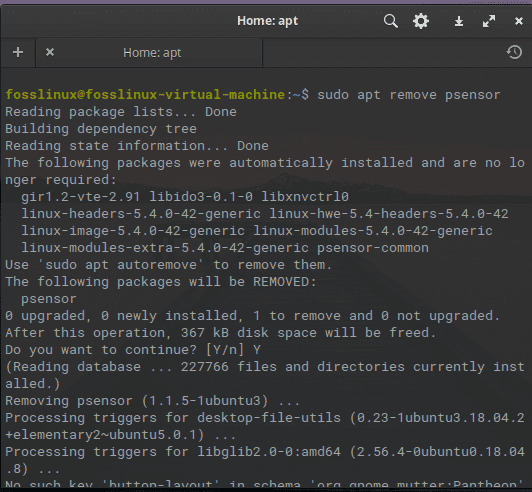
uninstall psensor
During the uninstallation, you would be asked to confirm the continuation of the process, type “y” or “Y,” and you should be good to go.
Apart from Psensor, here are some other useful command-line tools to aid you in keeping a close eye on the CPU and HDD temperature.
1. Glances
This is a cross-platform, advanced, well-known real-time system monitoring tool that boosts functionality by using the psutil library to collect data/information from various sources.
The application can display information from sensors using the psutil and or hddtemp tools. Interestingly, the app has a web server mode that allows you to access it through a web browser to monitor your Linux server remotely.
Generally, there are various ways to install Glances on your system, but the most preferred is an auto-install script, as it installs the latest production-ready version.
To install Glances to your elementary OS, use curl or the wget command as displayed below:
curl -L https://bit.ly/glances | /bin/bash

wget -O- https://bit.ly/glances | /bin/bash
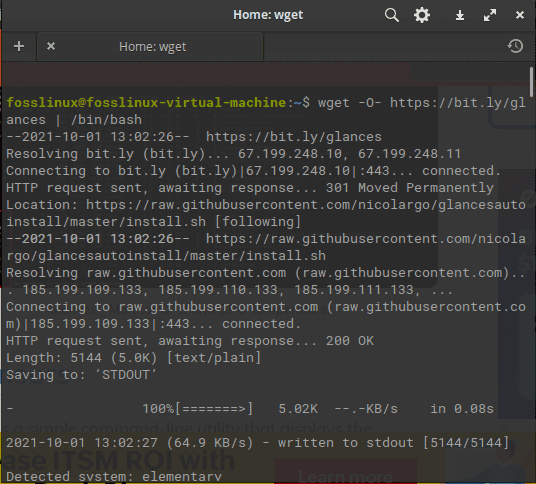
install glances
Once installed, start the app by typing glances on your terminal session to view sensors information
glances
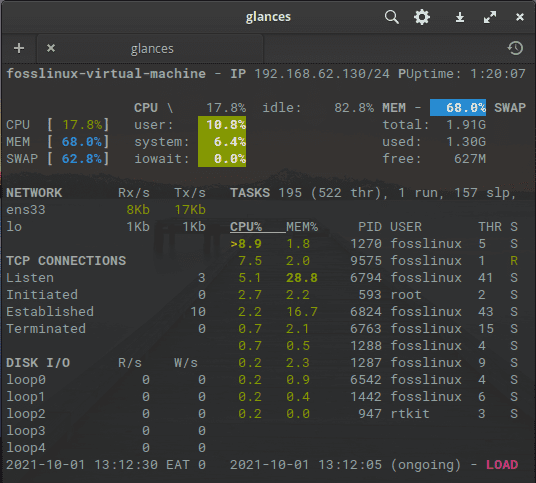
glances in action
2. Hardinfo
This is a flimsy system profiler tool designed for hardware analysis and report generation. The software features comprehensive reports on system hardware and allows the creation of Hypertext Markup Language (HTML) reports on your system’s hardware.
The installation process is super easy. Run the following command:
sudo apt install hardinfo
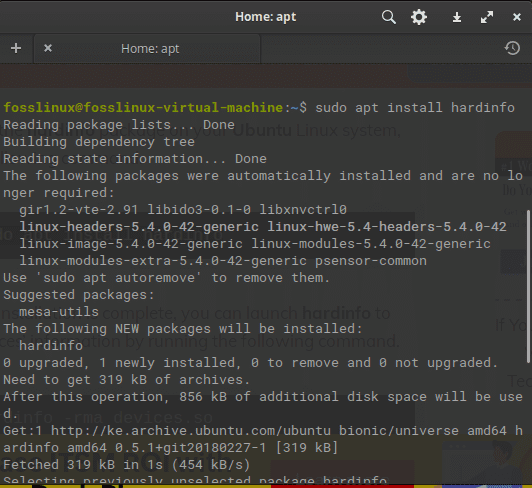
install hard info
After the installation is over, you can fire up the hardinfo to view devices’ information by running the following command:
hardinfo -rma devices.so
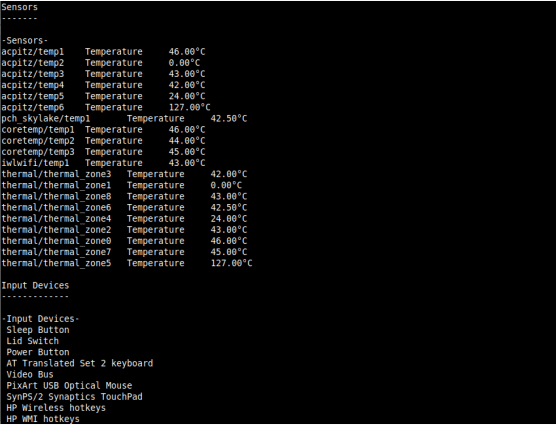
hard information devices
To launch the Graphical User Interface of the application, just run the following command
Hardinfo
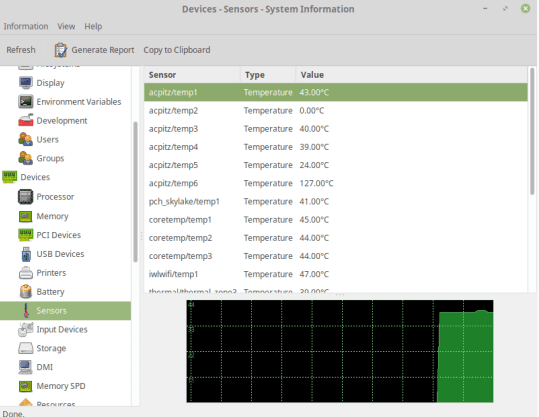
hard info
3. I7z
This tiny command-line utility software reports Intel Core i3,i5, and i3 CPU information, including temperatures. You can have this software installed in your elementary OS via the following command:
sudo apt install i7z
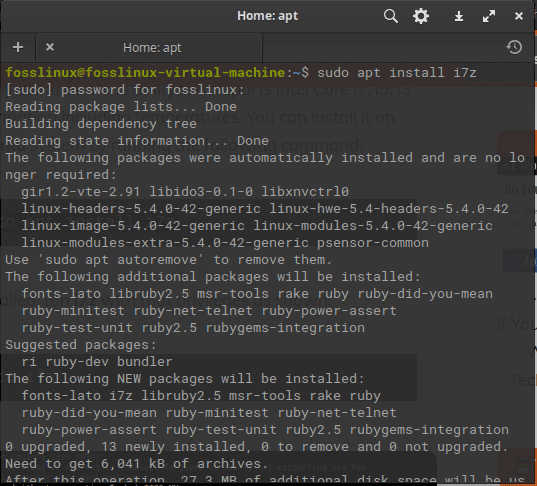
install i7z
Once installed, you can run the application with root privileges as displayed by the following command:
sudo i7z
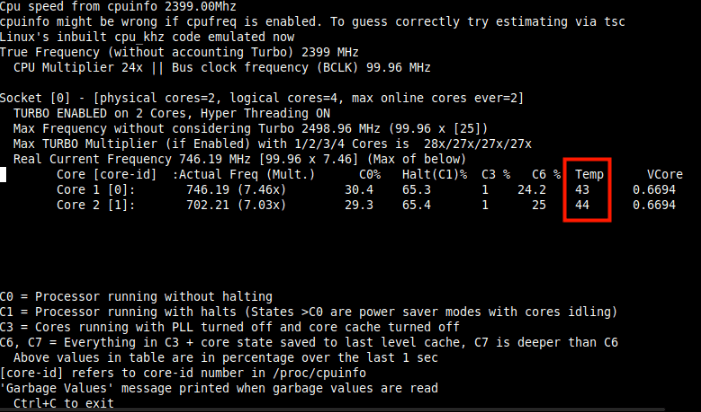
i7z in action
Conclusion
So, this was a dry run of how one can monitor their hard disk and CPU temperatures on elementary OS. First, we looked at the command-line way and the Graphical User Interface (GUI) representation of temperature monitoring. Then, on the GUI method, we installed Psensor, a customizable application feature to check CPU temperature on any Linux-based distro.
The app helps one easily measure the different temperatures of the system components to be aware of the system overheating during gaming, overclocking or any other strenuous tasks. After that, we looked at other alternatives of the psensor that you should be well versed with. To this end, we hope this article has helped cover steps to monitor hard disk and CPU temperatures on elementary OS. Thanks for reading! And in case of anything, do not hesitate to reach out.
1 comment
sudo apt install glances
this is up to date