
Downloading movies and copying them over to your home server can get frustrating, especially if you are doing it daily! What if you have an option to download videos automatically, quickly, and above all with excellent quality. CouchPotato allows you to download movies easily once they are available and released automatically.
CouchPotato
CouchPotato is a free, opensource automatic NZB and torrent downloader. It is a cross-platform software able to run on the most popular operating systems. Here is how it works, first you need to add what you want to watch to CouchPotato. CouchPotato has a built-in list named “Want to Watch”. Next, CouchPotato will perform all the remaining job for you; it will search for your movies in various multiple Torrent websites. Then when it reaches for the best potential match, it will start downloading the movie immediately through your favorable download application.
CouchPotato
In this tutorial, we are going to walk you through the installation of CouchPotato on your Ubuntu machine. But before starting the installation process, kindly ensure that your system is updated using the following two commands:
sudo apt update
sudo apt upgrade
Now let’s begin installing the CouchPotato using the below-detailed steps.
Installing CouchPotato on Ubuntu
Prerequisites
CouchPotato has some requirements that are needed to be installed on your machine before starting the CouchPotato installation. Open the Terminal and execute the following command to install Python.
sudo apt install python git
Pay attention to the Terminal and enter ‘Y’ when prompted.
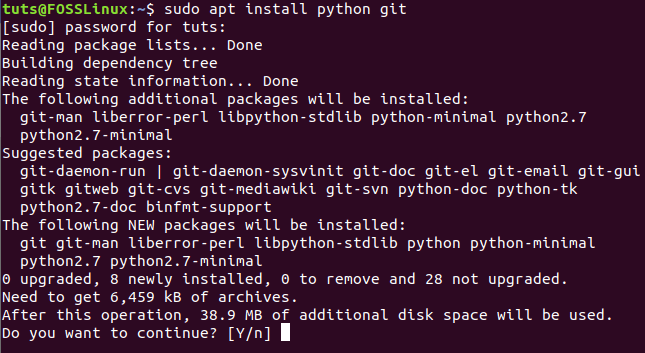
Install Prerequisites For CouchPotato
Creating Required CouchPotato Directory
After successfully installing the CouchPotato prerequisites, we can now create the needed Directory to start installing the CouchPotato application.
Step 1. Execute the below command to create new CouchPotato Directory in the “opt” directory:
sudo mkdir /opt/couchpotato

Create CouchPotato Directory
Step 2. Move to the newly created CouchPotato directory to change your current location.
cd /opt/couchpotato
Move To the CouchPotato Directory
Get a CouchPotato Clone From Github
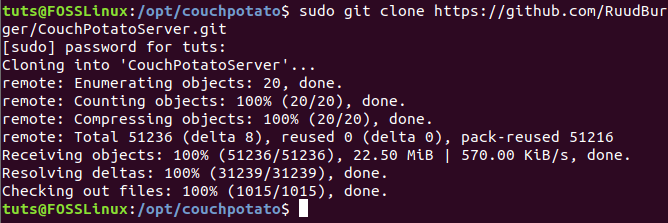
Now you can get a CoughPotato clone from the Github using the below command.
sudo git clone https://github.com/RuudBurger/CouchPotatoServer.git
Copy init CouchPotato File to init Directory
Post-installation Configurations
At this point, we can configure the CouchPotato to start with every boot.
Step 1. Copy the CouchPotato file to the “init.d” Directory.
sudo cp CouchPotatoServer/init/ubuntu /etc/init.d/couchpotato

Copy init CouchPotato File to init Directory
Step 2. Then let’s grant the CouchPotato file an execute permission as follows:
sudo chmod +x /etc/init.d/couchpotato
Grant Execute Permissions on Copied File
Step 3. Next, let’s create a CouchPotato file using the command:
Create CouchPotato Configuration File
The previous command will create a new file just place the next few lines in the generated file:
CP_USER=USERNAME
CP_HOME=/opt/couchpotato/CouchPotatoServer
CP_DATA=/home/USERNAME/couchpotato
As you can notice, you just need to replace the USERNAME with your username, as in the below screenshot. Next, save the configuration file and exit it.
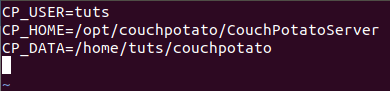
Edit CouchPotato Configuration File
Step 4. Execute the following command to update the boot sequence.
sudo update-rc.d couchpotato defaults
Update Boot Sequence
Step 5. Now you can start the CouchPotato service.
sudo service couchpotato start
Start CouchPotato Service
Just in case, if you needed to stop the CouchPotato service, use:
sudo service couchpotato stop
Step 6. To check if the CouchPotato is up and running:
sudo service couchpotato status
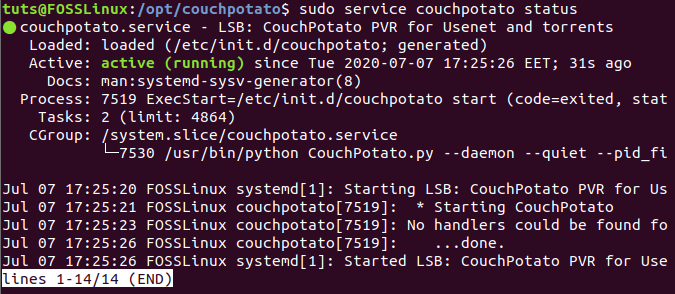
Check CouchPotato Service Status
Open The CouchPotato WebPage
After you have successfully configured the CouchPotato application, you can now open the CouchPotato webpage.
Step 1. Launch your favorite web browser.
Step 2. Go to the below URL to open the CouchPotato:
http://localhost:5050/wizard/
You should see the CouchPotato welcome page.
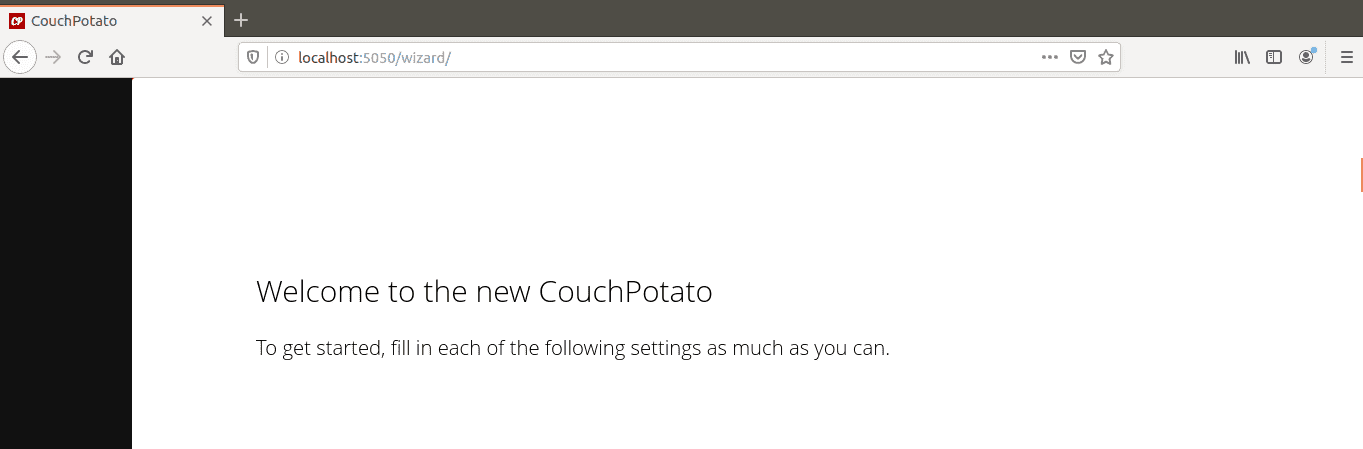
CouchPotato Home Page
Step 2. Scroll down and configure the settings you need.
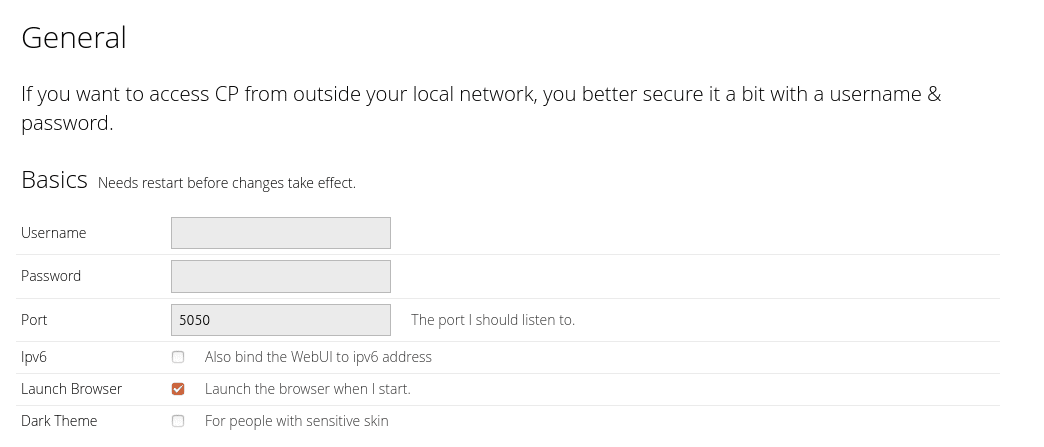
CouchPotato Preferences
Step 3. When you reach the end of the page, you can press the “I’m ready to start” button.
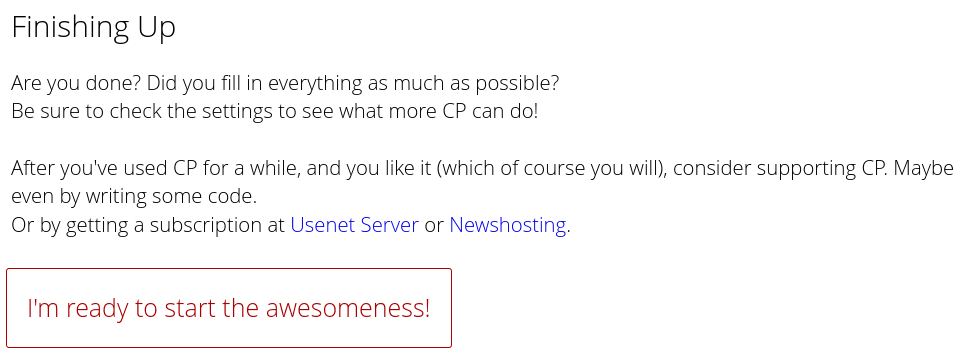
Ready To Start CouchPotato
Step 4. You will get a login screen where you can use the username you have previously added in the CouchPotato configuration file.
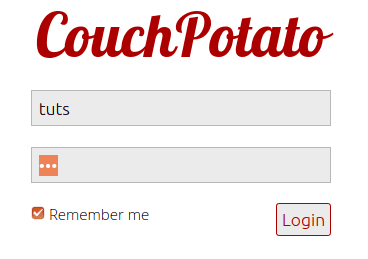
Login to CouchPotato
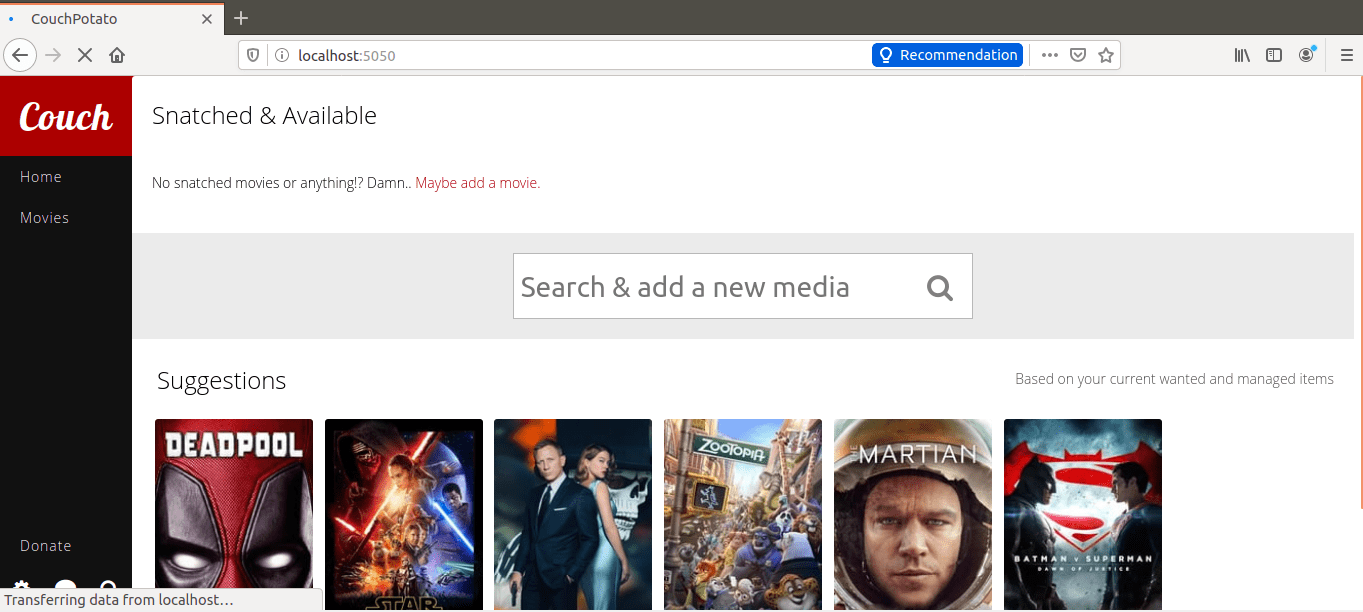
Welcome to the CouchPotato, where you can search for the media you need to download and let CouchPotato download it for you.
Welcome To CouchPotato
Congratulations! You have just installed and configured the CouchPotato application successfully on your Ubuntu PC. We had used Ubuntu 20.04 LTS on our test PC. Still, the tutorial is expected to work on older Ubuntu versions as well as on the Ubuntu derivatives, including elementary OS, Linux Mint, Pop!_OS, and more.
1 comment
I love how clear and detailed the explanation is: I followed your instructions exactly but got the following when I tried to start the service:
Job for couchpotato.service failed because the control process exited with error code.
See “systemctl status couchpotato.service” and “journalctl -xe” for details.
ralph@Zini:/opt/couchpotato$
I don’t know if this matters but I substituted “Username” as this:
CP_USER=humvee4me916 (my CP login name)
CP_HOME=/opt/couchpotato/CouchPotatoServer
CP_DATA=/home/ralph/couchpotato (my ubuntu name)
Any pointers?
Ralph