
Previously, we have looked at different posts like How to dual-boot Ubuntu and Windows, How to dual-boot Ubuntu and Fedora, How to dual-boot Linux Mint and Windows, and much more. This post will look at how to dual-boot Deepin Linux and Windows on your PC.
Deepin is a Chinese Linux distribution based on the stable release of Debian. Earlier versions before version 15 were based on Ubuntu until that changed. A unique feature with this Linux distro is the clean graphical user interface. For Windows users who want to migrate to Linux systems, Deepin Linux will give you a nearly similar user experience as the Windows User interface.
Additionally, it features its own unique Desktop Environment called DDE, the Deepin Desktop Environment, built on Qt. For this particular article, we won’t dive deeper into the various features of Deepin Linux; however, our post on Top 10 New Features of Deepin Linux 20 will give you a clear insight into this captivating Linux distribution.
To dual-boot the Windows operating system with any Linux distribution, we highly recommend you first start by installing Windows followed by the Linux OS. That’s’ because if you install Windows after installing Linux (say Deepin Linux), your Linux OS won’t start since Windows will overwrite the Linux GRUB boot loader with its own boot loader. In such a situation, you will be forced to install GRUB manually, which can be quite a tiresome process.
Requirements
- An already installed Windows operating system – As described above, ensure you first install Windows on your target hard drive.
- The Deepin Linux ISO file.
- A working USB drive (at least 4GB)
Create a Partition to install Deepin Linux
If you are an advanced Linux user, you can partition your drive while installing Deepin Linux. However, with that method, you risk losing important data in case of any slight mistake.
In this tutorial, we recommend creating the partition from your Windows OS. Follow the steps below.
- Login into your Windows system.
- Hit the start button (Windows key) and type the word “diskmgmt.msc” and hit Enter to open the Disk management application.
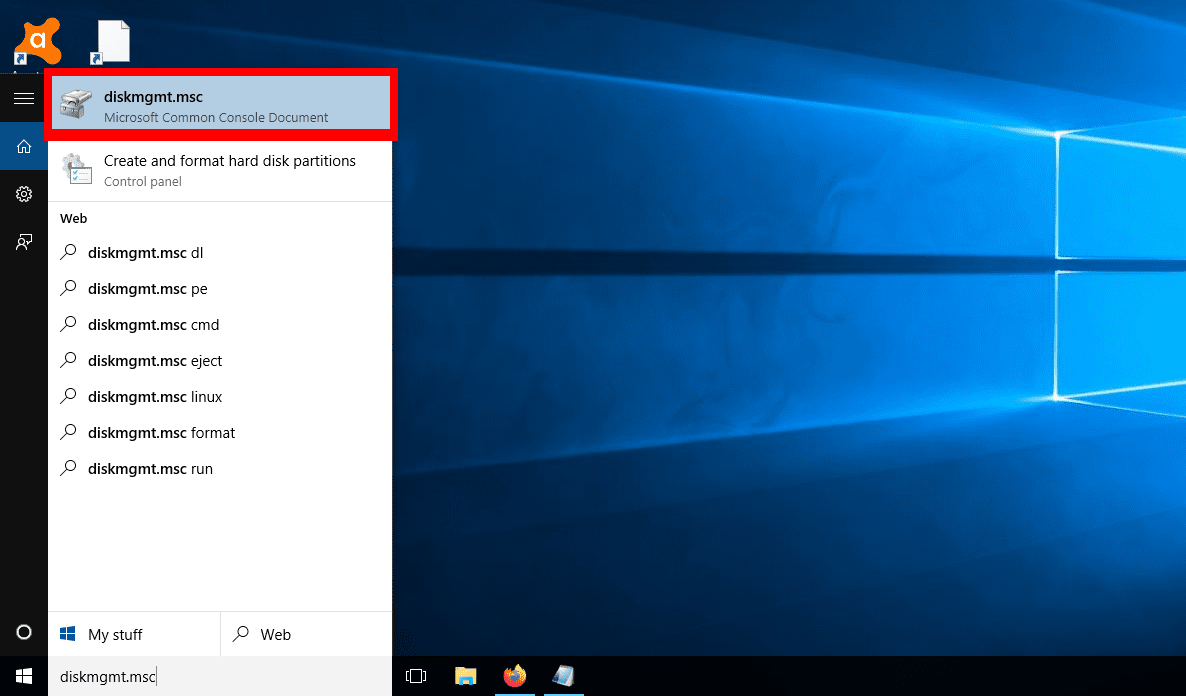
Disk Management App
- Here, you will see the different partitions on your Hard drive, as shown in the image below.
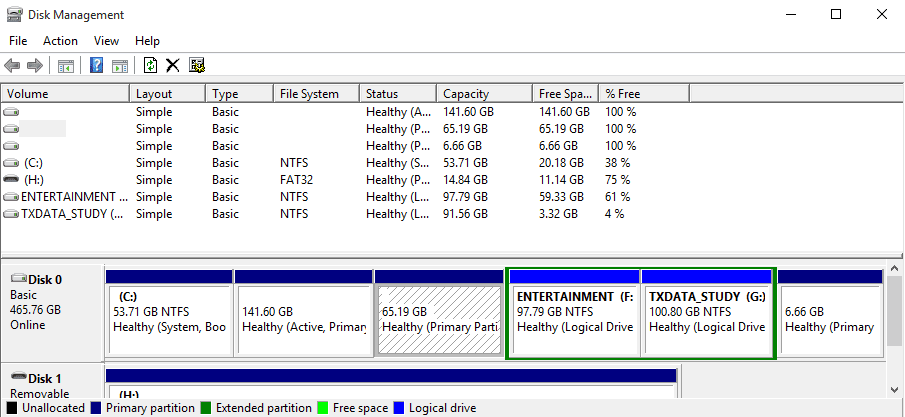
Partitions
- To create a new partition, you can either shrink a larger partition and create a new smaller partition or delete/format one of the existing volumes. In my case, I already had a partition installed with Parrot OS – the 65.19 GB volume. I will delete it and install Deepin Linux on this partition.
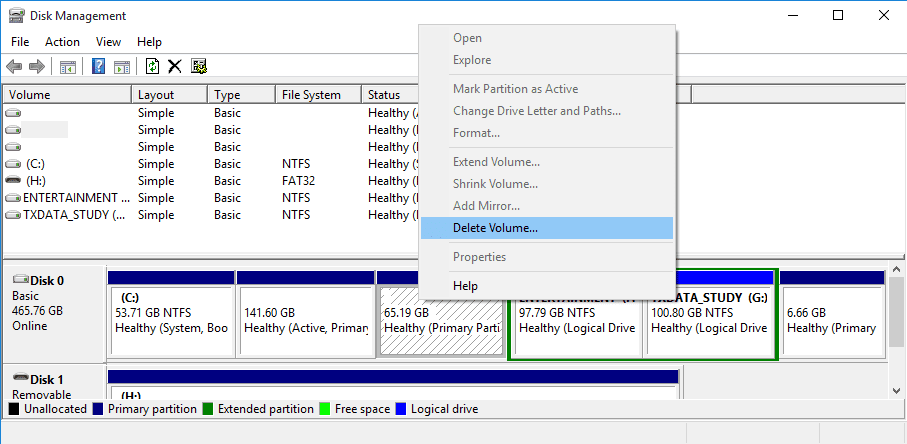
Delete Volume
- This action will create a new space, as shown in the image below.
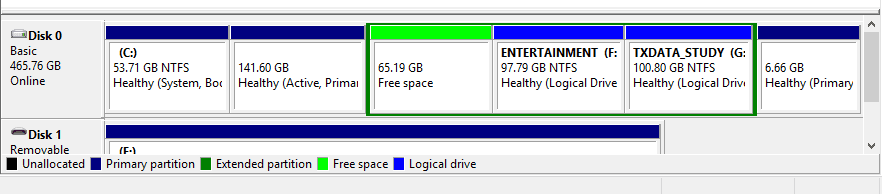
Free Space
That’s’ it; now we have a partition to install our Deepin Linux.
Creating a Bootable USB drive of Deepin Linux
Assuming you have already downloaded the Deepin Linux ISO, we now need to make it bootable on our USB drive. You can use several tools, including to create a bootable USB drive on windows, including Rufus, PowerISO (my favorite), and Balen Etcher. Follow the steps below to create a bootable USB with Balena Etcher.
- Download and install the Balena Etcher application for Windows from their official website. Use the link below.
2. Launch the application. The application main window will open, presenting you with three main options – Flash from File/Flash from URL, Select Drive, and Flash.
3. Click on the select image and browse to where you have downloaded the Deepin Linux ISO image.
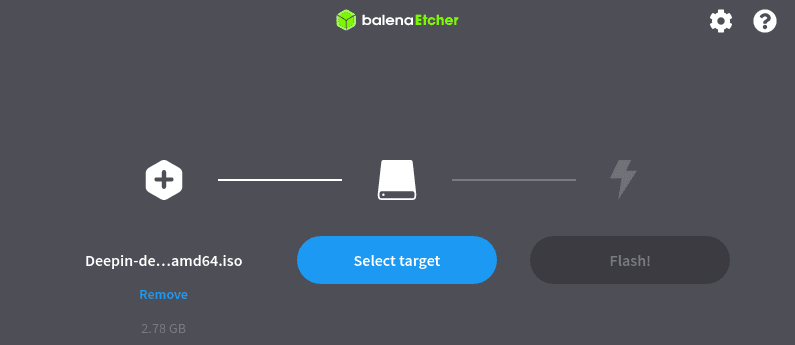
Select Image
4. Click on Select Drive and choose the USB drive you wish to make bootable.
5. Click Flash to start creating a bootable USB drive of Deepin Linux.
Installing Deepin Linux alongside Windows
Once you have a bootable USB drive of Deepin Linux, use it to boot your PC. You might be required to change the regular boot order. Our post on How to Boot your Windows or Linux PC from a USB Drive gives you a detailed table with the various keys used to launch the boot menu for some popular PC brands. After a successful boot, you should see the Deepin boot menu screen as in the image below.
Please note that it might be slightly different depending on the Deepin version you are installing.
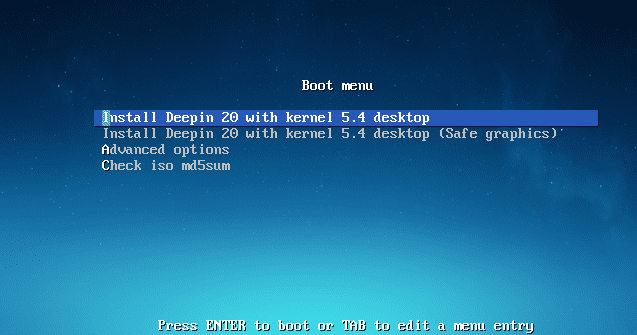
Deepin Boot menu
In my case, I will select the first option – Install Deepin 20 with kernel 5.4 Desktop. Hit Enter. That will load the Deepin Installer.
The first screen that will appear is the Select Language and User Agreement screen. Select the language you wish to use for installation and mark the checkboxes for Agreeing to Deepin Licenses. Click Next.
On the next screen, you will get the Create Partitions option. Here, you will see two tabs – Advanced and Full Disk. Click on Advanced to reveal all the partitions on your hard drive. You will notice my partitions are not the same as I had created above when we’re looking at creating a Partition to install Deepin Linux. I am dual-booting on a virtual machine (Virtual Box) to take clear screenshots.
Now, select your target partition, and you will notice a small icon appear at the right-end side of the partition.
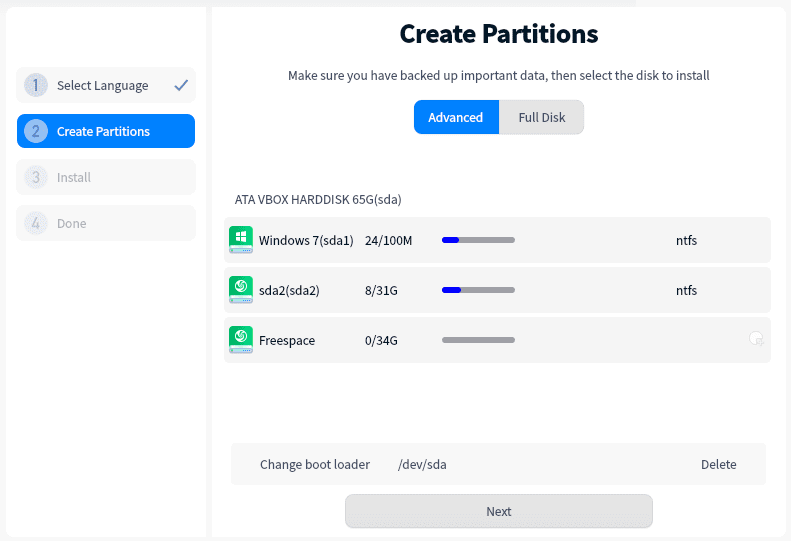
Create partitions
Click on that icon—a small window will pop-up giving you the various options to set up your partition. You will see four options, as shown in the image below. Please remember to set the File system as ext4 and the Mount point as root, represented with the sign “/”. Once done, click Create.
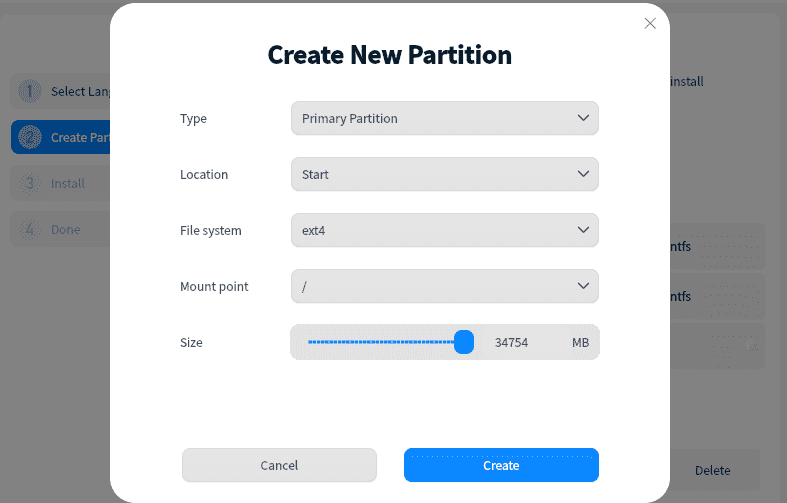
Setup partition
You will now see your target partition with the message “Install Here,” as shown below. Click Next.
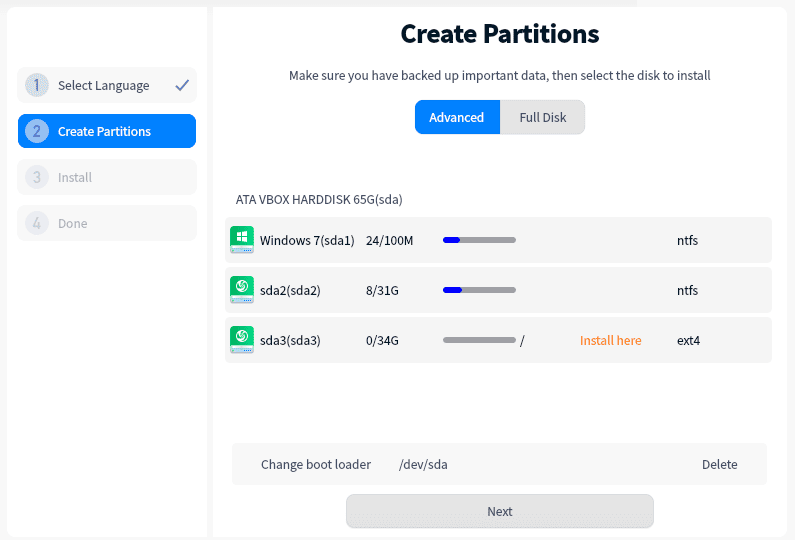
Install Here
You will see the Ready to Install screen, which will show you the partition changes you have made. Click Continue.
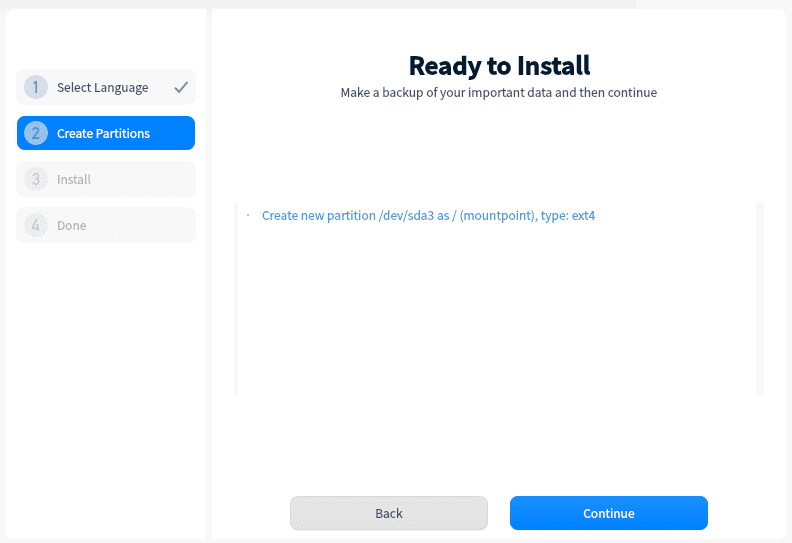
Ready to Install
Deepin Linux will start to install on your PC. That might take some time – please be patient.
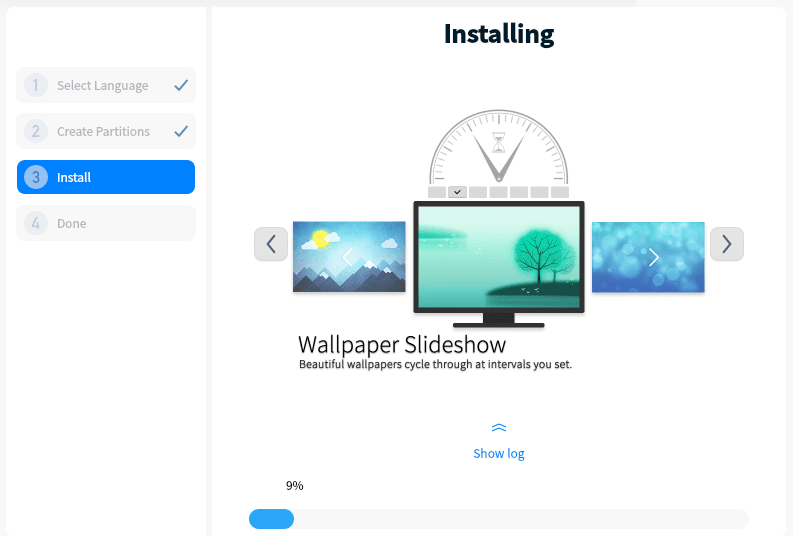
Installing
Once the installation process completes, you will get the Successfully Installed message. Click the Reboot Now button to restart your PC.
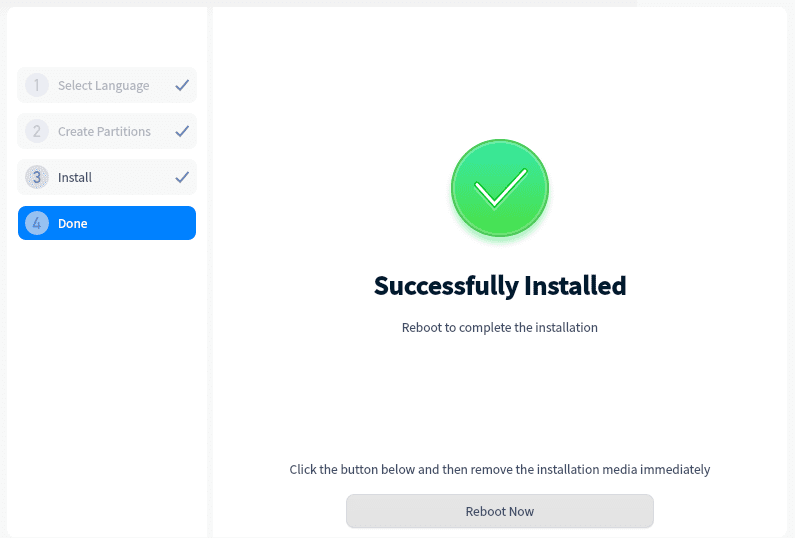
Successfully Installed
After a successful reboot, you will see the Grub Boot Menu listing the operating systems installed on your system. Select Deepin Linux using the Arrow keys, and hit Enter to finish setting it up.
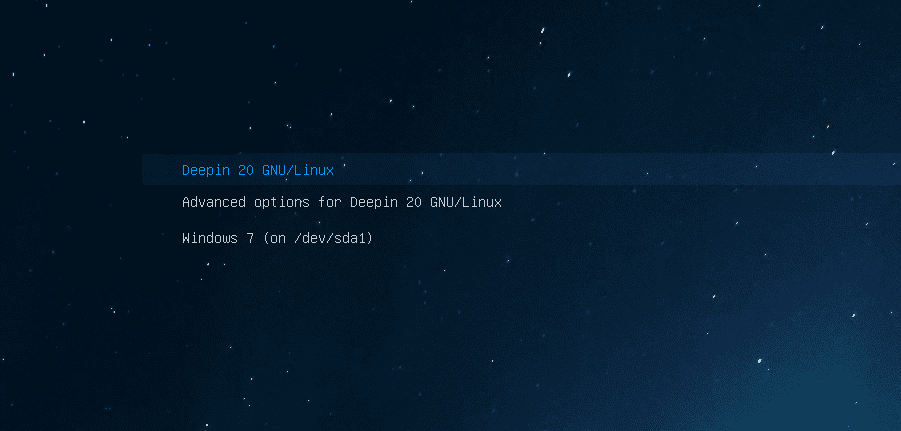
GRUB Boot Menu
Once the operating system has loaded, you will see the Set Keyboard Layout screen. Select the layout you wish to use and click Next.
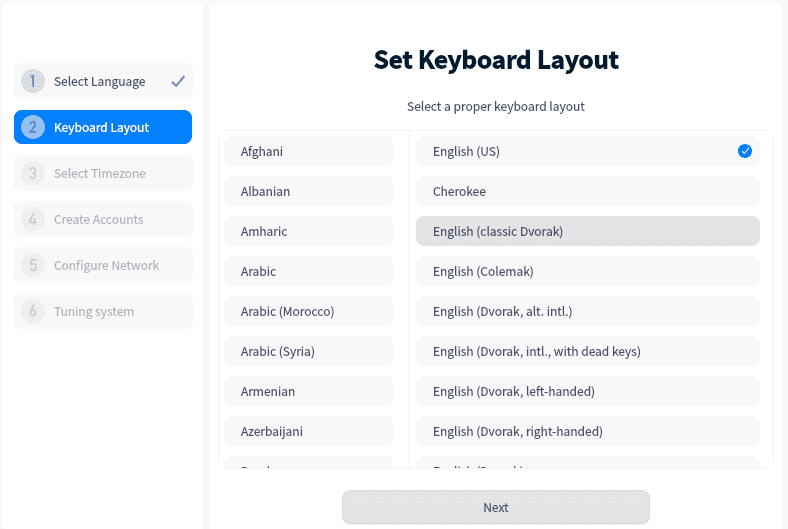
Keyboard layout
Select your Tie Zone by clicking on your Country from the World map on the next screen. Alternatively, you can select the List tab and choose your Continent and the capital city. Click Next when done.
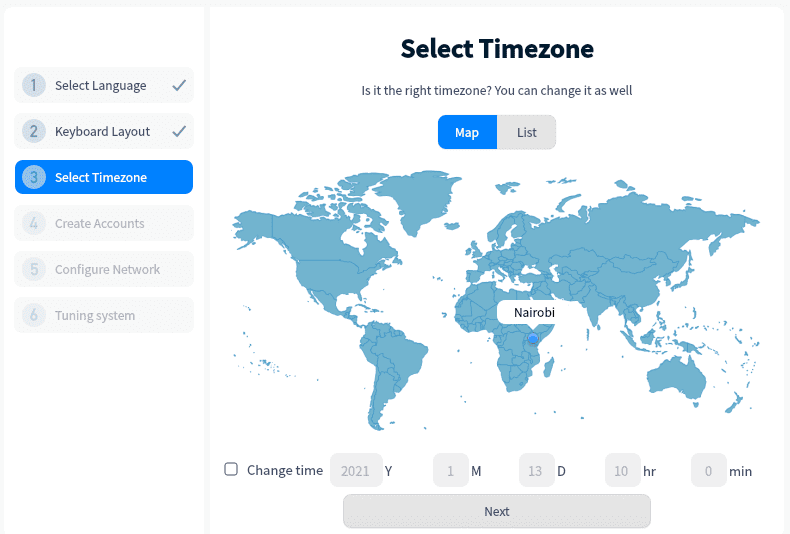
Select Timezone
On the next screen, you will Create the User account. Fill in the username and login password. Click Next when done.
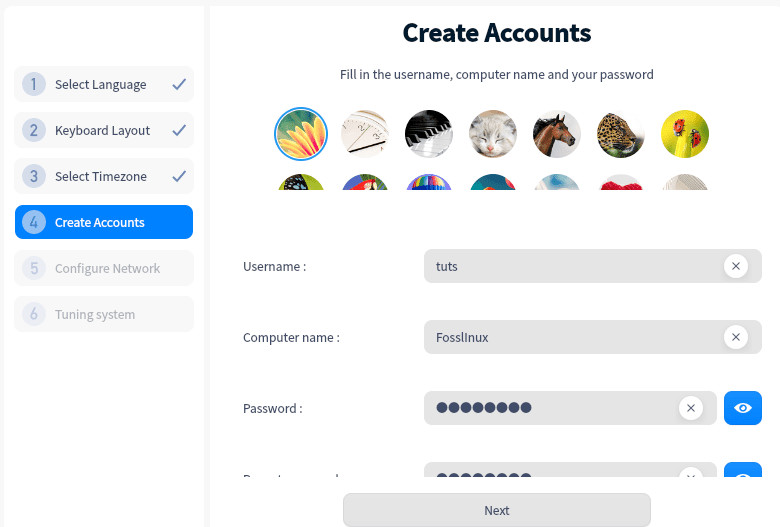
Create User Account
On the next screen, you will have an option to configure your network. However, you can just leave it and configure it later. Click Next. Deepin Linux will now tune the system and apply all the set changes and configurations. This might take a few minutes – please be patient.
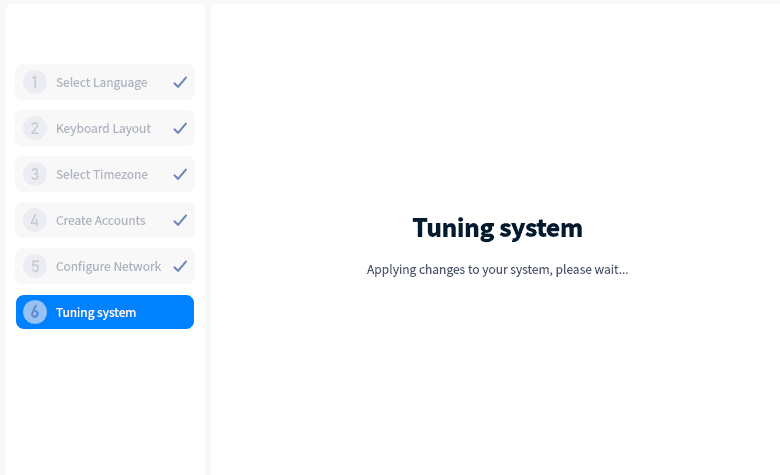
Tuning System
Once done, you will be presented with the Deepin Login screen, where you will be required to Enter your password.
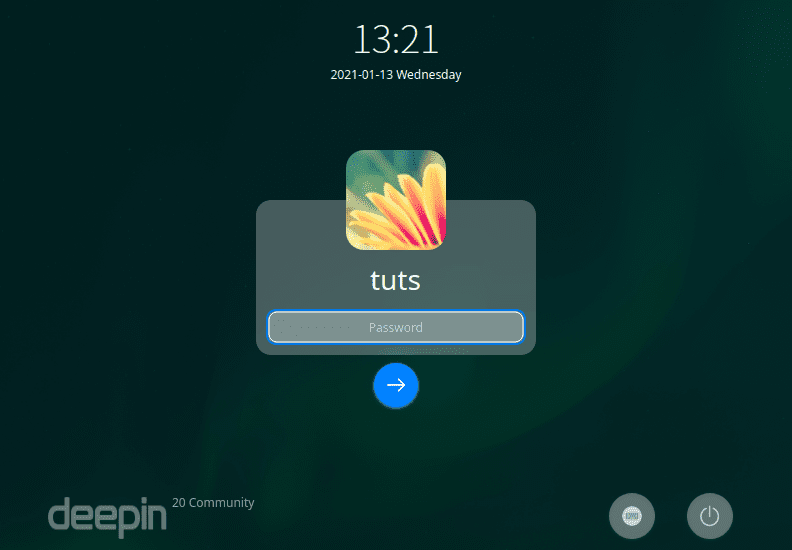
Deepin Login Screen
That’s’ it! We have successfully created a dual-boot of Deepin Linux and Windows on our PC.
Wrapping Up
The only challenge when performing a dual-boot is understanding how you partition your hard drive. Remember that you cannot install two operating systems on the same partition. For those who want to perform a multi-boot (installing more than two operating systems on your hard drive), you will need to have a clear understanding of UEFI Mode Vs. Legacy BIOS Mode and GPT Vs. MBR partitioning scheme. Otherwise, you will be limited to the number of operating systems you can multi-boot. Please read our post on How to Boot your Windows or Linux PC from a USB Drive as it has given a clear explanation of these terms and which one to use.
If you come across any errors or have any additional information, please share it with our readers in the comments section below.
2 comments
Thanks for thetutorial, l’all be sure to try that out! One question though: to delete Deepin, do I simply delete its partition?
Old BIOS and UEFI?