
MySQL is the world’s most ranking and popular open-source database. This is because the DB has very great and powerful features. However, this does not affect its simplicity for use.
The database is generally free and widely used. In this article, we will highly concentrate on how to start up, restart, check status, and stop the MySQL server. We will also look at the basic installation steps of a MySQL database server on our Linux PC, plus some basic commands you need to get started with the MySQL client.
How to install MySQL server
To begin with, we will install the MySQL server using the Ubuntu OS package manager. First, we will start by updating and upgrading our system before installing the MySQL server. To do this, copy and paste the following commands into your terminal:
sudo apt-get update
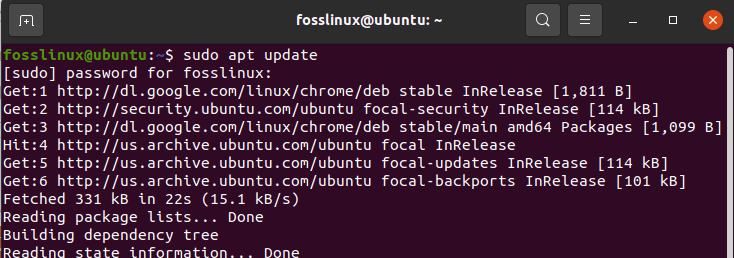
the update command
After that, run the “sudo apt upgrade” command to upgrade your system’s packages
sudo apt upgrade
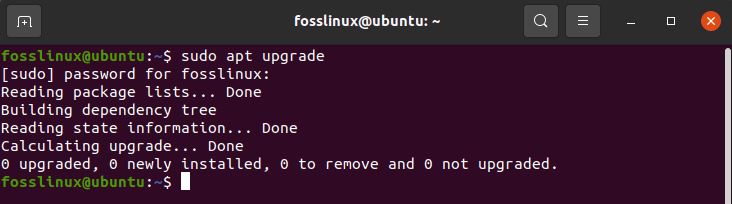
upgrade command
Thereafter copy and paste this command for your machine installer to install MySQL plus all its data/dependencies.
sudo apt-get install mysql-server
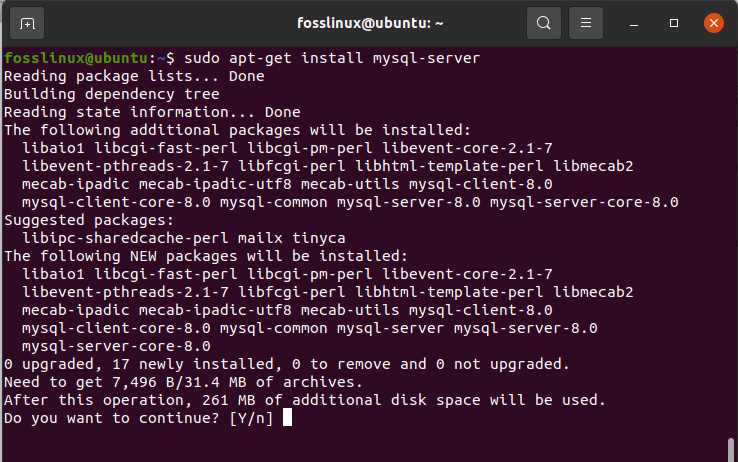
installing MySQL server
After running the above command, the secure installation utility should automatically launch. However, in some cases, you will find that the utility does not launch automatically after the installation; in case you are in such a situation, enter the following command:
sudo mysql_secure_installation utility
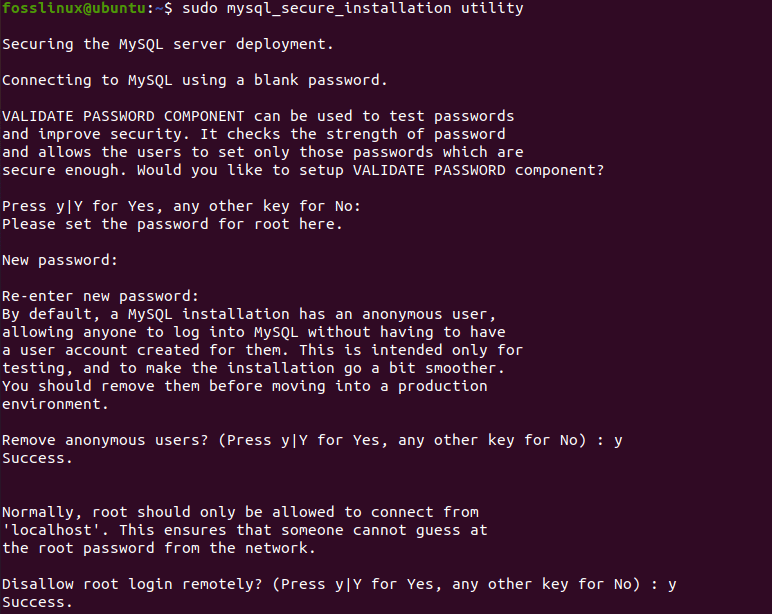
secure installation utility
Upon running the command, this utility will prompt you to define MySQL login root password plus other security-related options, including password validation, removing anonymous users, removing remote access to the root user, and removing the test database.
At the end section of running the command, an all done message will ensure that all the settings made are okay.
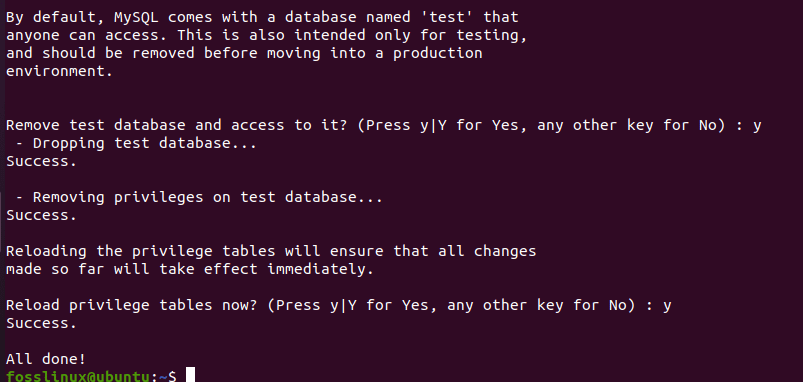
final section
Allowing remote access
if iptables( a user-space program that allows system admins to configure the IP packet filter rules of the Linux kernel firewall. In short, a firewall program for Linux used to monitor traffic to and from your server using tables.) have been enabled, and you want to connect to the database from another PC – it would help if you opened a port in your server’s firewall. In most cases, the default port is 3306. However, you don’t need to go through all these processes if the application you are or want to use in MySQL is running on the same server.
To remotely allow access to the MySQL server, run the following commands:
sudo ufw enable
ufw command
sudo ufw allow mysql

ufw allow MySQL
After going through the important tips that you should acquaint yourself with, let us now go to the process of starting the MySQL service
Start the MySQL service
After completing the installation process, you can start the database service by running the following commands in your terminal.
sudo /etc/init.d/mysql start

start the server
In other cases, you will find that the service is already up. If the service is up, you will receive a message informing you that the service is already running.
Enabling MySQL
To make sure that the server starts after rebooting, run the following command:
sudo systemctl enable mysql

ensuring the server is enabled
Restarting MySQL server
To restart the server, type in the following command in your terminal:
sudo /etc/init.d/mysql restart

restarting the server
Upon restarting the server, you can run the following command to check whether the server is running or not
sudo service mysql status

checking whether MySQL server is running or not
Finally, after confirming that the server is running, you can quit it by entering the following command:
sudo /etc/init.d/mysql stop

stoping MySQL server
To add on, let us dig a little into how to perform some basic operations with MySQL clients.
How to connect to MySQL Server with the MySQL client
You can connect to the server as a superuser via the MySQL client when your MySQL server is up. The first step is to enter the following command into your terminal:
sudo /etc/init.d/mysql start
start the server
After starting the server, enter the following command to connect you to the MySQL client.
sudo mysql -u root -p
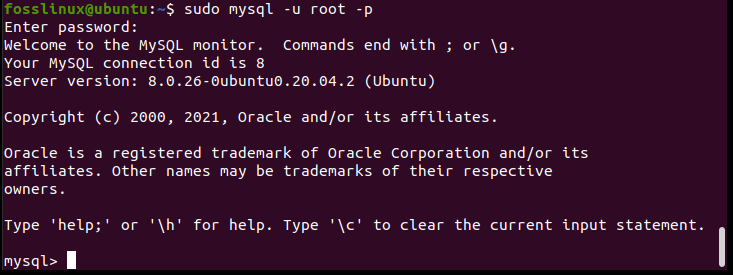
connecting to MySQL server using the MySQL client
Upon input of the command, you will be prompted to enter the root password. Here, you will key in the password you created during the installation process. If you have forgotten your password, you can look at how to reset the root password.
When you are connected to the MySQL server, you will look at a welcome message displayed with a mysql> prompt as shown below.

mysql> prompt
When using the client, some of the vital things to remember include client commands such as CREATE, ALTER, FLUSH PRIVILEGES, USE, DROP, SHOW GRANTS, SELECT, CREATE TABLE, SHOW TABLE, and INSERT, which are not case sensitive.
Conclusion
This article has comprehensively covered all the aspects regarding starting MySQL-server, restarting the server, enabling the server, server status, stopping the server, connecting to MySQL server with MySQL client, and finally tipped at some key statements you need to familiarize yourself with while using this database. We hope it is detailed enough to offer you the solutions to your problems. In case of any errors, do not hesitate to reach out. Thanks for reading.
1 comment
Many thanks for this very insight lesson. much appreciated. you just saved a tiro.