
It is every developer’s dream to create or work on a web page or web project that promises top-notch security features and meets every user’s privacy concerns. However, before you can create and host a website on a server, you need to adhere to the best coding practices.
Just because you want to create a secure web page does not mean that your code should only be understandable to the eyes of a rocket scientist. Simplicity is key in developing awesome code.
A simple code is not a weak code but an understandable one. Simplicity applies to code refactoring and the continuous use of comments. Furthermore, it helps you to gauge and edit your code later when you need to reuse it on other projects. Since this article seeks to give you a walk-through on creating a secure login page in PHP and MySQL, we first need to consider the benefits of this approach.
Creating a secure login script in PHP and MySQL
First, since your login page will be granting privileged access to user-stored information, you will want to keep away cyber thieves and hackers from easily compromising your system and getting away with sensitive data. Second, without a secured web platform, IT infrastructures like networks and websites are at the risk of Cybersecurity attacks and malware.
Getting Started
In this article tutorial, we are assuming that you need a secure login page for two reasons. First, you could be working on a dedicated web system where you need admin access to sensitively stored data or information. Second, your web system could be accommodating specific users or visitors that will be assigned the needed login credentials before they can log in to the dashboard area of your web system.
The most important aspect of this article tutorial is our web server environment. We need one since our web system will be using a MySQL database to query active users and grant them authoritative access to the created web system.
Requirements
XAMPP is an ideal local web server environment for testing your web-based projects on a local machine. It gives you the websites’ performance perspective before launching them in a production environment. XAMPP is available for Windows, Linux, and OS X users, making it a cross-platform web server environment. In addition, XAMPP abbreviates Apache, MariaDB (a fork of MySQL), PHP, and Perl, making it a complete PHP development environment.
Once you install XAMPP, you do not need to install any other third-party software for your PHP projects to run.
XAMPP Linux installation
Your XAMPP file download will have a “.run” extension. The first step is to make it executable. Open your terminal on the location of your downloaded XAMPP file and consider the following approach. Make sure the name of the XAMPP file you key in is a match to the one you downloaded.
$ chmod 755 xampp-linux-x64-8.0.7-0-installer.run
Afterward, you should be able to launch the XAMPP installer with the following command.
$ sudo ./xampp-linux-x64-8.0.7-0-installer.run
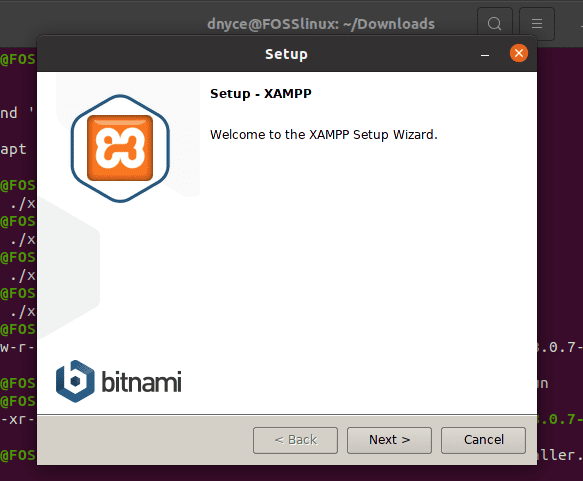
xampp-linux-x64-8.0.7 welcome launch screen
Follow through with the installation steps until XAMPP is fully installed on your computer.
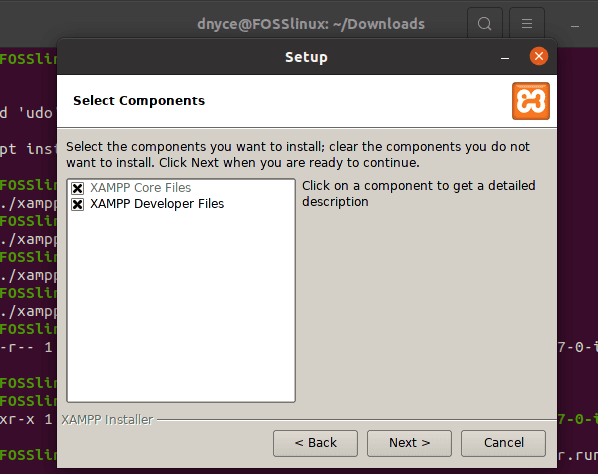
xampp-linux-x64-8.0.7 installation components
Make sure the above boxes are checked to be safe.
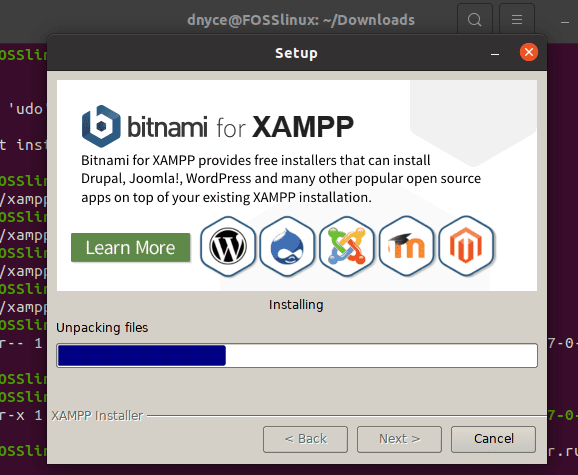
xampp-linux-x64-8.0.7 installation process
The installation will then take some time to complete
Launching XAMPP from your Ubuntu terminal requires the use of the following command.
$ sudo /opt/lampp/lampp start
An output like the following screenshot means that everything is okay.

xampp-linux-x64-8.0.7 successful terminal launch
If you run into errors while launching XAMPP, there could be three diagnostic solutions to the problem. First, you might have installed Apache and XAMPP simultaneously. You could solve this issue by stopping the Apache service from the terminal and restarting XAMPP since Apache is already bundled up as one of its packages.
$ sudo /etc/init.d/apache2 stop
$ sudo /opt/lampp/lampp start
An installed NGINX server could also be using your machine’s port 80 needed by XAMPP’s Apache. Therefore, you will need to stop NGINX and restart XAMPP.
$ sudo systemctl stop nginx
$ sudo /opt/lampp/lampp start
You could also be having a MySQL server simultaneously installed with XAMPP. XAMPP server is already bundled with a MySQL package. You will need to stop the one running on your system.
$ sudo /etc/init.d/mysql stop
$ sudo /opt/lampp/lampp start
The final issue is that you could be missing the netstat tool on your system. You can install it with the following command.
$ sudo apt install net-tools
To verify the successful installation of XAMPP on your system, you should be able to access the following URL from your browser comfortably.
http://localhost/dashboard/
The landing page should resemble the following screenshot.

xampp server installation and launch verification
You should also be able to access the phpMyAdmin landing page comfortably.
http://localhost/phpmyadmin
The following screenshot verifies that phpMyAdmin is working fine.
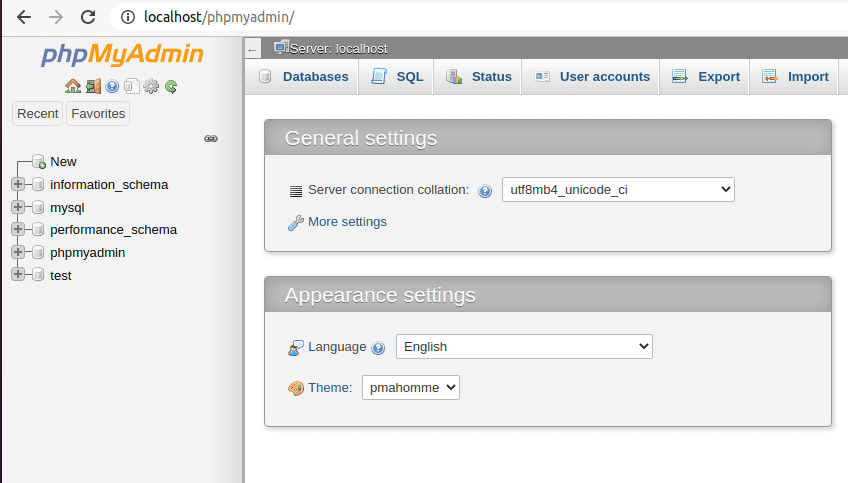
xampp server phpMyAdmin landing page
Our tutorial objective
Once you have downloaded and installed the XAMPP version that favors your OS platform, we need to highlight the main objectives of this article.
By the end of this tutorial article, you will have understood the following four main concepts behind creating a secure login page in PHP and MySQL.
-
Form design: Here, you need to explore some modules of HTML5 and CSS3
-
Preparing SQL queries: The SQL queries you create should be bulletproof to SQL injections. It is the only way to maintain the integrity of your MySQL database.
-
Basic form validation: A user’s username and password should match those stored in the database lest they are not valid credentials.
-
Session management: Sessions are good as a system should remember a repetitive user without them having to key in their login credentials each time they visit a site. You will be able to initialize sessions and keep them active.
Project structure and setup
Since we are now sure that the Apache web server and the MySQL database server are running, the next step is to create our PHP code. But, first, we need to familiarize ourselves with its control panel. When your XAMPP installation is completed, it is launched with a control panel that looks like the screenshot below.
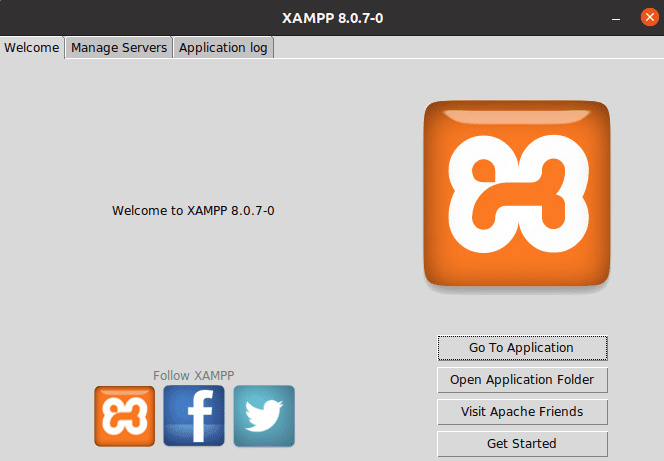
xampp server control panel interface
If you click on the “Manage Servers” menu on its header, you will see three servers running (Apache, MySQL, and ProFTPD). All these three servers need to be running. It means that the XAMPP server is in a healthy state.
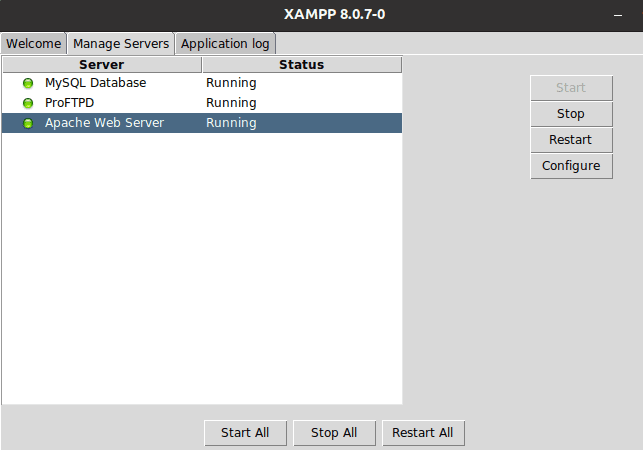
xampp three servers statuses
Click on the “Open Application Folder” menu on this XAMPP control panel and trace a directory named “htdocs”. Next, create a folder with a name like “fosslinux_login” inside this directory. It will be the main access point of our project. Inside this “fosslinux_login” folder, create the following files and consider their respective file extensions.
\ -- Project files structure

| -- authenticate.php

| -- home.php

| -- Index.html

| -- logout.php

| -- style.css
The simplest way to achieve this file creation assignment is to navigate to the graphical interface of the “fosslinux_login” folder and open the system terminal from its location, and then use the “touch” command to create the stated files. For example, to create the index.html file, you would use the following touch command approach.
root@FOSSlinux:/opt/lampp/htdocs/fosslinux_login# touch index.html
The created index.html file will mainly use HTML5 and CSS3 programming languages to create the login form for keying in the needed usernames and passwords.
The created style.css file will act as an external CSS script referenced by the index.html file’s header.
The created authenticate.php file will handle user authentication, database connection, form data validation, the retrieval of database results, and the creation of new sessions.
The created logout.php file will handle the destruction of log-in sessions before redirecting the user to the log-in screen again.
The created home.php file is the destination or landing page for users who successfully log in to the web system.
The created profile.php file associates a successfully logged-in user with their populated and personalized user account details.
Our login form design
For our PHP and MySQL loin script to work, we need to create a login form from which authenticated users will enter their login information. Thus, we are creating the front end of our login page. We only need CSS and HTLM for this task. We will use PHP for the logical portion of our script.
You can use the nano editor or any other editor of your choice to open the index.html file you created earlier.
root@FOSSlinux:/opt/lampp/htdocs/fosslinux_login# nano index.html
Populate the file with the following code segment.
<!DOCTYPE html>
<html>
	<head>
		<meta charset="utf-8">
		<title>FossLinux Login Tutorial</title>
		<link rel="stylesheet" href="https://use.fontawesome.com/releases/v5.7.1/css/all.css">
	</head>
	<body>
		<div class="login">
			<h1>FossLinux Login Tutorial</h1>
			<form action="authenticate.php" method="post">
				<label for="username">
					<i class="fas fa-user"></i>
				</label>
				<input type="text" name="username" placeholder="Username" id="username" required>
				<label for="password">
					<i class="fas fa-lock"></i>
				</label>
				<input type="password" name="password" placeholder="Password" id="password" required>
				<input type="submit" value="Login">
			</form>
		</div>
	</body>
</html>
We now need to preview the display resulting from this code. On your browser, key in the following address.
http://localhost/fosslinux_login
The resulting display should be similar to the following screenshot.
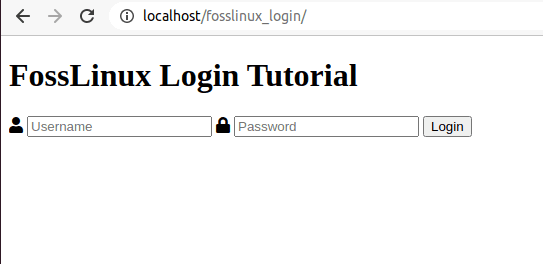
HTML and css login form display
Since the above display is basic, we need to add some styling to our login form through CSS. So, first, open the style.css file you created earlier with your favorite terminal editor.
root@FOSSlinux:/opt/lampp/htdocs/fosslinux_login# nano style.css
Populate it with the following CSS code segment.
* {
  	box-sizing: border-box;
  	font-family: -apple-system, BlinkMacSystemFont, "segoe ui", roboto, oxygen, ubuntu, cantarell, "fira sans", "droid sans", "helvetica neue", Arial, sans-serif;
  	font-size: 16px;
  	-webkit-font-smoothing: antialiased;
  	-moz-osx-font-smoothing: grayscale;
}
body {
  	background-color: #435165;
}
.login {
  	width: 400px;
  	background-color: #ffffff;
  	box-shadow: 0 0 9px 0 rgba(0, 0, 0, 0.3);
  	margin: 100px auto;
}
.login h1 {
  	text-align: center;
  	color: #5b6574;
  	font-size: 24px;
  	padding: 20px 0 20px 0;
  	border-bottom: 1px solid #dee0e4;
}
.login form {
  	display: flex;
  	flex-wrap: wrap;
  	justify-content: center;
  	padding-top: 20px;
}
.login form label {
  	display: flex;
  	justify-content: center;
  	align-items: center;
  	width: 50px;
  	height: 50px;
  	background-color: #3274d6;
  	color: #ffffff;
}
.login form input[type="password"], .login form input[type="text"] {
  	width: 310px;
  	height: 50px;
  	border: 1px solid #dee0e4;
  	margin-bottom: 20px;
  	padding: 0 15px;
}
.login form input[type="submit"] {
  	width: 100%;
  	padding: 15px;
 	margin-top: 20px;
  	background-color: #3274d6;
  	border: 0;
  	cursor: pointer;
  	font-weight: bold;
  	color: #ffffff;
  	transition: background-color 0.2s;
}
.login form input[type="submit"]:hover {
	background-color: #2868c7;
  	transition: background-color 0.2s;
}
We need to link this style.css file to our index.html file to witness the notable changes. Add the following to the header of your index.html file.
<link href="style.css" rel="stylesheet" type="text/css">The above <link> tag should be between the <head> and </head> tags on your index.html file.
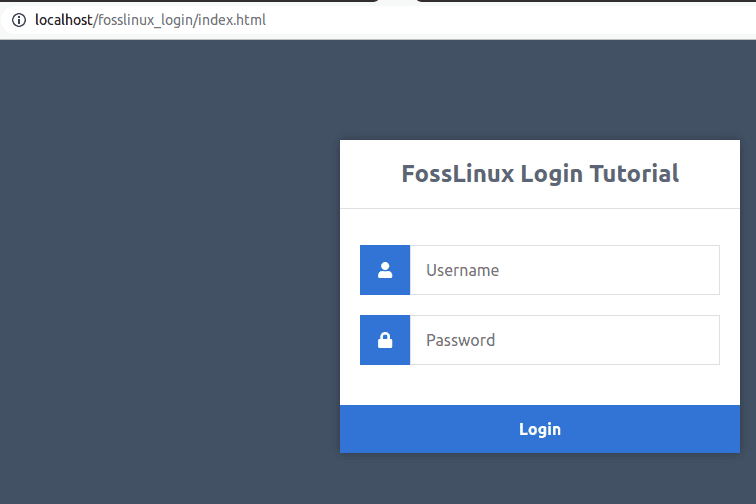
If you refresh the login display page, you should get a preview of a more appealing login form, as depicted by the following screenshot.
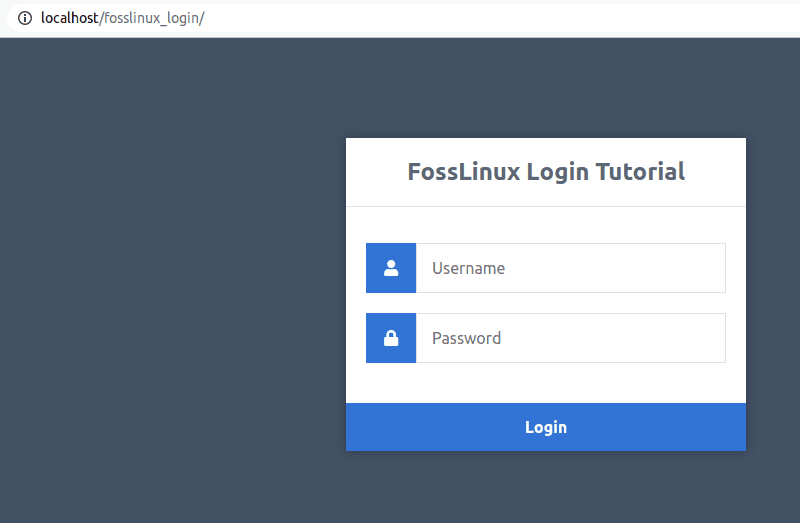
login form page with CSS styling implemented
Let us now try to understand what we did to our login form. The form possesses two attributes, “action” and “method”. The “method” attribute is set to “post” since we will be feeding user data into the server system and not receiving as that would require the “method” attribute set to “get”. The “action” attribute is set to “authenticate.php” because that is the file handling the authentication of the keyed-in user data. It is the file that processes the successful form data inputs.
As for the form fields, the input types are “text” for the username and “password” for the user password. The “text” input will be visible to the human eye, unlike the “password” input supposed to be encrypted during user input. The “submit” input type is the final action to send the captured user data for processing by the “authenticate.php” file.
Setting up the database and the needed tables
Here, you will need to navigate to the link “http://localhost/phpmyadmin/” to access the MySQL database. The resulting phpMyAdmin interface has the primary role of managing a MySQL database application.
At the top of this interface, you will see a “Databases” tab. Click on it to create a new database. Name It something like “fosslinuxlogin”.
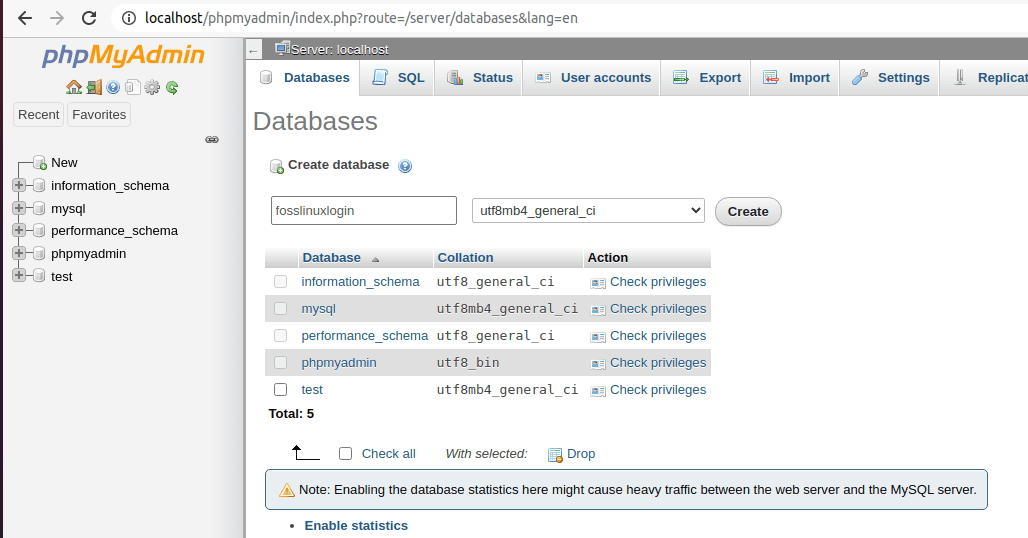
creating a database on phpMyAdmin
Once you click “create, ” the new database (fosslinuxlogin) will appear at the screen’s left menu section/panel. Your net task would be to create the needed tables for your database. We only need one table for this tutorial article.
To create and populate a table with phpMyAdmin, you have the option of doing it graphically or using the console display at the bottom of its interface display. Using the console is much more efficient as we only need to create a single SQL statement to create and populate an entire table. For example, consider the following SQL code statement.
CREATE TABLE IF NOT EXISTS `accounts` (
`id` int(11) NOT NULL AUTO_INCREMENT,
`username` varchar(50) NOT NULL,
`password` varchar(255) NOT NULL,
`email` varchar(100) NOT NULL,
PRIMARY KEY (`id`)
) ENGINE=InnoDB AUTO_INCREMENT=2 DEFAULT CHARSET=utf8;

INSERT INTO `accounts` (`id`, `username`, `password`, `email`) VALUES (1, 'Brandon', '123@456.78Nine', 'brandon@fosslinux.com');
As depicted by the screenshots below, once you hit Ctrl+Enter on your keyboard, the SQL statement will execute, and your database table will be populated.
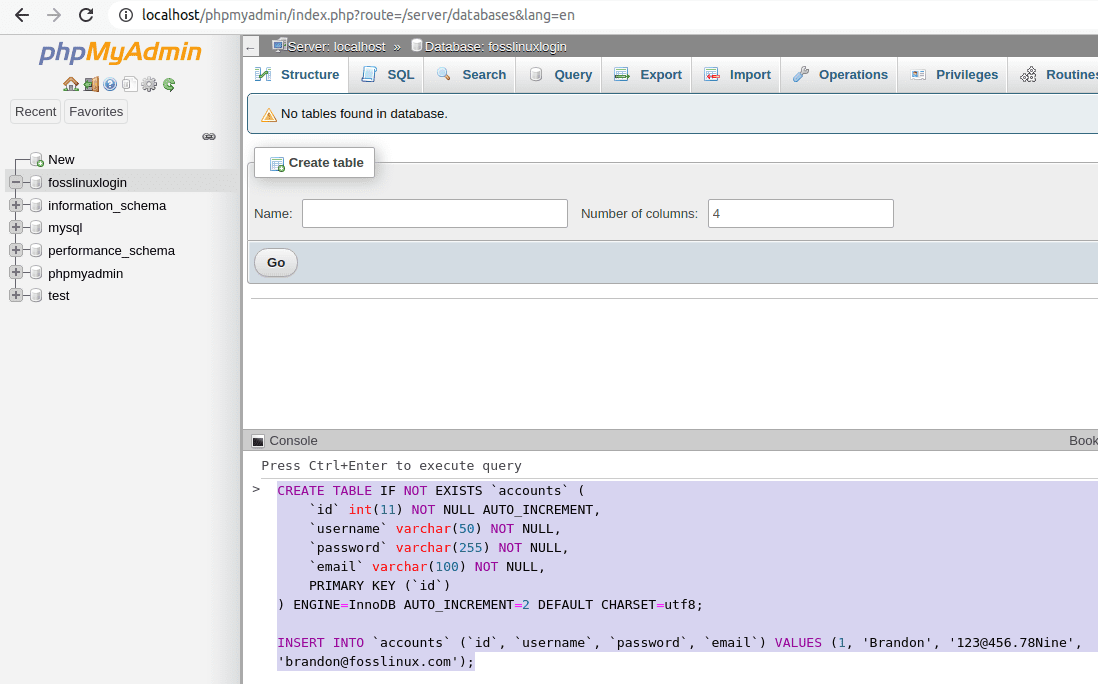
creating and executing an SQL statement from the phpMyAdmin console
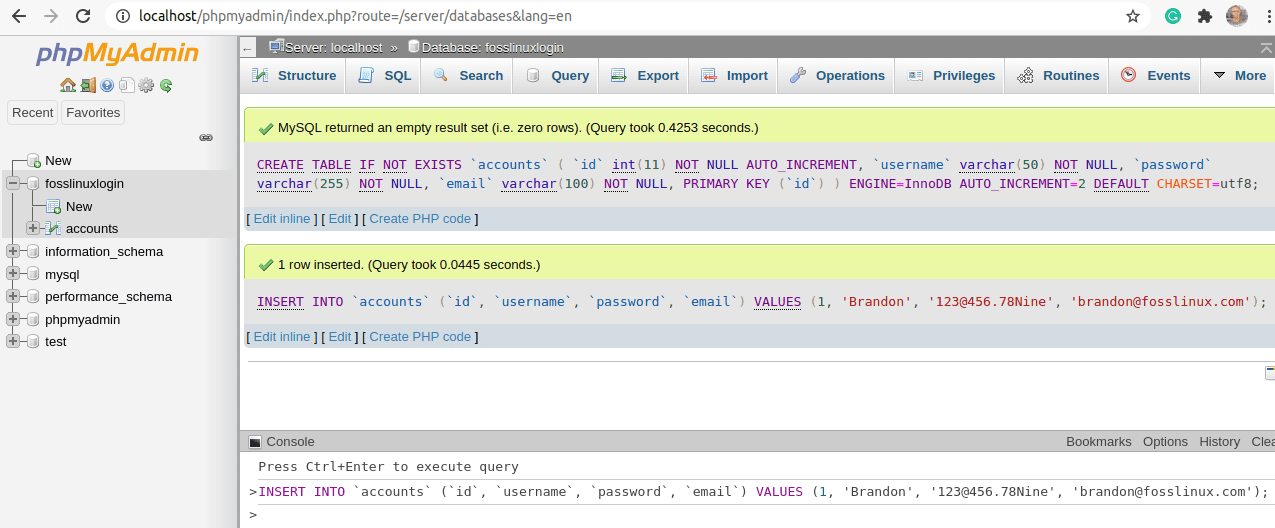
Successfully executed SQL statement from phpMyAdmin
We have created an accounts database with four columns (id, username, password, and email). We have also assigned these table columns some default values, but we will primarily need the username and password values to test the PHP login script.
Users’ authentication
At its state, we have created an appealing static login form and also set up our MySQL database. The database has a table and some useful user data to propel the next step of this tutorial. First, we need to work on the authenticate.php file linked to the “action” attribute of our login form display.
Using your favorite terminal editor, populate the created authenticate.php file with the following data.
<?php
session_start();
// Change this connection setting to your preference.
$DATABASE_HOST = 'localhost';
$DATABASE_USER = 'root';
$DATABASE_PASS = '';
$DATABASE_NAME = 'fosslinuxlogin';
// Try and connect using the info above.
$con = mysqli_connect($DATABASE_HOST, $DATABASE_USER, $DATABASE_PASS, $DATABASE_NAME);
if ( mysqli_connect_errno() ) {
	// If there is an error with the connection, stop the script and display the error.
	exit('Failed to connect to MySQL: ' . mysqli_connect_error());
}
The script begins by starting a session. This step is advantageous as the webserver remembers the user account login details. So when the same users log out and return to the site later on using the same computer, it will be easy to log in again without keying in a new username and password details.
We also specify the database we wish to connect to together with its host, user, and password if any.
The first step to authenticating our login form is making sure that a user cannot submit an empty form. Both fields must be filled. Add the following code to your authenticate.php file to help us achieve this objective.
// Time to check if the login form data was submitted. The isset() function checks if the form data exists.
if ( !isset($_POST['username'], $_POST['password']) ) {
	// Could not fetch  any data from form subbmission
	exit('Please make sure you filled both the username and password form fields!');
}
With the above code snippet, a user will receive an error while submitting an empty form. Since we have handled blank form submissions, we now need to authenticate the user form submission with data that already exists in the database.
Add the following code to your authenticate.php file.
// We need to Prepare our SQL. This SQL preparation helps prevent SQL injections
if ($stmt = $con->prepare('SELECT id, password FROM accounts WHERE username = ?')) {
	// Bind parameters (s = string, i = int, b = blob, etc). Since a string is the username in our case, we use "s"
	$stmt->bind_param('s', $_POST['username']);
	$stmt->execute();
	// Store or preserve the results. It helps counter-check if the  user account exists within our database.
	$stmt->store_result();


	$stmt->close();
}
?>
The id and password values are selected from the database table and matched against the user inputs. It binds the id and password values to the username value. Once the SQL statement successfully executes, the results are stored to be used as sessions. As you can see from the above code, the line “$stmt->store_result();” takes care of this session storage objective.
The next line of code to add to your authenticate.php file should succeed the following code statement:
$stmt->store_result();
Add the following code snippet after the above-highlighted code statement.
if ($stmt->num_rows > 0) {
	$stmt->bind_result($id, $password);
	$stmt->fetch();
	// At this point, the account exists. The only thing left is to verify the password.
	// The use of password_hash in the registration file is encouraged for the storage of hashed passwords.
	if ($_POST['password'] === $password) {
		// Verification was a success! Use log in took place!
		// Sessions creation takes place because a user is logged in. Sessions functionality resemble cookies because they can remember the server's data.
		session_regenerate_id();
		$_SESSION['loggedin'] = TRUE;
		$_SESSION['name'] = $_POST['username'];
		$_SESSION['id'] = $id;
		echo 'Welcome ' . $_SESSION['name'] . '!';
	} else {
		// Incorrect password
		echo 'Incorrect username and/or password!';
	}
} else {
	// Incorrect username
	echo 'Incorrect username and/or password!';
}
The above code deals with assesses the database query for the viability of any results. If the keyed-in username is not in the database, there will be nothing to showcase. If a user is successfully authenticated, the initialization of session variables takes place. The web server stores these variables, and the user’s web browser references them to determine the same user’s login status.
It is time to test the viability of our authentication code. Refresh your “http://localhost/fosslinux_login/” link before proceeding.
Try to log in with an incorrect username and password combo and see what happens.
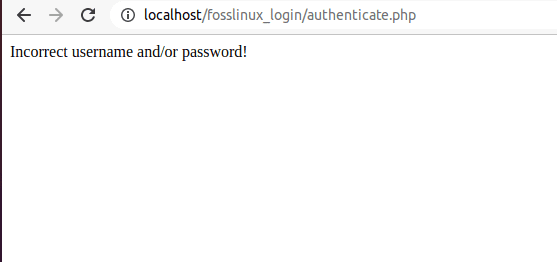
login with incorrect username and password combo
On my end, I got the above screenshot error.
Now log in with the correct username and password combo stored on your MySQL database.
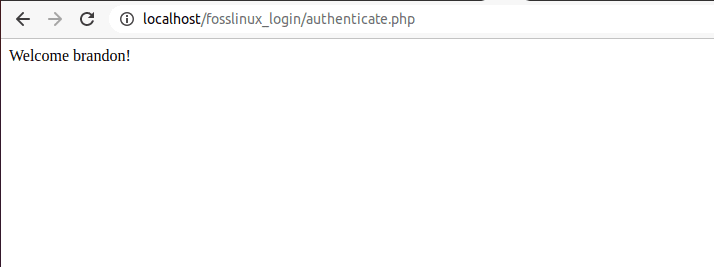
login with correct username and password combo
Our Landing page
Having a login page is not enough for our tutorial, a user that successfully logs in to the system should be redirected to a home page. From here, such a user will also have the option of logging out of the system if it suits them. First, populate your created home.php file with the following code snippet.
<?php

// We should always remember to use sessions. Te code statement belows start should always be used to start sessions.

session_start();

// A user not actively logged-in is redirected to the main login page...

if (!isset($_SESSION['loggedin'])) {

header('Location: index.html');

exit;

}

?>
Add the following HTML code to your home.php file.
<!DOCTYPE html>

<html>

<head>

<metacharset="utf-8">

<title>FossLinux Home Page</title>

<linkhref="style.css"rel="stylesheet"type="text/css">

<linkrel="stylesheet"href="https://use.fontawesome.com/releases/v5.7.1/css/all.css">

</head>

<bodyclass="loggedin">

<navclass="navtop">

<div>

<h1>FossLinux Login Tutorial</h1>

<ahref="logout.php"><iclass="fas fa-sign-out-alt"></i>Logout</a>

</div>

</nav>

<divclass="content">

<h2>FossLinux Home Page</h2>

<p>Welcome back, <?=$_SESSION['name']?>!</p>

</div>

</body>

</html>
This home page also needs some style. Add the following code to your style.css file.
.navtop {
	background-color: #2f3947;
	height: 60px;
	width: 100%;
	border: 0;
}
.navtop div {
	display: flex;
	margin: 0 auto;
	width: 1000px;
	height: 100%;
}
.navtop div h1, .navtop div a {
	display: inline-flex;
	align-items: center;
}
.navtop div h1 {
	flex: 1;
	font-size: 24px;
	padding: 0;
	margin: 0;
	color: #eaebed;
	font-weight: normal;
}
.navtop div a {
	padding: 0 20px;
	text-decoration: none;
	color: #c1c4c8;
	font-weight: bold;
}
.navtop div a i {
	padding: 2px 8px 0 0;
}
.navtop div a:hover {
	color: #eaebed;
}
body.loggedin {
	background-color: #f3f4f7;
}
.content {
	width: 1000px;
	margin: 0 auto;
}
.content h2 {
	margin: 0;
	padding: 25px 0;
	font-size: 22px;
	border-bottom: 1px solid #e0e0e3;
	color: #4a536e;
}
.content > p, .content > div {
	box-shadow: 0 0 5px 0 rgba(0, 0, 0, 0.1);
	margin: 25px 0;
	padding: 25px;
	background-color: #fff;
}
.content > p table td, .content > div table td {
	padding: 5px;
}
.content > p table td:first-child, .content > div table td:first-child {
	font-weight: bold;
	color: #4a536e;
	padding-right: 15px;
}
.content > div p {
	padding: 5px;
	margin: 0 0 10px 0;
}
Since we now have a home page on your authenticate.php file, substitute the following line:
echo 'Welcome ' . $_SESSION['name'] . '!';
With this line:
header('Location: home.php');
Each successive logins will now redirect you to this home page.
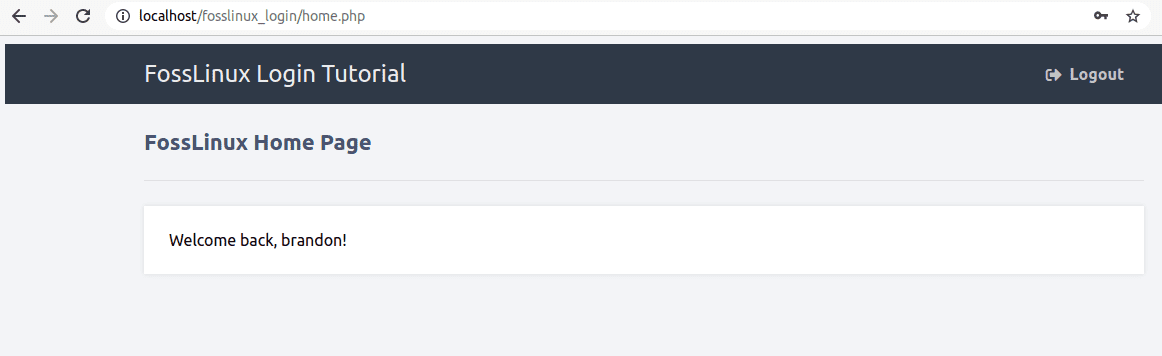
Successful login redirection to the home page
The logout script
The above home page display has a logout link that we need to implement. A logout script for your logout.php file is as simple as the following code snippet.
<?php

session_start();

session_destroy();

// Redirects the user to the index.html login page:

header('Location: index.html');

?>
Since sessions determine the login status, the above script destroys any existing sessions and revokes that user’s logged-in status. Finally, this PHP script takes the user back to the login page.
logout link redirects to login page
Final Note
With this tutorial, you now have a strong foundation in creating reputable and secure PHP scripts. You can now create a system that is trustworthy to your targeted users or clients. You have handled SQL injection vulnerability and form data validation and authentication. What is left for you is some little expounding on the covered code segment, and you will be on your way to being a senior PHP developer: happy coding and happy growth in your PHP and MySQL journey.
3 comments
Haha!
Where is hash and salt?!!
Bgggg..
Yeah,
let’s safe password in clear text… GREAT
How would I add fail2ban with this so it protects against brute force attacks?