
Linux provides fantastic options to deploy your server on one of its versatile distributions like Debian. There are just so many useful features of a Linux server. Some of them include setting up separate servers for Web, Email, File Sharing, Database, RAID, and many more. You can even set up ad-blocking servers through Linux.
Today, we will learn how to do the minimal installation of Debian 11 ‘Bullseye,’ which is an excellent choice if you want to deploy your server on it in the future.
You can use nearly any old computer hardware as the requirements are very low for the Minimal installation. Here are the minimum and recommended requirements:
Minimum Requirements:
Storage: 10 Gigabytes
Ram: 512 Megabytes
CPU: 1 GigaHertz
Recommended Requirements:
10 Gigabytes
Ram: 2 Gigabytes
CPU: 1 GigaHertz or more
Installing Debian 11 Minimal Server
1. Download the ‘netinst’ version of Debian 11 from the official website
You can download the latest stable version of Debian 11 Minimal Installation from the official “debian.org” website. Here is the link for the latest 64-bit version from the official website.
This will download an ISO image file with only the most essential elements of Debian 11 and without a GUI. Do note that you have to double-check whether your computer supports 64-bit or 32-bit architecture and download the version supported by your system.
2. Create a bootable USB storage device
After downloading the ISO image file, you can burn it on a CD or use a USB storage device. We recommend you use USB as it would be a lot easier and time-saving process. You can burn this ISO image file on a USB using any ISO burning tool, such as balenaEtcher.
Once you set up your USB drive with the ISO image, you need to reboot your computer and go into the BIOS settings. From the “Boot” options, you need to select “Boot” from USB or Removable storage media and exit after saving the changes you have made. Once rebooted, the system will boot into the “Installation Menu” of Debian 11.
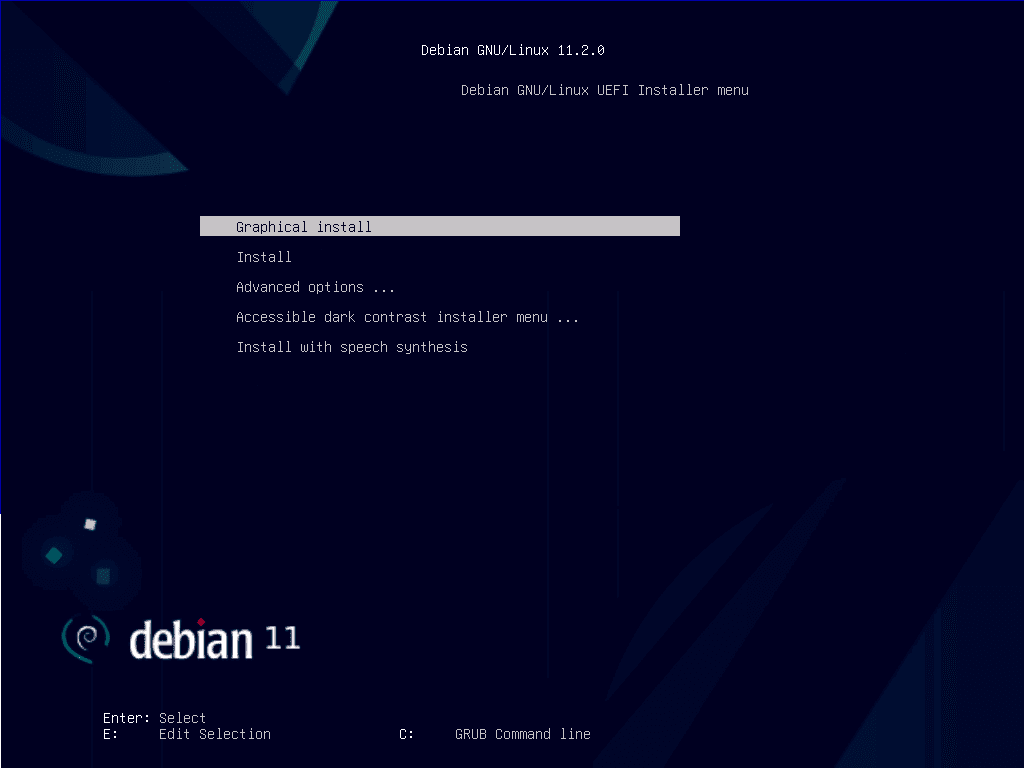
Debian 11 Installation Menu
Select “Install” from the options, and the installation will begin. Once done, you will be prompted to select your “Language.” Select the language of your preference and press “Enter.”
Note: You can use the “Tab” key to change the hover position.
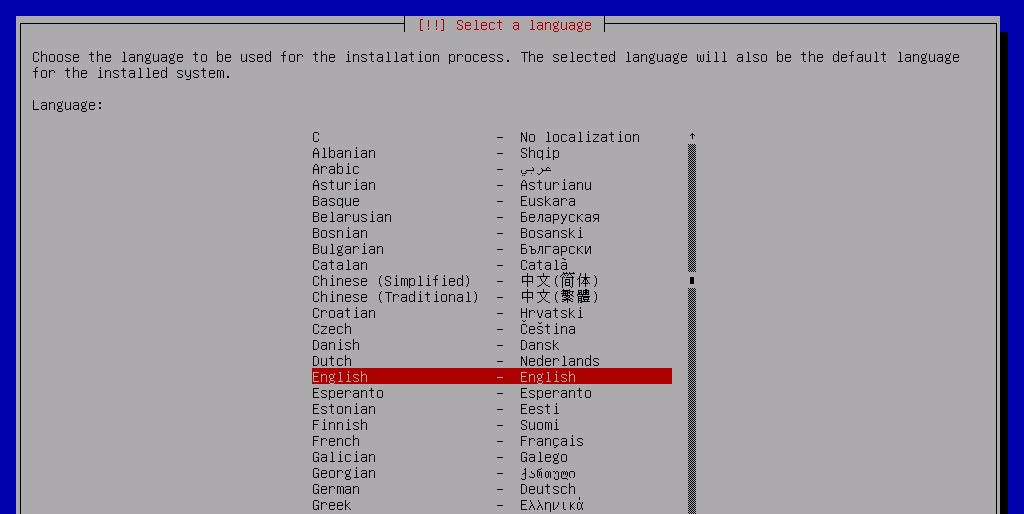
Language Select
3. Select your location and keyboard layout
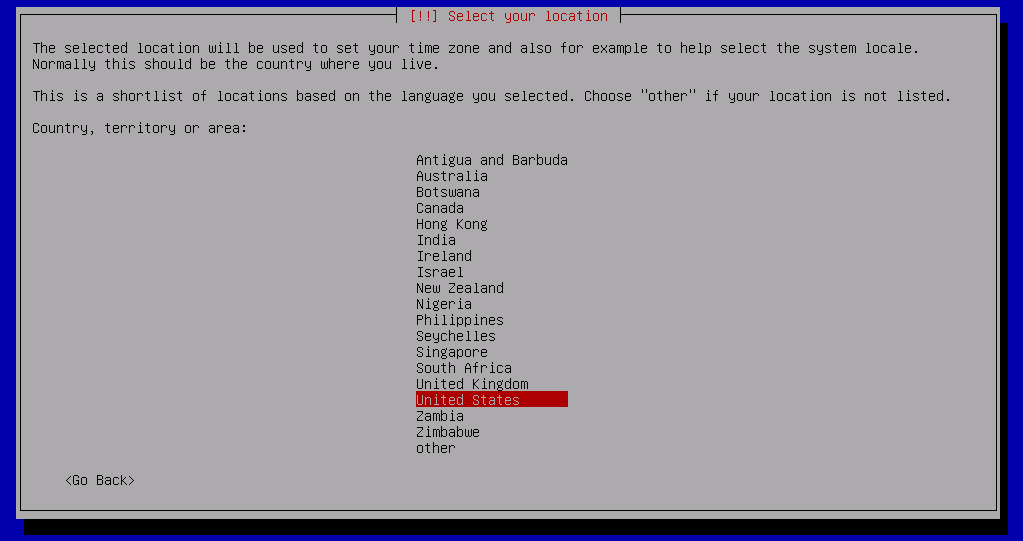
Select location
You will now select the location of your residence, as specified in the image below. After that, you’ll have to choose your preferred keyboard layout as well.
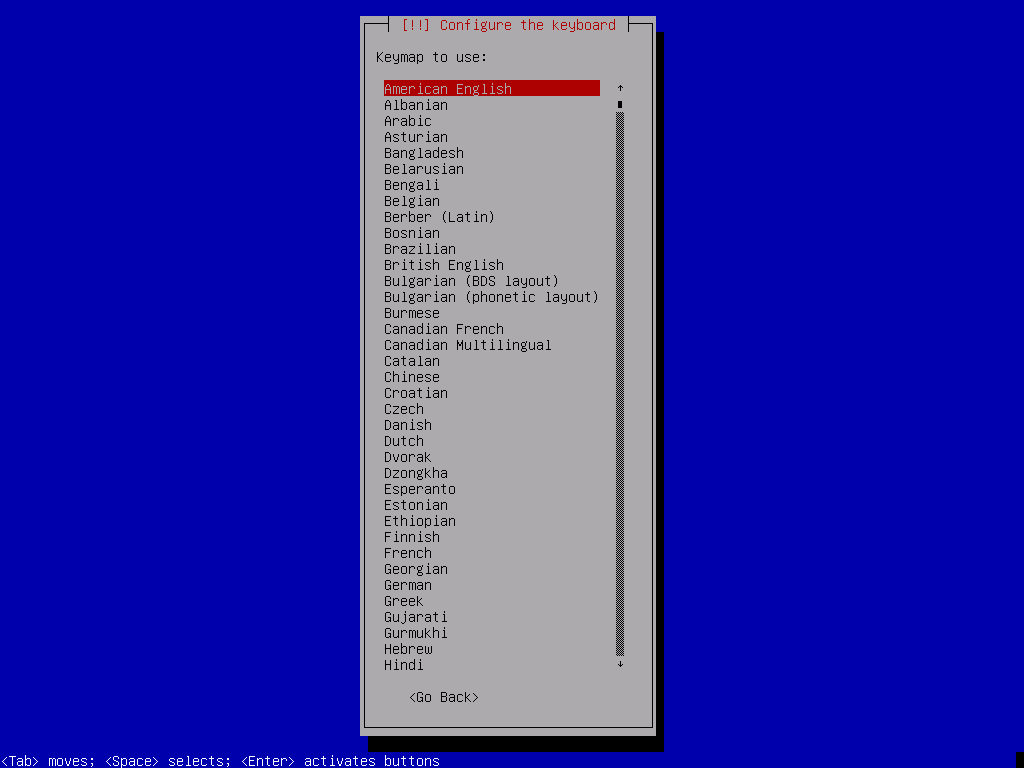
Configure Keyboard Layout
After you are done with the above, the components will start loading from the USB image.

Loading Components
4. Set up Host and Domain names, respectively
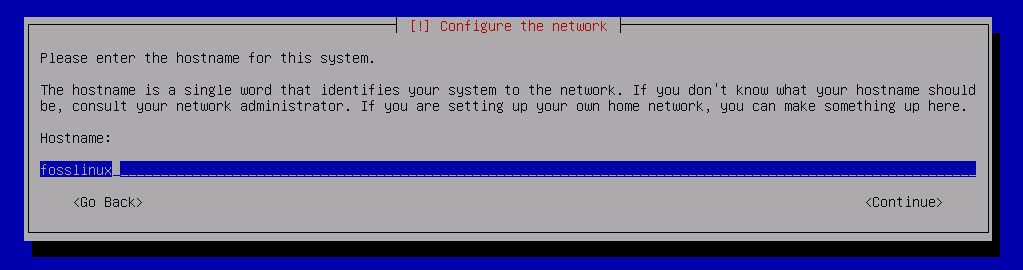
Host Name
To further the procedure, you will be required to choose a “Hostname.” This will be accompanied shortly by a specific “Domain” name. Again, it’s a basic protocol for network configuration—nothing out of the blue.

Domain Name
After you are done with the above, the installer will prompt you to set up a root password. Enter your root password and then continue after retyping it for verification.
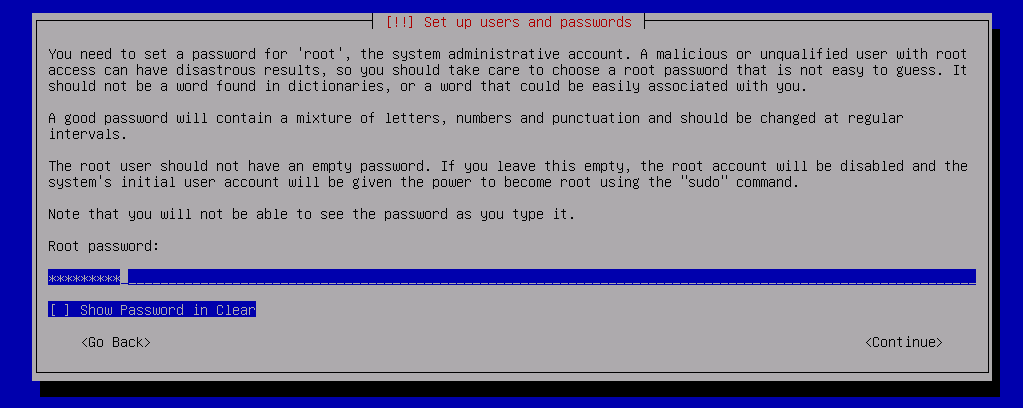
Set up the root password
5. Set up usernames, accounts, and passwords
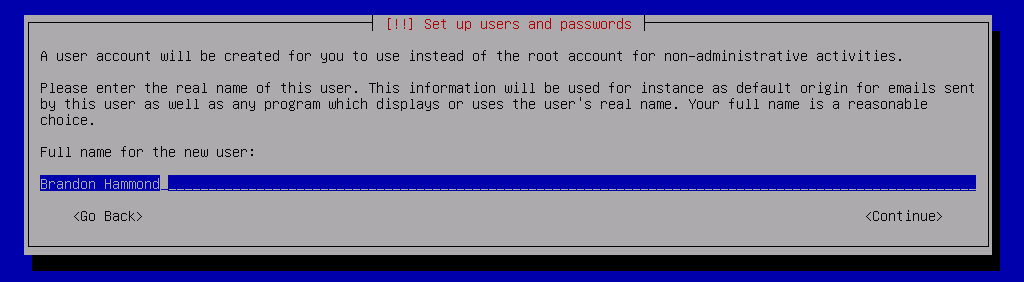
User name
The next step is to type in your name, pick a username, and allot a password for this newly created account. The following screenshots are going to depict how you’ll get this done.
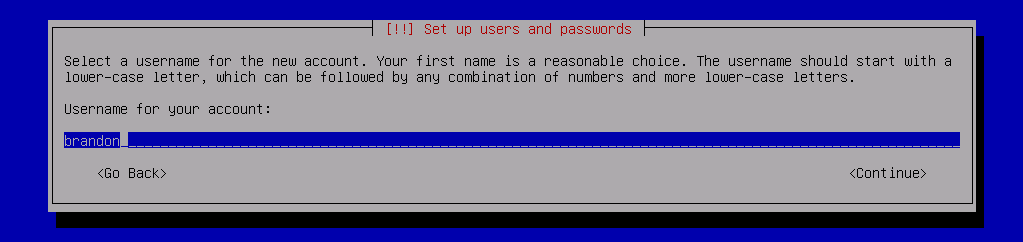
User account

User account password
At the end of this section, you will have to retype the password for verification.
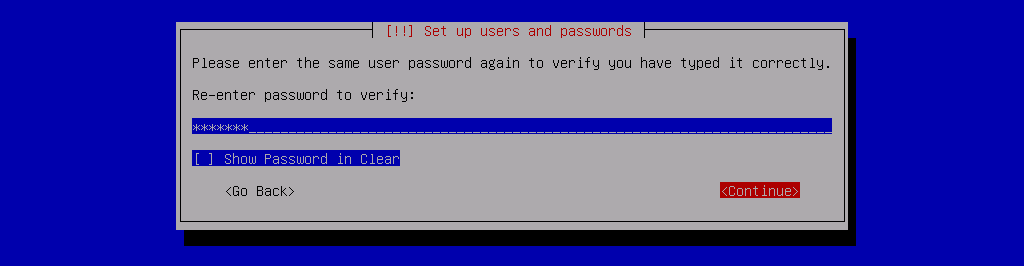
User account password retype
6. Set up the clock timezone
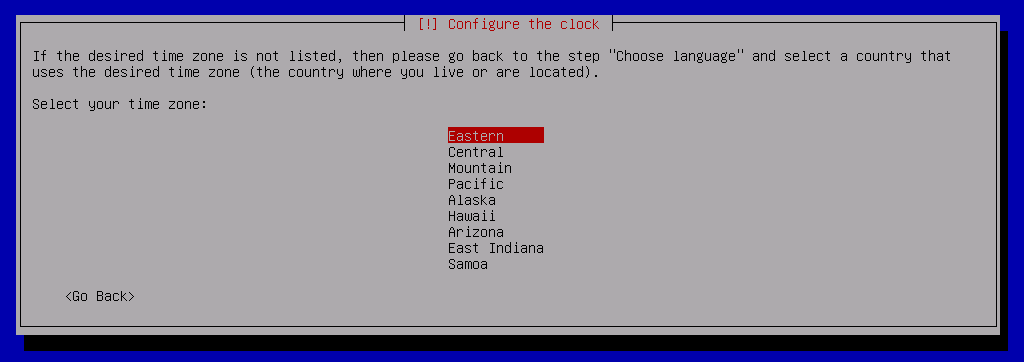
Time zone
Pick your timezone in this step to proceed.
7. Partition the disk
Partition disks select yes.
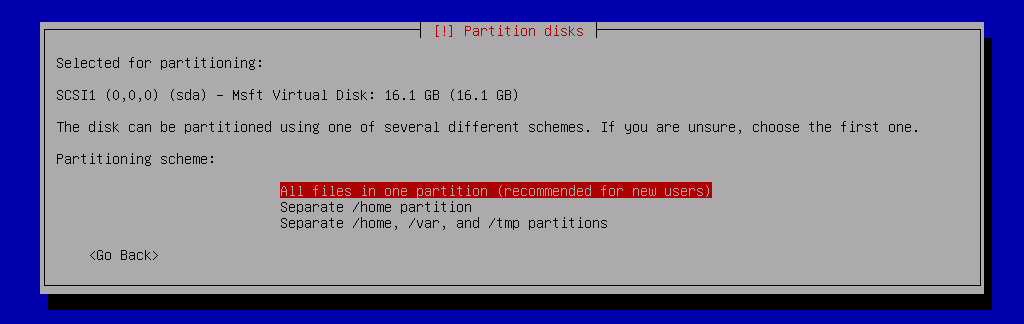
You now have to partition the disk to continue. After choosing the “Manual” option for disk partitioning, you will be given the following options to proceed.
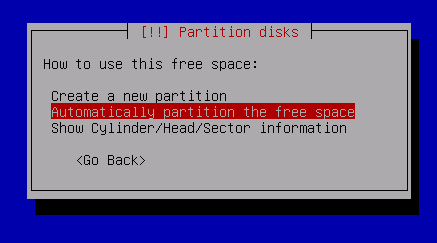
Partitioning Select Automatic
It is recommended to select the “Automatic” option as it will easily divide the disk into the needed partitions.
Partitioning Select Automatic
Continue the process as shown below in the screenshots for the best results.
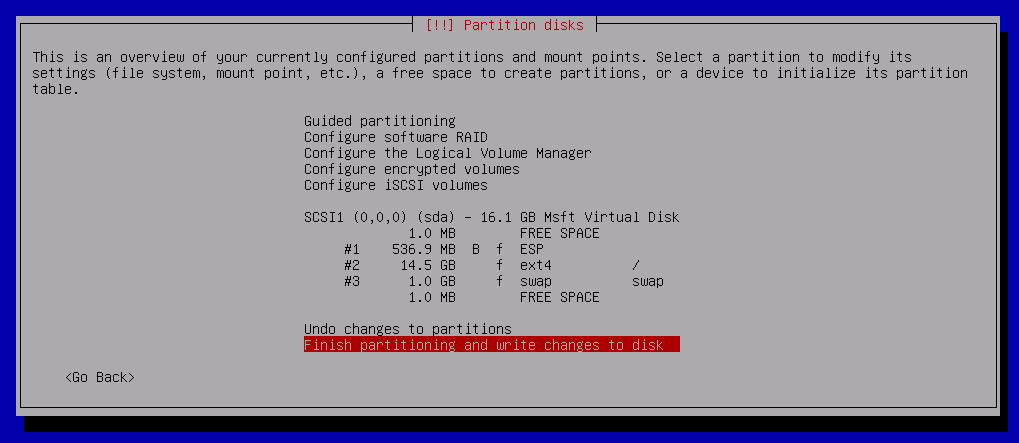
Partitioning Select Automatic Finish
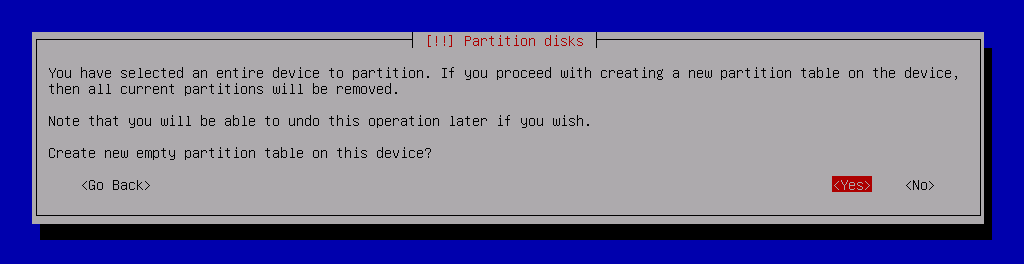
Confirm the partitioning by clicking on “Yes.”
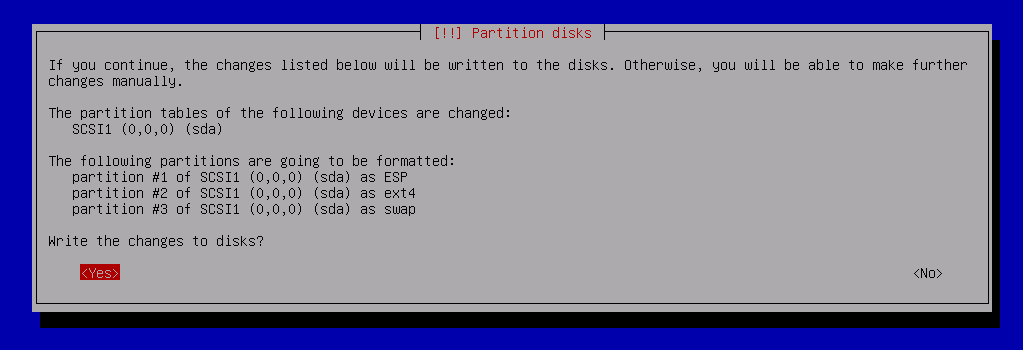
Partitioning Select Automatic Finish Confirm
8. Base Installation
After confirming the partitions made automatically, the base version of Debian 11 will start installing.
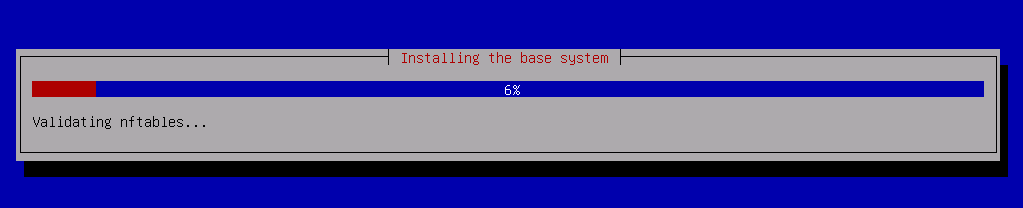
Base System Install
After a couple of minutes, you will be prompted to scan any other media if you want.
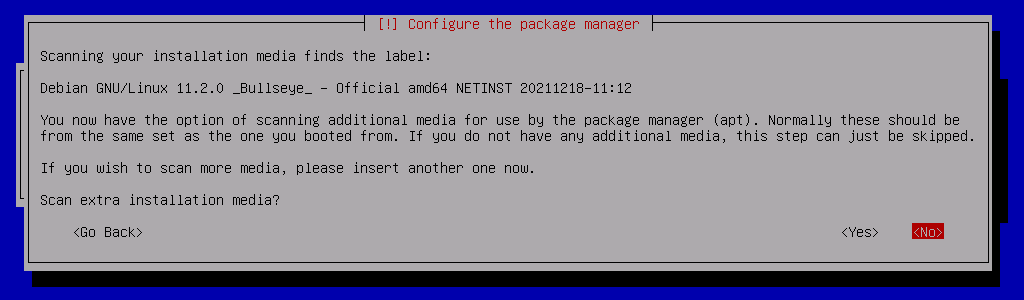
Scan additional media
9. Debian Mirror Package Retrieval from the internet
Since we installed the ‘netinst’ version of Debian, only the most essential files were included in the ISO image file. Once that is done and the base version is installed, you will be prompted to retrieve the remaining files from the internet.
To get started, select the “Debian archive mirror country.” For example, we will pick the United Kingdom as a reference for the screenshot below, although you can choose the USA if you reside there.
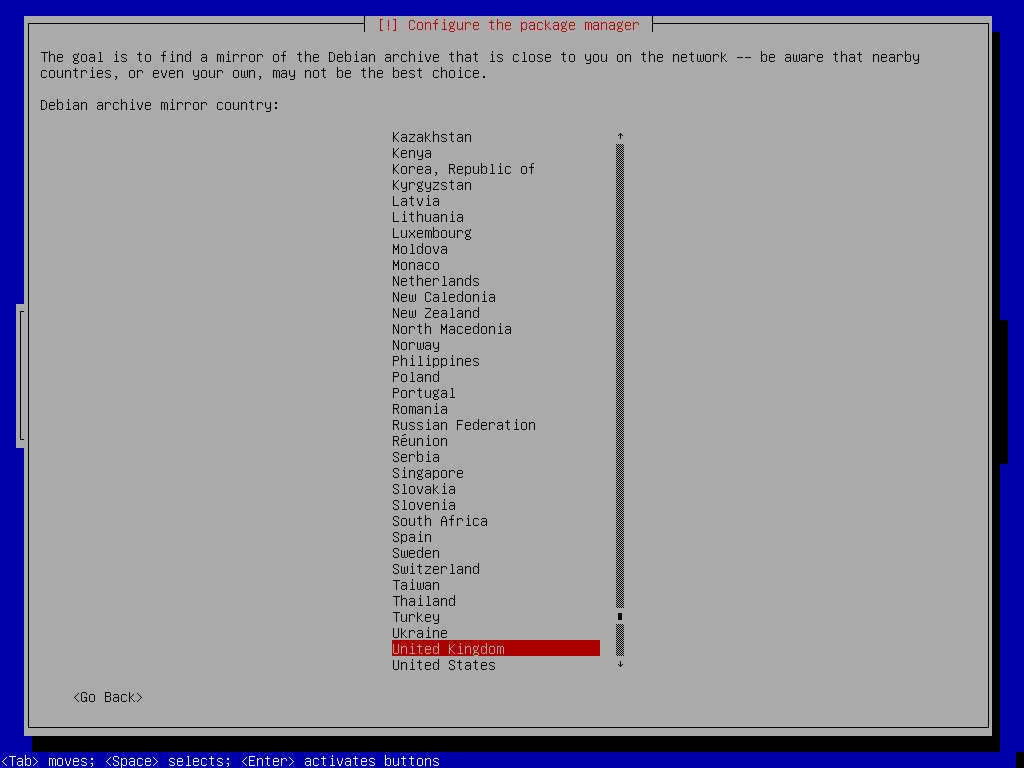
System Mirror Location
The last step is to pick the Debian archive mirror. Select “deb.debian.org” to continue.
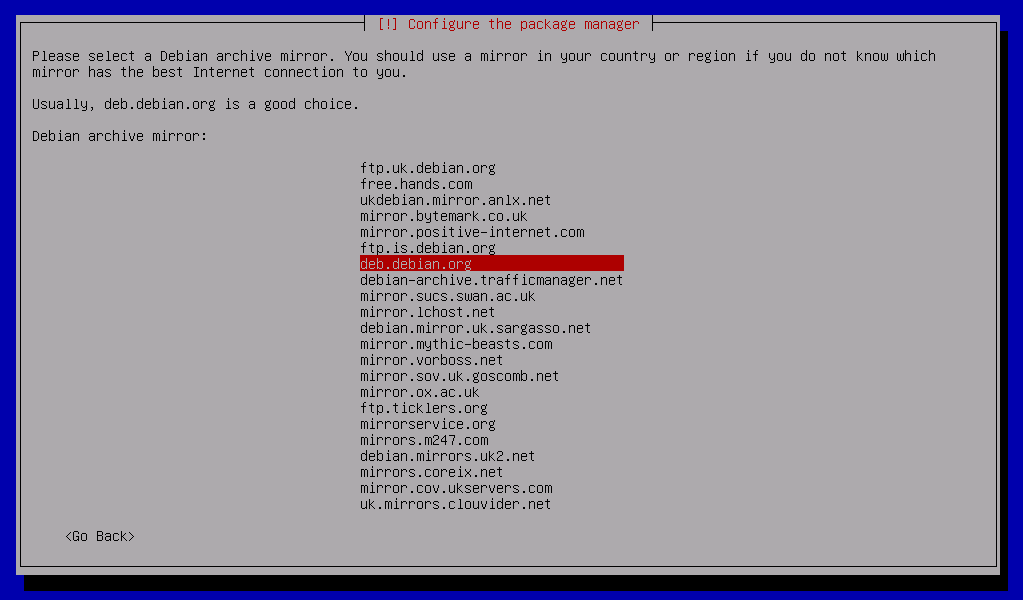
System Mirror Location Domain
The installer will now retrieve the remaining files after selecting the relevant Debian Mirror Location and Domain. First, choose the location nearest to your country.

System Mirror Installation
10. Tune the installation as per the requirement
During the retrieval, you will be prompted to select one or more of the following predefined software collections.
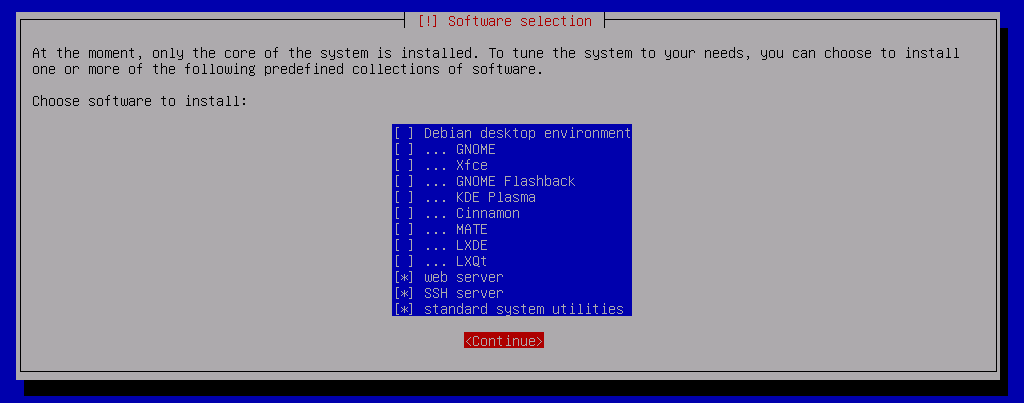
Software selected
Since we only need the Debian Minimal Server installation, we have unchecked all of the irrelevant boxes which were checked by default, like ‘Debian desktop environment’ and ‘GNOME.’ We do, however, have checked the boxes for Web and SSH Servers because those two are the packages that we do need. You can check or uncheck any of these software packages to install them as per your requirements.
Once the desired packages are selected, they will be retrieved from the internet.

Software download
11. Complete Debian 11 Minimal Server Installation
Once the files are retrieved, the installation will get completed in a few minutes. You now need to reboot your system after removing the USB in which you put the ISO image file. Alternatively, you can also open the BIOS settings immediately after rebooting and changing the boot order for the system not to boot first from the USB again.
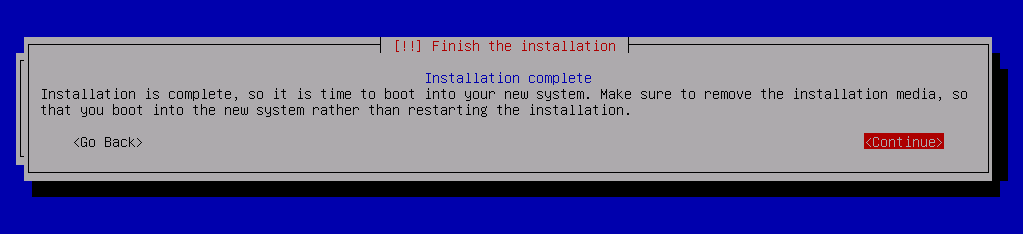
Installation Finished
12. Reboot into Debian 11 and log in
Once rebooted, the system will run Debian 11. It will prompt you for the “User” password that you set at the installation time.
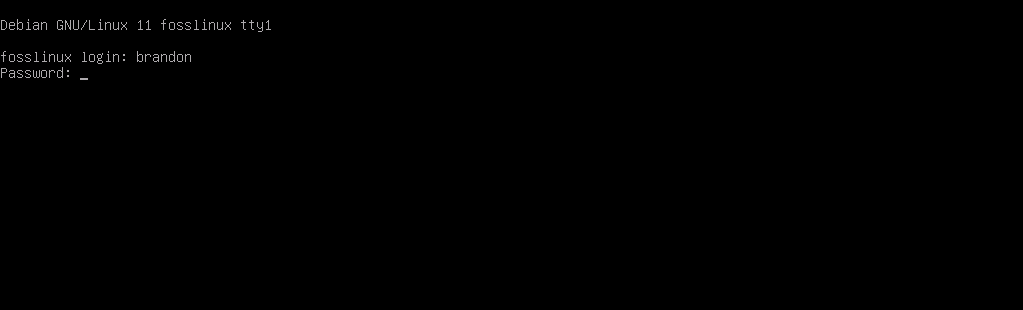
Startup
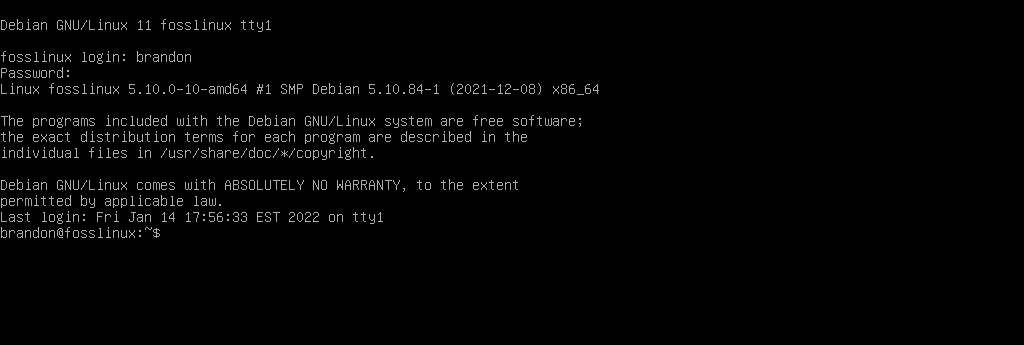
Enter the password, and that’s it! Congratulations, you have now successfully installed Debian 11 Minimal Server and logged in as well.
Takeaways
You can now explore all of the options to set up your required servers or make use of this fantastic platform in any way you deem fit. We hope that this Debian 11 Minimal Server installation guide has helped you successfully install it on your system.
Please let us know in the comments section if the process went smoothly on your end. We’d love to read your feedback!
1 comment
But you have to select install, not Graphic install as is shown in first image.