
WireGuard is an open-source, free, ultra-modern, and quick VPN server with cutting-edge encryption. It is often quicker, easier to deploy, and has a lower footprint than other popular VPN options, including IPsec and OpenVPN. It was initially published for the Linux kernel.
However, WireGuard is gaining cross-platform support for FreeBSD and other major operating systems such as macOS, Android, and Windows. This guide details the installation and configuration of WireGuard VPN on a Debian 11 Bullseye Linux server.
WireGuard is a peer-to-peer VPN that does not operate on a client-server basis. Depending on the setup, a peer can function as a typical server or client. It operates by establishing a network interface on every peer device that serves as a tunnel. In the SSH paradigm, peers authorize each other by sharing and verifying public keys. The public keys are associated with a list of IP addresses permitted in the tunnel. UDP is used to encapsulate VPN communication.
This article guide tutorial will demonstrate how to configure your own WireGuard VPN server on Debian 11 Bullseye. WireGuard was designed exclusively for the Linux kernel. It operates within the Linux kernel and enables the creation of a quick, contemporary, and secure VPN connection.
WireGuard features
WireGuard VPN includes the following capabilities:
- It supports IPv6 completely.
- It is a peer-to-peer VPN that does not require a client-server architecture.
- Supports Pre-shared Symmetric Key Mode to offer an additional layer of symmetric encryption with ChaCha20. This will help minimize future quantum computing developments.
- It is easy and efficient.
- It employs SipHash for its hashtable keys, Curve25519 for its key exchange, BLAKE2s for its cryptographic hash function, and Poly1305 for its message authentication codes.
- It may be enhanced by third-party programs and scripts to make logging, LDAP integration, and firewall upgrades easier.
- It is exclusively UDP-based.
- Multiple network topologies, such as point-to-point, star, mesh, etc., are supported.
Setting up WireGuard server on Debian
Prerequisites
Before delving into this article guide, ensure you have all the prerequisites provided herein:
- Debian 11 Bullseye installed
- Root user access
Once you have the prerequisites mentioned above, proceed to the installation phase.
How to install and configure WireGuard on Debian 11
To install WireGuard on your Debian 11 OS, follow all steps provided herein to the later:
Step 1: Update your Debian system resources
Execute the apt command/apt-get command to install security updates for Debian 11:
sudo apt update

sudo apt upgrade
Update and upgrade Debian resources
As soon as you are done, proceed to step 2
Step 2: Enable Debian backports repo
To install Debian security updates, execute the apt/apt-get command:
sudo sh -c "echo 'deb http://deb.debian.org/debian buster-backports main contrib non-free' > /etc/apt/sources.list.d/buster-backports.list"
Verify the added repo by executing the line of code below:
cat /etc/apt/sources.list.d/buster-backports.list
Once you are done, update your Debian resources before going to the next step by running this command:
sudo apt update
Update Debian resources
Note: If you are using older Debian versions, you are required to enable backports repos. However, the newer versions do not. Therefore, if you use Debian 11, you can skip step 2.
Step 3: Installing WireGuard
Before we install WireGuard, we check if it already exists in our Debian 11 OS by using this command line:
sudo apt search wireguard
Search for WireGuard
After running this command, you will know if to run the install command or not. For older Debian versions, enabling backports repo is a must. Once you have enabled backports repo, run this command:
sudo apt install wireguard
Install wireguard
For Debian 11 users who skipped step 2, run these lines of code to install WireGuard onto your operating system:
sudo apt update

sudo apt install wireguard wireguard-tools linux-headers-$(uname -r)
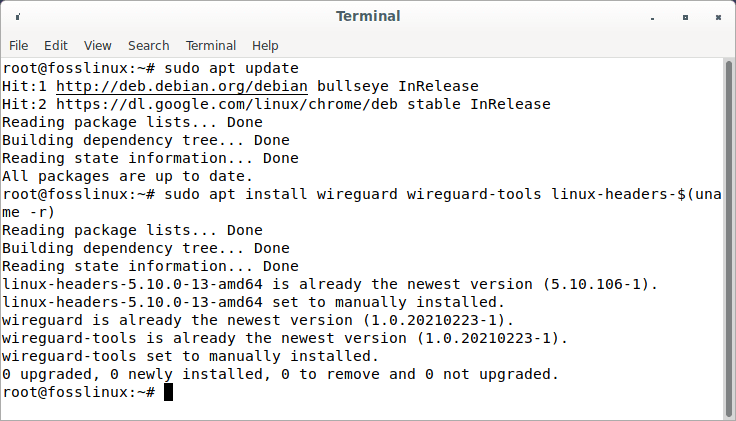
Update and install wireguard
Note: if you are using an older version of Debian, such as Debian 10 buster, run the given commands:
sudo apt update

sudo apt -t buster-backports install wireguard wireguard-tools wireguard-dkms linux-headers-$(uname -r)
Step 4: Install the Openresolv package
Additionally, you must install the openresolv software on the client to set up the DNS server. To install it execute this command:
sudo apt install openresolv
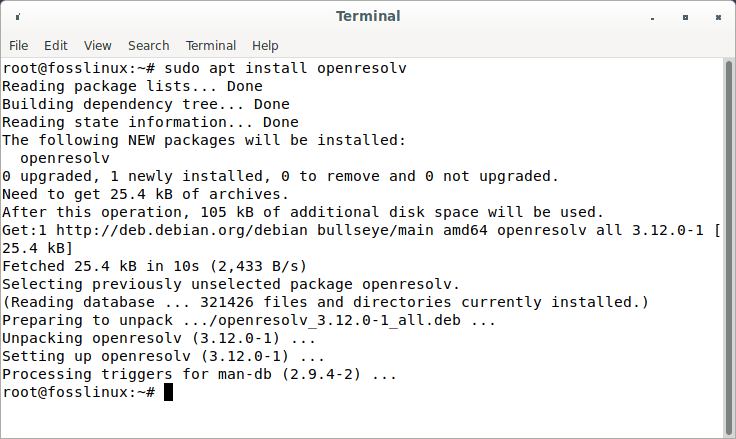
Install openresolv
Step 4: Configuring the WireGuard server
First, a pair of private and public keys must be generated for the WireGuard server. Let’s get to the /etc/wireguard/ directory using the cd command.
sudo -i

cd /etc/wireguard/
Enter Wireguard directory
Now proceed and run the following line of code:
umask 077; wg genkey | tee privatekey | wg pubkey > publickey
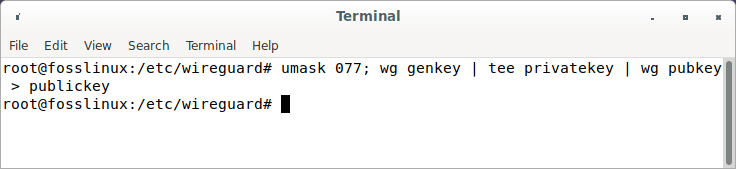
Create public and private keys
Note if that command fails to do the trick for you, run this alternate command on your terminal:
wg genkey | sudo tee /etc/wireguard/privatekey | wg pubkey | sudo tee /etc/wireguard/publickey
We can check the created keys using the ls and cat command as illustrated below:
ls -l privatekey publickey

cat privatekey

cat publickey
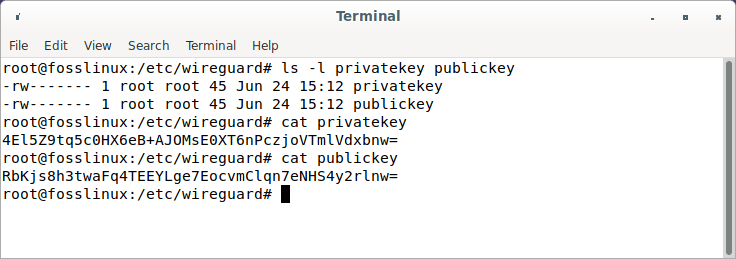
Private and public keys
The files are created in this location:
/etc/wireguard
To inspect the contents of the files, use the cat or ls commands as shown above. The private key ought not to be shared with anybody and should be kept safe at all times. WireGuard supports a pre-shared key, which provides another layer of symmetric-key cryptography. This is an optional key that must be distinct for every peer pair.
The next step is to set up the device that will route VPN traffic through the tunnel.
The device may be configured using the ip and wg commands from the command line or by manually writing the configuration file. We’ll use a text editor to construct the setup.
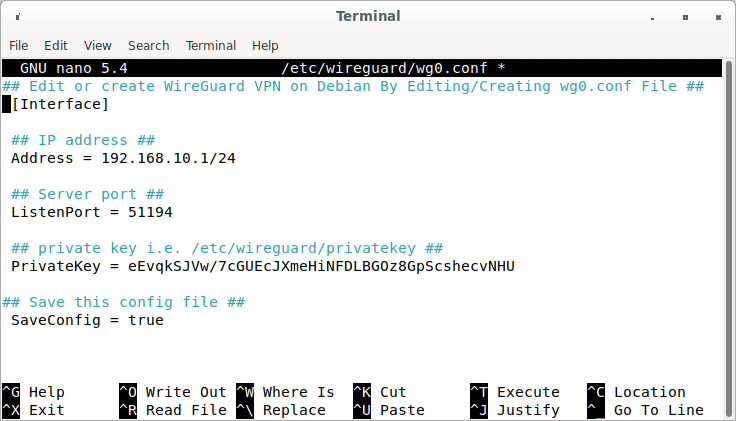
Open your editor and add the following to a new file called wg0.conf:
sudo nano /etc/wireguard/wg0.conf
Append the following lines:
## Edit or create WireGuard VPN on Debian By Editing/Creating wg0.conf File ##
[Interface]
## IP address ##
Address = 192.168.10.1/24

## Server port ##
ListenPort = 51194

## private key i.e. /etc/wireguard/privatekey ##
PrivateKey = eEvqkSJVw/7cGUEcJXmeHiNFDLBGOz8GpScshecvNHU

## Save this config file ##
SaveConfig = true

PostUp = iptables -A FORWARD -i %i -j ACCEPT; iptables -t nat -A POSTROUTING -o ens3 -j MASQUERADE
PostDown = iptables -D FORWARD -i %i -j ACCEPT; iptables -t nat -D POSTROUTING -o ens3 -j MASQUERADE
Append config file
You may give the interface whatever name you wish. However, it is advised that you use either wg0 or wgvpn0.
Breakdown of the wg0.conf settings
- Address – A list of v4 or v6 IP addresses for the wg0 interface, separated by commas. You can choose an IP address from the private network range
- ListenPort – The port for listening.
- PrivateKey – A private key created by running the wg genkey command. (To view the file’s contents, use sudo cat /etc/wireguard/privatekey.)
- SaveConfig – When SaveConfig is set to true, the present state of the interface is stored in the config file when the interface is shut down.
- PostUp – A command or script run before the interface is created. In this example, we’re enabling masquerade with iptables. This permits traffic to exit the server, providing VPN clients with Internet access.
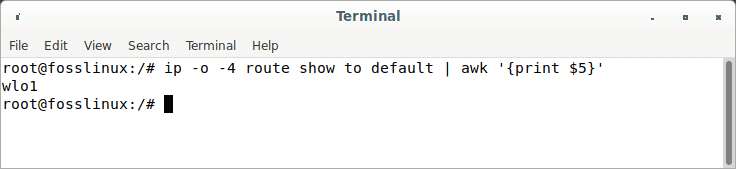
Make sure you change ens3 with the name of your local network interface after -A POSTROUTING. The interface is easily accessible via this command:
ip -o -4 route show to default | awk '{print $5}'
Network interface
- PostDown – A program or script run before shutting down the interface. Once the interface is offline, the iptables rules will be deactivated.
In the code output, replace:
- Address: Replace the address in the output with the reserved IP range specified for your private networks.
- eth0: Replace it with your actual network interface. To look at your interface, run the code provided below:
ip -o -4 route show to default | awk '{print $5}' -
GENERATED_SERVER_PRIVATE_KEY: Replace it with the private key acquired after executing the following command
sudo cat /etc/wireguard/privatekey
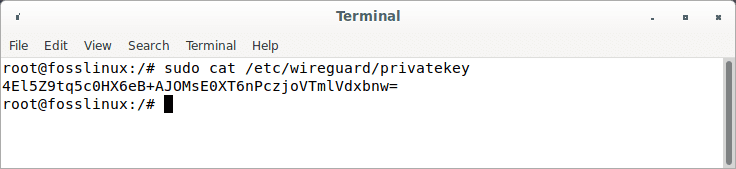
Privatekey
As soon as you are done, save and close the configuration file.
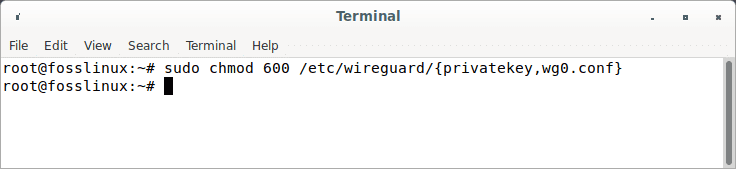
Note: Ensure you make the config file unreadable to users by executing this code:
sudo chmod 600 /etc/wireguard/{privatekey,wg0.conf}
Make config file unreadable
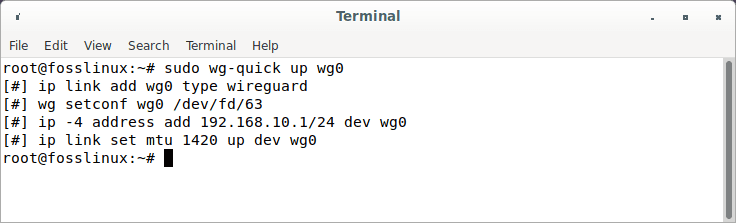
Now launch the wg0 interface by running this line of code:
sudo wg-quick up wg0
wg0 interface
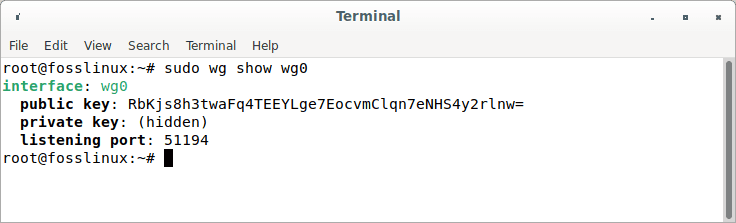
To check the status of the interface, execute this command:
sudo wg show wg0

Or

ip a show wg0
Check interface status
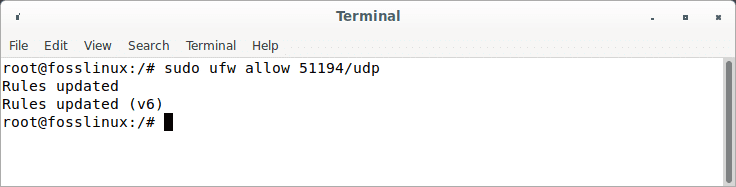
Create UFW firewall rules.
Assuming you have a UFW set up, we will open the UDP 51194 port with the aid of the ufw command as follows:
sudo apt install ufw
sudo ufw allow 51194/udp
Create rules
List the created UFW firewall rules by running this command:
sudo ufw status
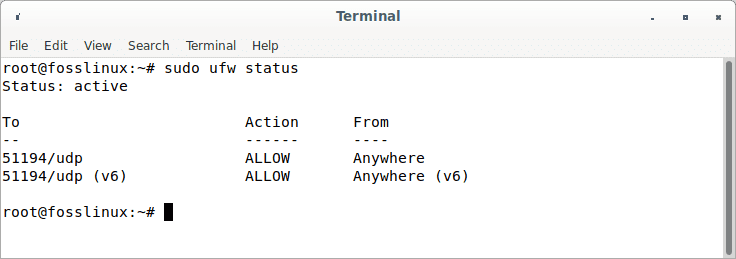
check ufw status
Enable and launch the WireGuard service.
Using the systemctl command, start the WireGuard service at boot time by running:
sudo systemctl enable wg-quick@wg0
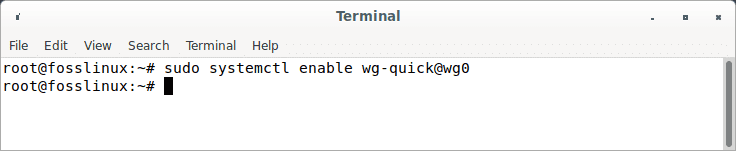
Enable Wireguard
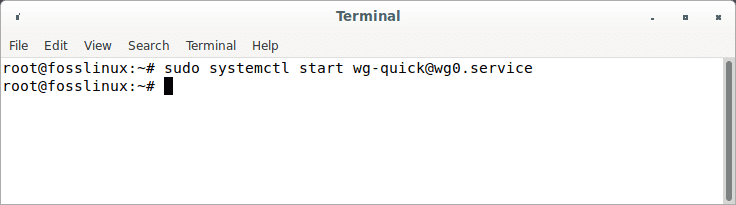
To start WireGuard, run:
sudo systemctl start wg-quick@wg0
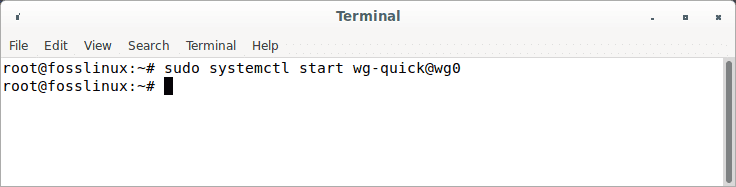
Start wireguard service
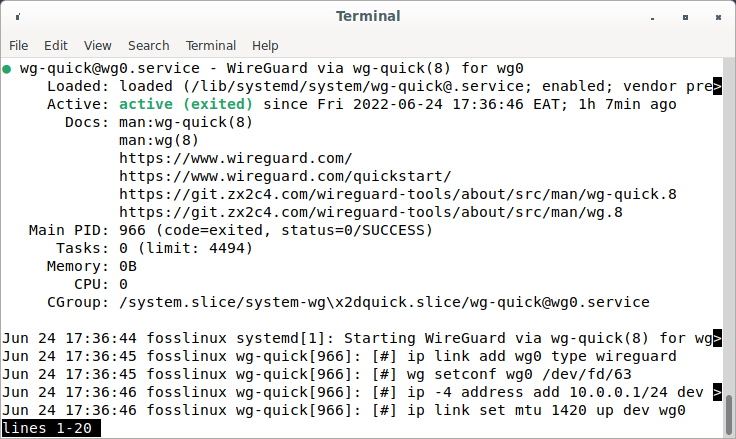
To obtain the status of WireGuard, run:
sudo systemctl status wg-quick@wg0
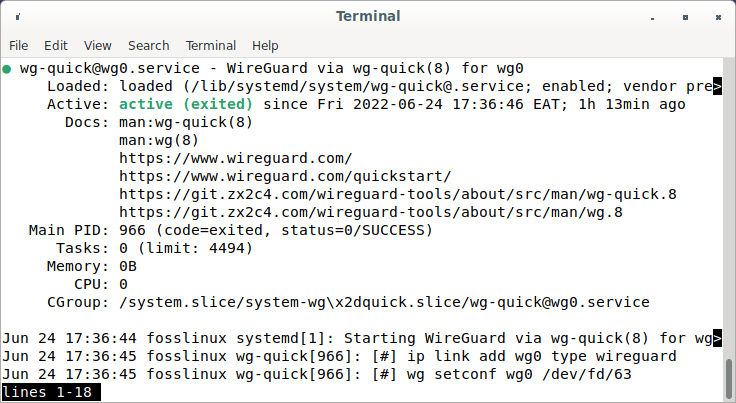
Wireguard service status
Using the ip command, confirm that the interface wg0 is operational on the Debian server:
sudo wg

sudo ip a show wg0
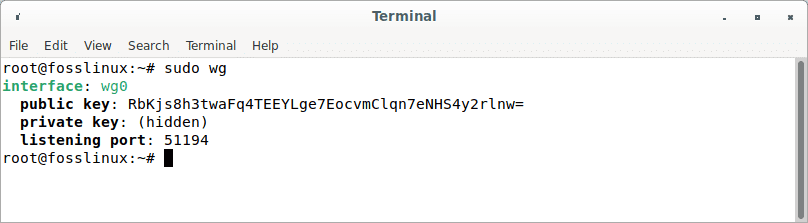
Wireguard interface
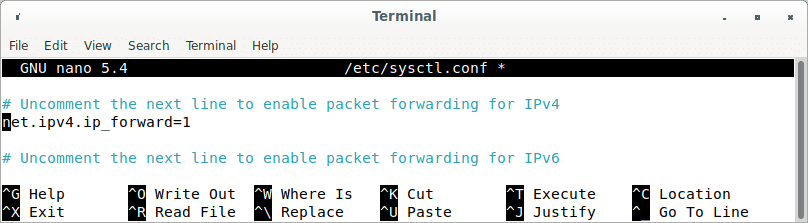
Turn on IP forwarding on the server.
We must activate IP forwarding on the VPN server for it to transit packets between VPN clients and the Internet. To do so, change the sysctl.conf file.
sudo nano /etc/sysctl.conf
Insert the syntax below at the end of this file.
net.ipv4.ip_forward = 1
Ip forwarding
Save the file, close it, and then apply the modifications using the below command. The -p option loads sysctl configuration from the /etc/sysctl.conf file. This command will save our modifications across system restarts.
sudo sysctl -p
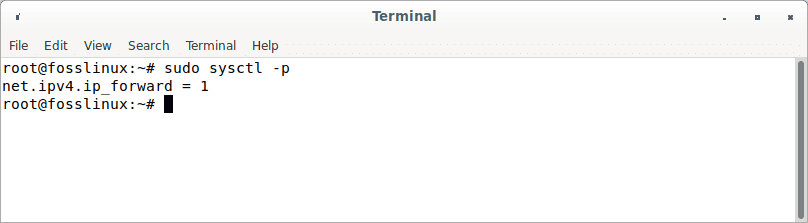
Apply modifications
IP Masquerading configuration on the server
We must configure IP masquerading in the server’s firewall for the server to function as a virtual gateway for VPN clients. I will utilize UFW, an interface to the iptables firewall. Install UFW using the following:
sudo apt install ufw
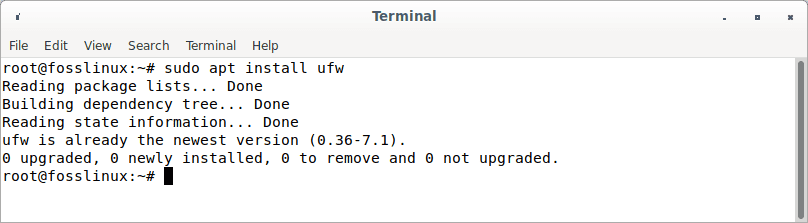
Install ufw
First, you must permit SSH traffic.
sudo ufw allow 22/tcp

Permit ssh traffic
Next, identify the server’s primary network interface.
ip addr
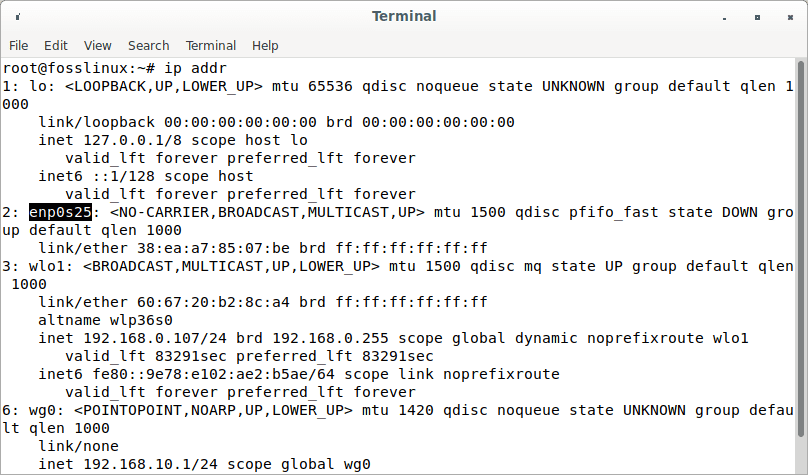
IP address
Evidently, the name on my Debian server is enp0s25.
The iptables command must be included in the UFW configuration file to implement IP masquerading.
sudo nano /etc/ufw/before.rules
There are some default rules for the filter table. Append the following lines to the file’s conclusion. Replace ens3 with the name of your network interface.
# Table rules

*nat

:POSTROUTING ACCEPT [0:0]

-A POSTROUTING -o ens3 -j MASQUERADE

# Each table must end with the 'COMMIT' line, or these rules won't be processed

COMMIT
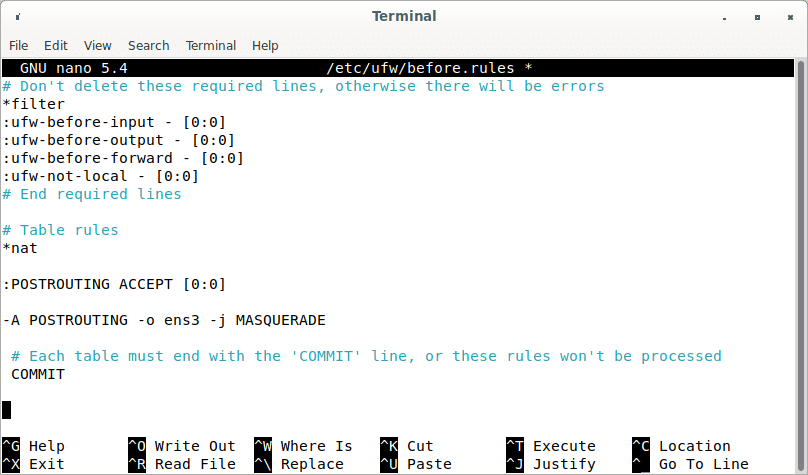
Table rules
You may get to the end of a file in the Nano text editor by hitting Ctrl+W, followed by Ctrl+V.
The lines above will add (-A) a rule to the end of the POSTROUTING chain of the nat table. It will establish a connection between your virtual private network and the Internet. In addition, shield your connection from the outside world. So, just as your home router covers your private home network, the Internet can only see your VPN server’s IP but not your VPN client’s.
UFW disables packet forwarding by default. For our private network, we can enable forwarding. In this file, locate the ufw-before-forward chain and add the following two lines, which will permit packet forwarding if the source or destination IP address is in the 10.10.10.0/24 range.
-A ufw-before-forward -s 10.10.10.0/24 -j ACCEPT

-A ufw-before-forward -d 10.10.10.0/24 -j ACCEPT
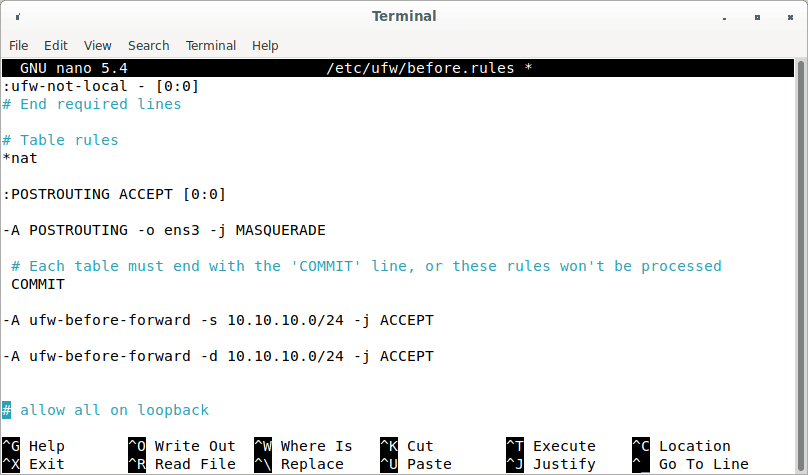
Packet forwarding range
Once done, save and exit the file. Then turn on UFW.
sudo ufw enable
If you already activated UFW, you may restart it using systemctl.
sudo systemctl restart ufw
Now, use the following command to list the rules in the NAT table’s POSTROUTING chain:
sudo iptables -t nat -L POSTROUTING
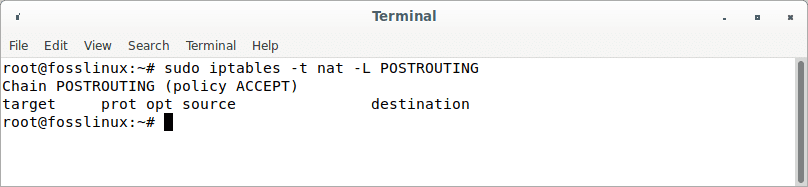
Postrouting
The Masquerade rule is evident from the output below:
Setup Linux and macOS Clients
On Linux, use the distribution package manager to install the package, while on macOS, use brew. After installing, proceed with the instructions below to set up the client device.
The procedure for configuring a Linux or macOS client is similar to configuring the server. Create the public and private keys first:
wg genkey | sudo tee /etc/wireguard/privatekey | wg pubkey | sudo tee /etc/wireguard/publickey
Make a file called wg0.conf and fill it with the following contents:
sudo nano /etc/wireguard/wg0.conf
The options in the interface segment have the same significance as those in the server configuration:
- Address – A list of v4 or v6 IP addresses for the wg0 interface, separated by commas.
- PrivateKey – To view the file’s contents on the client system, type sudo cat /etc/wireguard/privatekey.
The following fields are included in the peer section:
- PublicKey – The public key of the peer to which you want to connect. (The contents of the /etc/wireguard/publickey file on the server.)
- Endpoint – The IP address or hostname of the peer to whom you want to connect, followed by a colon as well as the port number to which the remote peer listens.
- AllowedIPs – A list of v4 or v6 IP addresses separated by commas used to accept incoming traffic for the peer and route outgoing traffic for this peer. We’re using 0.0.0.0/0 because we’re routing traffic and want the server peer to transmit packets from any IP address.
If you need to configure more clients, repeat the process with a different private IP address.
Connect the Client Peer to the Server.
The client’s public key and IP address are then added to the server. To do that, run the script on the Debian server:
sudo wg set wg0 peer CLIENT_PUBLIC_KEY allowed-ips 10.0.0.2
Change the CLIENT_PUBLIC_KEY to the public key you produced on the client computer (sudo cat /etc/wireguard/publickey) and update the client IP address if necessary. Windows users can obtain the public key from the WireGuard program.
Return to the client machine and launch the tunneling interface.
Configure a DNS Resolver on the Server
Because we selected the VPN server as the client’s DNS server, we must execute a DNS resolver on the VPN server. We may now set up the bind9 DNS server.
sudo apt install bind9
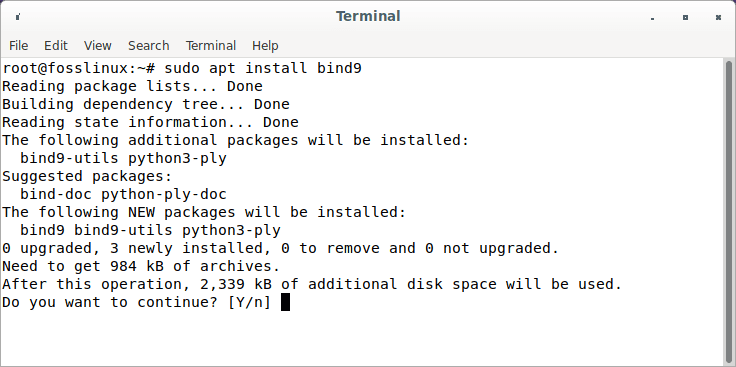
Install bind9
BIND will start immediately after installation. You may check its status by using:
systemctl status bind9
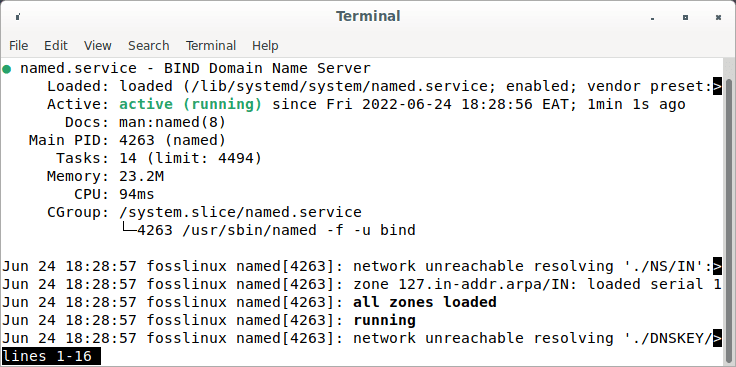
Bind9 status
If it isn’t already running, start it with:
sudo systemctl start bind9
Change the configuration file for the BIND DNS server.
sudo nano /etc/bind/named.conf.options
Add the following code to permit VPN clients to transmit recursive DNS requests.
allow-recursion { 127.0.0.1; 10.10.10.0/24; };
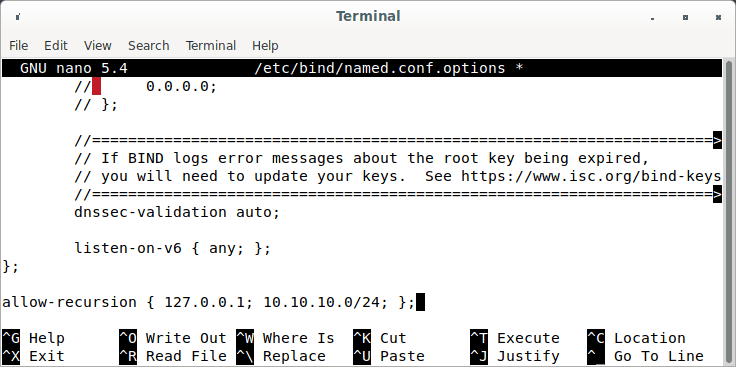
Permit vpn clients to transmit requests
Now save and exit the file. Then make changes to the /etc/default/named files.
sudo nano /etc/default/named
To allow BIND to query root DNS servers, add -4 to the OPTIONS.
OPTIONS="-u bind -4"
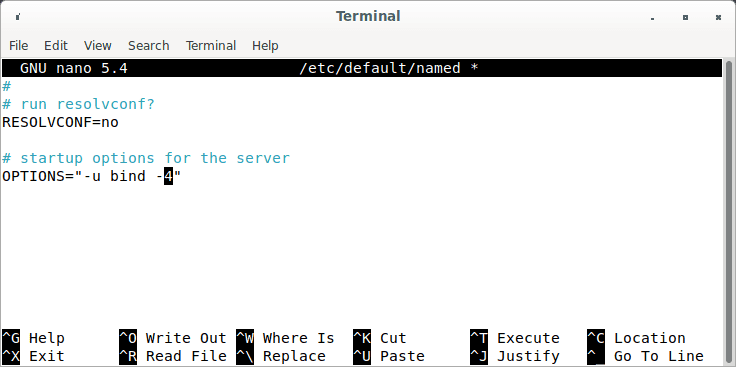
Allow bind to query dns servers
Save and exit the file.
DNSSEC is enabled by default in BIND, assuring that DNS replies are valid and have not been tampered with. However, it may not function immediately owing to trust anchor rollover and other factors. To make it operate properly, use the following commands to rebuild the managed key database.
sudo rndc managed-keys destroy

sudo rndc reconfig
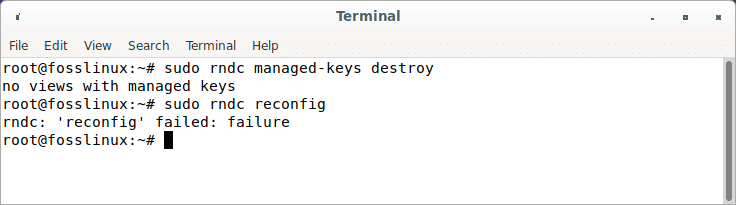
Rebuild key database
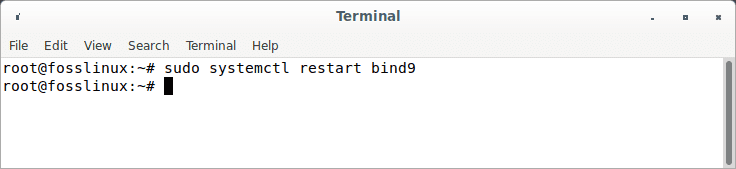
To make the modifications take effect, restart BIND9.
sudo systemctl restart bind9
Restart bind9
Then, to enable VPN users to connect to port 53, run the following command.
sudo ufw insert 1 allow in from 10.10.10.0/24
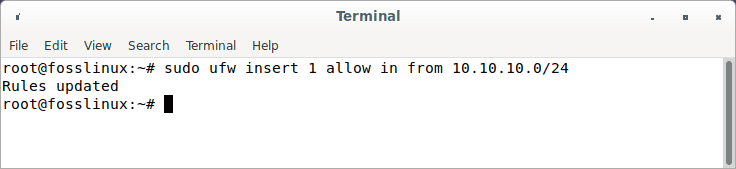
Enable vpn users to connect to port 53
Launch the WireGuard server.
Start WireGuard by running the following command on the server.
sudo wg-quick up /etc/wireguard/wg0.conf
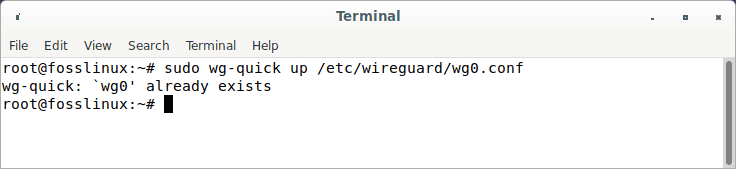
Start wireguard server
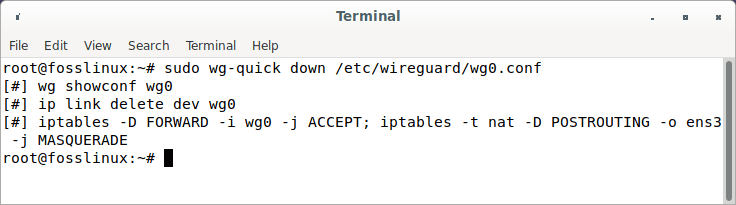
To kill it, run
sudo wg-quick down /etc/wireguard/wg0.conf
Kill wireguard server
WireGuard can also be started using the systemd service.
sudo systemctl start wg-quick@wg0.service
Start wireguard server using systemd
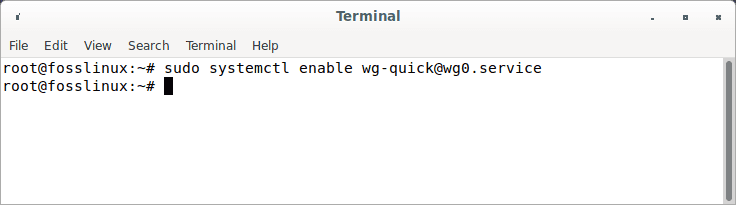
Enable autostart on system boot.
sudo systemctl enable wg-quick@wg0.service
Ennable wireguard at boot
Use the following line of code to check its status.
systemctl status wg-quick@wg0.service
Check wireguard status
The WireGuard server is now ready for client connections.
Launch the WireGuard client.
Launch WireGuard
sudo systemctl start wg-quick@wg-client0.service
Enable autostart on system boot.
sudo systemctl enable wg-quick@wg-client0.service
Examine its current state
systemctl status wg-quick@wg-client0.service
Now go to http://icanhazip.com/ to find out what your public IP address is. If everything went correctly, it should show your VPN server’s public IP address rather than your client computer’s public IP address.
To obtain the current public IP address, use the following command.
curl https://icanhazip.com
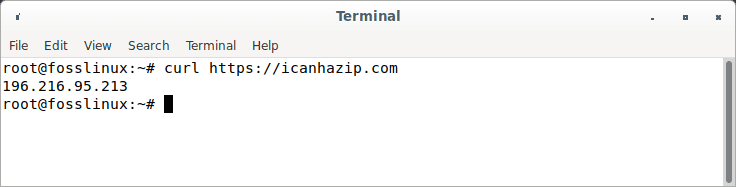
Obtain current public IP address
Firewall: Allow access to the WireGuard port
To start UDP port 51820 on the server, use the following command.
sudo ufw allow 51820/udp
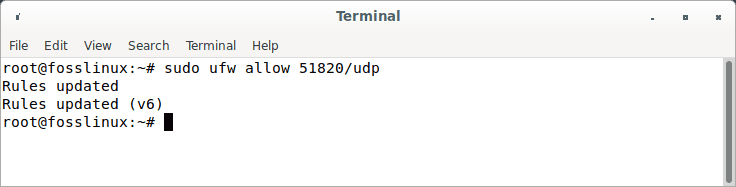
Start UDP port
That’s all. Your WireGuard server is now up and running.
Conclusion
That’s all! WireGuard VPN was successfully installed on Debian 11 Bullseye. You should now be able to install Wireguard on Linux and other major operating systems and configure the server and client peer for WireGuard VPN. I hope you liked it. Thanks for reading, and follow FOSS Linux for more Linux tutorial guides.
1 comment
THANK YOU A LOT, THIS IS THE ONLY ONE WORKING WAY TO DO IT !!