
Python, the versatile and powerful programming language, has become an integral part of modern software development, data science, machine learning, and automation. Its simple syntax and extensive library support have made it a favorite among developers and enthusiasts alike. If you’re a Debian user looking to harness the full potential of Python on your system, you’ve come to the right place. In this comprehensive article guide, we will walk you through the entire process of installing Python on Debian, step by step.
What is Python, and what is it used for?
Before we delve into the installation process, let’s briefly understand Python and why it has gained such immense popularity. Python is a high-level, interpreted programming language first introduced in the late 80s by Guido van Rossum. Since then, it has evolved into a versatile and easy-to-learn language used for a wide range of applications.
Python is renowned for its clean and readable syntax, which allows developers to express complex ideas with fewer lines of code. Its rich standard library and extensive ecosystem of third-party packages empower developers to accomplish various tasks efficiently. From web development, scientific computing, and artificial intelligence to automation and scripting, Python has found its way into almost every corner of the tech world.
How to install Python on Debian
Now that we understand Python and its significance let’s explore the various methods to install Python on a Debian system. As a robust and well-maintained Linux distribution, Debian provides multiple options to install Python, catering to different user preferences and requirements.
Method 1: Installing Python using APT
The APT package manager is the standard and straightforward method for installing software on Debian-based systems. It lets you easily fetch and install Python and its accompanying packages from the official repositories. Here’s a more detailed explanation of how to install Python using APT on Debian:
Step 1. Update Package List
Before installing any software, updating the package list to ensure you install the latest available versions is essential. Fire up the terminal and execute the following command:
sudo apt update
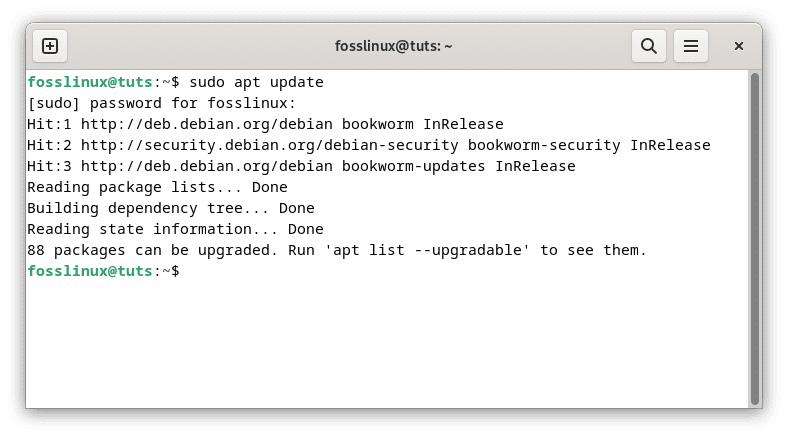
Update system resources
This command fetches the latest information about available packages from the Debian repositories.
Step 2. Install Python 3 and pip
With the updated package list, you can now install Python 3 and the package manager pip. Pip is a powerful tool that allows you to easily install additional Python packages from the Python Package Index (PyPI). To install Python 3 and pip, run the following command:
sudo apt install python3 python3-pip
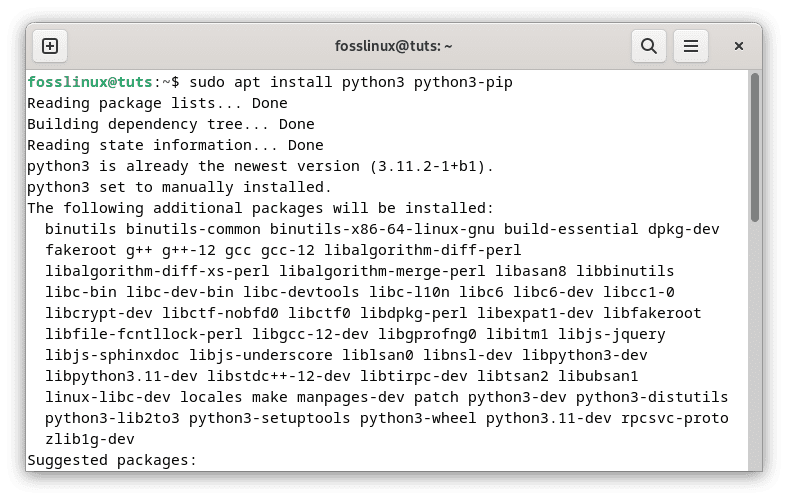
Install python3 and pip
This line of code will install the latest stable version of Python 3 and pip from the official Debian repositories.
Step 3. Verify the Installation
To ensure that Python has been successfully installed, check its version:
python3 --version
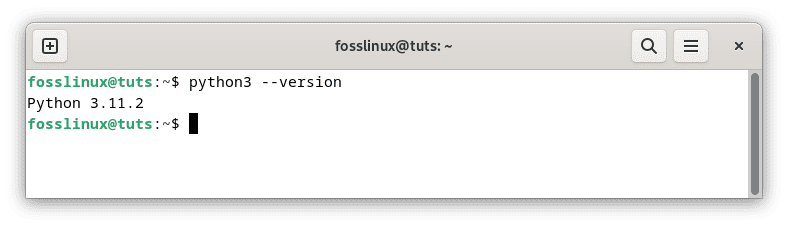
Check python3 version
This should display the version number of the Python 3 installation.
To verify that pip has been installed, run the following command:
pip3 --version

Check pip3 version
This will display the version number of the pip installed on your system.
Using the APT package manager to set up Python on Debian is the simplest and most recommended method for most users. Following the steps provided above, you can quickly get the latest stable version of Python 3 and pip on your Debian system.
Python’s versatility, extensive library support, and Debian’s stability provide a powerful environment for your programming projects. Whether you’re a beginner or an experienced developer, Python on Debian offers a seamless experience for building a wide range of applications and solutions.
Method 2: Installing Python from the source
Follow the steps provided herein to compile and install Python from the source:
Step 1: Installing Necessary Packages and Dependencies
The first step involves installing essential packages and dependencies required to build the Python source. Fire up the terminal and execute the following commands:
sudo apt update

sudo apt upgrade

sudo apt install build-essential

sudo apt install libssl-dev libsqlite3-dev libbz2-dev libgdbm-dev libncurses5-dev libncursesw5-dev libreadline-dev zlib1g-dev libffi-dev
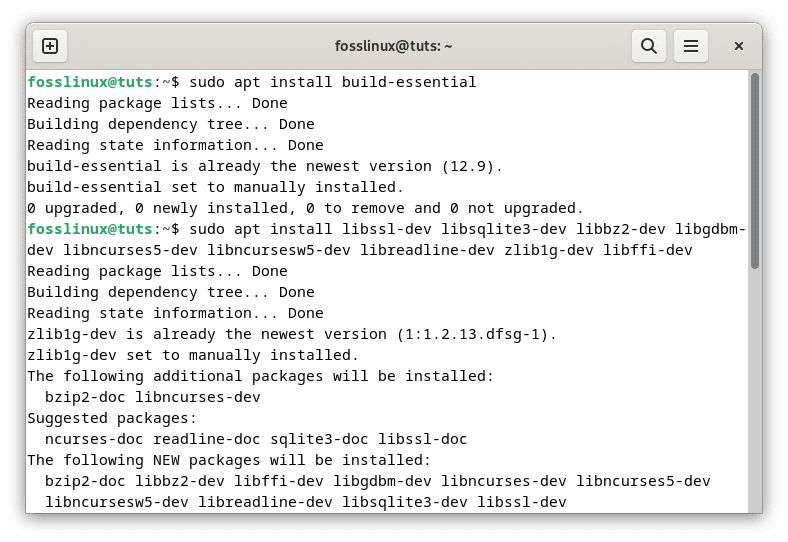
Python install necessary packages and dependencies
Step 2: Downloading the Python Release
Next, download the latest Python release from the Python download page. At the time of writing, the latest release is Python 3.11. To download it, use either the ‘curl’ or ‘wget’ command:
wget https://www.python.org/ftp/python/3.11.4/Python-3.11.4.tgz
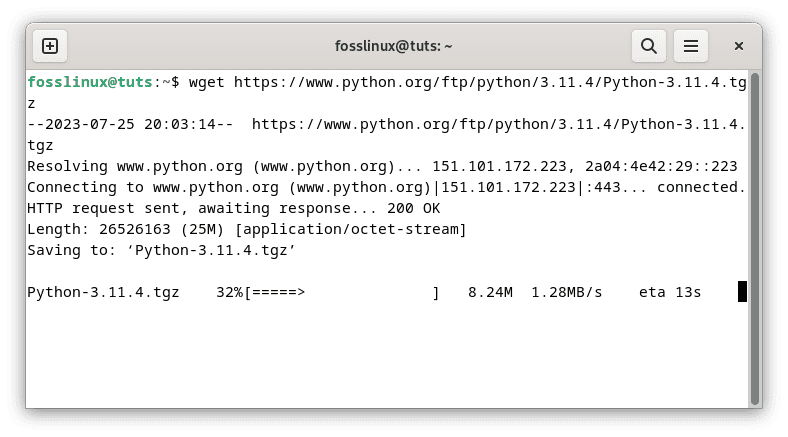
Download python latest release
Step 3: Extracting the Tar File
After the download completes, extract the downloaded tar file using the following command:
tar xzf Python-3.11.4.tgz
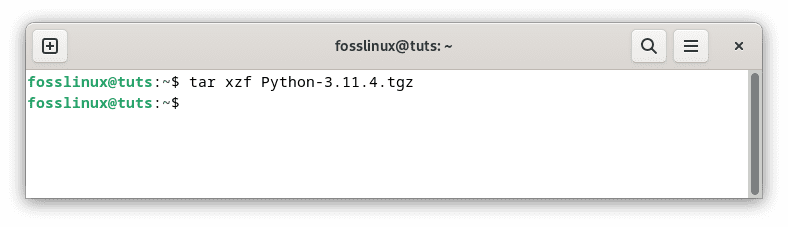
Extract python downloaded package
Step 4: Executing the Configuration Script
Navigate to the extracted Python directory:
cd Python-3.11.4
Navigate to the python directory
Run the configuration script to prepare your system for Python source code compilation. Use the ‘–enable-optimizations’ flag to optimize the Python binary:
./configure --enable-optimizations
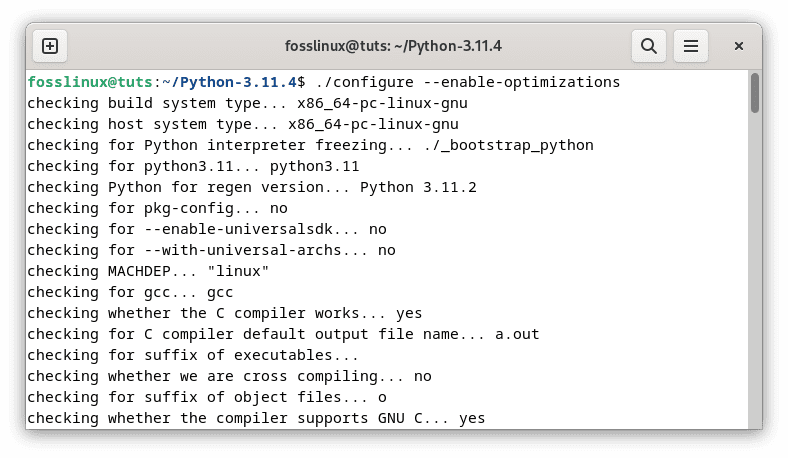
Run configuration script
Step 5: Installing Python
Initiate the build process by running the following command. Adjust the ‘-j’ flag based on your processor’s cores:
make -j $(nproc)
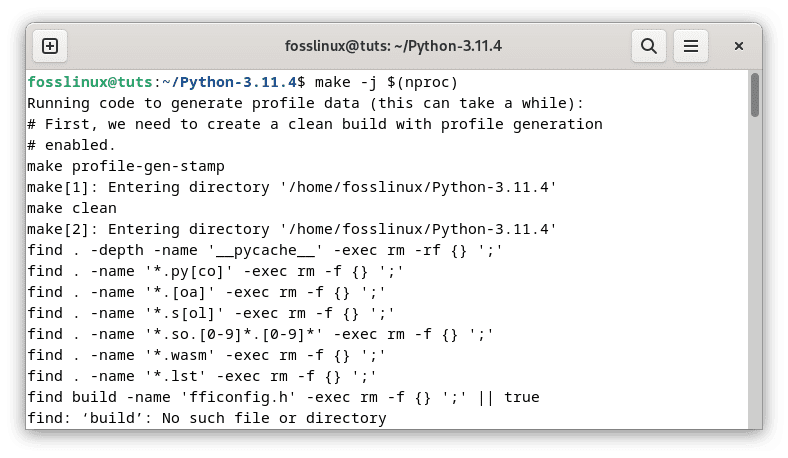
Initiate the build up process
Once the build process completes, install the Python binaries on your system:
sudo make altinstall
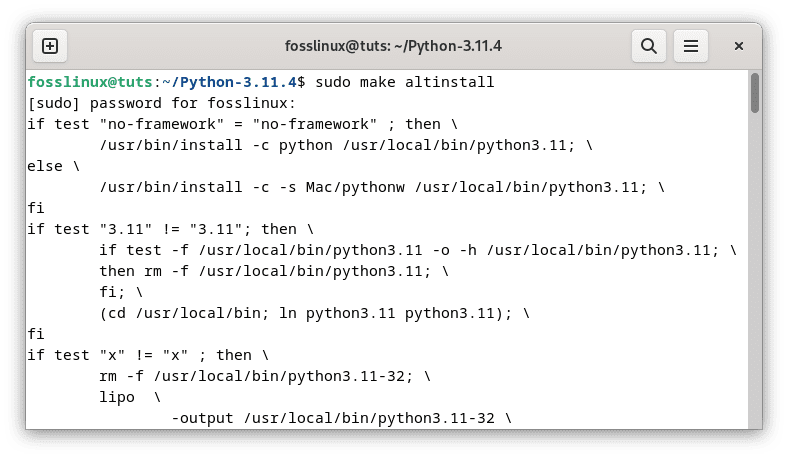
Install python binaries
Note: Avoid using ‘make install’ as it may overwrite the Python 3 binary.
Step 6: Verifying the Installation
To ensure that Python 3.11 is successfully installed, check its version:
python3.11 --version
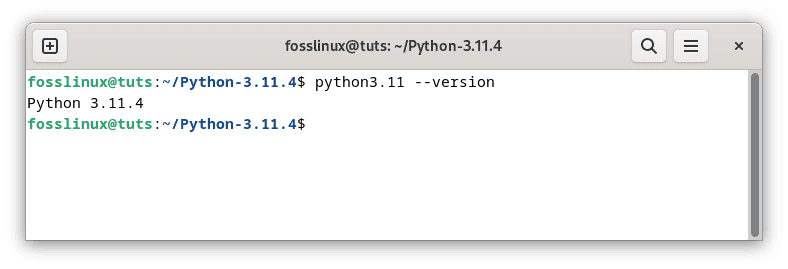
Verify installation of python 3.11.4
That’s it. Python has been successfully installed on your Debian OS.
Method 3: Installing Python using DEB packages
You can manually download and set up the DEB packages if you resonate with a more hands-on approach or require a specific Python version unavailable in the official repositories. This method gives you more control over the Python version you want to install and allows you to tailor it to your needs. Here’s how you can do it:
Step 1: Visit the Official Python Website and Download Source Code
Start by visiting the official Python website (python.org) to find the source code for the Python version you wish to install. Look for the “Downloads” section and choose the appropriate version that matches your Debian system’s architecture.
Once you’ve downloaded the source code, navigate to the directory where the downloaded Python file is located.
Step 2: Install Python using dpkg
Using the terminal, navigate to the directory where the downloaded Python DEB package is located. Use the following command to install the package using the dpkg tool:
sudo dpkg -i python-x.x.x.deb
Replace “x.x.x” with the actual version number in the filename of the downloaded DEB package.
Example:
cd Downloads/

sudo dpkg -i python3-all-dev_3.11.2-1+b1_amd64.deb

Install python .deb package
Step 3: Resolve Dependencies (if necessary)
During the installation process, the dpkg tool may report missing dependencies. To resolve these dependencies, run the following command:
sudo apt-get install -f

Resolve dependencies
This command will automatically install any missing dependencies required for Python.
Step 4: Verify the Installation
To verify that Python has been successfully installed, check its version:
python3 --version

Check installed python version
This should display the version number of the Python version you installed.
Following the steps above, you can manually install Python on Debian using DEB packages. This method allows you more control over the Python version you want to install while leveraging the convenience of DEB package management.
Whether you install Python using the standard APT package manager, manually from source, or via DEB packages, Python on Debian offers a powerful and versatile programming environment for your projects.
Method 4: Installing Python using pyenv
Pyenv is a powerful Python version management tool that permits you to install and manage multiple Python versions on your Debian system effortlessly. With Pyenv, you can easily switch between different Python versions based on your project’s requirements. Here’s a more detailed explanation of how to install Python using pyenv on Debian:
Step 1. Install Required Dependencies
Before installing Pyenv, you must ensure your system has the necessary dependencies. Open the terminal and run the following command to install these dependencies:
sudo apt install build-essential

sudo apt install libssl-dev libsqlite3-dev libbz2-dev libgdbm-dev libncurses5-dev libncursesw5-dev libreadline-dev zlib1g-dev libffi-dev
Python install necessary packages and dependencies
Step 2. Install pyenv
After installing the dependencies, you can proceed to install pyenv. Use the following command to download and install pyenv:
sudo apt install curl

sudo apt install git

curl -L https://github.com/pyenv/pyenv-installer/raw/master/bin/pyenv-installer | bash
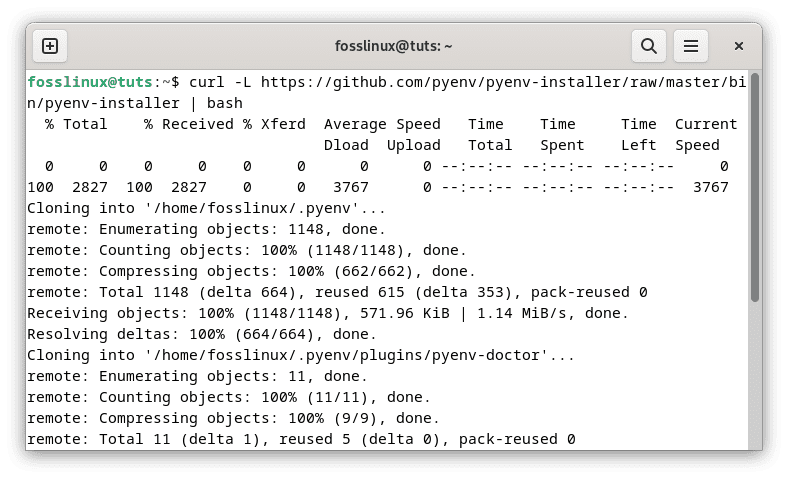
Install python environment
This command fetches the pyenv-installer script from the GitHub repository and executes it with bash. The installer script sets up pyenv in your home directory.
Step 3. Add pyenv to Your Shell Configuration
To make pyenv available in your terminal session, add its path to your shell configuration file. Depending on your shell (bash, zsh, etc.), add the following lines to the appropriate configuration file (e.g., ~/.bashrc or ~/.zshrc):
echo 'export PATH="$HOME/.pyenv/bin:$PATH"' >> ~/.bashrc

echo 'eval "$(pyenv init -)"' >> ~/.bashrc

echo 'eval "$(pyenv virtualenv-init -)"' >> ~/.bashrc

source ~/.bashrc
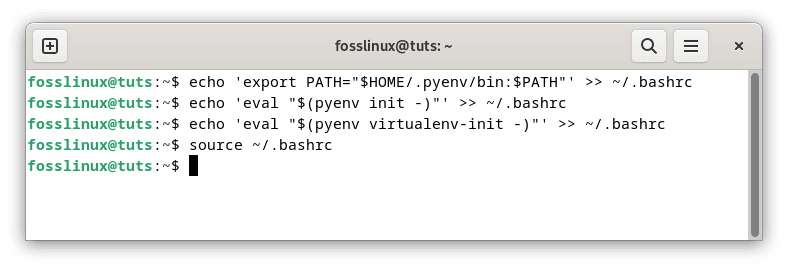
Add python environment to your shell configuration
The above lines add the pyenv binary directory to your PATH environment variable and initialize pyenv for your shell.
Step 4. Install the Desired Python Version
With pyenv properly installed and configured, you can now install the specific Python version you desire. Use the following command to install a Python version:
pyenv install 3.x.x
Replace “3.x.x” with the desired Python version (e.g., 3.7.6, 3.8.12, etc.). Pyenv will download and build the specified Python version from the official Python releases.
Example:
pyenv install 3.11.4
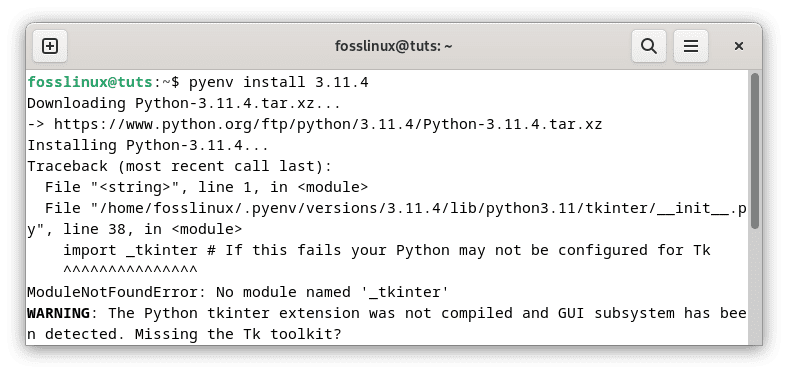
Install python 3.11.4 using pyenv
Step 5. Set Global or Local Python Version
After installing a Python version, you can set it as the global version or locally for a specific project. To set a global Python version that will be used by default, run the following:
pyenv global 3.x.x
Example:
pyenv global 3.11.4
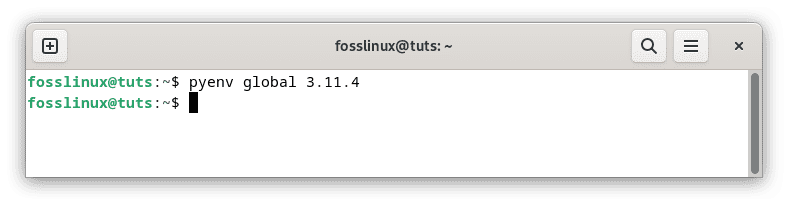
Set global python
To set a local Python version for a specific project directory, navigate to the project folder and run:
pyenv local 3.x.x

Set local python
Using pyenv on Debian allows you to manage multiple Python versions effortlessly, ensuring compatibility with various projects. Following the steps outlined above, you can install pyenv, configure it for your shell, and easily install and switch between Python versions.
Enjoy the flexibility of pyenv as you work on different projects, experimenting with different Python versions and packages, all within the comfort of your Debian environment.
Method 5: Installing Python using Conda
Conda is a versatile package manager and environment manager that supports Python and simplifies the management of dependencies for your projects. It allows you to create isolated environments, making it easier to manage different sets of packages for various projects. Here’s a more detailed explanation of how to install Python using Conda on Debian:
Step 1. Download and Install Miniconda
To get started, you’ll need to download and install Miniconda, a lightweight version of the Anaconda distribution. Miniconda includes Conda, Python, and essential libraries. Open the terminal and run the following commands to download and install Miniconda:
curl -O https://repo.anaconda.com/miniconda/Miniconda3-latest-Linux-x86_64.sh

bash Miniconda3-latest-Linux-x86_64.sh
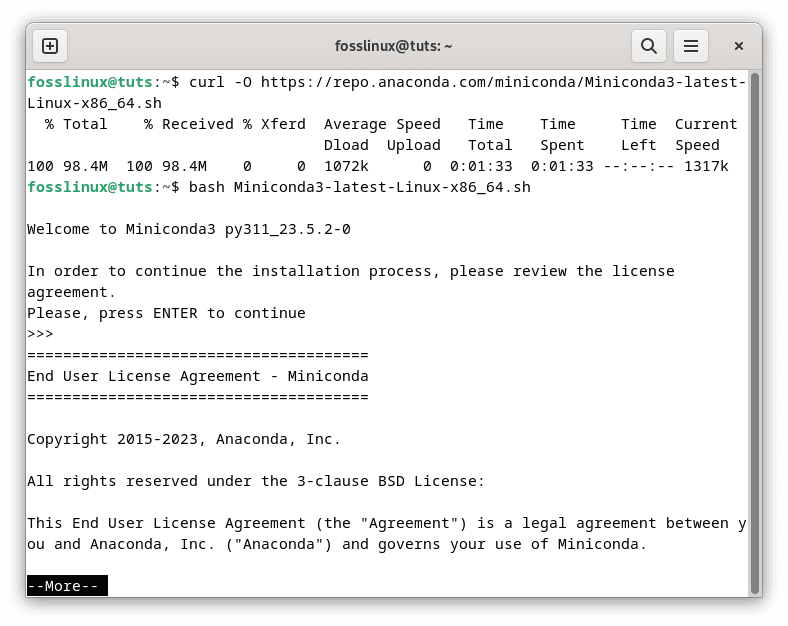
Install miniconda
The first command uses curl to download the Miniconda installation script. The second command executes the script and starts the installation process. Follow the on-screen prompts/instructions to finish the installation. You’ll be asked to review the license terms, specify the installation location, and add Miniconda to your system PATH.
Step 2. Refresh Your Terminal
After the installation completes, close and reopen your terminal or run the following command to refresh it:
source ~/.bashrc
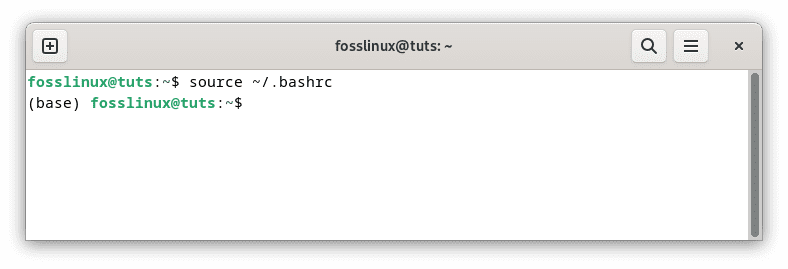
Refresh bash script
Step 3. Create a New Python Environment
Once Miniconda is installed, you can create a new Python environment with a specific Python version. The environment will be isolated, and you can install different packages and dependencies without affecting the system-wide Python installation. To create a new environment called “myenv” with Python 3.x, execute the following command:
conda create -n myenv python=3.x
Replace “3.x” with the desired Python version (e.g., 3.7, 3.8, etc.). Conda will create the environment and install Python and its core packages into it.
Example:
conda create -n myenv python=3.11.4
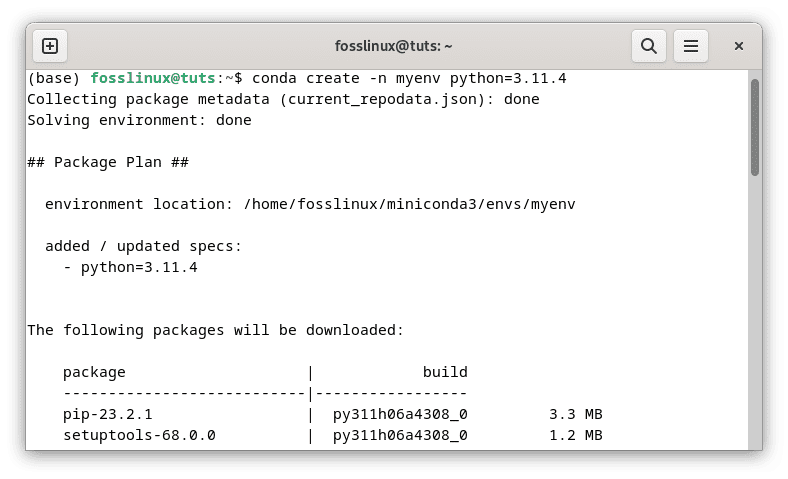
Create new python environment
Step 4. Activate the New Environment
To start working in the newly created environment, activate it using the following command:
conda activate myenv
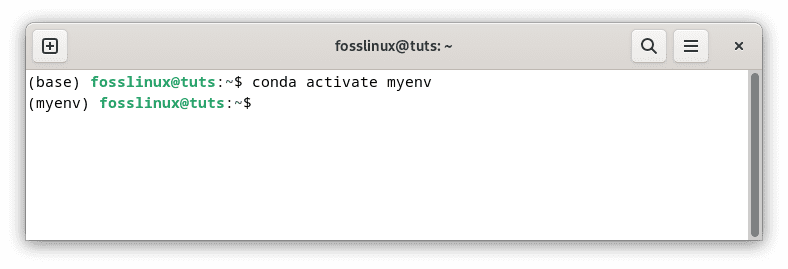
Activate python new environment
You will notice that the prompt in your terminal changes, indicating that you are now inside the “myenv” environment. Any packages you install, or scripts you run will use the Python version and packages associated with this environment.
Step 5. Deactivate the Environment
When you’re done working in the environment and want to return to the system-wide Python, use the following command to deactivate it:
conda deactivate
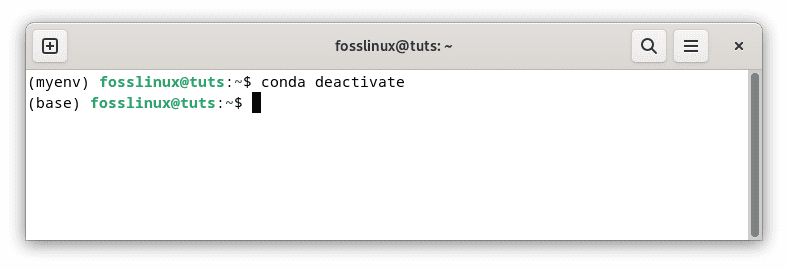
Deactivate python environment
Using Conda to install Python on Debian gives you the flexibility to manage multiple Python environments and their dependencies effectively. You can work on different projects with isolated environments without worrying about conflicting package versions. Conda simplifies package management, making it a valuable tool for developers, data scientists, and researchers.
Following the steps outlined above, you can install Miniconda, create new Python environments, and activate them on your Debian system. Enjoy the power of Python and Conda to build, explore, and innovate in your projects!
Using Python on Debian
Now that you have successfully installed Python on your Debian system let’s dive into the exciting world of Python programming. We’ll explore some basic usage examples to get you started on your Python journey:
1. Running Python Scripts
Python is well-known for its versatility in running scripts and automating tasks. To execute a Python script, open your terminal, navigate to the folder containing the Python script, and use the python3 command followed by the script’s filename:
python3 my_script.py
Replace “my_script.py” with the actual filename of your Python script. The script will be executed, and you’ll see the output on the terminal.
Example:
python3 fosslinux.py
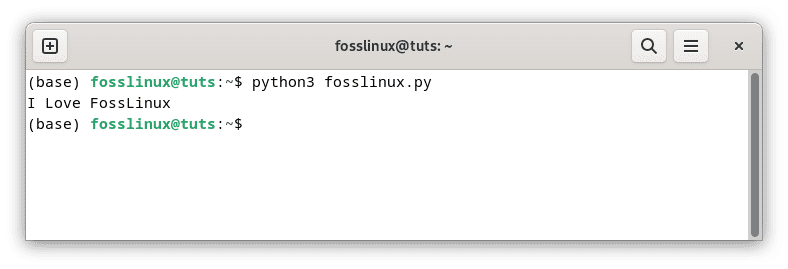
Run python script
2. Using the Python Interactive Interpreter
The Python interactive interpreter is a powerful tool for testing code snippets and experimenting with Python commands in real time. To access the Python interactive interpreter, simply type python3 in the terminal, and you’ll be presented with the Python prompt:
python3
Now, you can enter Python commands directly and see their immediate results:
>>> print("Hello, FossLinux")

Hello, FossLinux

>>> 2 + 3

5

>>> name = "Foss"

>>> print("Hello, " + name)

Hello, Foss

>>> exit()
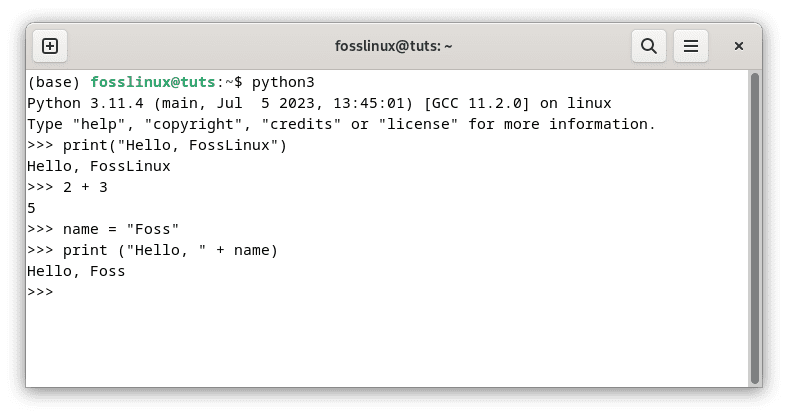
Try python interpreter
Type exit() and click Enter to exit the Python interactive interpreter.
3. Installing Python Packages with pip
Python’s package manager, pip, is an invaluable tool for installing additional Python packages from the Python Package Index (PyPI). To install packages, use the following syntax in your terminal:
pip3 install package_name
Replace “package_name” with the name of the Python package you want to install. Pip will automatically download and install the package, along with its dependencies.
For example, to install the popular NumPy package for numerical computing, use the following:
pip3 install numpy
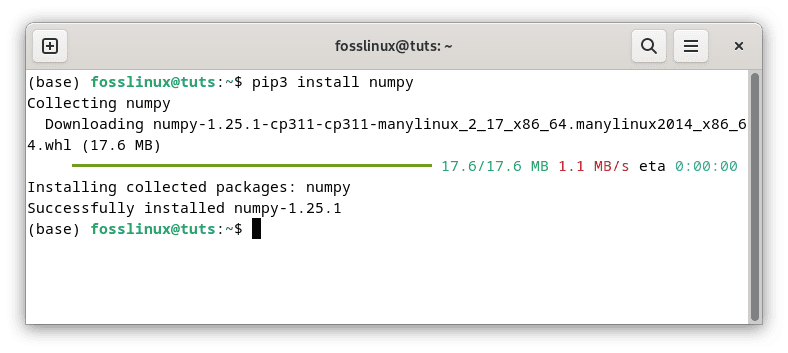
Install numpy
To install the widely-used requests library for making HTTP requests, use the following:
pip3 install requests
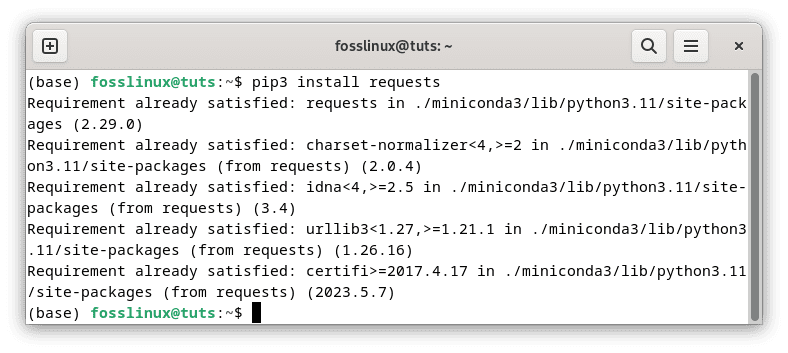
Make requests
4. Virtual Environments
As your Python projects grow, managing dependencies can become challenging. Python’s virtual environments provide a solution by creating isolated environments for each project. To make and activate a virtual environment, use the following commands:
python3 -m venv myenv

source myenv/bin/activate
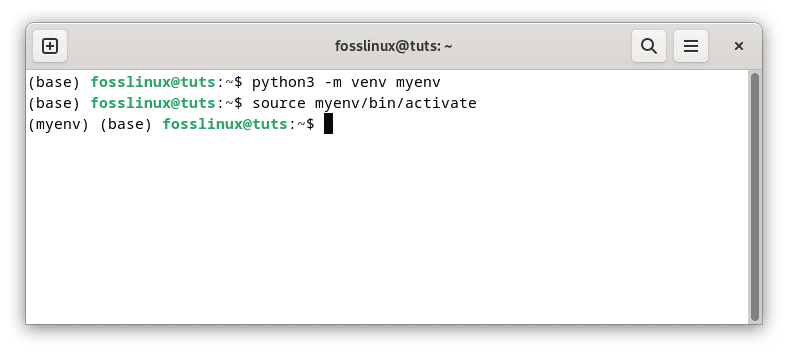
Create and activate virtual environment
Replace “myenv” with the desired name for your virtual environment. Once activated, any packages you install will be isolated within this environment, preventing conflicts with packages installed globally.
Congratulations! You’ve taken your first steps in using Python on Debian. With the ability to run Python scripts, experiment with the interactive interpreter, and harness the power of pip for package management, you have a solid foundation for further exploration.
Removing Python from Debian
Though removing Python from a Debian system (as various system utilities use it) is rare, you may need to do so under certain circumstances. Keep in mind that removing Python can lead to unexpected behavior, so proceed with caution. Here’s how you can uninstall Python from Debian:
sudo apt remove python3
After running this command, you may also want to remove any residual configuration files:
sudo apt purge python3
Conclusion
Congratulations! You’ve successfully installed Python on your Debian system and are now ready to commence on an exciting software development, data analysis, and automation journey. Python’s versatility and extensive community support make it an ideal choice for many projects.
This guide explored various methods to install Python on Debian, from the straightforward APT package manager to more advanced options like Pyenv and Conda. Additionally, we learned how to use Python on Debian by running scripts, utilizing the interactive interpreter, and installing packages with pip.
Always choose the installation method that best suits your needs and requirements. Whether you’re a seasoned developer or just beginning your Python journey, Debian provides a robust platform to unlock the true potential of this remarkable programming language.