
In the realm of modern computing, the need to transfer files securely and efficiently between systems is a constant necessity. FTP (File Transfer Protocol) remains a popular choice for this purpose, and vsftpd (Very Secure FTP Daemon) stands out as a robust, secure, and lightweight FTP server solution. If you’re a Debian user seeking a reliable method to set up an FTP server, this article is the ultimate guide you need.
This comprehensive article will explore the concept of the vsftpd FTP server, its functionalities, and its relevance in the current computing landscape. We will delve into the step-by-step installation process, ensuring that all methods provided are up-to-date, leaving no room for errors. Moreover, we’ll demonstrate how to use vsftpd for secure file transfers effectively and how to remove it from your Debian system when it is no longer needed. So, whether you’re a beginner or an experienced system administrator, stick around to master the art of setting up a vsftpd FTP server on Debian.
What is vsftpd FTP server
vsftpd, also known as “very secure FTP daemon,” is a popular open-source FTP server designed for Unix-based systems. Its primary focus is on security, performance, and ease of configuration, making it a preferred choice for many administrators. As its name suggests, vsftpd is well-known for its security features, making it a reliable option for sensitive data transfers.
FTP servers facilitate the transfer of files between a client and a server over a network. They provide a user-friendly interface, allowing clients to access, upload, and download files easily. vsftpd adheres to the FTP protocol and strongly emphasizes minimizing potential security risks, making it a top choice for server administrators prioritizing data protection.
Installing vsftpd on Debian
Now that we understand what vsftpd FTP server is and why it is essential let’s explore the different methods to install it on a Debian system:
- Using APT Package Manager
- Compiling from Source
Each method has its merits, and depending on your system requirements, you can choose the one that best suits your needs. The APT method is straightforward and recommended for most users while compiling from source offers more flexibility and customization options.
Method 1: Installing vsftpd via APT Package Manager
When setting up a vsftpd FTP server on Debian, one of the simplest and recommended methods is using the APT (Advanced Package Tool) package manager. APT provides a straightforward way to install pre-built packages from official repositories, ensuring easy maintenance and updates. Follow the step-by-step guide below to install vsftpd on your Debian system successfully:
Step 1: Update System Packages
Before installing any new software, updating the system’s package list is essential to ensure you have access to the latest versions of packages available in the repositories. Open a terminal and execute the subsequent command:
sudo apt update
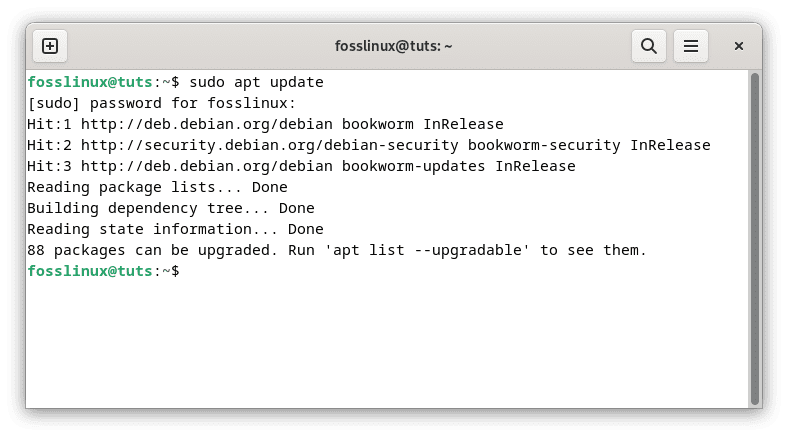
Update system resources
Step 2: Install vsftpd Package
Once the package list is updated, you can proceed to install vsftpd. Use the following command to install the vsftpd package:
sudo apt install vsftpd
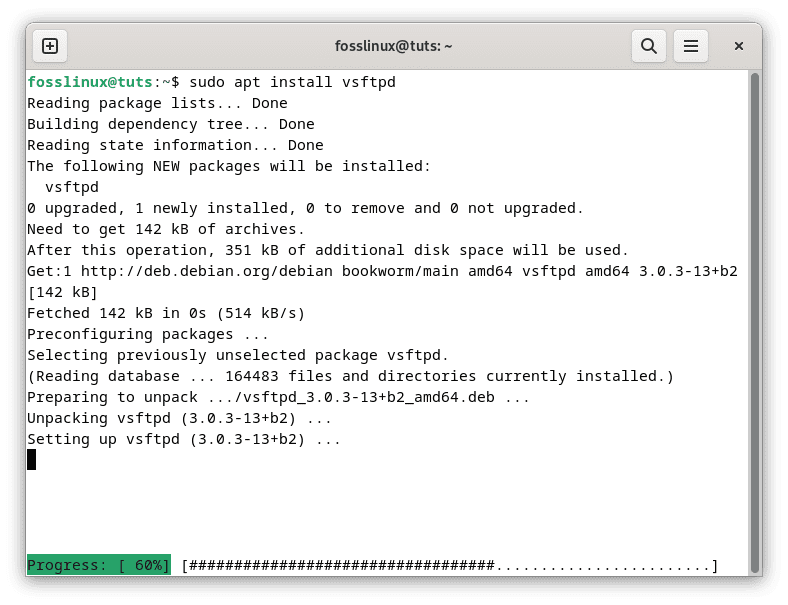
Install vsftpd server
During the installation process, you may be prompted to confirm the installation by typing ‘Y’ and then press Enter.
Step 3: Start vsftpd Service
After the installation is complete, the vsftpd service should automatically start. However, ensuring the service is running as expected is a good practice. You can use the following command to start the vsftpd service:
sudo systemctl start vsftpd
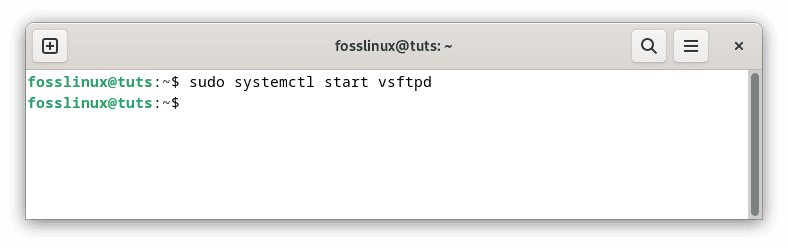
Start vsftpd server
To verify if the service has started correctly, you can run the following command:
sudo systemctl status vsftpd
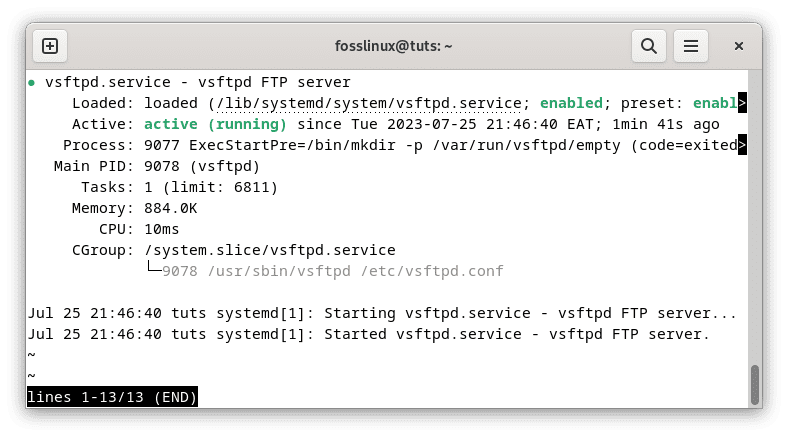
Check vsftpd status
You should see an “active (running)” message indicating successful initialization if the service is active and running.
Step 4: Configuring vsftpd
Once vsftpd is installed and running, it’s crucial to configure it properly to enhance security and tailor it to your specific requirements. The configuration file for vsftpd is located at ‘/etc/vsftpd.conf’. You can employ a text editor like ‘nano’ or ‘vim’ to edit the configuration file:
sudo nano /etc/vsftpd.conf
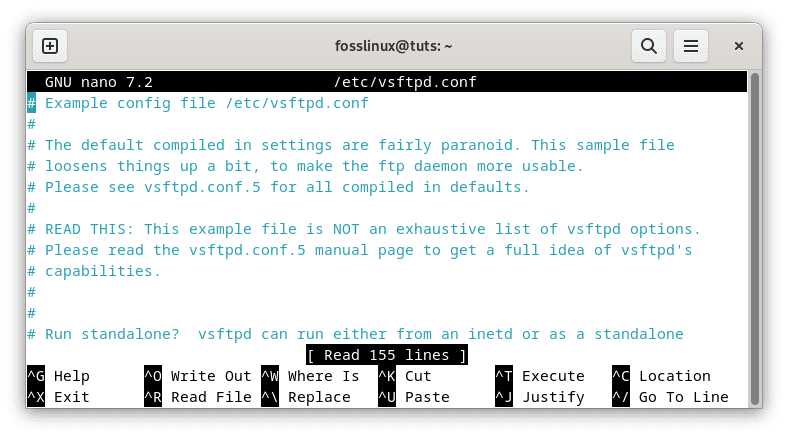
Configure vsftpd
Inside the configuration file, you’ll find various options that control the behaviour of the FTP server. Some of the essential configurations you might want to consider are:
- Enabling anonymous FTP access (if needed)
- Setting the FTP root directory
- Configuring user permissions and restrictions
- Enabling SSL/TLS encryption for secure data transmission
Make sure to save your changes after editing the configuration file. To apply the changes, restart the vsftpd service using the following command:
sudo systemctl restart vsftpd
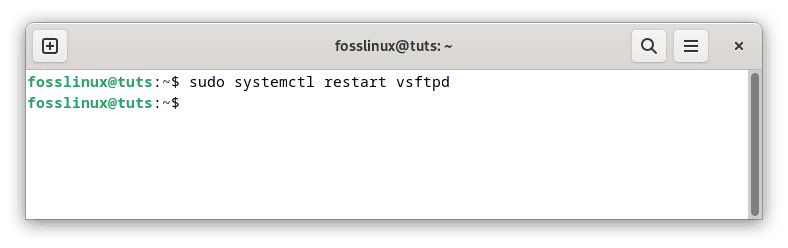
Restart vsftpd
By following these steps, you will have successfully installed and configured vsftpd on your Debian system. With vsftpd up and running, you now have a robust and secure FTP server at your disposal, ready to facilitate smooth file transfers between clients and your Debian system.
If this method fails to do the trick for you, check out method two, highlighted below:
Method 2: Compiling vsftpd from Source
For advanced users seeking complete control over their vsftpd FTP server’s configuration and the ability to include specific features, compiling vsftpd from source is an excellent option. While this method demands more effort than the APT package manager, the rewards are substantial, allowing you to fine-tune the server to meet your exact requirements. Below are the step-by-step instructions to successfully compile and install vsftpd from source on your Debian system:
Step 1: Download vsftpd Source Code
The first step is to obtain the vsftpd source code from the official website or the project’s repository. Open a terminal and use the ‘wget’ command to download the source code archive. Ensure that you are in a directory where you want to store the vsftpd source code:
wget https://security.appspot.com/downloads/vsftpd-3.0.5.tar.gz
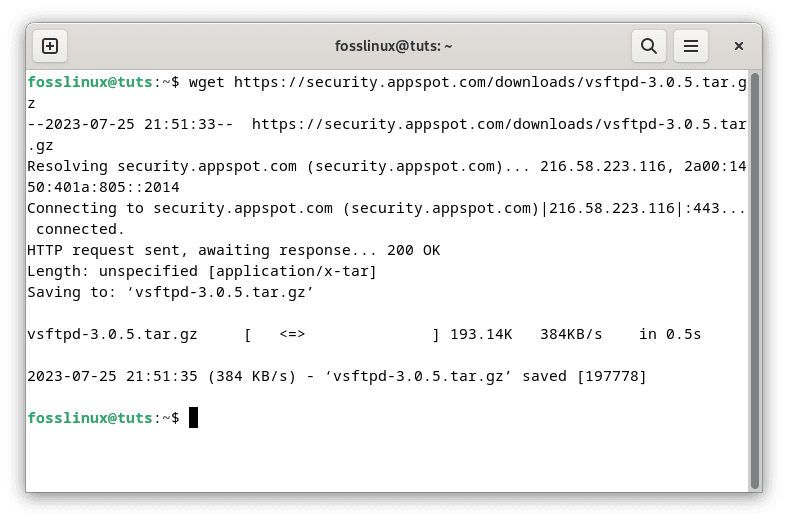
Download vsftpd server source code
Please note that the URL provided above might be outdated. Visit the official vsftpd website for the latest version and the corresponding download link.
Step 2: Install Build Dependencies
To compile vsftpd from source, you need to have specific build dependencies installed on your system. These dependencies include essential libraries and tools required to build the vsftpd executable. Use the following command to install the necessary build dependencies:
sudo apt install build-essential

Install build-essential
Step 3: Configure vsftpd Compilation Options
Before compiling vsftpd, you may want to configure specific options to tailor the server to your needs. Change to the directory where the vsftpd source code is located, and then run the configuration script:
tar -xvf vsftpd-3.0.5.tar.gz   # Extract the source code

cd vsftpd-3.0.5              # Change to the extracted directory

sudo ./configure              # Run the configuration script
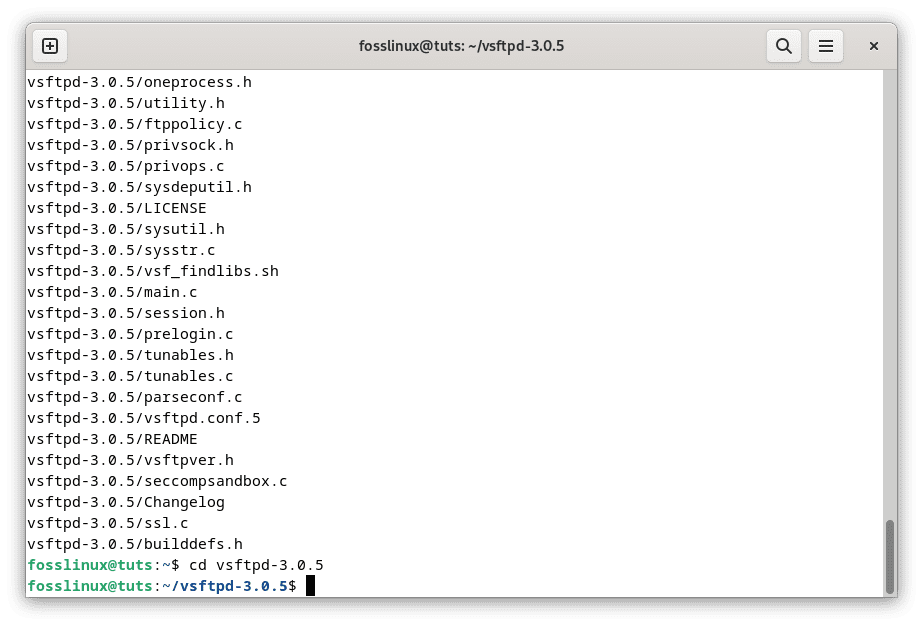
Configure vsftpd compilations
The ‘./configure’ command will check your system and dependencies and generate a ‘Makefile’ that contains the necessary build instructions.
Step 4: Compile and Install vsftpd
With the configuration completed, it’s time to compile vsftpd. This process will create the vsftpd executable based on the settings defined in the ‘Makefile’:
sudo make         # Start the compilation process

sudo make install # Install the compiled vsftpd executable
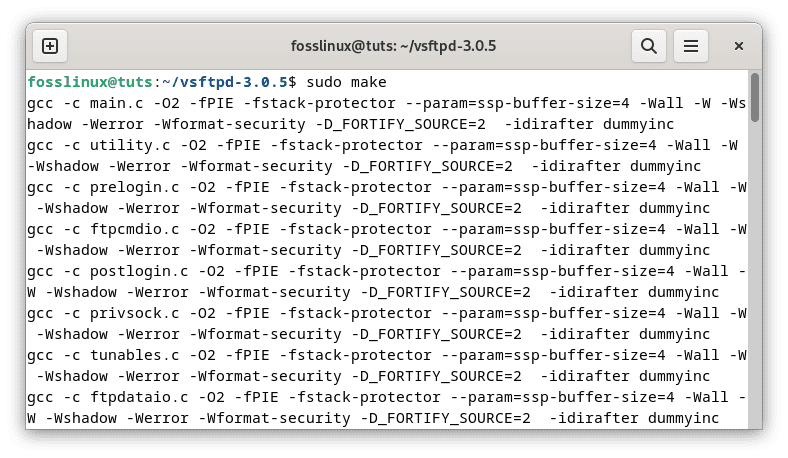
Compile and install vsftpd
After the compilation and installation are successful, vsftpd will be available as a custom-built binary on your system.
Step 5: Configure vsftpd
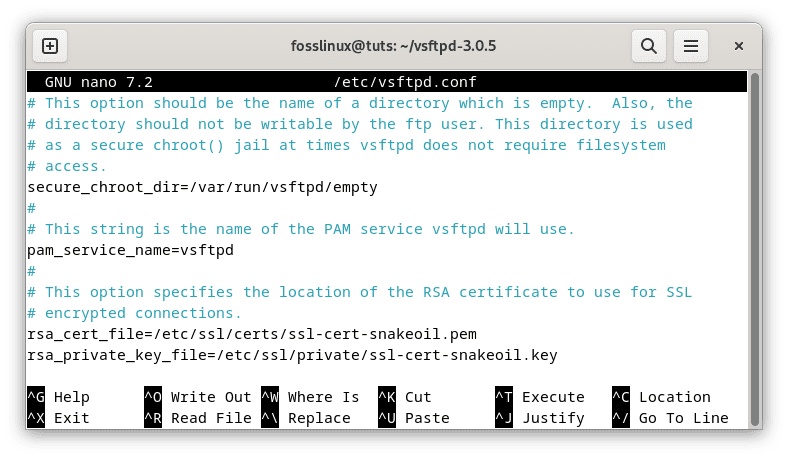
Like the APT package installation, you must configure vsftpd to customize its behaviour and security. The configuration file is generally located at ‘/etc/vsftpd.conf’. Employ a text editor like ‘nano’ or ‘vim’ to edit the configuration file:
sudo nano /etc/vsftpd.conf
Configure vsftpd
Inside the configuration file, you can apply the same essential configurations mentioned in Method 1, such as enabling anonymous access, setting the FTP root directory, configuring user permissions, and enabling SSL/TLS encryption. Save your changes after editing the file.
To apply the configurations, restart the vsftpd service using the following command:
sudo systemctl restart vsftpd
Restart vsftpd
With these steps, you have successfully compiled and installed vsftpd from the source, creating a custom-built FTP server tailored to your specifications. This method empowers you with unparalleled flexibility, making it an excellent choice for experienced users who require precise control over their vsftpd configuration.
Configuring vsftpd for Secure File Transfers
Setting up vsftpd is only the first step; ensuring it operates securely is equally crucial. Implementing robust security measures will safeguard your FTP server against potential attacks and unauthorized access. Here are some key configurations you should apply to enhance the security of your vsftpd server:
1. Implementing Strong User Authentication
User authentication is fundamental to securing your vsftpd server. By enforcing strong passwords and limiting access to authorized users, you can prevent unauthorized individuals from gaining entry.
To achieve strong user authentication, consider the following options:
Enforce Strong Password Policies
In the vsftpd configuration file ‘/etc/vsftpd.conf’, ensure that the ‘pam_service_name’ option is set to an appropriate PAM (Pluggable Authentication Module) service that enforces strong password policies.
For example:
pam_service_name=vsftpd
Enforce strong password policies
Limit Login to Local Users
You can restrict FTP access to only local system users. In the configuration file, set the ‘local_enable’ option to ‘YES’:
local_enable=YES

Limit login to local users
2. Enabling SSL/TLS Encryption
FTP is inherently insecure as it transmits data, including usernames and passwords, in plain text. To encrypt the data during transmission and protect it from eavesdropping, enabling SSL/TLS encryption is essential.
To enable SSL/TLS encryption in vsftpd, follow these steps:
Generate SSL/TLS Certificates
Use tools like ‘openssl’ to create self-signed SSL/TLS certificates:
sudo openssl req -x509 -nodes -days 365 -newkey rsa:2048 -keyout /etc/ssl/private/vsftpd.pem -out /etc/ssl/private/vsftpd.pem
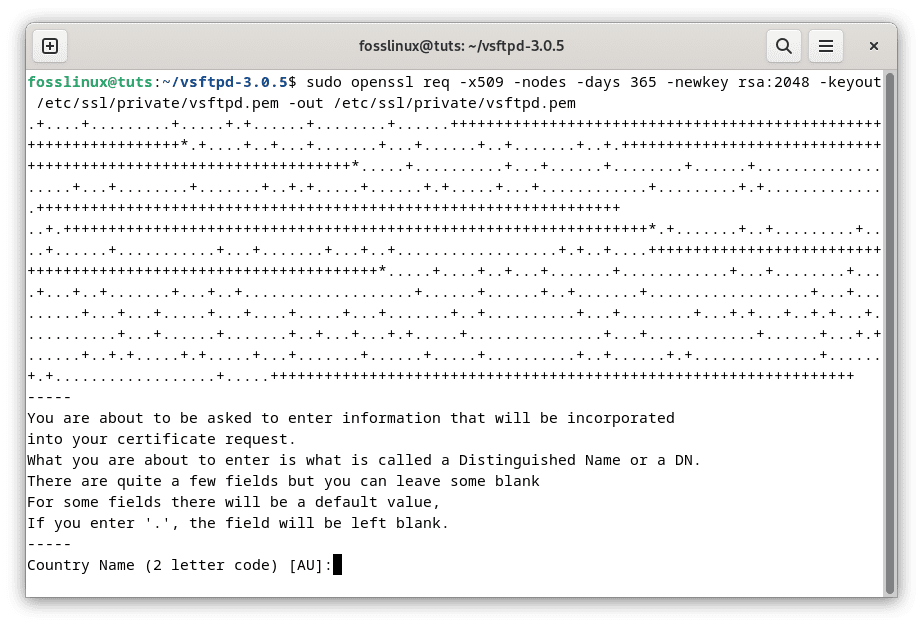
Generate SSL certificate
Configure vsftpd to use SSL/TLS
In the vsftpd configuration file, make sure the following options are set:
ssl_enable=YES

rsa_cert_file=/etc/ssl/private/vsftpd.pem

rsa_private_key_file=/etc/ssl/private/vsftpd.pem
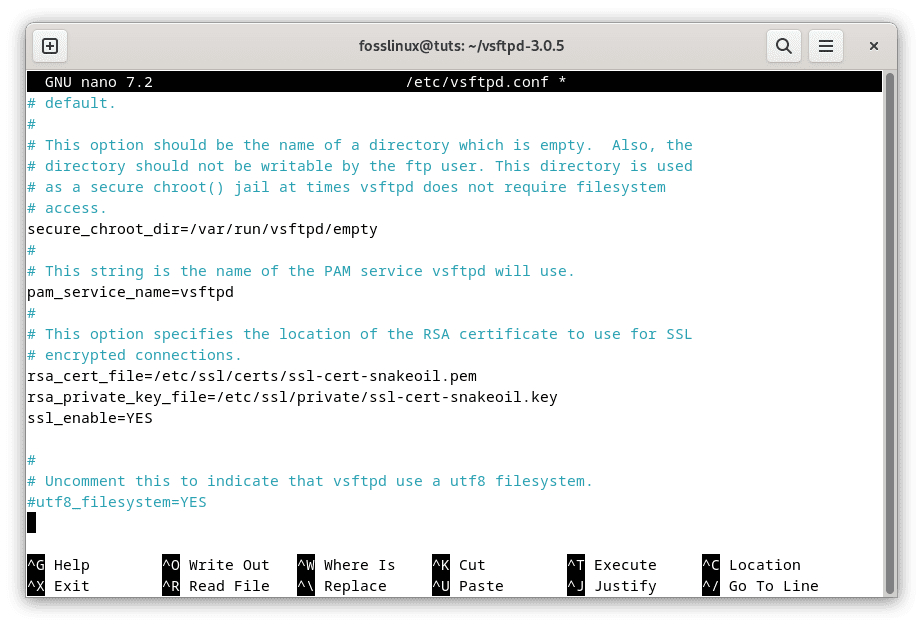
Configure vsftpd to use SSL
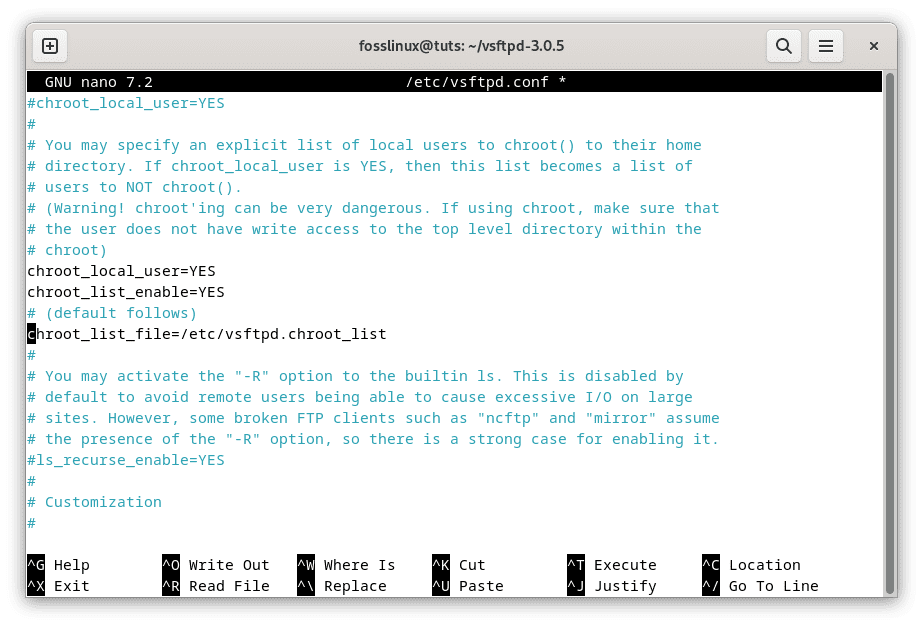
3. Chrooting Users for Enhanced Isolation
Chrooting restricts users to their home directories, preventing them from accessing the entire file system. This adds an extra pack of security by minimizing potential damage if an attacker gains unauthorized access.
To chroot vsftpd users, modify the configuration file as follows:
chroot_local_user=YES

chroot_list_enable=YES

chroot_list_file=/etc/vsftpd.chroot_list
Chroot users for local isolation
Create the ‘vsftpd.chroot_list’ file and add the users you want to chroot.
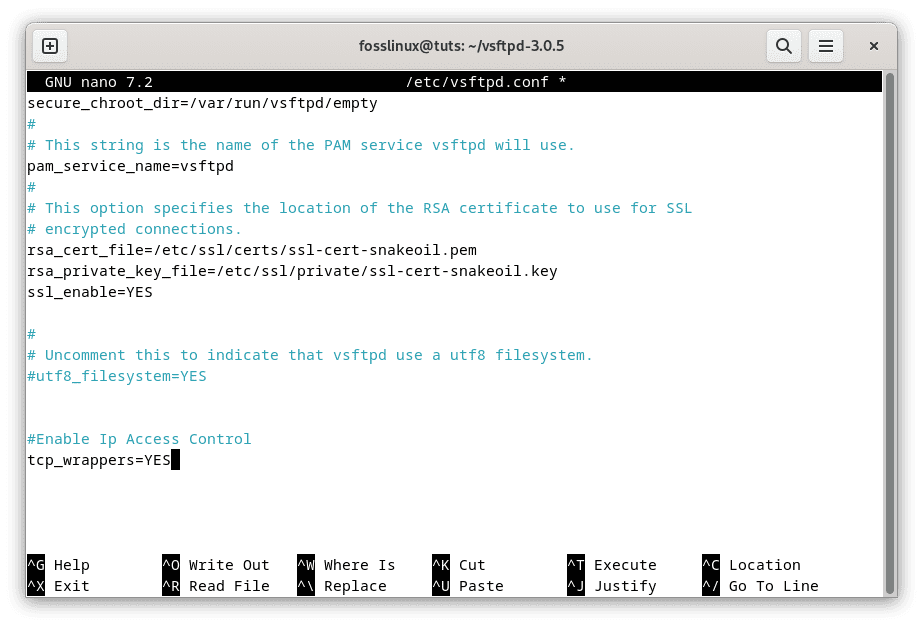
4. Setting Up IP Whitelisting and Blacklisting
To further enhance security, you can configure vsftpd to deny or permit access based on IP addresses. This is especially useful for limiting access to a specific set of trusted users.
To set up IP whitelisting and blacklisting, follow these steps:
Enable IP Access Control
In the vsftpd configuration file, enable the ‘tcp_wrappers’ option:
tcp_wrappers=YES
Enable Ip address control
Create ‘vsftpd.allow’ and ‘vsftpd.deny’ Files
Create the ‘vsftpd.allow’ and ‘vsftpd.deny’ files in the ‘/etc/’ directory.
Add Allowed and Denied IP Addresses
In the ‘vsftpd.allow’ file, add the IP addresses that you want to allow access to, one per line. Add the IP addresses you want to deny access to in the ‘vsftpd.deny’ file.
# Example of vsftpd.allow file:

168.1.100

192.168.2.0/24

# Example of vsftpd.deny file:

ALL:ALL

Add allowed and denied IP addresses
Remember to save the changes and restart vsftpd for the changes to take effect.
By implementing these security measures, you significantly enhance the security of your vsftpd FTP server, protecting it against potential threats and ensuring the safety of your data during file transfers. Always keep the vsftpd software and the entire system up-to-date with security patches to stay ahead of any emerging vulnerabilities.
With these security configurations in place, your vsftpd FTP server is now a robust and secure file transfer solution, ready to handle sensitive data and confidential information with the utmost protection.
Using vsftpd for File Transfers
With your vsftpd FTP server successfully installed and configured, it’s time to explore how to utilize it for secure file transfers. Understanding these procedures will enable you to maximize the potential of your vsftpd server and ensure smooth and secure data exchanges. Let’s dive into the steps of connecting to the vsftpd server, uploading and downloading files, and managing users and permissions:
Step 1: Connecting to vsftpd Server from a Client
You must establish a connection between your client machine and the vsftpd server to initiate file transfers. Follow these steps to connect:
Open your favourite FTP client on the client machine. Popular FTP clients include FileZilla, WinSCP, Cyberduck, and the command-line FTP client. For illustration purposes I will use FileZilla. If you don’t have it, run the subsequent command to install it:
sudo apt install filezilla
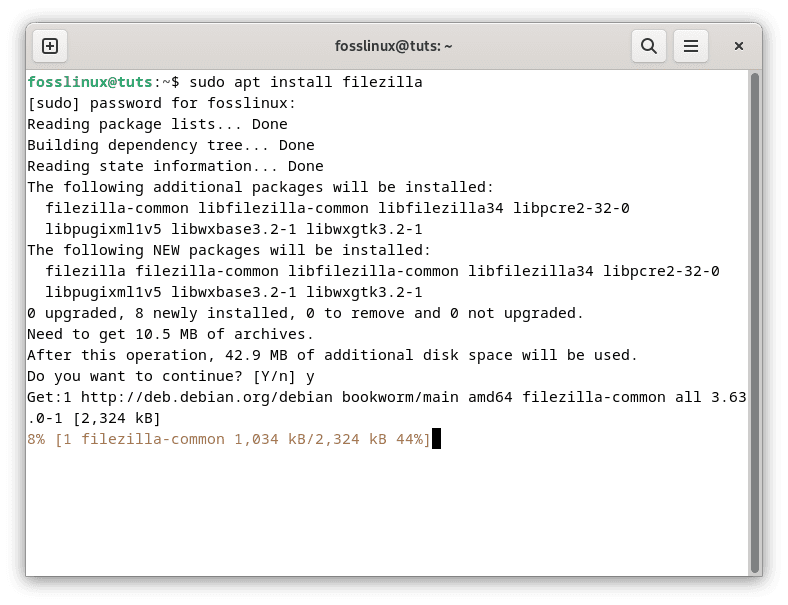
Install filezilla
Enter the server’s IP address or hostname in the FTP client’s address bar. If you encounter challenges, execute the following lines of code:
 sudo mkdir /home/foss/ftp

sudo chown nobody:nogroup /home/foss/ftp

sudo chmod a-w /home/foss/ftp

sudo mkdir /home/foss/ftp/upload

sudo chown foss:foss /home/foss/ftp/upload

echo "My FTP Server" | sudo tee /home/foss/ftp/upload/foss.txt

sudo ls -la /home/foss/ftp

echo "foss" | sudo tee -a /etc/vsftpd.userlist

sudo systemctl restart vsftpd
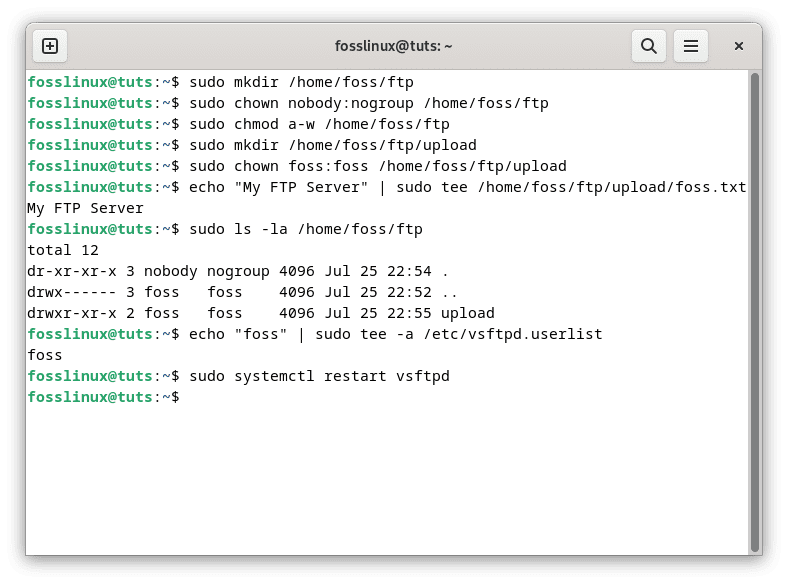
Execute the following command to connect to filezilla
Once you are done, add the following commands to the vsftpd config file:
user_sub_token=$USER

local_root=/home/$USER/ftp

pasv_min_port=10000

pasv_max_port=10100

userlist_enable=YES

userlist_file=/etc/vsftpd.userlist

userlist_deny=NO
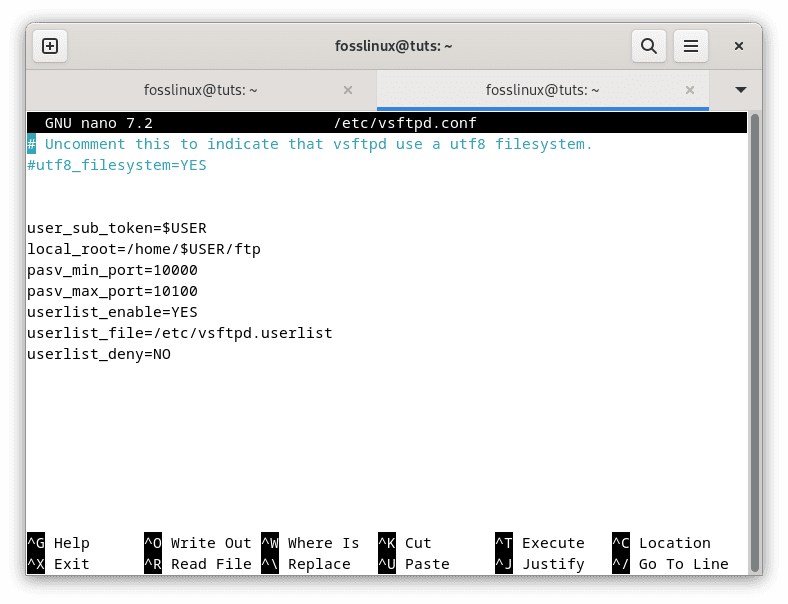
Append the following command to vsftpd config file
Provide the appropriate login credentials when prompted. This typically includes the username and password of a valid system user on the vsftpd server.
Once the connection is successful, you’ll have access to the server’s file system from your client machine.
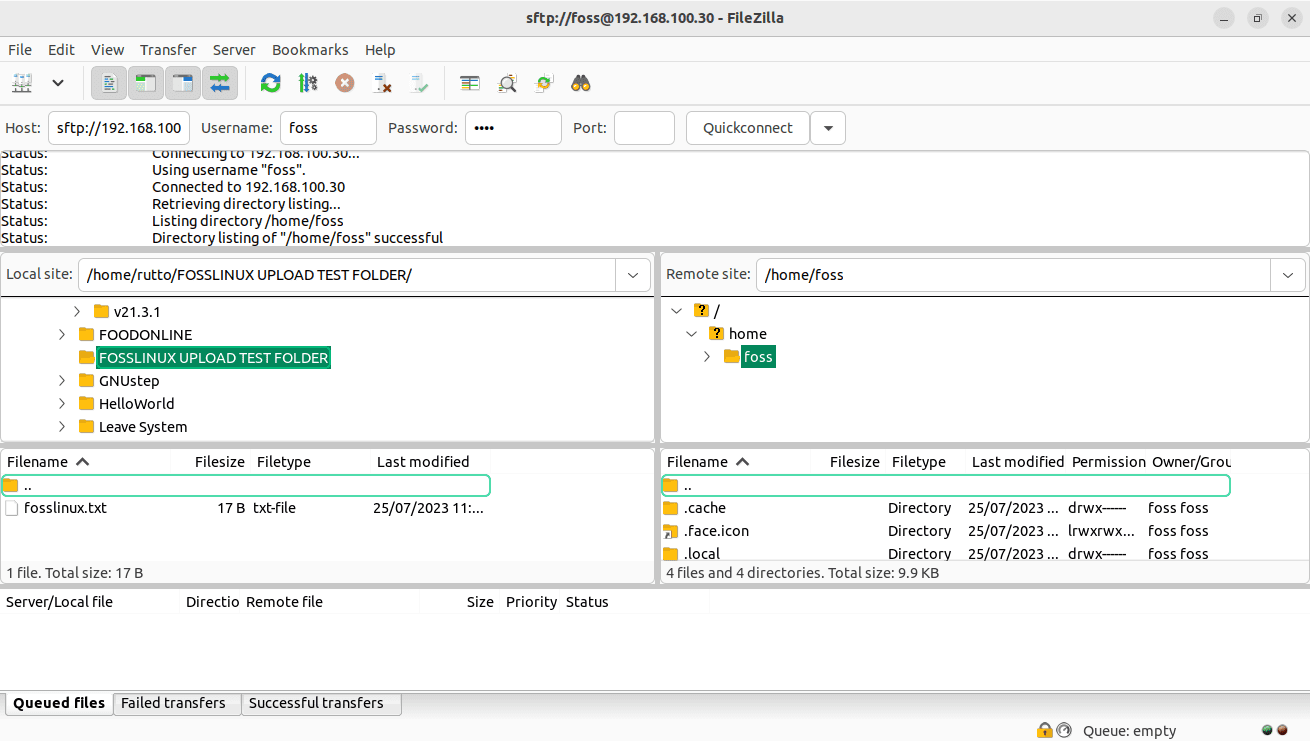
Step 2: Uploading Files to the Server
To move/upload files from the client machine to the vsftpd server, follow these steps:
Navigate to the client machine’s directory where the file you want to upload is located.
Locate the folder to be uploaded
In the FTP client, browse to the desired location on the server where you want to upload the file. This is typically the FTP root directory or a directory within it.
Drag and drop the file from the client machine’s directory to the server’s directory in the FTP client.
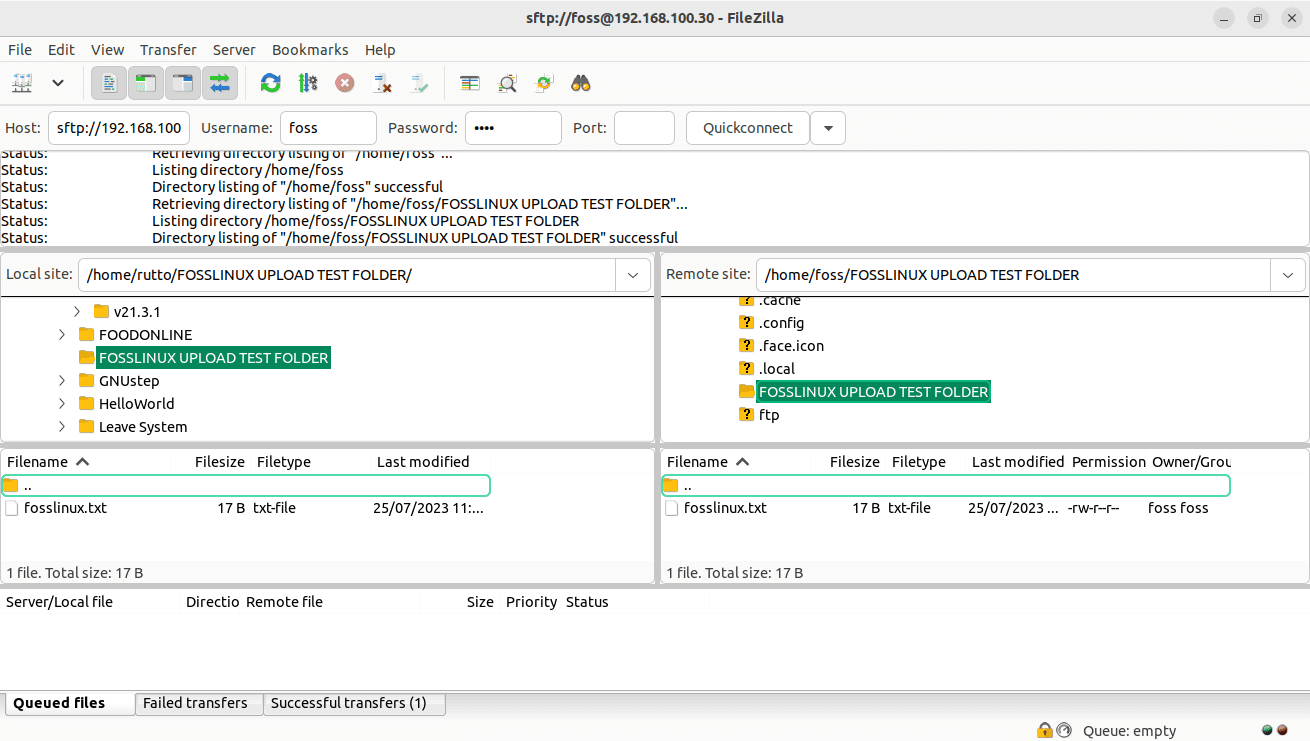
Folder successfully uploaded to the server
The file transfer will commence, and the progress will be indicated in the FTP client. Once the transfer is complete, the file will be available on the vsftpd server.
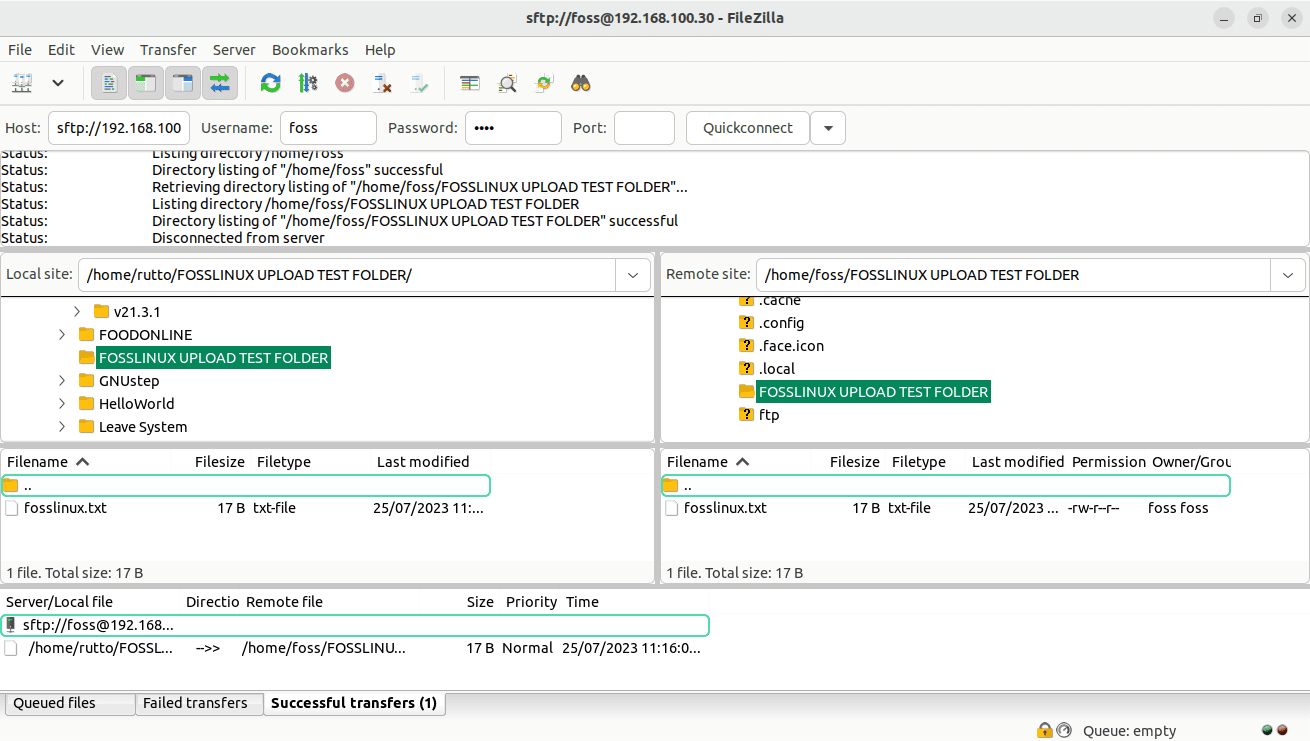
Successfull transfer
Step 3: Downloading Files from the Server
To download files from the vsftpd server to your client machine, follow these steps:
In the FTP client, navigate to the directory on the server where the file you want to download is located.
Locate the folder to be downloaded
On the client machine, browse to the desired location where you intend to save the downloaded file.
Drag and drop the file from the server’s directory in the FTP client to the client machine’s directory.

Folder successfully uploaded to the server
The file transfer will commence, and the progress will be indicated in the FTP client. Once the download is complete, the file will be available on your client machine.

Downloaded file on local machine
Step 4: Managing Users and Permissions
Properly managing users and permissions on the vsftpd server is essential for maintaining security and controlling access to files. Here are some standard user and permission management tasks:
- Creating New Users: Use standard Linux user management commands such as ‘useradd’ or ‘adduser’ to create new users on the system. These users can be granted access to the vsftpd server.
- Limiting Users’ Access: Utilize the chrooting configuration we discussed earlier to restrict users to their respective home directories, providing them access only to authorized areas.
- Setting Permissions: Ensure that file and directory permissions on the server are appropriately set to prevent unauthorized access. Use ‘chmod’ and ‘chown’ commands to manage permissions.
- Disabling or Deleting Users: If a user no longer requires access to the vsftpd server, disable or delete their account to revoke FTP access.
Understanding these procedures will allow you to utilize the full potential of your vsftpd FTP server, enabling efficient and secure file transfers. Regularly monitor server activity, review user access, and apply necessary adjustments to ensure the server operates smoothly and securely.
Note: By mastering these file transfer processes and effectively managing users and permissions, you can leverage the power of vsftpd to create a reliable and secure file exchange solution for your business, personal use, or server administration needs.
Removing vsftpd from Debian:
If you have decided to discontinue the use of the vsftpd FTP server on your Debian system, you can obliterate it by following these step-by-step instructions:
Step 1: Stop vsftpd Service
Before proceeding with the removal process, stopping the vsftpd service to avoid conflicts during the uninstallation is essential. Open a terminal and execute the following command to stop the vsftpd service:
sudo systemctl stop vsftpd

Stop vsftpd
Step 2: Uninstall vsftpd Package (if installed via APT)
If you initially installed vsftpd using the APT package manager, you can remove it easily with the following command:
sudo apt remove vsftpd
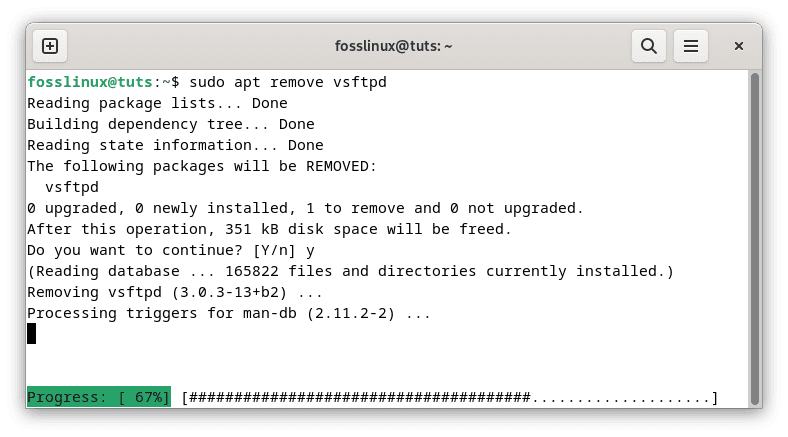
Remove vsftpd
This command will uninstall the vsftpd package, along with any configuration files associated with it. You may be prompted to confirm the removal. Type ‘Y’ and press Enter to proceed.
Step 3: Delete Compiled vsftpd Files (if installed from source)
If you compiled and installed vsftpd from the source, you’ll need to remove the files manually. Change to the directory where you compiled vsftpd (the directory where the ‘Makefile’ is located) and execute the following command:
sudo make uninstall
This command will remove the files installed when you compiled vsftpd from the source. It will also remove any configuration files created during the installation.
Step 4: Clean Up Configuration Files
Some configuration files might remain on your system if you installed vsftpd via APT or compiled it from a source. To ensure a clean removal, delete these configuration files. Use the following command:
sudo rm -rf /etc/vsftpd*
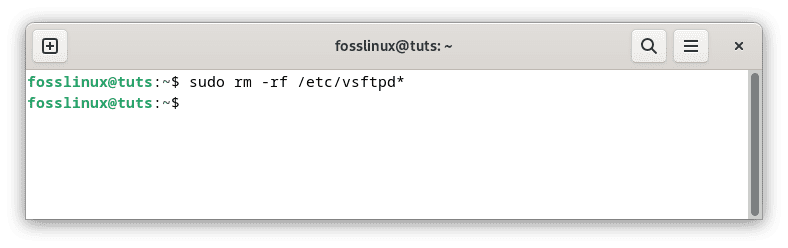
Cleanup config files
This command will remove any vsftpd configuration files in the ‘/etc/’ directory. Additionally, you can remove any remaining SSL/TLS certificates and keys (if you generated them during the installation):
sudo rm /etc/ssl/private/vsftpd.pem
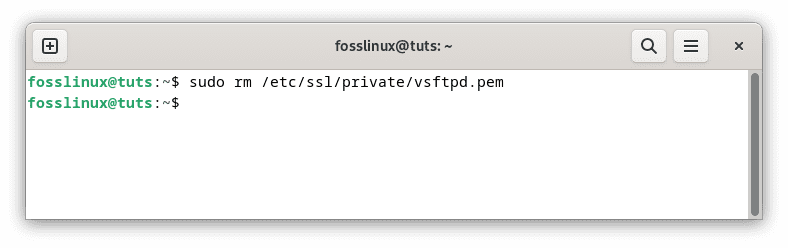
Remove SSL-TLS Certificates
Step 5: Verify Removal (Optional)
To ensure that vsftpd is entirely removed from your Debian system, you can verify the status of the vsftpd service:
sudo systemctl status vsftpd
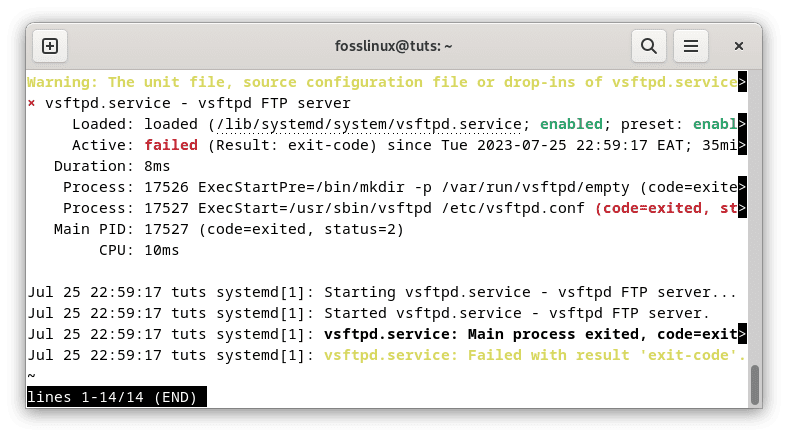
Check vsftpd server status
If the service is no longer present, you should see a message indicating that the service is not found or (Active: failed).
By following these steps, you have successfully removed the vsftpd FTP server from your Debian system. Always review the removal process to ensure that all vsftpd-related files and configurations are deleted. If you encounter any issues or need assistance during the removal, consider seeking help from the Debian community or relevant forums.
Conclusion
In conclusion, setting up a vsftpd FTP server on Debian provides a reliable and secure means of transferring files over a network. Throughout this article, we have explored what vsftpd is and why it is a popular choice for system administrators. We covered multiple up-to-date methods to install vsftpd, giving you the flexibility to choose the one that suits your needs. Additionally, we discussed how to configure vsftpd for enhanced security and seamless file transfers.
Whether you’re managing a small office network or running a large-scale server infrastructure, vsftpd’s ease of use and robust security features make it an invaluable asset. Always prioritize security and keep your vsftpd installation up-to-date to safeguard your data.
1 comment
Why nobody explains how to add CRL list, so vsftpd can check CRL list. I tried to put .crl file into config of openssl, tried to combine it in bundle.cert (root,sub,crl), and still nothing worked. Can someone explain to me how to have CRL list check in vsftpd 3.0.5?