Manjaro is a Linux-based distro built upon the Arch Linux OS with a core focus on convenience and an easy UI experience. Like every other open-source Linux-based distro, Manjaro is also free and comes with great support from the community.
However, unlike popular options like Ubuntu, Manjaro is developed in a rolling release method. It is an excellent option for new Linux users as it offers a flexible desktop experience and is relatively user-friendly.
One of the best things about most Linux-based distros is that they come with many different editions, each boasting a separate GUI for various users. Manjaro is no exception as it comes in three different versions with other desktop environments, namely KDE Plasma, Xfce and GNOME. You can check them out from the official page by clicking here.
Arch Linux is a distro meant for power users, but Manjaro has made it relatively easy for new Linux users to experience Arch Linux with ease. On top of that, if you choose the XFCE version, you will have all the fantastic ways to customize the distro to your liking while having a resource-friendly experience. Manjaro is entirely customizable, which makes this combination unique and special.
Install XFCE on Manjaro Linux
This article will discuss how to do a fresh installation of the XFCE version of Manjaro and add the XFCE desktop on Manjaro with any other DE already present. So without any more delay, let’s get right into it.
A. Install the XFCE version of Manjaro
This is the preferred option and the one we recommend as you are less likely to run into any errors that may surface if you install more than one desktop on the same distro. To download the latest XFCE version of Manjaro, click here.
After you are done downloading, you need the burn the downloaded ISO image file onto physical media using an ISO burning tool like balenaEtcher.
Now go through with the installation step by step as detailed below. You will have a successful Manjaro installation with the XFCE desktop that works great on any hardware as one of the most resource-friendly desktops and still offers a reasonable amount of customization.
1. Boot up the system
After plugging in the storage media in which you burned the ISO image file, you need to boot up the system.
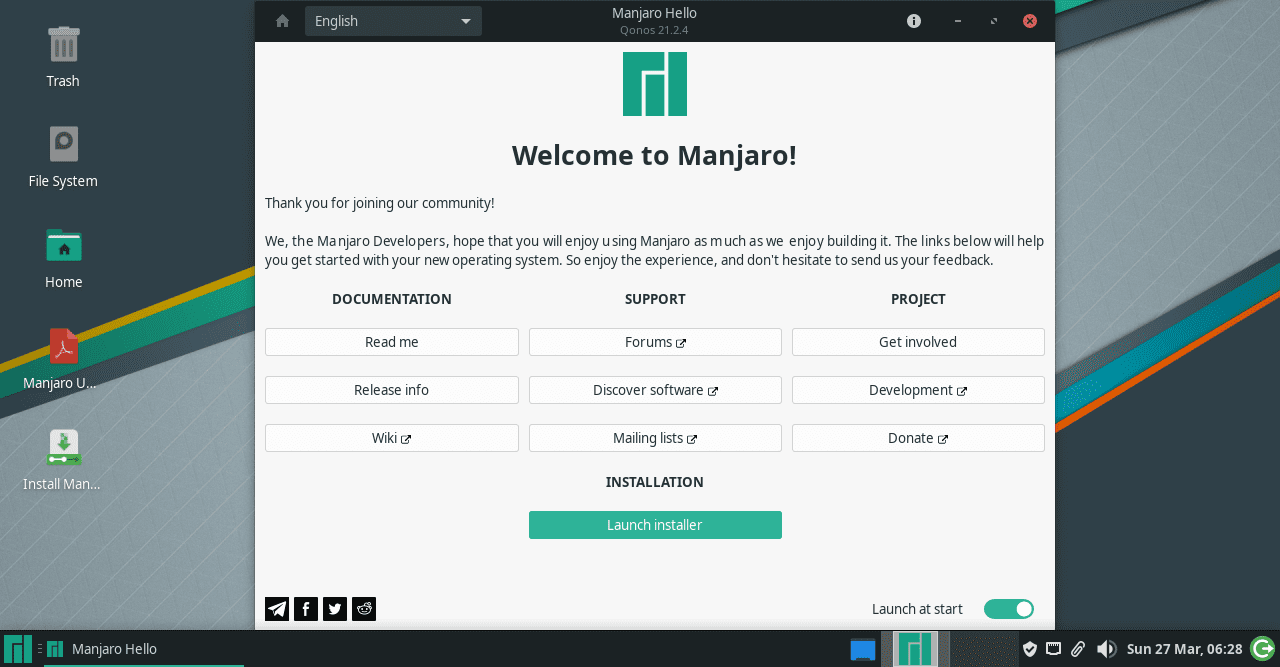
Manjaro XFCE installer
Click on “Launch Installer”
2. Select your language
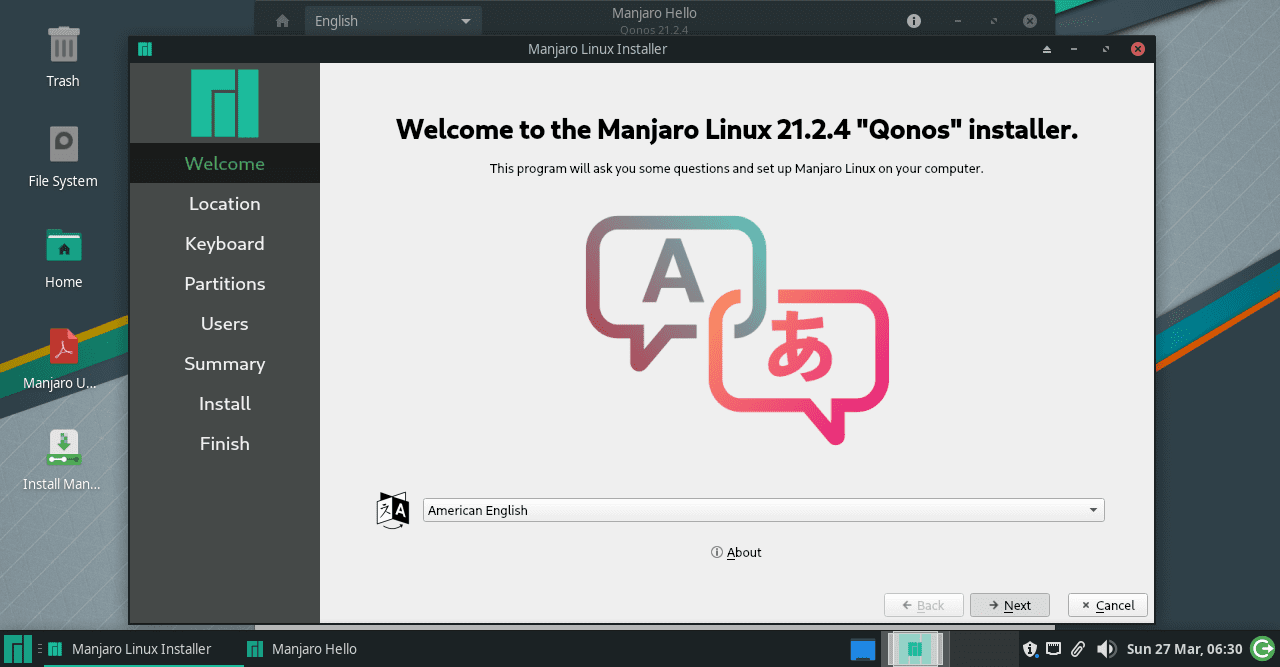
Language select
Click “Next” after you have selected your preferred language.
3. Set up the region
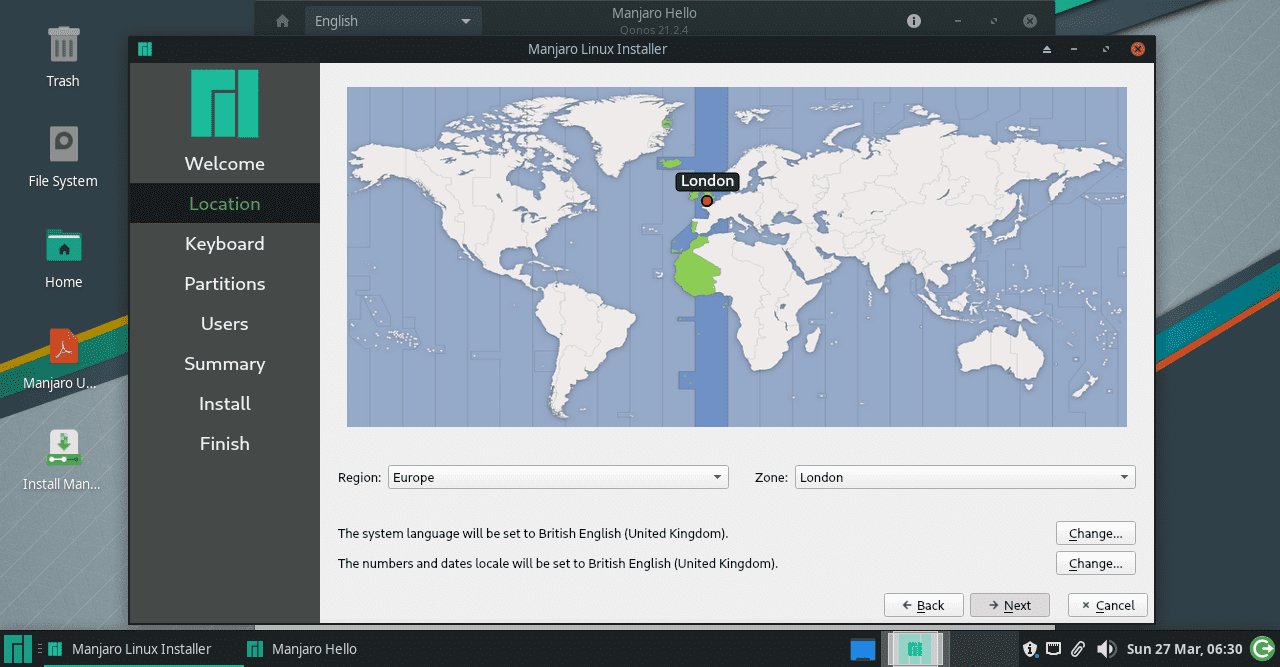
Region select
Select your region and click “Next” again.
4. Partition menu
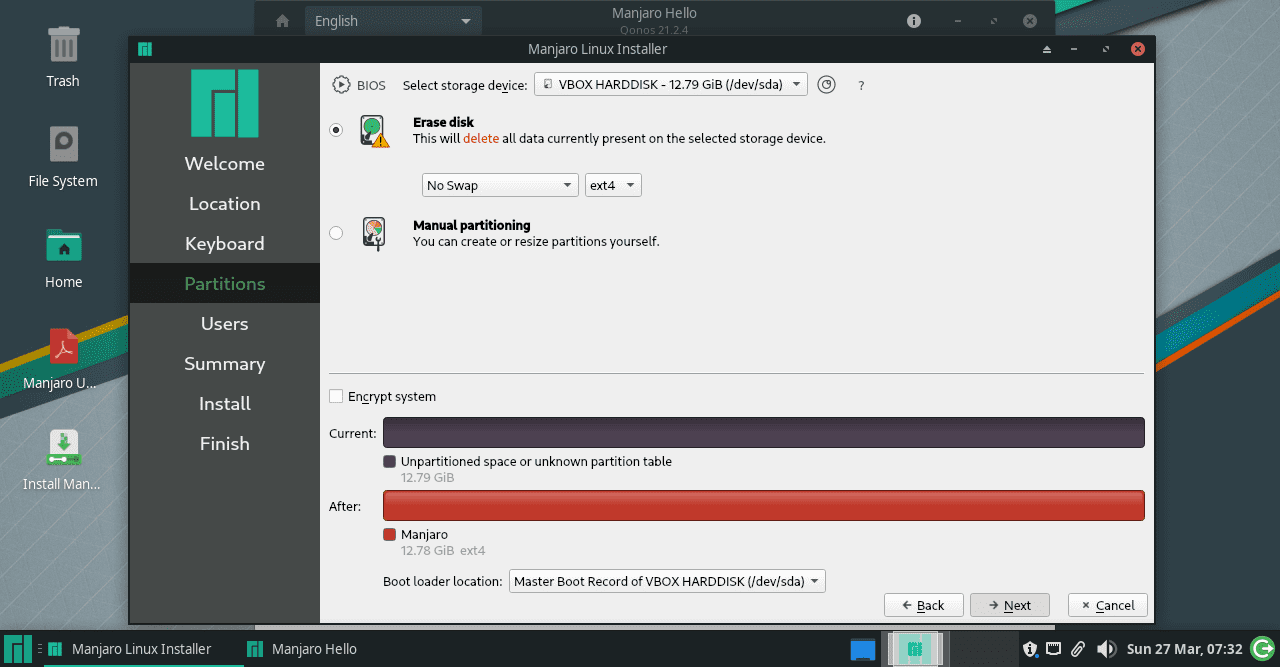
Partition menu
You don’t need to change any partition settings if you want a single drive to work with. Just leave them as they are and click “Next” once again.
5. User accounts
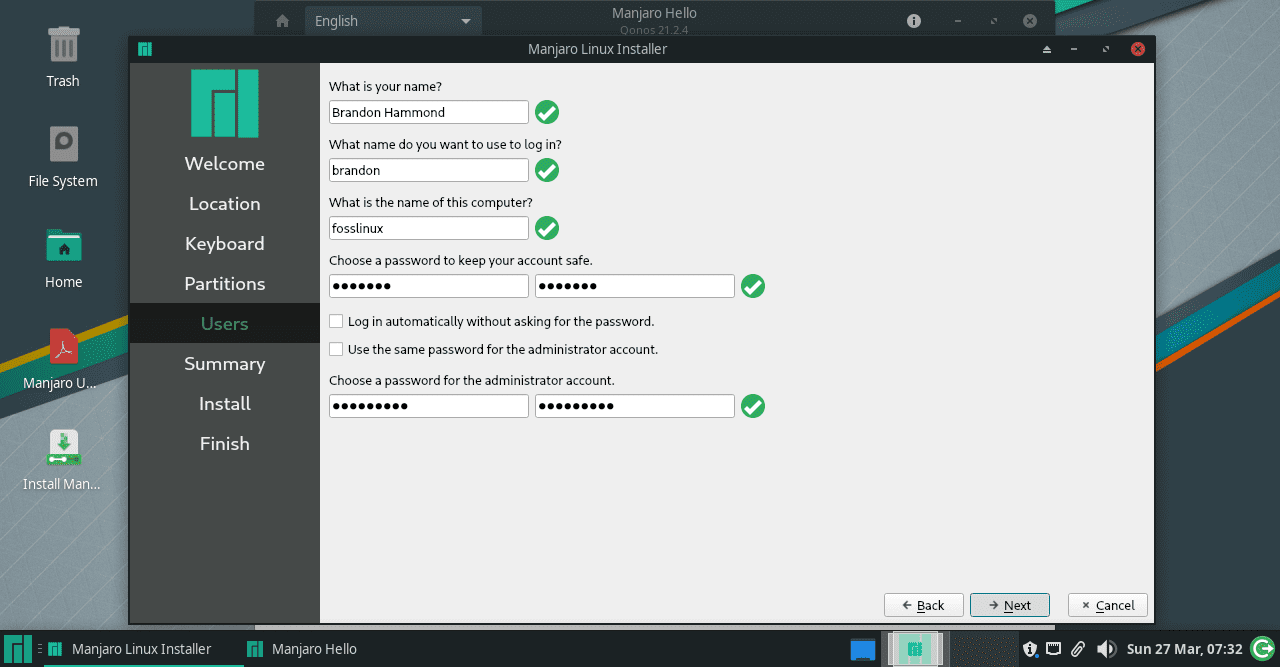
User account and password
Set up your user account and passwords and go to the next step.
6. Double-check the details
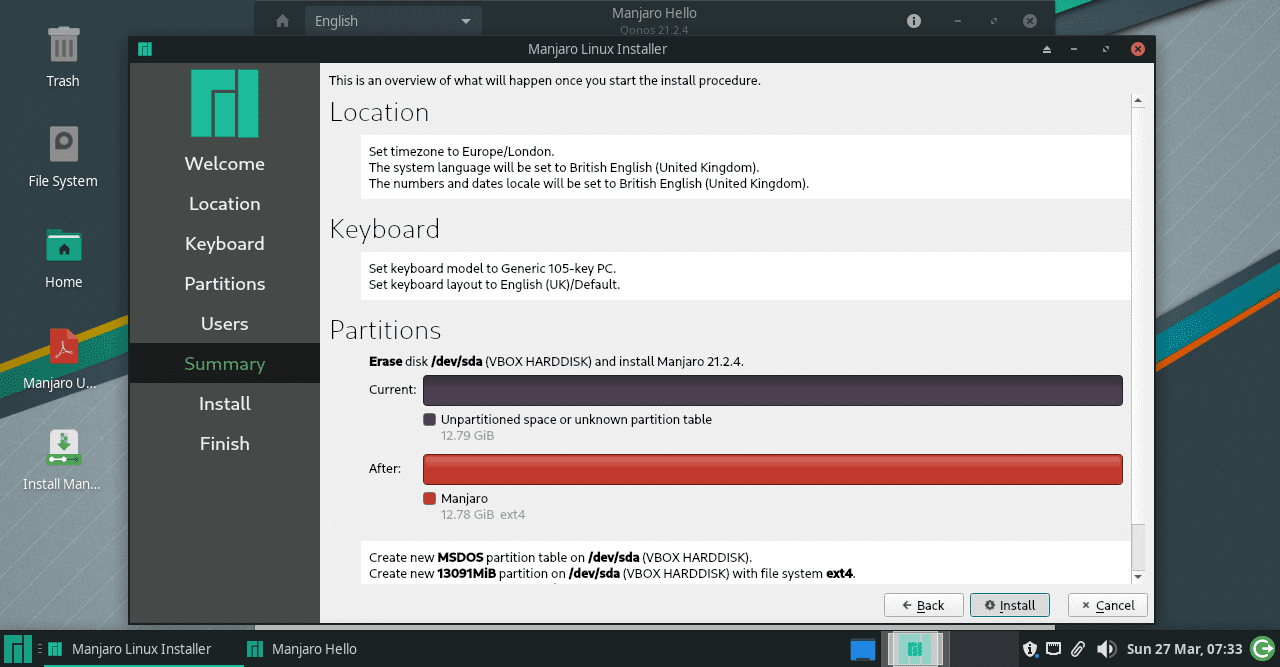
Installation summary
Check everything is in order and finally hit “Install.”
7. Let the installation finish.
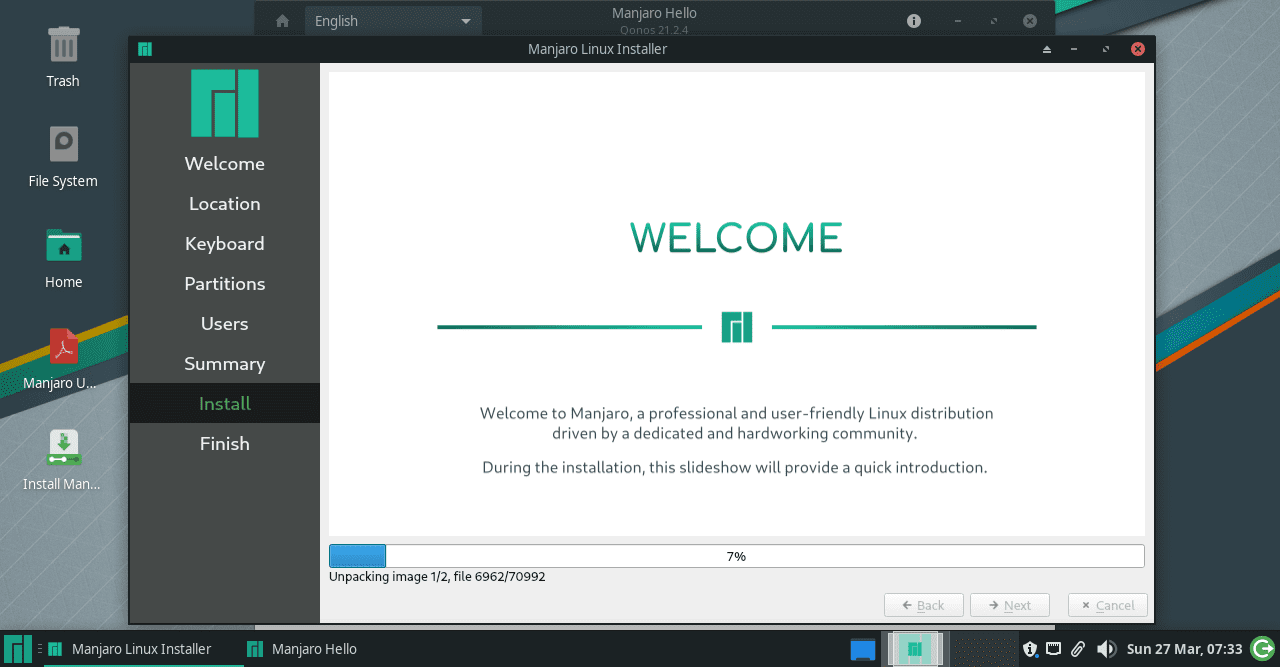
Installation process
The installation will only take a few minutes.
8. Reboot
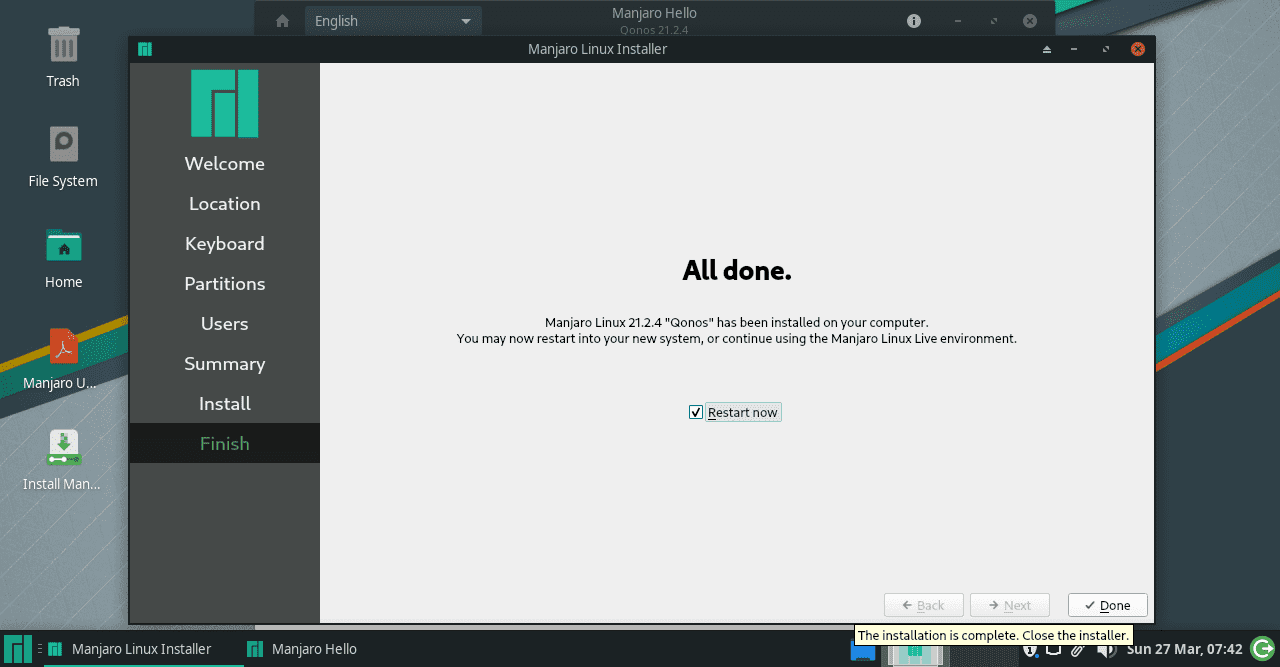
Installation complete
Once the installation is finished, you need to check the ‘Restart now’ box and click on ‘Done.’
9. Logging into the newly installed XFCE desktop
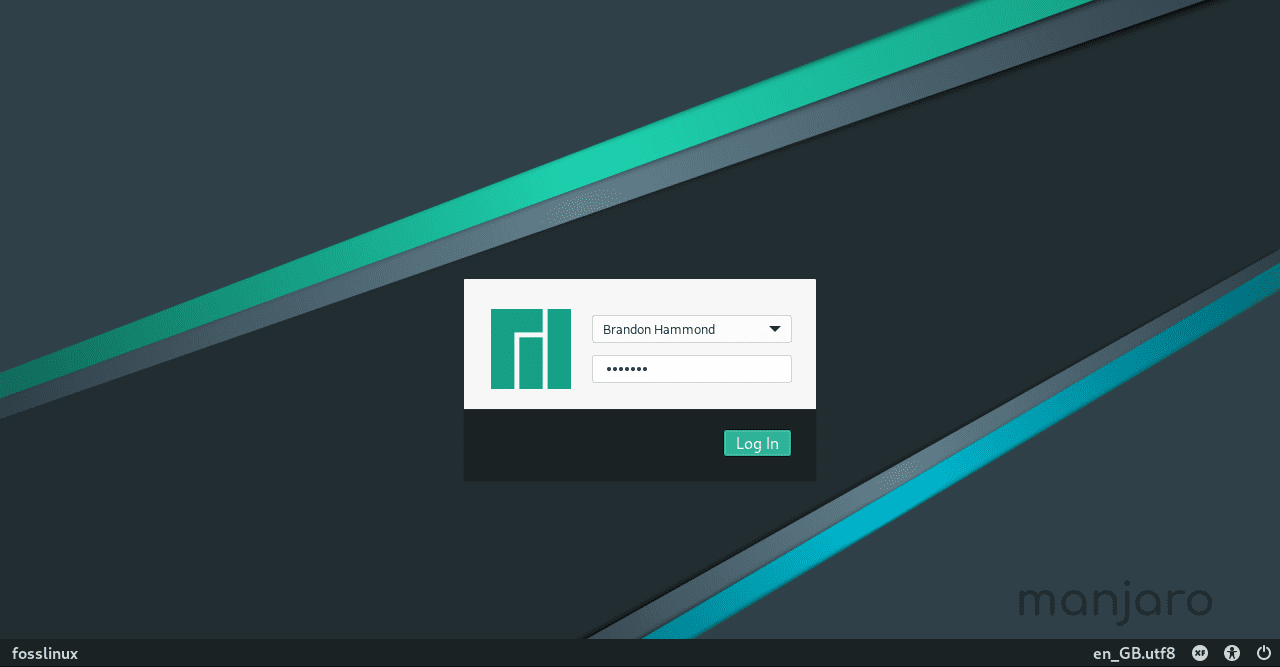
Login page
Enter your user password at the login page and press ENTER.
10. Enjoy
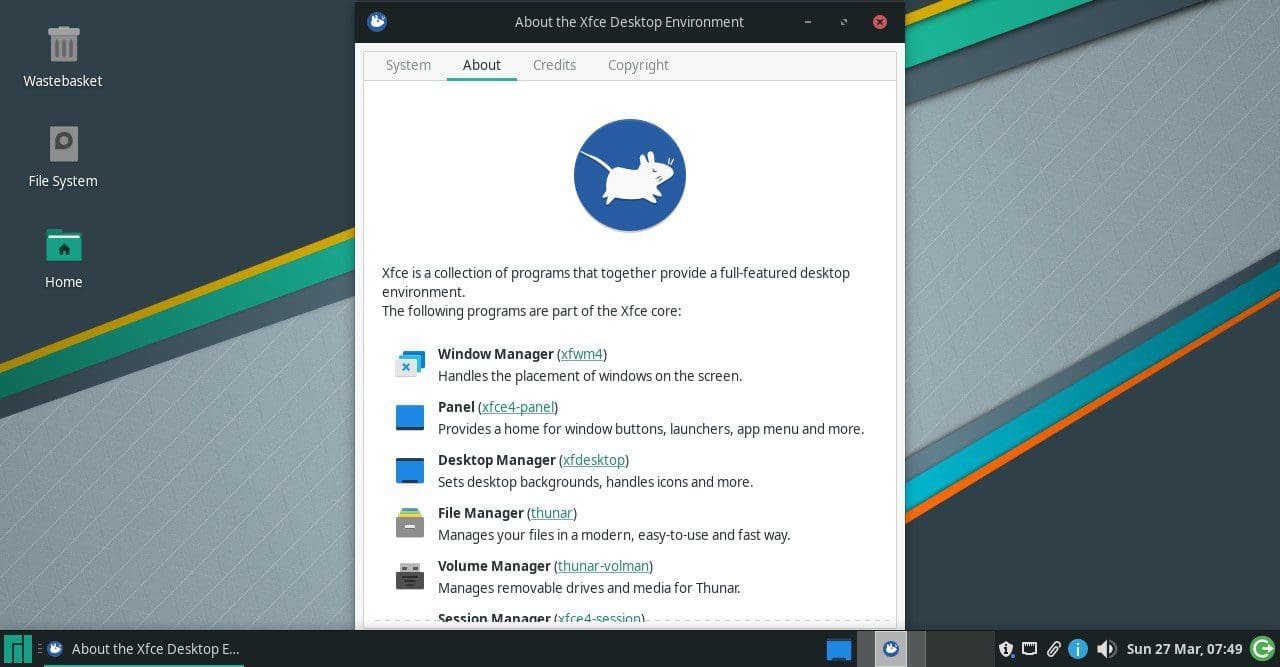
Manjaro XFCE Desktop
Congratulations. You have now successfully learned how to install the XFCE edition of Manjaro Linux OS from the ground up.
2. Adding XFCE desktop on Manjaro Linux distro
If you have already installed a version of Manjaro that comes with a desktop other than XFCE and want to experience XFCE on your Manjaro installation, you can easily do it with some simple commands.
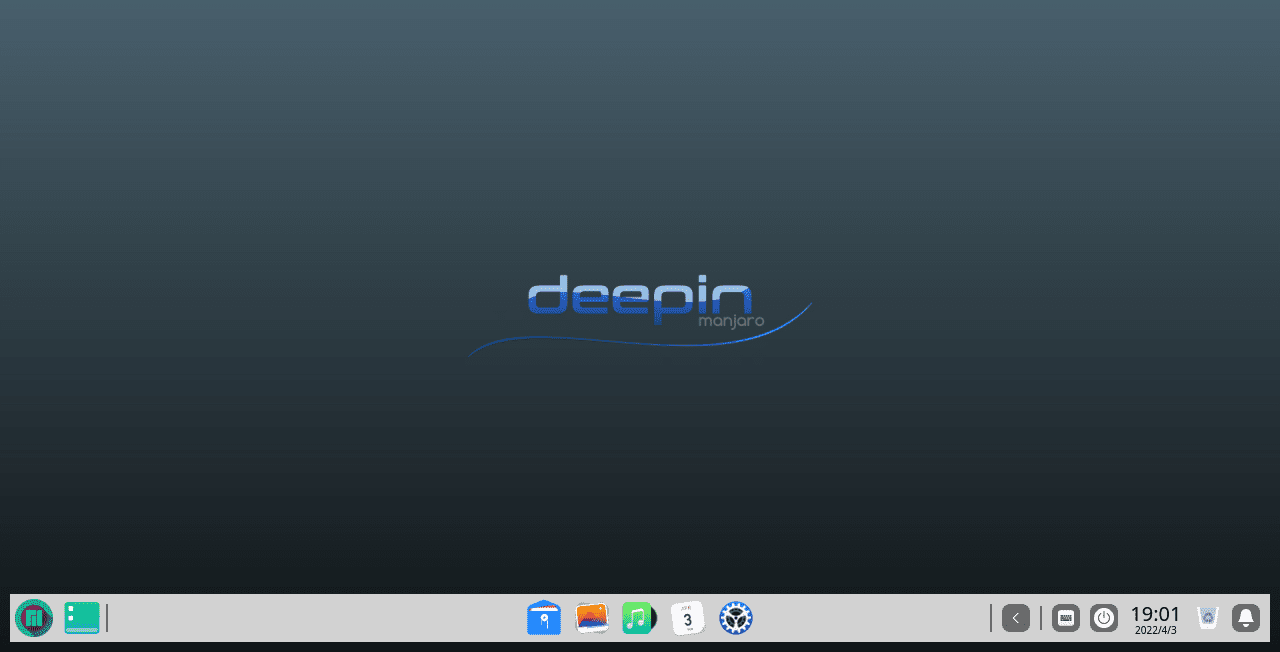
Manjaro Deepin desktop
We will do these steps on a community version of Manjaro that comes with the Deepin desktop, but if you have any other addition of Manjaro, all the steps will work just fine.
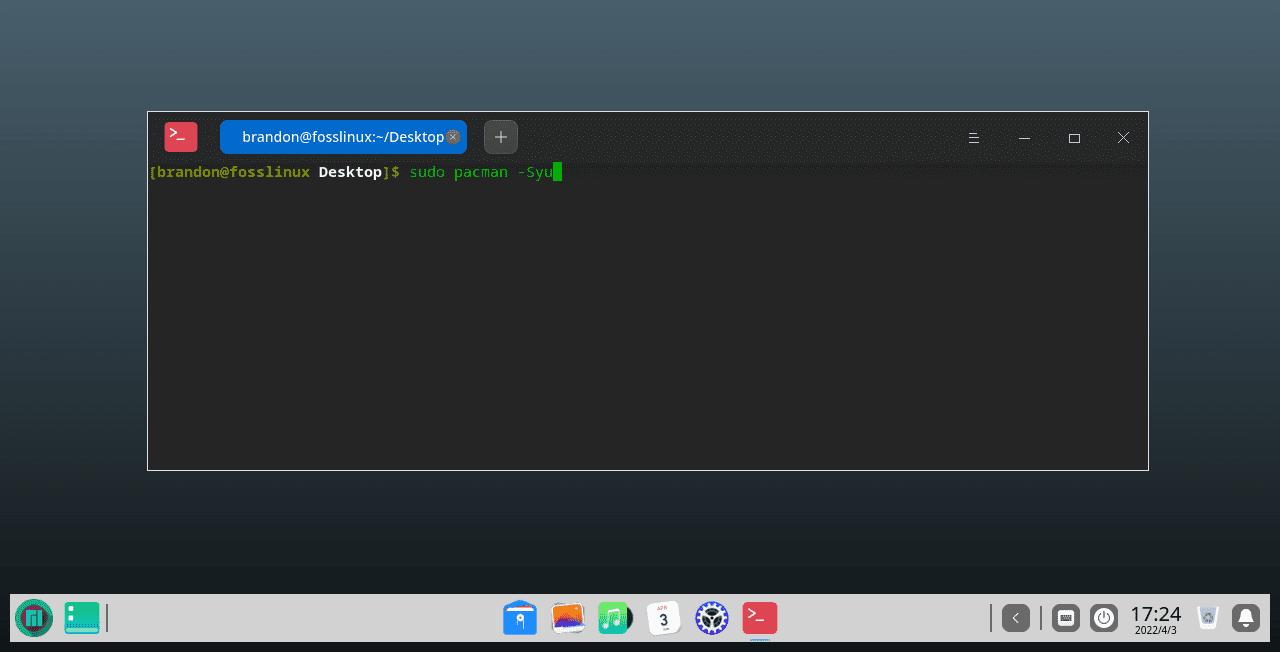
1. Update your Manjaro packages
Before installing an additional DE or significant software, the first thing you should always do is to update all your distro packages. You can do it simply with the help of the following command:
sudo pacman -Syu
sudo pacman -Syu
This process will take some time to complete depending on your internet speed and the number of packages that require an update at the time of execution.
2. Installing XFCE along with some applications
We will install the XFCE desktop and some additional features that make the DE work perfectly fine.
Every desktop comes with a set of goodies to give the user a complete experience. In the case of XFCE, you will need to execute the following command to install the XFCE desktop along with the goodies that it comes with.
sudo pacman –S xfce4 xfce4-goodies network-manager-applet

Install XFCE
This will install the DE and some great tools essential for XFCE to function correctly.
3. Installing the LightDM display manager
After installing the XFCE and its goodies, you now need to install the display manager. This is important as it will allow you to easily switch between the additional DE that is now added to the distro.
You can go with any display manager like GDM3, SDDM, etcetera, but we recommend that you go with the default DM of XFCE, which is LightDM, as it will work fine.
sudo pacman -S lightdm
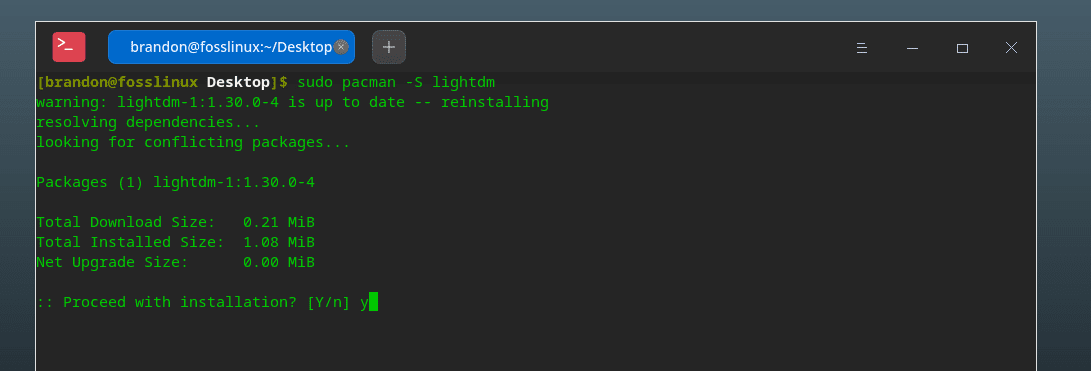
Install LightDM
Type “Y” and press ENTER to let the display manager be installed. After that is done, you now need to enable the display manager, and you can do so with the following command.
sudo systemctl enable lightdm.service --force

Enable LightDM
Confirm by typing your password if prompted and press ENTER. This display manager will allow you to run XFCE in almost any hardware and works excellent on Manjaro.
4. Configure LightDM
Now you need to configure the newly installed display manager to get the complete experience of XFCE and do not feel left out. Execute the following command to do so.
sudo pacman -S lightdm lightdm-gtk-greeter lightdm-gtk-greeter-settings
You need to check the greeter configuration file and make some changes under the “[greeter]” section. To open and make the changes to the configuration file, we have used the Nano editor, but you can choose to go with any other text editor you like.
sudo nano /etc/lightdm/lightdm-gtk-greeter.conf
Once the config file is opened in the editor, scroll down to find the “[greeter]” section.
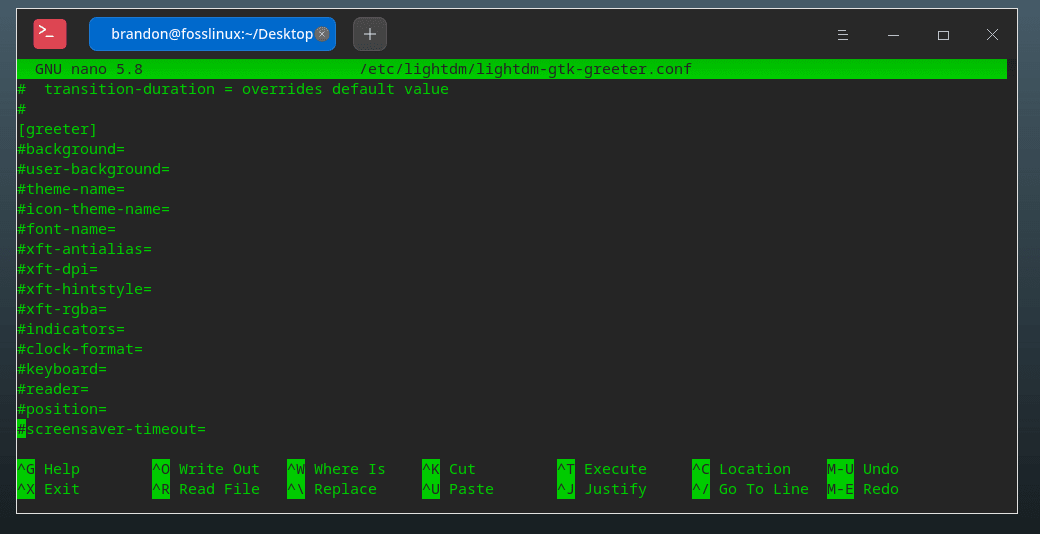
greeter section
Now replace some of these lines as follows, and for the changes to take effect, make sure to uncomment the edited lines by removing the “hash” symbol at the start.
[greeter]
background = /usr/share/backgrounds/breath.png
font-name = Cantarell 10
xft-antialias = true
icon-theme-name = Vertex-Maia
screensaver-timeout = 60
theme-name = Vertex-Maia
cursor-theme-name = xcursor-breeze
show-clock = false
default-user-image = #avatar-default
xft-hintstyle = hintfull
position = 50%,center 50%,center
clock-format =
panel-position = bottom
indicators = ~host;~spacer;~clock;~spacer;~language;~session;~a11y;~power
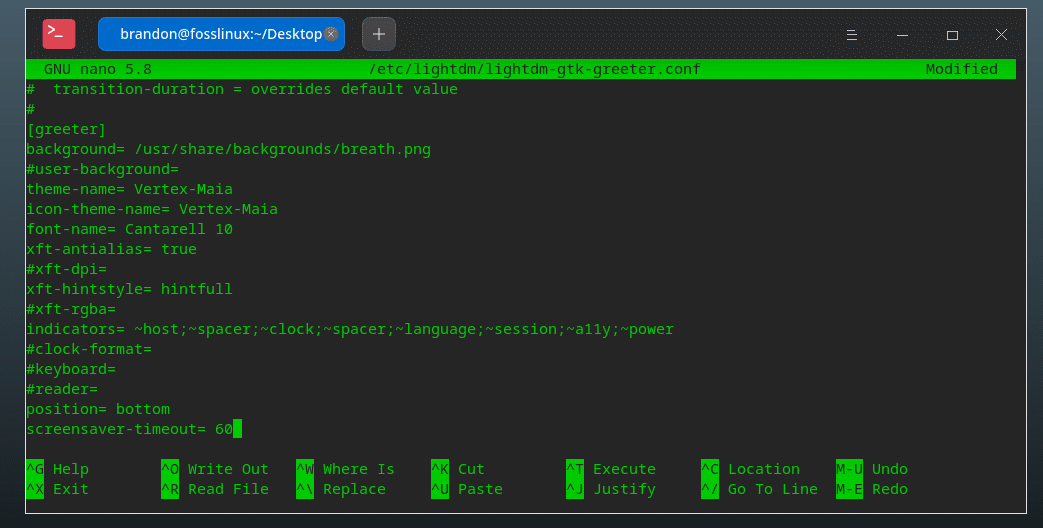
greeter section edited
Once the changes are done, press “Ctrl + O” to save the file and then “Ctrl + X” exit the editor.
5. Get the XFCE settings for Manjaro
For XFCE to function reliably on Manjaro, some settings need to be downloaded specific to the DE.
sudo pacman -S manjaro-xfce-settings manjaro-settings-manager
Now we are almost done.
6. Updating the user account
Finally, all you need to do now is update the user account with the help of the following command and then reboot after that.
/usr/bin/cp –rf /etc/skel/. ~
7. Reboot
You can choose to switch to DE by just logging out, but we recommend just rebooting the system as it will not result in any crashes or bugs.
sudo reboot
After the system is rebooted, you need to ensure that the ‘XFCE’ desktop is selected on the login page before signing in.
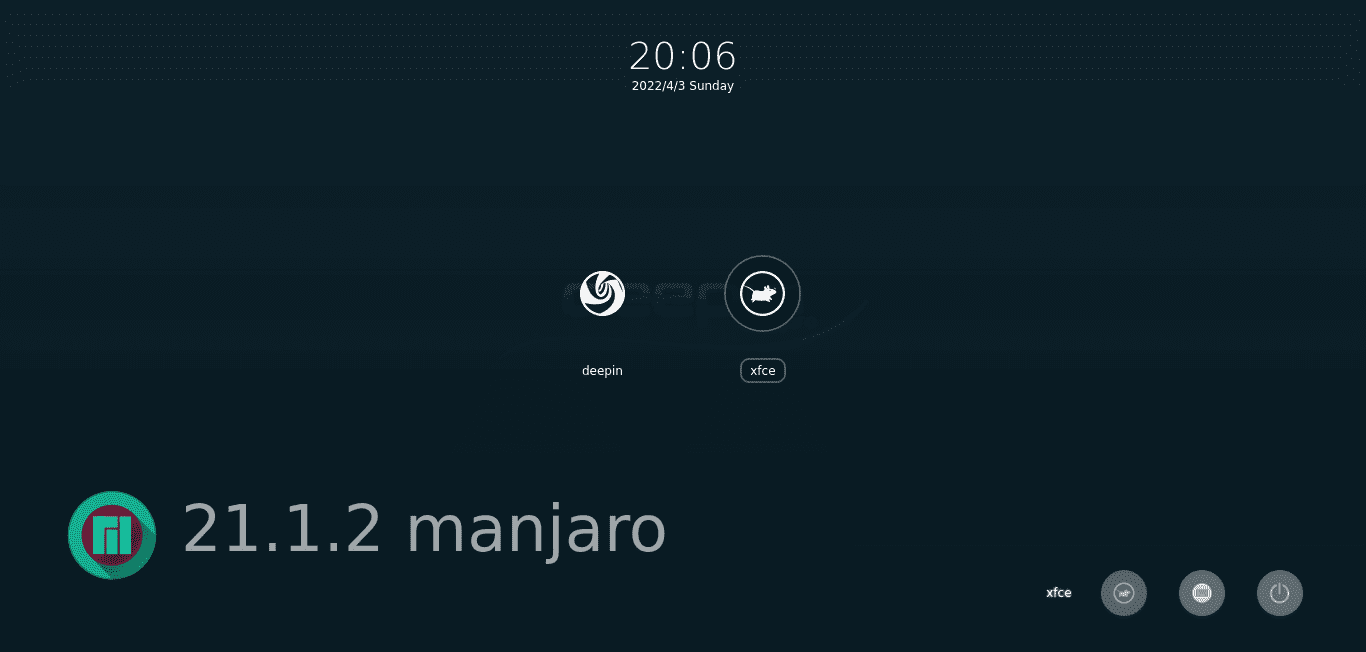
Login page
You can verify that by clicking on the DE icon in the bottom right corner and clicking on the ‘XFCE’ option among the two. Now type in your user password and press ENTER to log into the newly installed XFCE desktop.
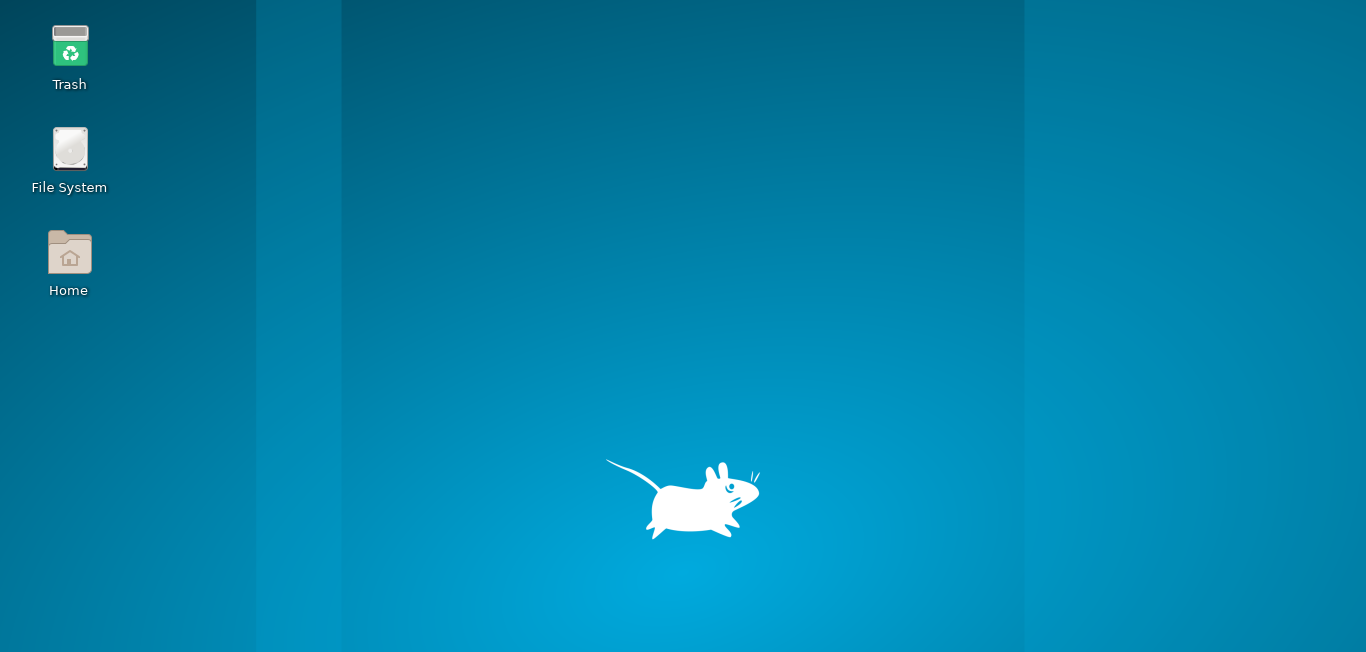
XFCE Desktop
Congratulations, you have now successfully installed the XFCE desktop on your Manjaro Linux distro.
Final words
We are sure that you will enjoy the simple, fast, and light yet elegant experience that comes with the XFCE edition of Manjaro Linux as much as we did. Now that you have it successfully installed, we recommend you check out the “15 things to do after installing Manjaro” by clicking here. Do let us know if you run into any problems during the installation. We will be more than happy to help.