Manjaro is a Linux-based distro in three different versions of desktop environments, namely KDE Plasma, XFCE and GNOME. But since it’s Linux-based, you can also get any other desktop supported by Linux and add it to your Manjaro installation. This opens the door to various options like Deepin, Budgie, Cinnamon, LXQT, LXDE, etc.
One of these additional options that can be experienced on Manjaro is the Deepin desktop. It provides a great desktop experience for new and old Linux users alike. Deepin is loaded with features that make it stand out from the other options. It comes with many applications and an amazingly intuitive UI experience that has made it one of the most popular GUIs on Linux in recent times.
Deepin was developed with a core focus on ease of use for desktop users, and the development team has delivered on that in style. You will get mesmerized by the look and feel of the desktop, and if you are the kind of person who appreciates elegance, then this desktop is something you should at least try.
This article will show you how to get Deepin on Manjaro Linux. Whether you have Manjaro already installed or want a fresh installation of Manjaro along with the Deepin desktop, we will cover both options.
Install Deepin on your Manjaro Linux installation
If you have already installed Manjaro with any other DE like GNOME, XFCE, or KDE, you can add the Deepin desktop to it. To do so, you will need to update your system, install Deepin and finally install a display manager that will make it easy for you to manage multiple desktops on your Manjaro installation. All these steps are detailed below:
1. Update the Manjaro packages
sudo pacman –Syu

sudo pacman -Syu
This will update all the packages and download the latest stable files of any program that require them.
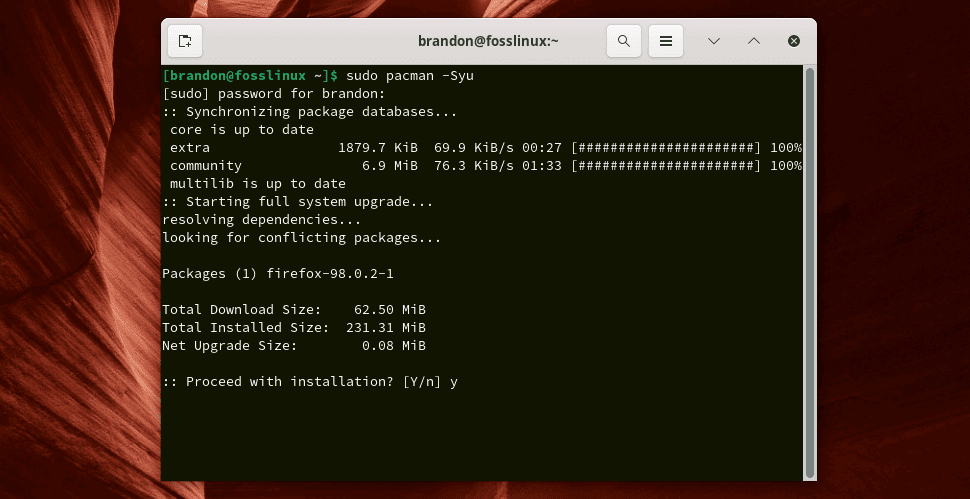
sudo pacman -Syu confirm
Suppose prompted for confirmation, type ‘Y’ and press ENTER. This process will take some time, depending on your internet speed and the number of packages that require an update.
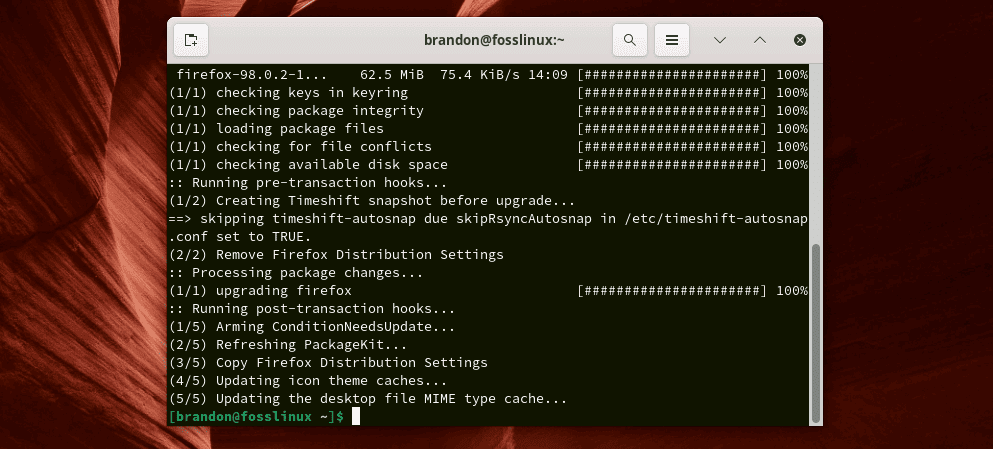
sudo pacman -Syu complete
Once the process is finished, all the programs are now running the most updated and stable versions, saving you a lot of hassle afterward. This step is crucial before installing any major software or a new DE as it allows the new program to work smoothly with the distro.
2. Install “Xorg” (pronounced as X-ORG)
Now we install the framework required for GUI to function, “Xorg properly.”
sudo pacman –S xorg xorg-server

Install X-ORG
It is the most famous display server Linux distros.
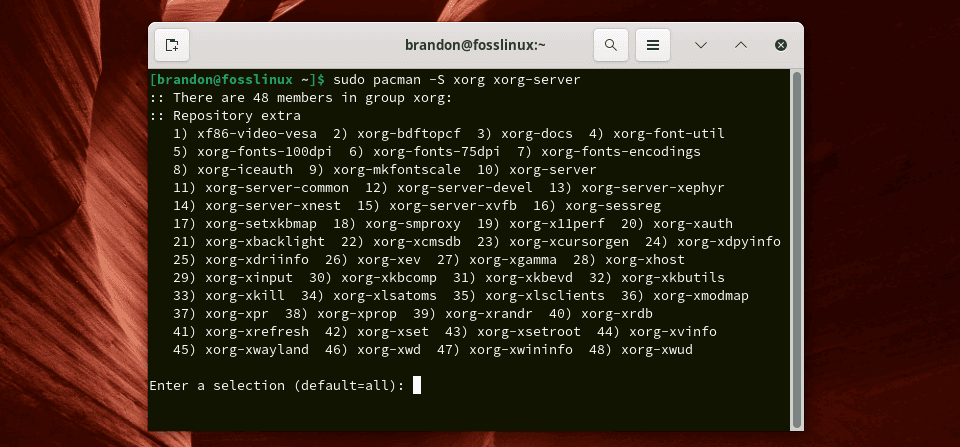
Install X-ORG repository selection
If you are prompted for the “Repository Selection”, just press ENTER to let the default option be selected, and the installation will begin.
3. Install Deepin desktop
After the display server files are downloaded and installed, you can run the following simple command to install the Deepin desktop.
sudo pacman –S deepin

Install Deepin desktop
Enter the user password that you set up during the installation of Manjaro.
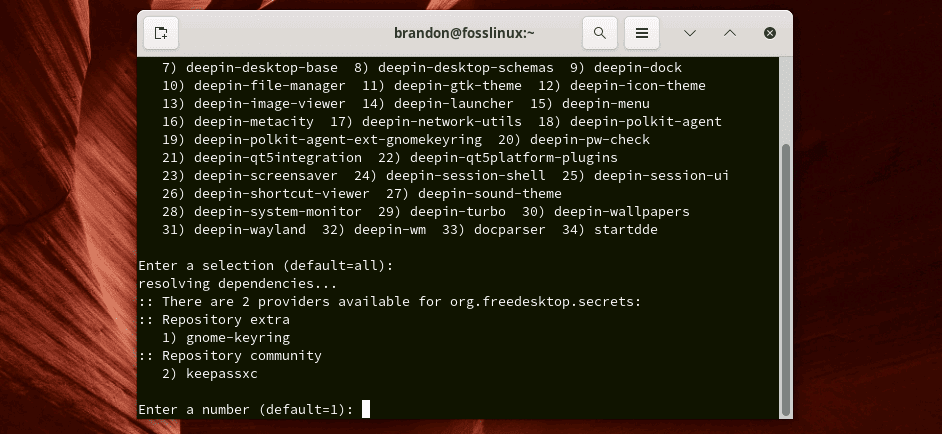
Install Deepin desktop repository select
Press ENTER to select the default repository option if prompted for it.
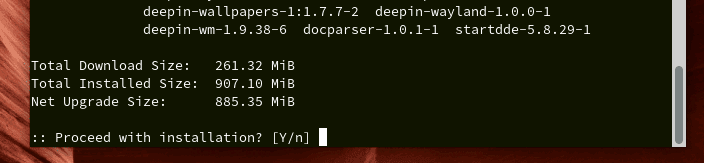
Suppose prompted for confirmation, type “y” and press ENTER. You can always include “–noconfirm” in the actual command to skip this step, but I like to double-check before installing any major software as it is good practice and allows you to go back if you missed out on anything.
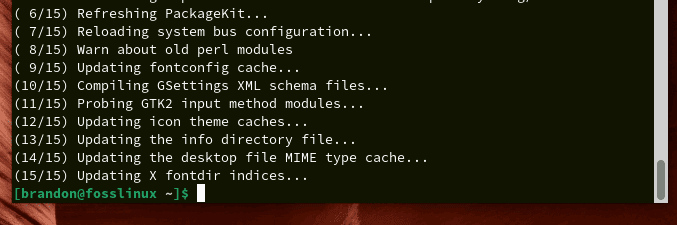
Install Deepin desktop complete
Now you have to wait until the process is complete. After installing, follow along to ensure that you have an entire Deepin experience.
4. Install Deepin extras
No desktop feels complete without its accompanying tools and utilities like wallpapers, font managers, their terminal, and many applications specifically designed for the DE. In the case of Deepin, it is no exception. To install these extras, execute the following command:
sudo pacman –S deepin-extra

Install Deepin extras
If prompted, enter your user password.
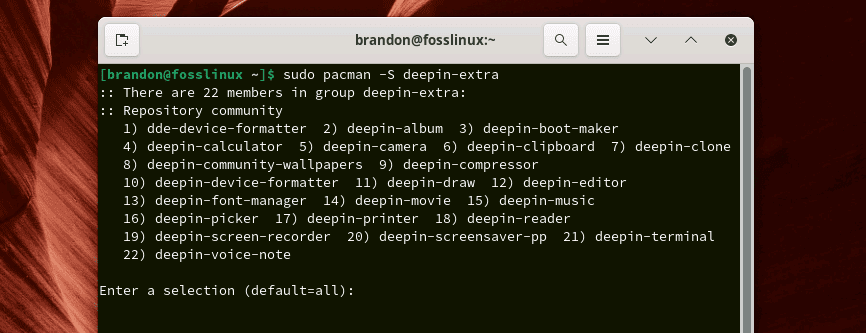
Install Deepin extras repository select
Once again, press ENTER to select the default option when prompted for the repository selection.
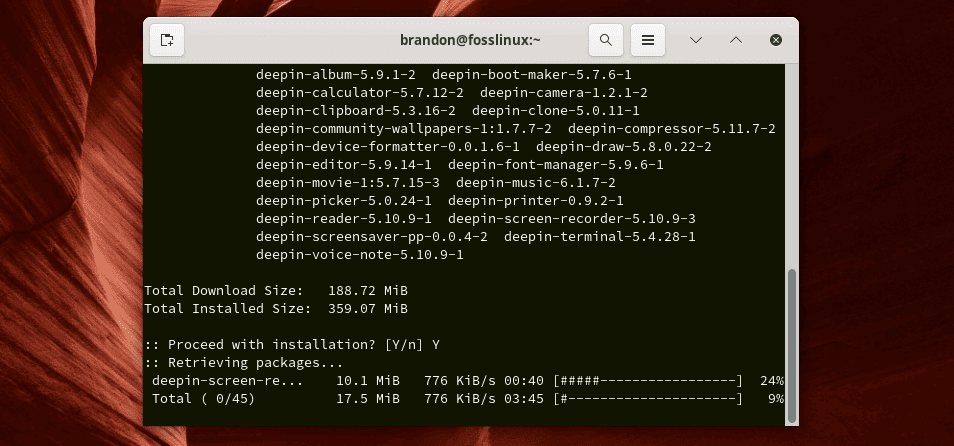
Install Deepin extras to confirm
Now, wait a few minutes for all the extras to be downloaded and installed. This will ensure you get the whole Deepin user experience.
5. Install and configure the LightDM display manager
You need to install a display manager that will handle the multiple desktops and make it smooth to switch to the new Deepin DE that we have just installed. There are numerous options to choose from, but we recommend the LightDM, as it works excellent on Manjaro. Execute the following command to install LightDM.
sudo pacman –S lightdm

Install LightDM
Now you need to configure the display manager that just got installed to get the proper Deepin experience when you log in. For this purpose, the first thing you need to do is to open the LightDM configuration file by running the following command:
sudo nano /etc/lightdm/lightdm.conf

LightDM configuration
Once the file is opened in the Nano editor, you need to scroll down until you find and then replace the following line:
# greeter-session = Session to load for greeter

LightDM configuration 2
First, you need to ‘uncomment’ the line by removing the ‘hash’ symbol in the beginning and then replacing it with the following line.
greeter-session = lightdm-deepin-greeter
Now press “Ctrl+O” to save the changes and “Ctrl+X” to exit the editor.
6. Enable LightDM
You are pretty much done with the installation. All you need to do now is make sure LightDM is running and enabled. To start the LightDM program, run the following command:
sudo systemctl start lightdm.service
Now enable it with the help of the following command.
sudo systemctl enable lightdm.service

Enable LightDM
These commands will make sure LightDM is enabled if any other display manager existed before installing it.
7. Reboot and login into Deepin Desktop
Reboot with the help of the following simple command:
sudo reboot
After reboot, check to see if Deepin is selected on the login page among different options.
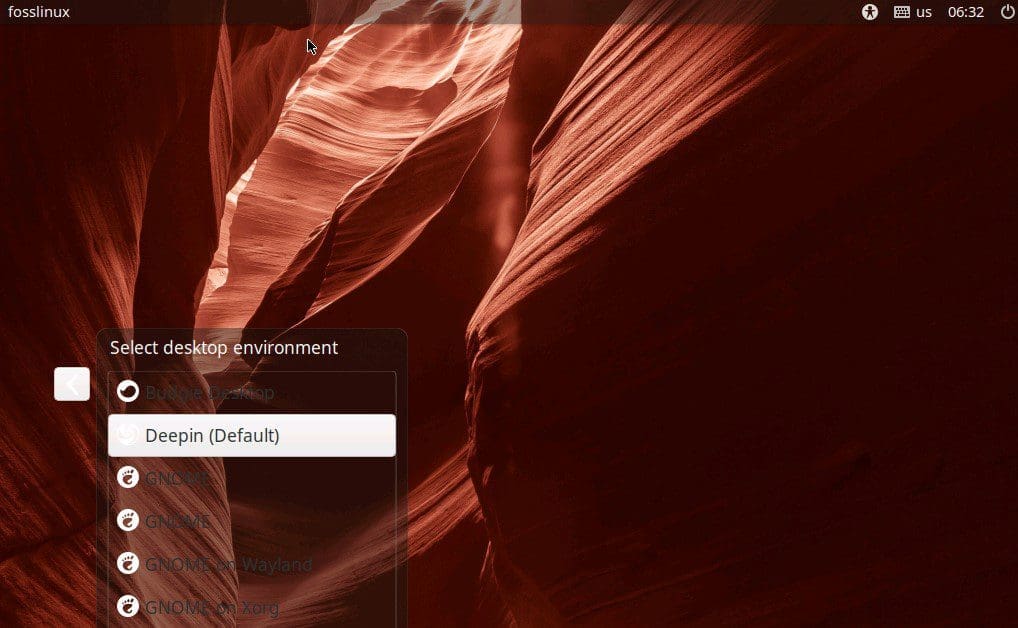
Deepin Login page
Select the Deepin desktop option, if not already selected, by clicking on the DE icon and entering your password to log in.
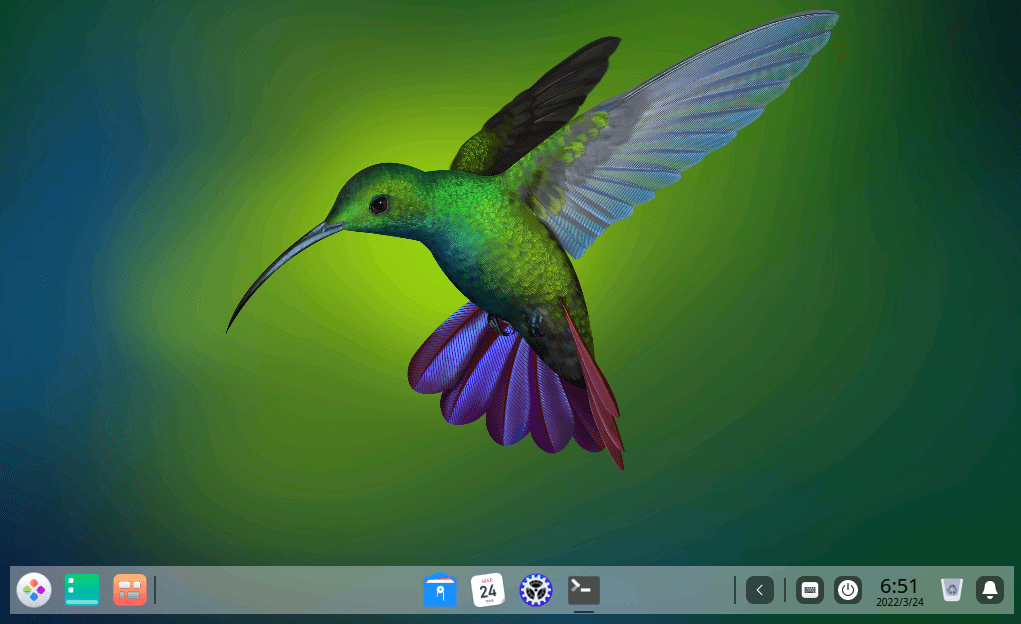
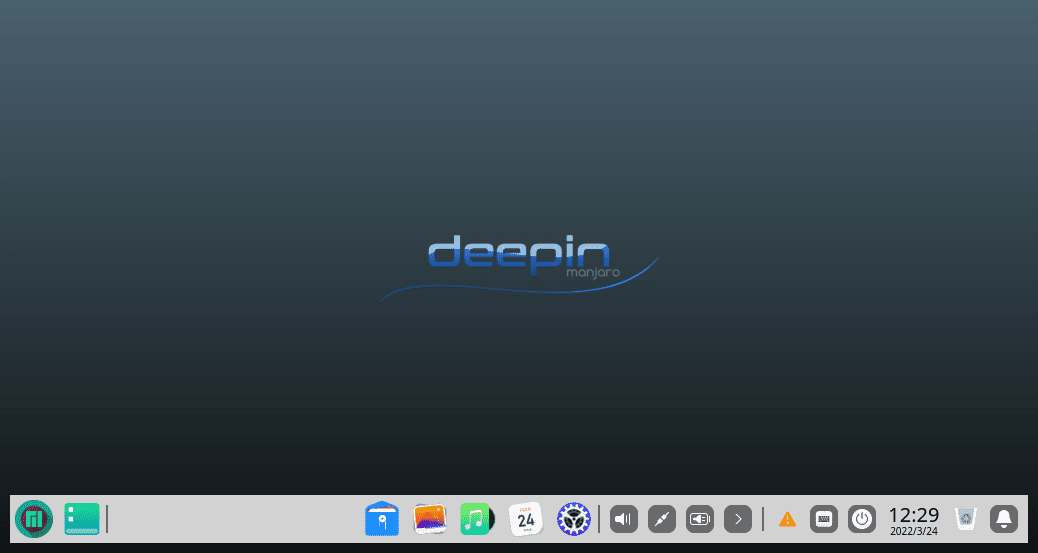
Deepin Desktop
Congratulations! You can now customize it to your heart and make the desktop your own. We are sure that you will love the clean and aesthetic look the desktop provides with intuitive UI elements.
Do a fresh installation of Manjaro with Deepin desktop
You can also experience Deepin on Manjaro by downloading the community version of the distro that comes with the Deepin desktop out of the box. To download the latest stable community version, click here.
After downloading the community-supported version of the Manjaro Deepin edition, you need to burn it on a physical storage device. You can do so with the help of an ISO burning tool like balenaEtcher.
Now follow the steps listed below for a successful installation.
1. Boot up after plugging the storage media burned with the installation image file
Boot up your system after plugging in the storage device with burned ISO image file of the Manjaro Deepin edition.
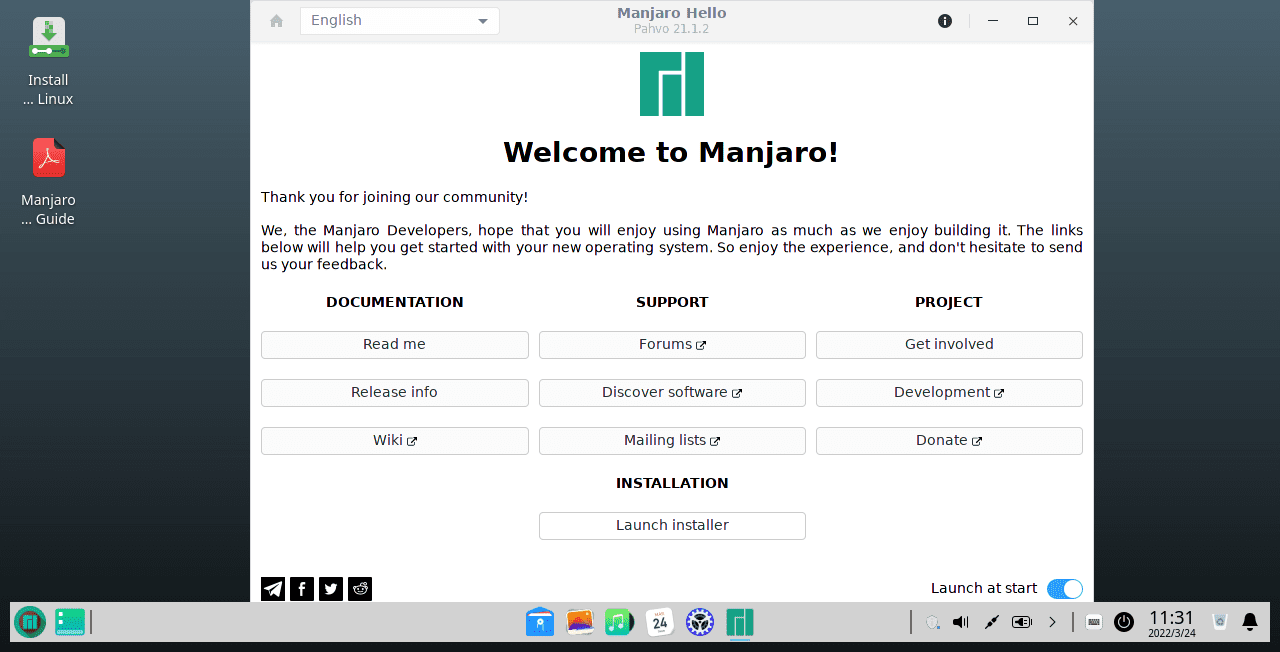
Manjaro Deepin installer
You will be greeted by the launcher interface, as shown above. Click on “Launch Installer” to let the installation begin.
2. Select your Language
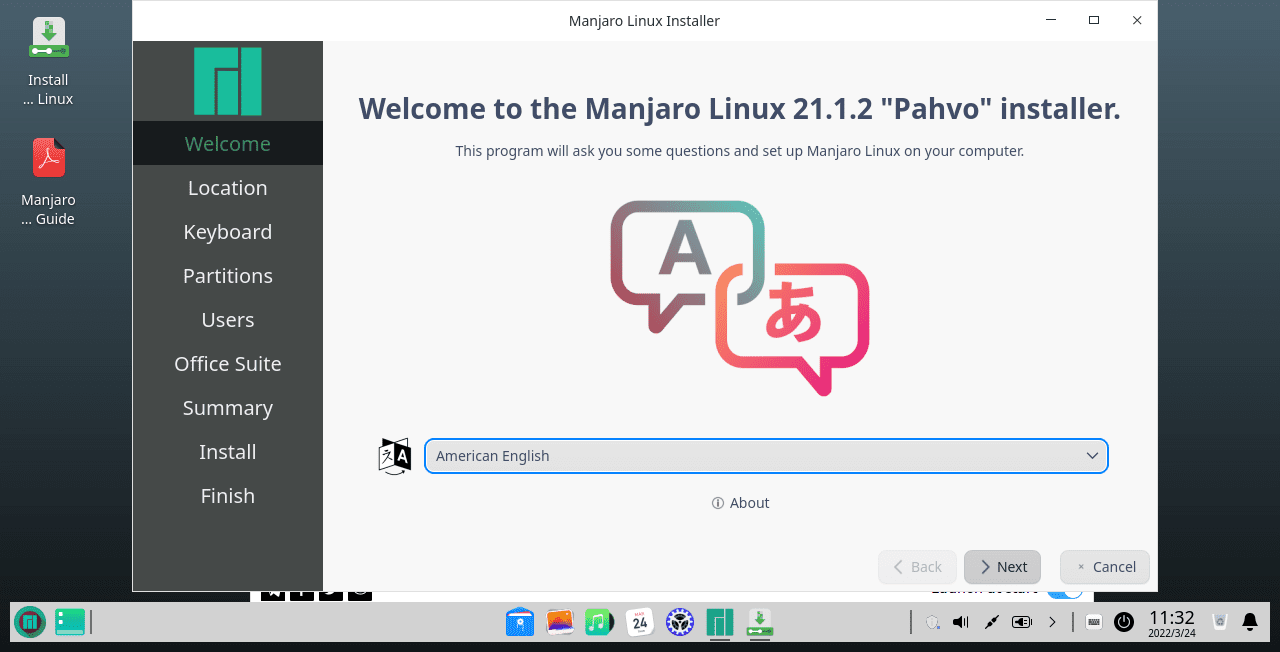
Language select
3. Select your region
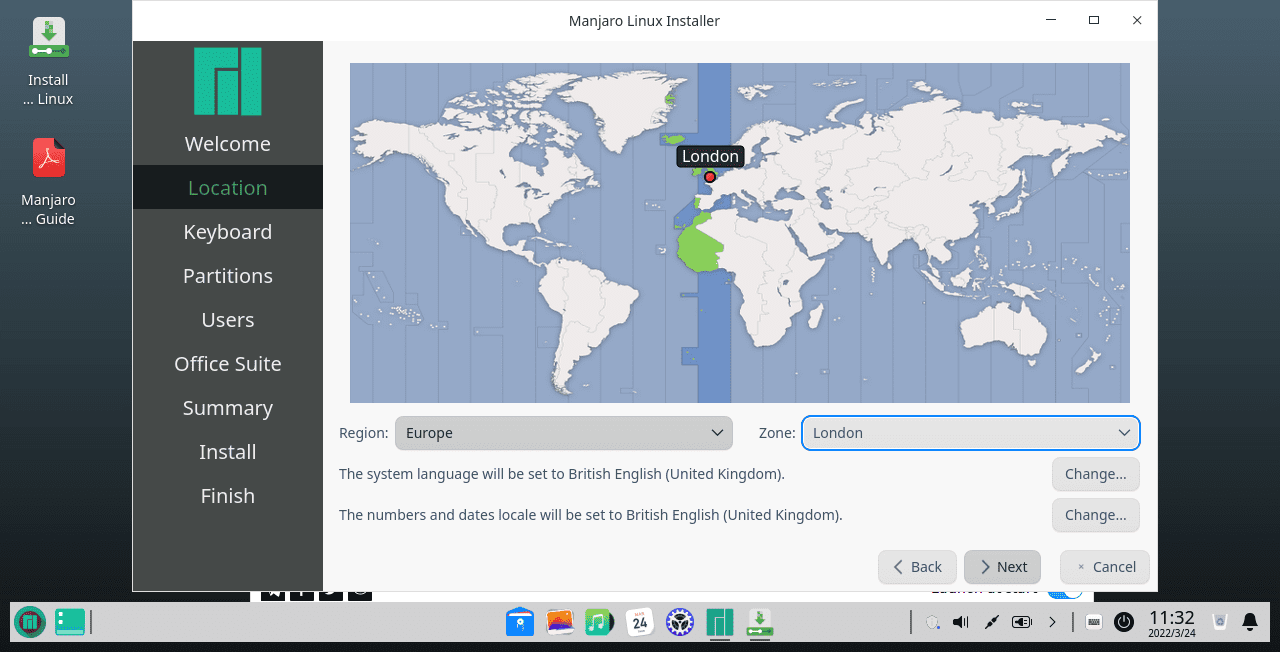
Region select
4. Select your choice of keyboard layout
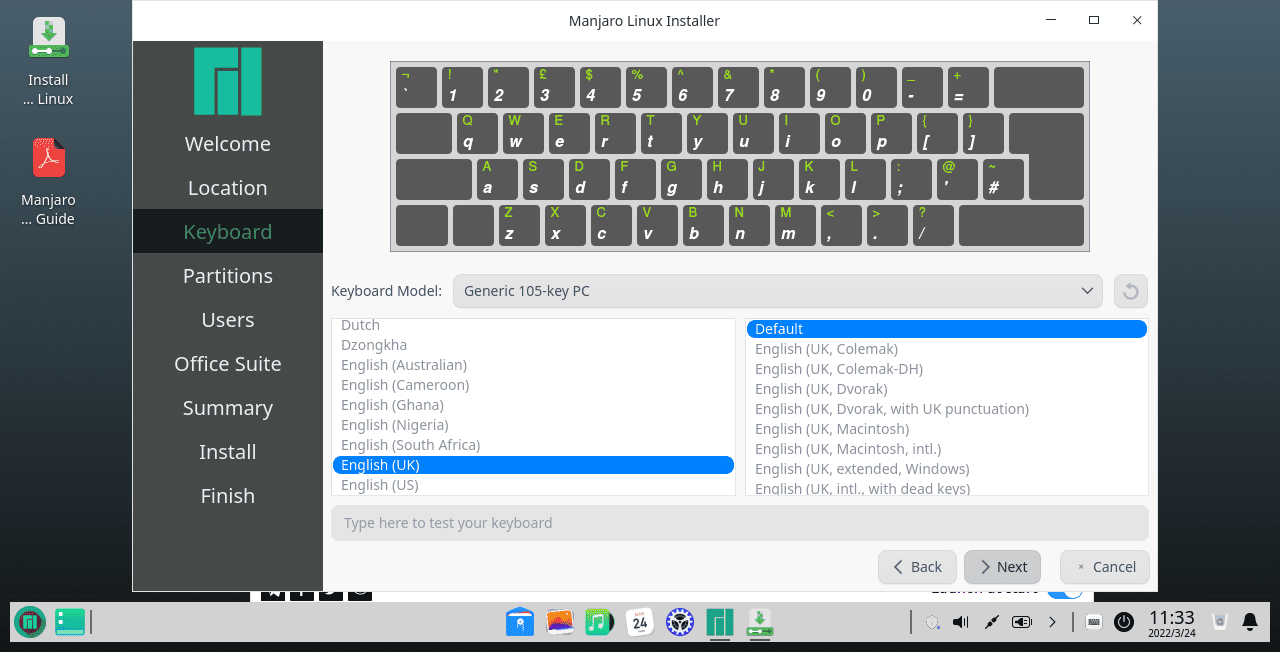
Keyboard select
5. Partition the drive
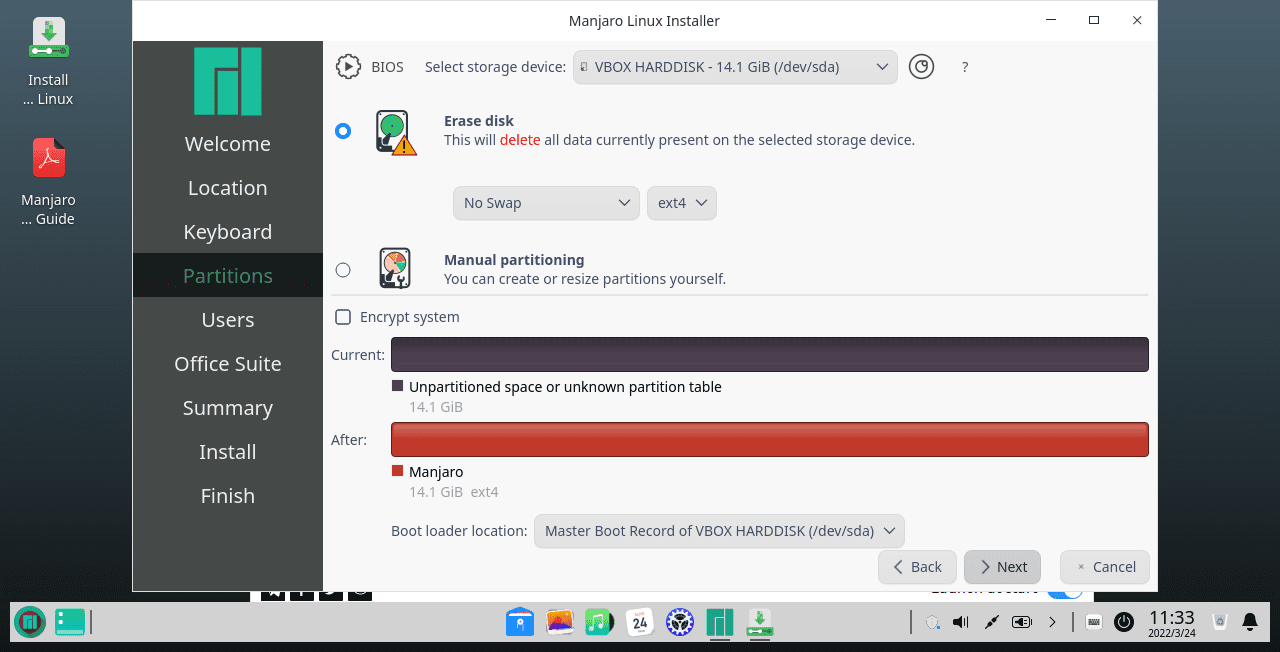
Partition menu
This will allow you to set up one or more partitions of your storage drive. You can leave the setting by default if you want a single drive.
6. Setup user account and password
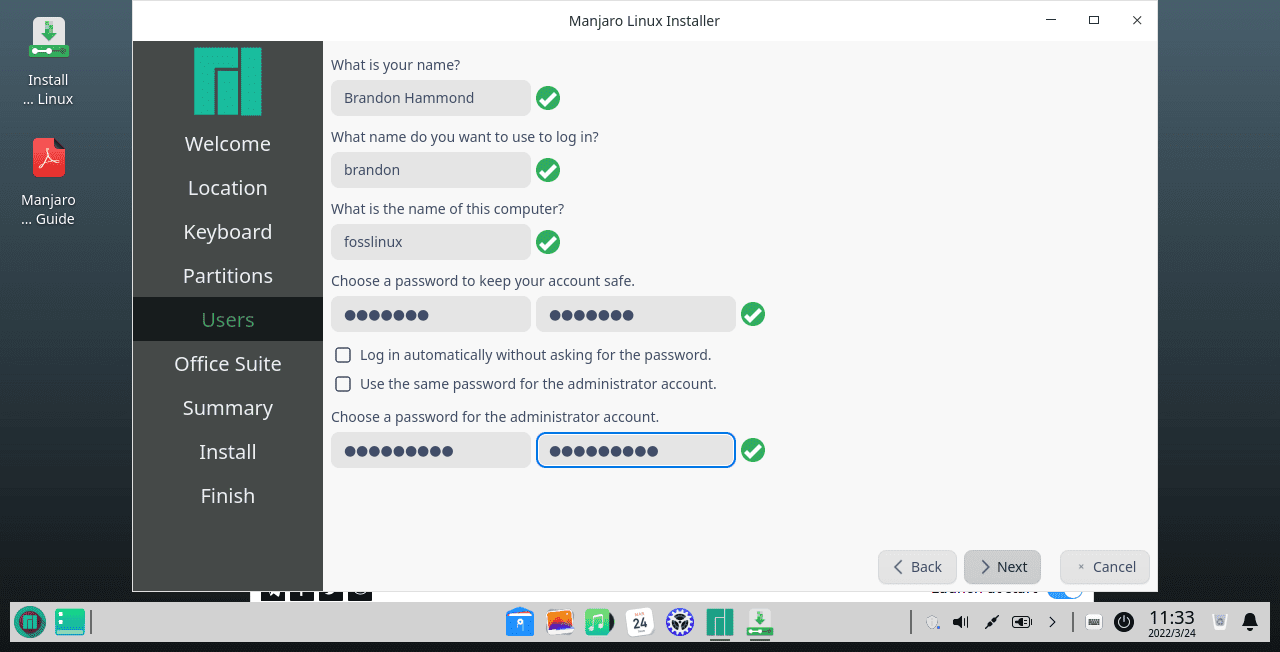
User account and password
7. Choose Office Suite software
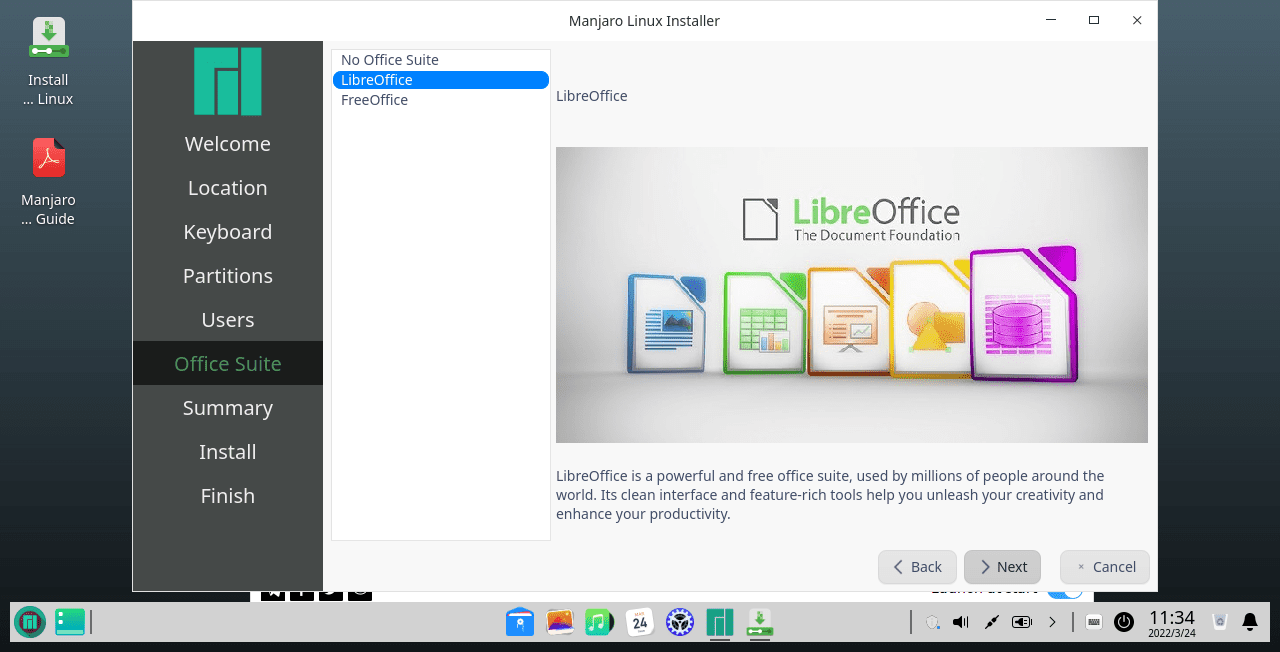
Choose Office suite
We recommend that you go with LibreOffice as it comes loaded with so many features, and if you plan to do any professional work on your system, it will be more than good enough. It is also recommended for new Linux users due to the compatibility and UI similarities with MS Office.
8. Double check the details to make sure everything is in order
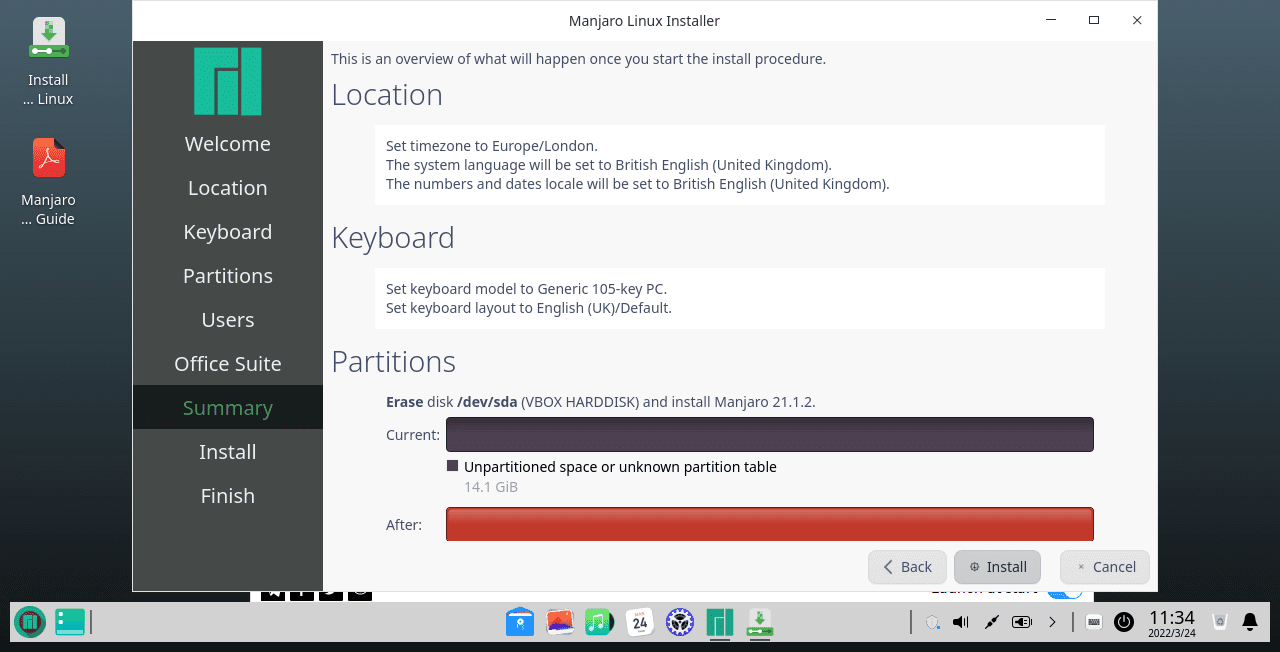
Installation summary
9. Click on Install and let the installation complete
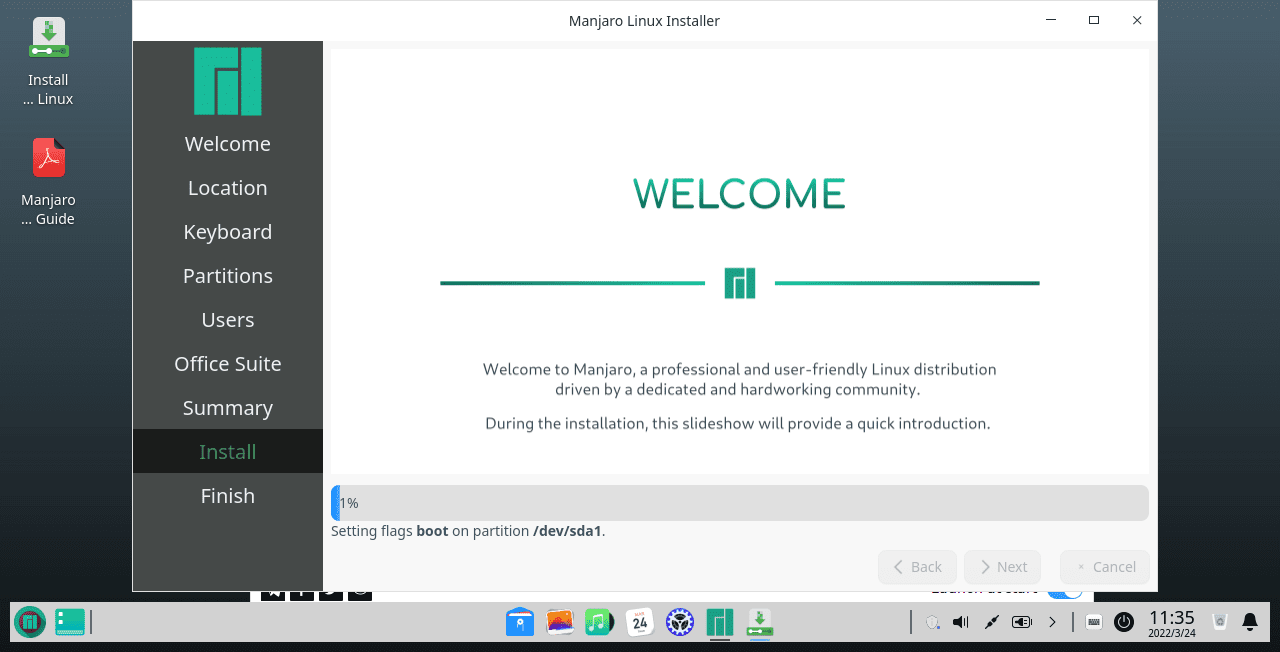
Installation process
The installation will not take long as it is not internet-based, and if you have an SSD as your storage drive, the process will take only a few minutes.
10. Reboot
All you need to do now is reboot and log in to your newly installed Manjaro distro with the Deepin desktop.
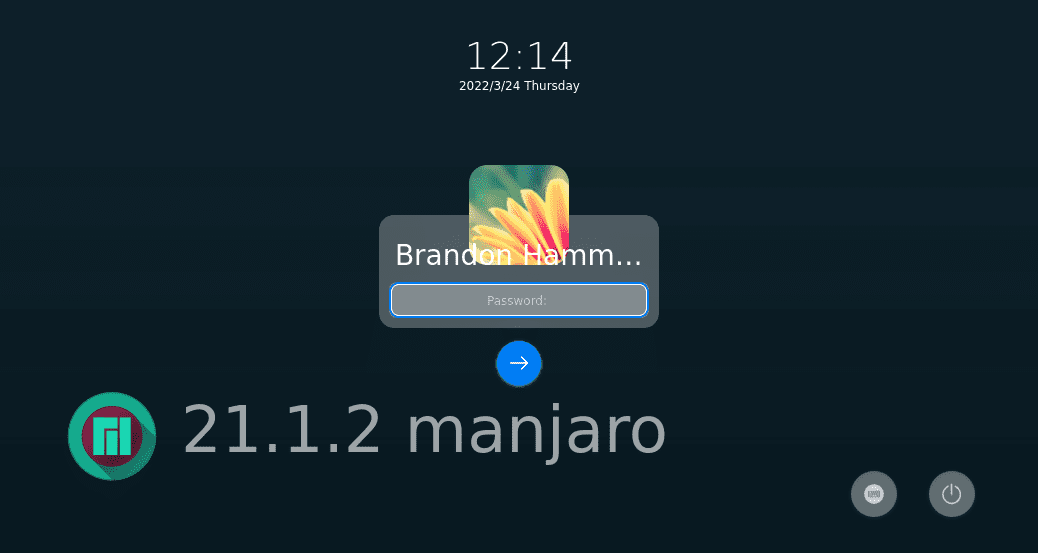
Manjaro Deepin login
Deepin will be selected by default as the desktop option.
11. Login
Enter your password that you set up during the installation and press ENTER.
Manjaro Deepin desktop
Congratulations! Now you can customize it the way you like, and we hope you also like how elegant it looks while being resource-friendly and easy to use.
Final thoughts
We have covered two different methods to experience the Deepin desktop on the Manjaro Linux distro. We hope you also have a great time with the feature-rich desktop environment. In the comments below, let us know if this guide was helpful to you or if you ran into any obstacles during the process. We would love to hear your feedback and help you out if you need it.