
FTP, or the File Transfer Protocol, is the most widely used network protocol for transferring files and data between two systems over a network. FTP does not encrypt traffic by default, which is not a secure option and can result in an assault on a server. VSFTPD, which stands for Very Secure FTP Daemon, is a secure, dependable, and speedy FTP server.
VSFTPD is licensed under GNU GPL and is the default FTP server for most Linux systems. This article will demonstrate how to install and configure the FTP server on the Linux Mint operating system.
How does an FTP server function?
The FTP server permits file transfer between the client and the server. You can either upload or download files from a server. A client establishes two connections with the server: one for command transmission and one for data transfer. The client transmits the command to the FTP server on port 21, the FTP command port. For data transport, a data port is utilized. There are two types of data transfer connection modes:
- Active mode: In Active mode, the client creates a port and waits for the server to connect. This enables it to transfer data. The server connects to the client for data transfer via port 20. Active mode is not enabled by default in most FTP clients since most firewalls, such as our FTP server, prohibit connections established from the outside. To utilize this feature, you must configure your firewall.
- Passive mode: When a client requests a file, the server opens a random port and instructs the client to connect to it. In this scenario, the client initiates the connection, resolving the firewall difficulties. The majority of FTP clients operate in passive mode by default.
Installing FTP Server on Linux Mint
First, SSH into your Linux virtual machine using a user with sudo privileges, and then follow the procedures below:
Step 1: Install the FTP server
There are numerous FTP servers available, such as ProFTPD and vsftpd. We will be utilizing vsftpd.
vsftpd FTP server features
vsftpd offers numerous features that make it an excellent FTP server. It:
- Supports virtual IP configuration
- Supports SSL/TLS compatibility
- Facilitates IPv6
- With the chroot capability, a system can confine users to their home directory. This will be established later in the article.
- It can restrict bandwidth.
- Supports virtual users
Follow the steps provided below to install VSFTPD Server
We will begin by installing VSFTPD on our system. To do so, launch the Terminal in Mint OS by pressing Ctrl+Alt+T on the keyboard. Then, in the terminal, enter the following command to update the system repo index:
sudo apt update
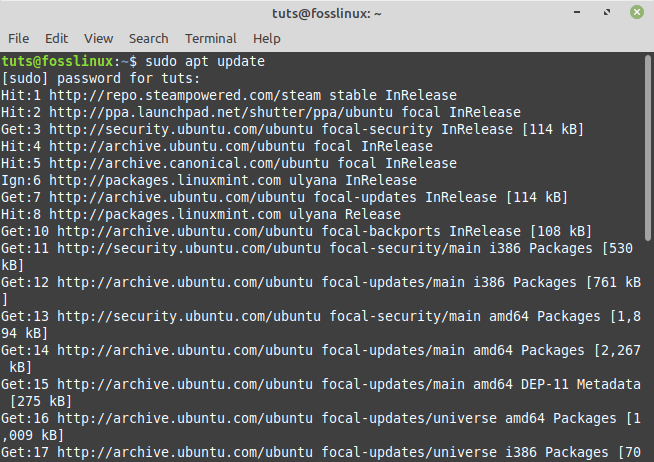
Update resources
Now enter the command below to install vsftpd:
sudo apt install vsftpd
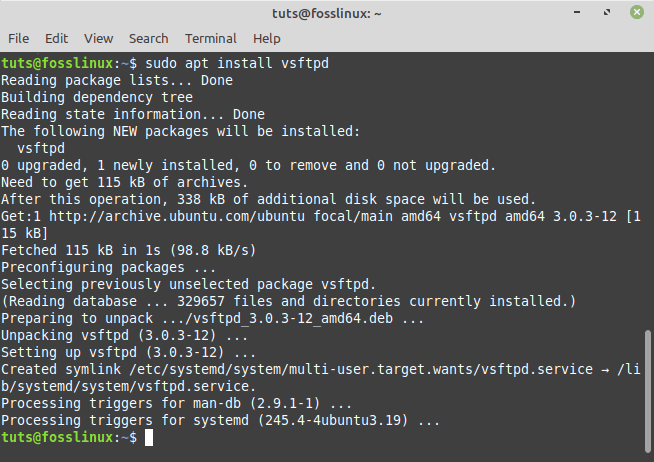
Install vsftpd
Once the installation is done, execute the following line of code to check if the vsftpd service is active:
sudo systemctl status vsftpd
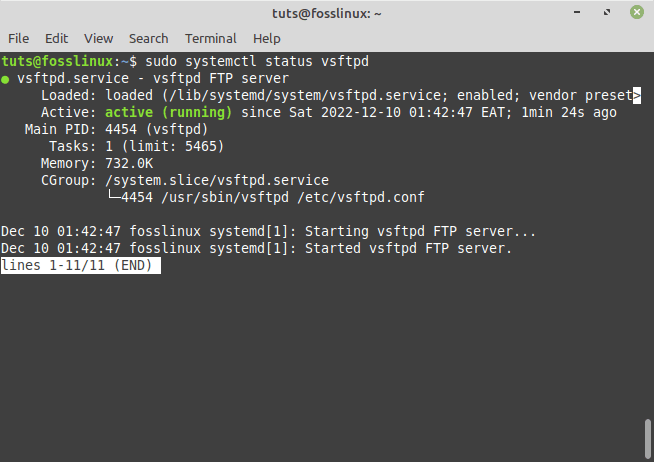
Check server status
Under the Active category, you can see that vfstpd is active (running). The systemctl command is used to manage and inspect Linux services. This command can also be used to enable and disable Linux services. If vsftpd is not running, then enter the following line of code in your terminal:
sudo systemctl enable --now vsftpd
Note: The –now parameter assures that the enable command has immediate and not post-reboot effects on our service.
Step 2: Configure your firewall
FTP employs port 20 for active mode, port 21 for commands, and multiple ports for passive mode. We must allow these ports through our firewall. You can skip this step if you do not utilize a firewall. Most Linux systems use ufw to manage firewalls. Still, some cloud service providers, such as Microsoft Azure, have firewalls outside the Virtual machine, which must be configured through their portal. Open a range of ports for passive FTP connections and ports 20 and 21 for TCP connections. The passive ports range depends on the anticipated number of concurrent user clients.
Additionally, a single client can transfer multiple or large files using multiple ports. We will see how to specify our FTP server to use these ports later in this tutorial. Ports 1 through to ports 1024 are reserved, so our passive FTP port range must be greater than 1024. I’ll open ports between 5000 and 10000. Additionally, we will open port 990 for TLS, which will be configured later. Let’s accomplish this for ufw. Key in the following lines of code on your terminal:
sudo ufw allow 20/tcp

sudo ufw allow 21/tcp

sudo ufw allow 990/tcp

sudo ufw allow 5000:10000/tcp
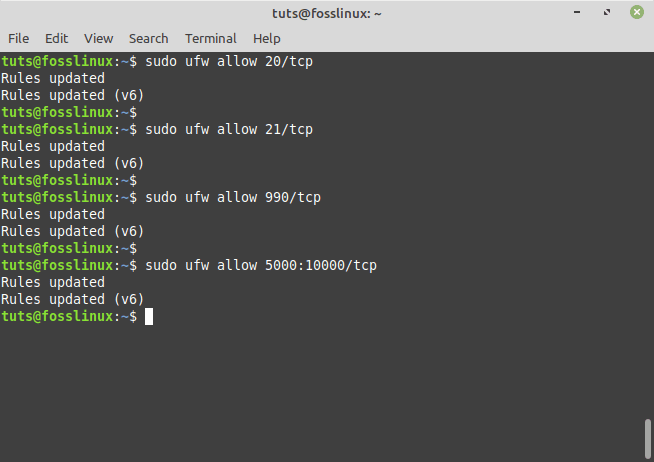
Configure firewall
Step 3: Configure Users
The two most typical uses for FTP servers are:
- You wish to host a public FTP server to which many public users will connect to obtain files.
- You wish to upload files to your Linux server for personal use with no public users present.
In the first scenario, you would need to establish an additional user and provide your clients with the username and password to access the files. Otherwise, the second example is identical to the first.
The public user should only be allowed to see and download files from a certain directory, but the administrator should be able to upload files to any folder on the machine. To accomplish this, you should have a fundamental understanding of user permissions. The root user can write files to any folder on the server. Other users have access to all folders under their home directory, which is /home/username but cannot write to most other directories.
Suppose you wish to upload files to directories other than your admin user’s home directory, such as /var/www. In that case, you must change the directory’s owner to your admin user using the chown command or modify the directory’s modification rights using the chmod command.
Create a public user account to get started. To do so, execute the following line of code:
sudo adduser fosslinux
Enter your password, blank the other fields, and press Y to save your changes.

Create public user
Now, we shall disable ssh permission for this user for security purposes. Key in the following command:
sudo nano /etc/ssh/sshd_config
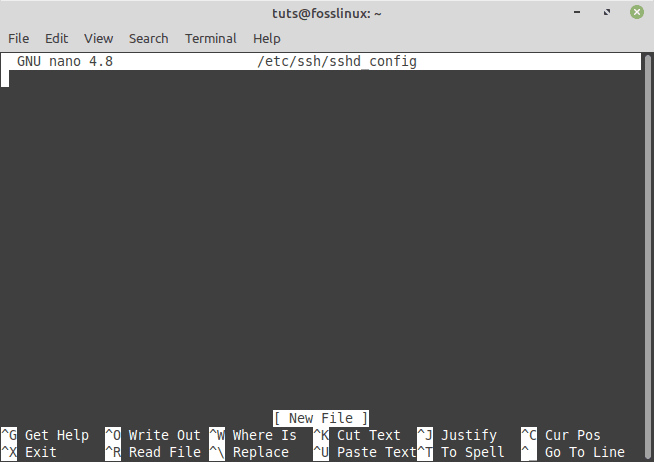
Open config file
Add the line below to this file:
DenyUsers fosslinux
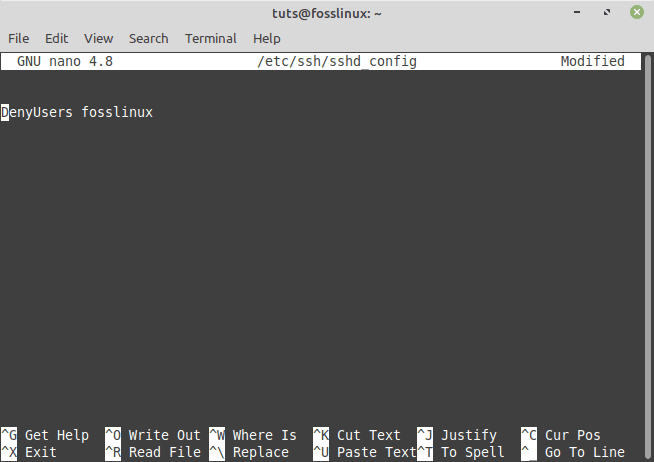
Deny users
Enter Ctrl+x, then y, followed by enter. Restart the SSH service for these modifications to take effect.
sudo systemctl restart ssh
Step 4: Create the FTP folder and configure its permissions
We will construct an FTP directory. Key in the following command:
sudo mkdir /ftp
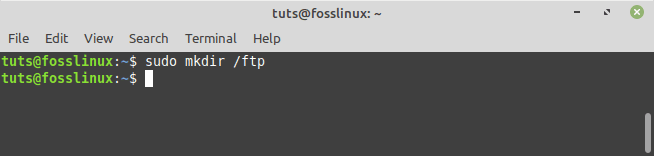
Create FTP directory
We will now change the owner of this directory to our admin account. Key in
sudo chown fosslinux /ftp
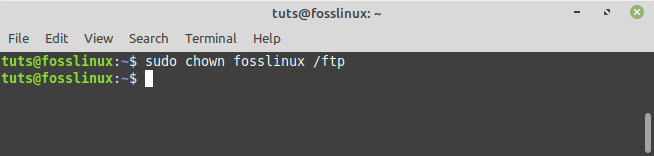
Change directory owner
If you wish to upload files to a folder not owned by your admin account, you must use the preceding command to change the folder’s owner.
Step 5: Configure and safeguard vsftpd
Open the configuration file for vsftpd. To do so, execute the following command:
sudo nano /etc/vsftpd.conf

Open vsftpd config file
Ensure that the following lines are not commented
anonymous_enable=NO

local_enable=YES

write_enable=YES
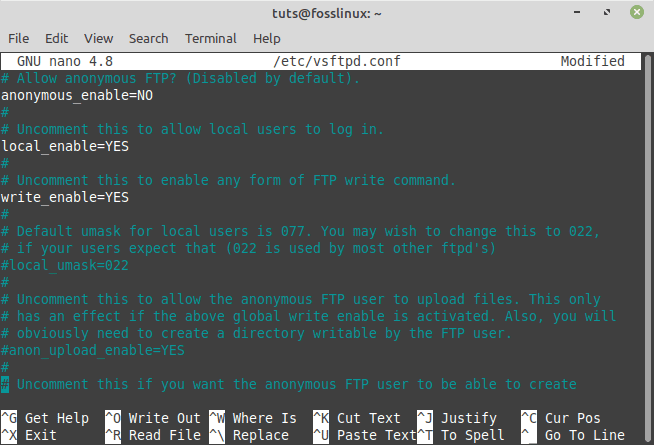
Uncomment lines
In addition, we opened ports 5000 to 10000 for passive mode in step 2. Therefore we must now inform vsftpd which ports to utilize for passive FTP connections. Add the lines below to the vsftpd.conf file
pasv_min_port=5000

pasv_max_port=10000
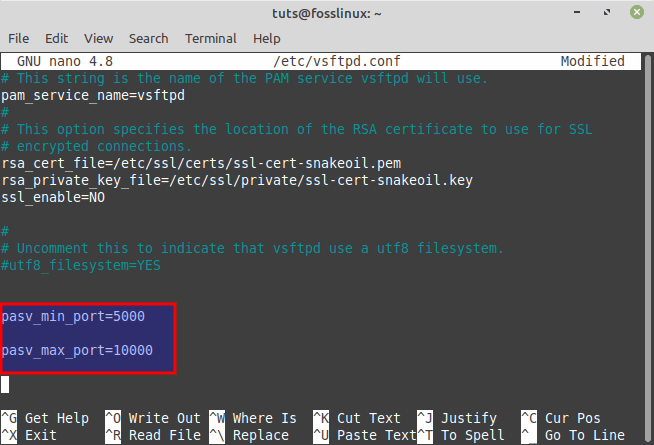
Append the following ports
Now, we will define the default directory for FTP connections that will be opened whenever a client connects to our FTP server. To do so, add the subsequent line:
local_root=/ftp
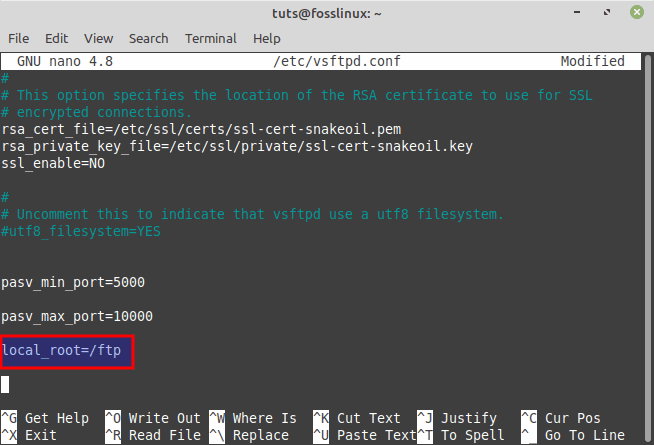
Add default directory
Note: Remember that there should be no space before or after = in this configuration file.
How to lock a user to the home directory
For security purposes, we will restrict the fosslinux user to the default directory, as a user can normally browse the entire Linux server by default. To accomplish this, vsftpd employs chroot. Uncomment the following lines to proceed.
chroot_local_user=YES

chroot_list_enable=YES

chroot_list_file=/etc/vsftpd.chroot_list
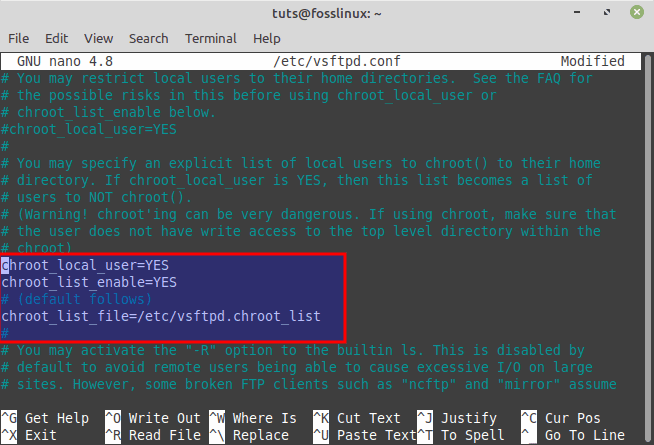
Uncomment the following lines
Additionally, add the following line to the configuration file, as it is not present by default.
allow_writeable_chroot=YES

Append the following command
The first line enables the chroot feature for local users, including our admin and fosslinux users. The second and third lines allow us to select which users to chroot.
How to set file permission
local_umask=0002
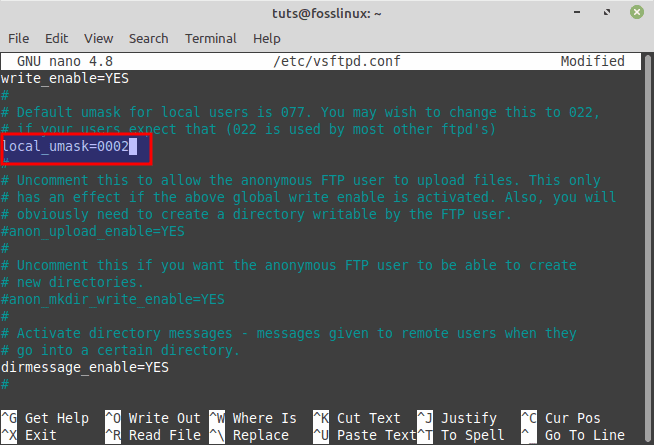
Set file permission
This line will adjust the modification permission of every newly created file and folder to 664(-rw-rw-r-) and 775, respectively (rwxrwxr-x). This means that the fosslinux user can only read and download files from every subdirectory of our FTP directory but cannot upload anything because it is not the directory’s owner.
Enter Ctrl+x, then y, followed by enter. Currently, we must create this list file by executing the following line of code:
sudo touch /etc/vsftpd.chroot_list

sudo nano /etc/vsftpd.chroot_list
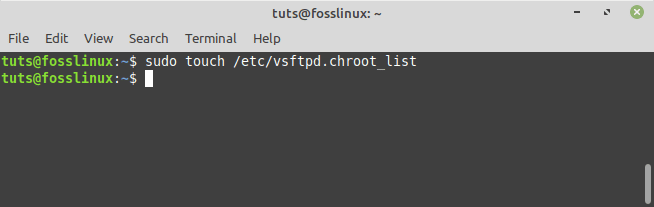
Create a list file
Regardless of the users, you select in this file; they will not be chroot’d. Therefore, put your administrative username in this file, as we do not like to lock it.
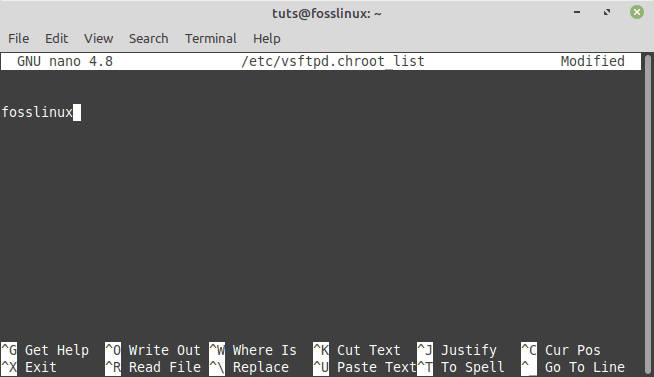
Save your user on the list file
Enter Ctrl+x, then y, followed by enter. We must restart our vsftpd server for these changes to take effect immediately. You may restart the server by executing this line of code:
sudo systemctl restart --now vsftpd
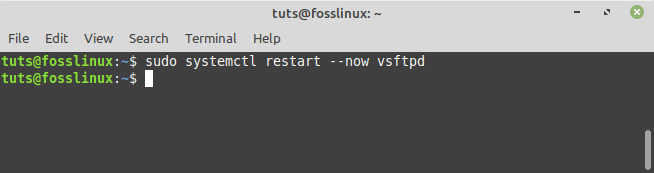
Restart vsftpd server
How to secure vsftpd with TLS/SSL
It is advised to encrypt FTP traffic if it is to be transmitted over the internet. FTPS will be used to encrypt our traffic (file transfer protocol over SSL). First, let’s create a self-signed certificate. Key in the following commands in your terminal:
sudo openssl req -x509 -nodes -days 365 -newkey rsa:2048 -keyout /etc/ssl/private/vsftpd.pem -out /etc/ssl/private/vsftpd.pem
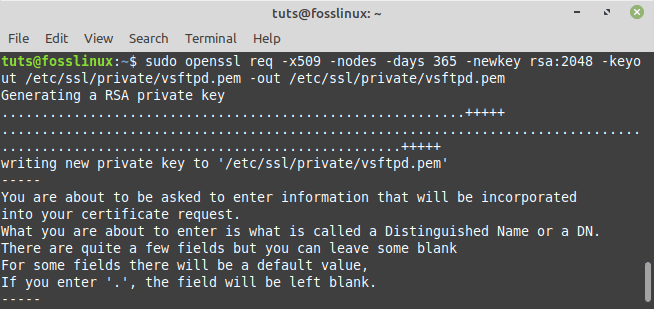
Create a self-signed certificate
Enter the necessary information, and a certificate will be generated. You can also press Enter to establish the default values. Open the vsftpd configuration file at this time. Execute this line of code:
sudo nano /etc/vsftpd.conf
Open vsftpd config file
Navigate to the end of the file and delete the lines shown below.
rsa_cert_file=/etc/ssl/certs/ssl-cert-snakeoil.pem

rsa_private_key_file=/etc/ssl/private/ssl-cert-snakeoil.key

ssl_enable=NO
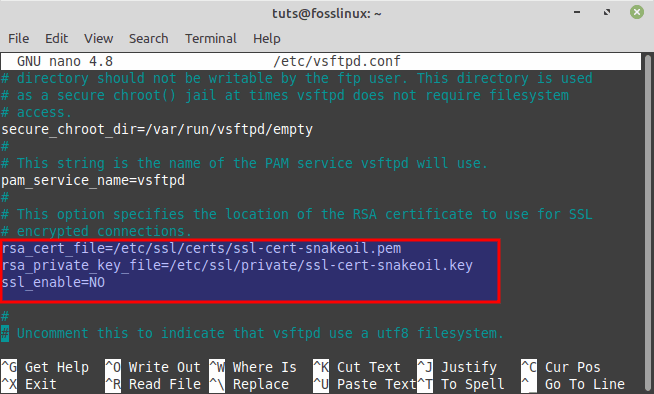
Delete this section
Once you have deleted the lines provided above, append the following lines:
rsa_cert_file=/etc/ssl/private/vsftpd.pem

rsa_private_key_file=/etc/ssl/private/vsftpd.pem

ssl_enable=YES

allow_anon_ssl=NO

force_local_data_ssl=YES

force_local_logins_ssl=YES

ssl_tlsv1=YES

ssl_sslv2=NO

ssl_sslv3=NO

require_ssl_reuse=NO

ssl_ciphers=HIGH

Add this statements
Finally, restart the vsftpd service by using the command
sudo systemctl restart --now vsftpd
Restart vsftpd server
How to connect to our FTP server
You will require an FTP client for this. Again, there are numerous options available. I would suggest using Filezilla. Download, install, then launch it. Enter the IP address of your server in the Host section, along with your username and password, and then click the “Quickconnect” button.
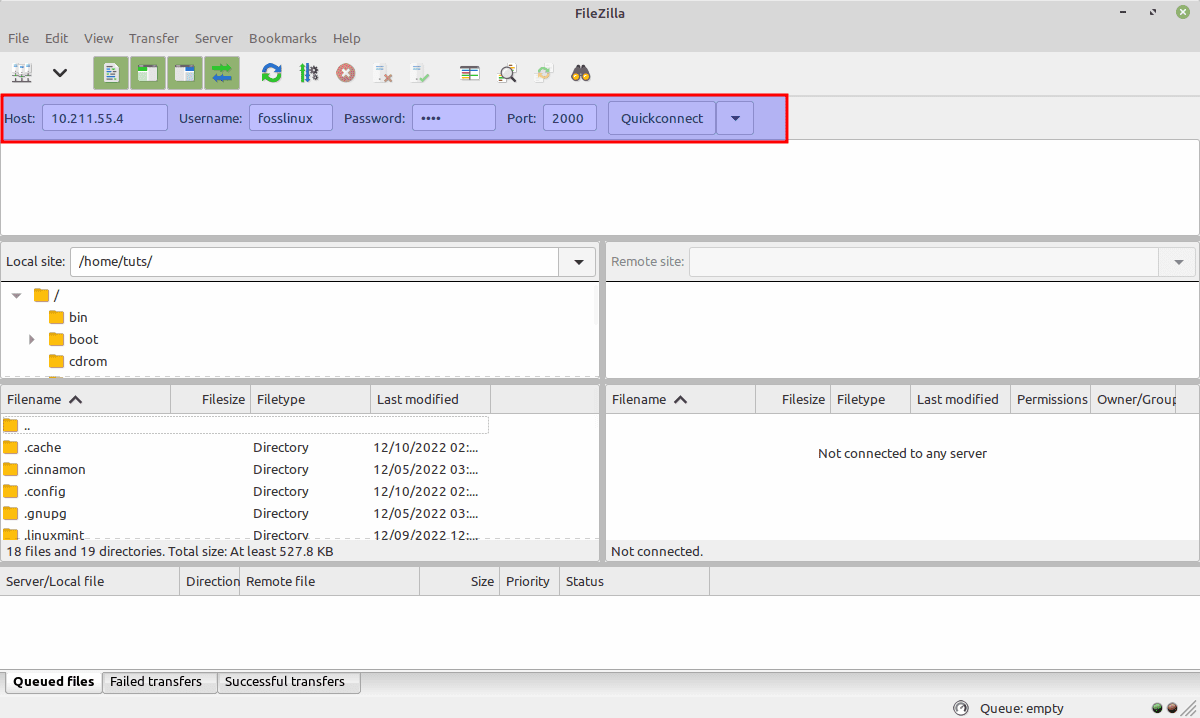
Enter host details and quickconnect
You will see the directories of your PC on the left and the directories of your FTP server on the right. You can download and upload files between the FTP server and your device by dragging and dropping them (client).
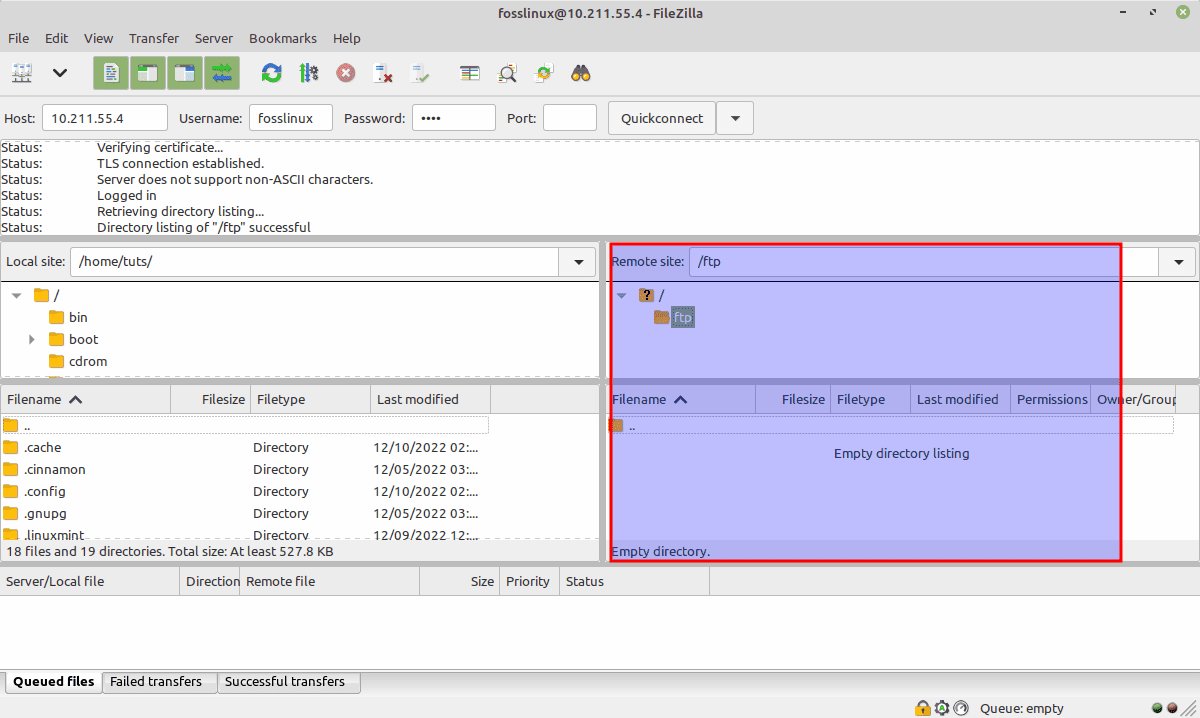
Check remote directories on the right
Conclusion
This comprehensive guide has covered the installation and configuration of the FTP server on Linux Mint. Besides, we covered how to configure the firewall, configure users, create the FTP folder and set permissions, configure and safeguard the vsftpd, set file permission, secure the vsftpd with TLS/SSL, and how to connect the FTP server. I hope this guide helped you quench your thirst concerning the installation and configuration of the FTP server. I hope you find it helpful, and if yes, please let us know via the comments section.
2 comments
This is really great. Really.
Until I got to the end. And it still might be good but I’m just struck by doubt.
We have a lan.
How is a client going to know to access this machine, this server?
we have win10 machines on the lan and linux mint machines.
there is one filezilla ftp server on a win10 machine and
as of now there is one fosslinux server on one of the mint machines…
how’s it going to go when I try it?
I’ve now got this fosslinux ftp server on my linux mint and filezilla ftp client on my win10 machine, both on the same lan. filezilla cannot make a connection. or maybe it can, technically speaking: it says ‘connection denied’. does that mean it had that much of a connection? it must. i suppose. whatever. it can’t make a working ftp connection.
now the filezilla client is new and pretty pristine and works wherever else I point it. and this fosslinux server is new and pristine and just as presented in your instructions thing.
i’ve had gpt helping me out and it didn’t.
any clues on where I could go what i could do to try to solve this?