
Fonts play a crucial role in shaping the look and feel of any digital content, be it an article, presentation, or graphic design project. Although Linux Mint comes pre-installed with a variety of fonts, you may find that none of them fully satisfy your requirements. In such cases, custom fonts provide you with a solution. They enhance the visual appeal and give something a unique touch. Installing and using custom fonts on Linux Mint is not that difficult but requires a bit of technical know-how.
In this article, we will guide you through the process of finding, installing, and using custom fonts on Linux Mint, helping you take your system’s appearance and content creation abilities to the next level. Over the years, Linux Mint has become one of the most popular distributions because of its simplicity and ease of use. Unlike some of its counterparts, it provides an intuitive interface that can be learned quickly to navigate and complete stuff. Here are the 10 must-know features of Linux Mint OS.
Where to find custom fonts?
There are various places where you can find custom fonts for use on Linux Mint. Here are some popular options:
Google Fonts: Google Fonts is a widely used platform for free and open-source fonts that you can use on a Linux Mint system. The website offers a vast collection of fonts that can be browsed by category or language, making it easy to find the perfect font for your needs and requirements. Once you’ve found a font you like, click the download button and install it on the Linux Mint system. We will cover how to do that in a subsequent section.
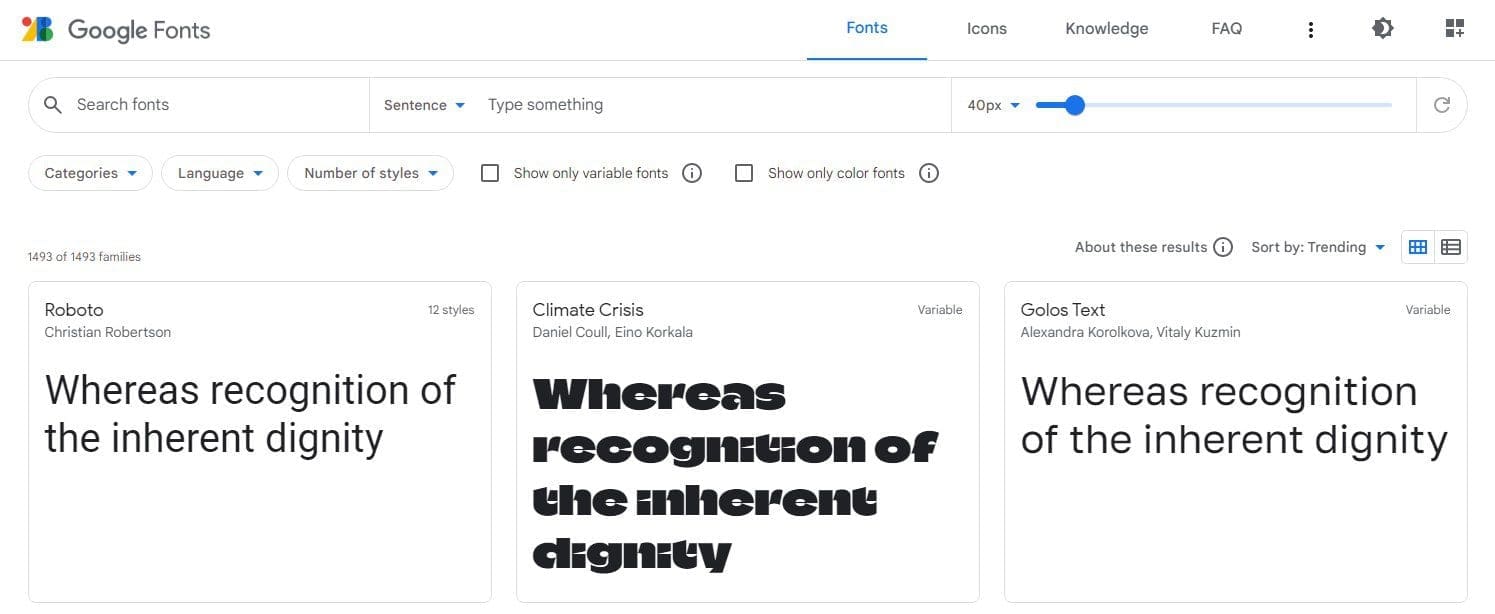
Google Fonts
Font Squirrel: Font Squirrel is another website that offers a vast collection of free and paid fonts that one may use on Linux Mint. The site is well-known for its high-quality fonts that experts handpick. In addition to individual fonts, Font Squirrel offers font packages and bundles that can save you time and effort while searching.
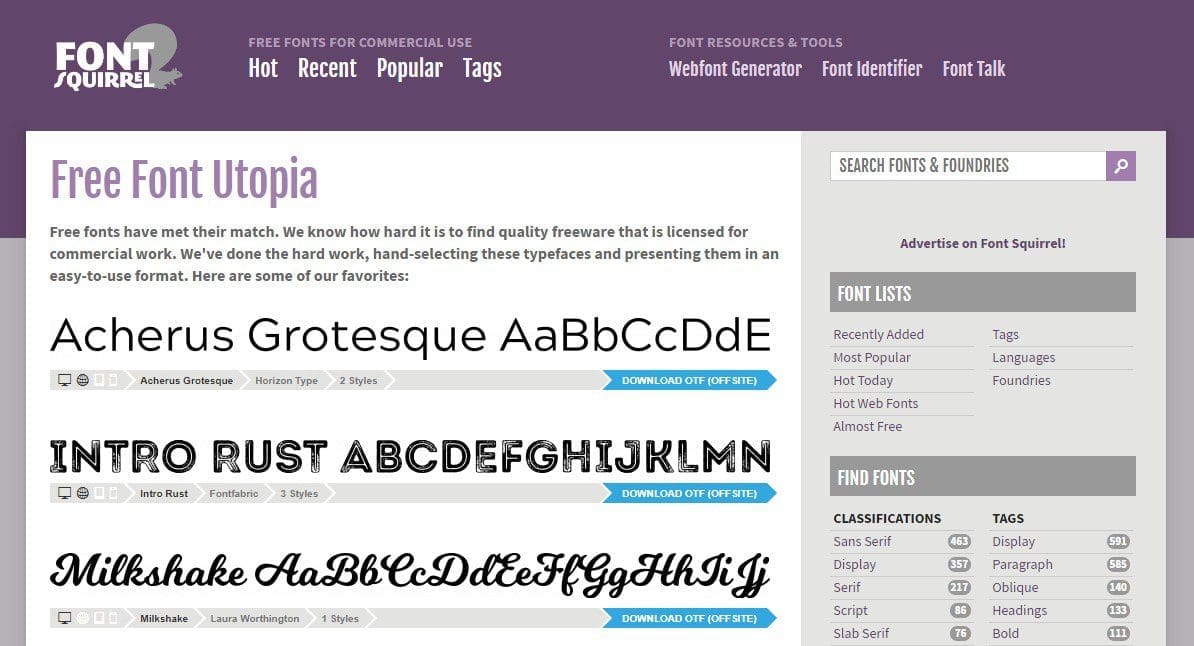
Font Squirrel
DaFont: DaFont is known for its user-friendly interface, allowing you to browse fonts by category, popularity, or date. It also provides a preview of the font before downloading it, allowing you to see how it will look before installing it on your system.
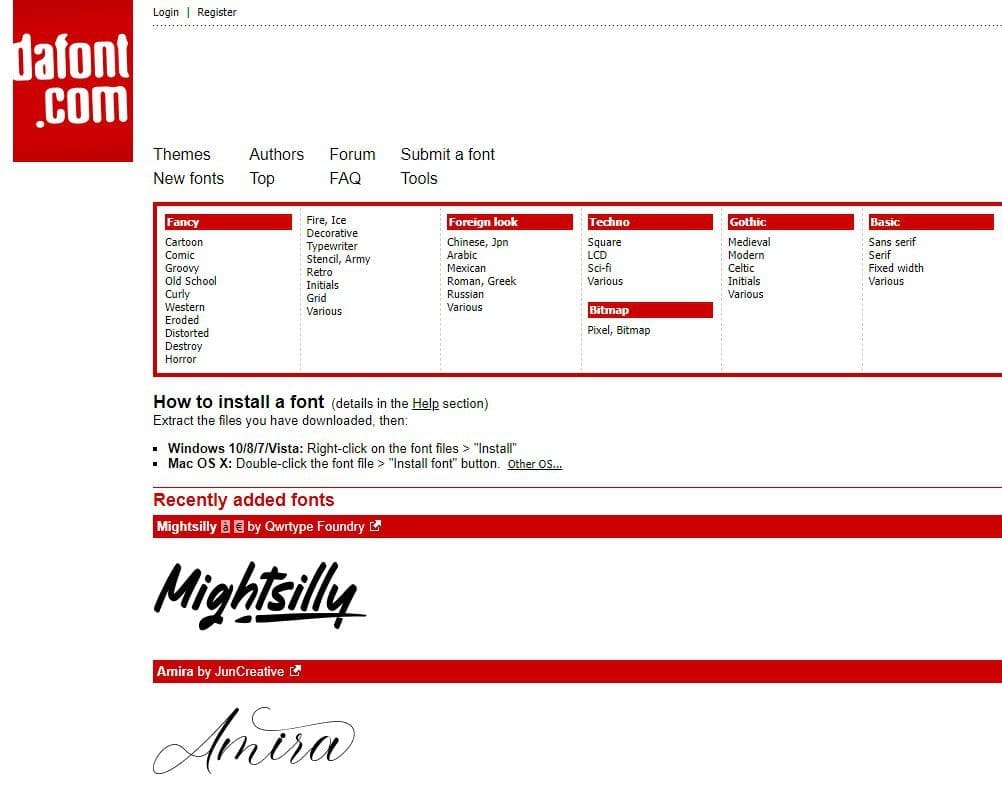
DaFont
FontSpace: FontSpace offers a variety of fonts, including handwriting fonts, calligraphy fonts, and brush fonts, among others. Like some other platforms, FontSpace also provides interactive previews and a detailed rating system to help you choose the best fonts in use these days.

FontSpace
In addition to these websites, there are many other places where you can find custom fonts, including GitHub, Adobe Fonts, and Fontfabric, among others. When downloading fonts from anywhere on the internet, check the license and terms of use to ensure you have permission to employ that font for any commercial purposes.
Different font file formats
Custom fonts come in various file formats, and it’s essential to understand the differences between them. Doing so ensures that the fonts you download are compatible with Linux Mint. Here are some of the most common font file formats:
TrueType Font (.ttf): TrueType is a font file format developed by Apple and Microsoft in the late 1980s. These formats are widely used today and are supported by almost all modern operating systems, including Linux Mint. TTF fonts are typically compact and high-quality, making them a popular choice for custom fonts.

TrueType Font Format
Regarding typography, Microsoft True Type fonts have entirely dominated the market. Although we have more than a thousand fonts available, the extensive use of the Windows operating system has altogether led to the increase in popularity of Microsoft True Type fonts. Learn how to install Microsoft TrueType fonts on Fedora.
OpenType Font (.otf): OpenType is a font file format developed jointly by Adobe and Microsoft in the late 1990s. Like TrueType, OpenType fonts are supported by almost all modern operating systems. OpenType fonts can contain more advanced features than TrueType, such as ligatures, stylistic alternates, and swashes.
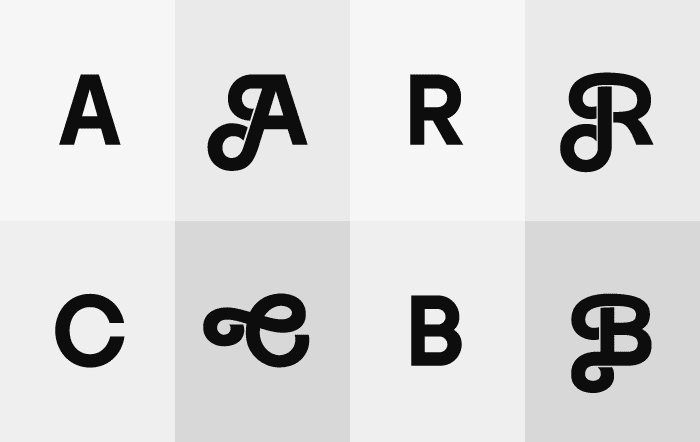
OpenType Font Format
Web Open Font Format (.woff): WOFF is a format designed specifically for use on the web. WOFF fonts are compressed and optimized, making them smaller and faster to load than other formats. Although WOFF fonts are primarily used for web applications, they can also be used on Linux Mint with the help of a web browser.
Web Open Font Format
PostScript Font (.ps): Adobe exclusively developed the PostScript format in the 1980s. This format is still used today but is notably less common than TrueType and OpenType. PostScript fonts are typically larger in file size and can be more challenging to install on a Linux Mint system.

PostScript Font Format
Scalable Vector Graphics (.svg): If you have ever worked in Adobe Illustrator, you would be familiar with scalable vector graphics. SVG is a vector image format that can include text elements, including fonts. SVG fonts are uncommon, but some web browsers and popular applications support them. Most websites offer fonts in various formats, so you should be able to find one that works for your use case quickly.

Scalable Vector Graphics Format
Installing system-wide custom fonts on Linux Mint
Installing custom fonts system-wide on Linux Mint allows all users on the system to access those fonts. To complete an installation like this, you will have to go through the following steps:
Step 1: First, download the font file from a trusted website, ensuring that it is compatible with Linux Mint and that you have the appropriate permissions to use that font.
Step 2: Once you have downloaded the file, move it to the system fonts directory by running the following command in the terminal:
sudo mv /home/desktop/arial.ttf /usr/share/fonts/truetype/
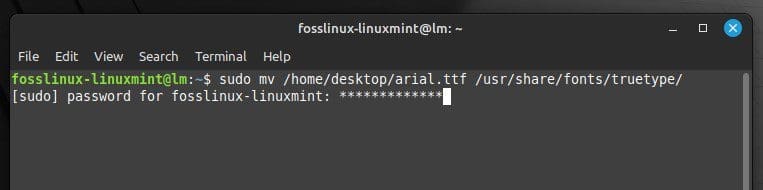
Moving the file to the fonts directory
Replace “/home/desktop/arial.ttf” with the path to the font file and “arial.ttf” with the name of the font file.
Step 3: After moving the font file to the system directory, update the font cache by running the following command in the terminal:
sudo fc-cache -f -v
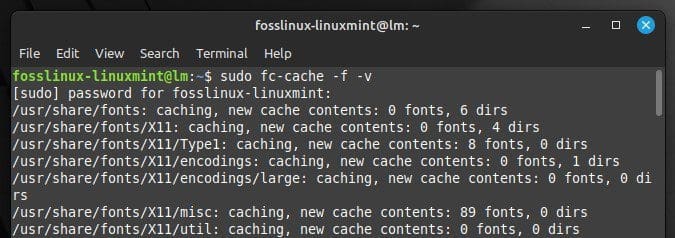
Updating the font cache
This command updates the cache and makes the newly installed font available to all users on the system.
Step 4: To verify that the font has been installed successfully, open a text editor or word processor and check if the font is listed in the selection menu. If it is, the font has been installed, and you can start using it.
Note: System-wide font installation requires administrator privileges, so you must enter your password when prompted. Also, be cautious when installing custom fonts system-wide, as they may conflict with previously installed fonts, leading to unexpected behavior. It’s a good practice to back up the system directory before the installation begins.
Installing custom fonts for individual users
Installing custom fonts for individual users allows each user to have their own set of fonts without affecting others on the system. To complete an installation like this, you will have to go through the following steps:
Step 1: Download the font file from a trusted website, ensuring that it is compatible with Linux Mint and that you have the appropriate permissions to use that font.
Step 2: Next, create a new fonts directory in your home folder by running the following command in the terminal:
mkdir -p ~/.local/share/fonts/truetype/
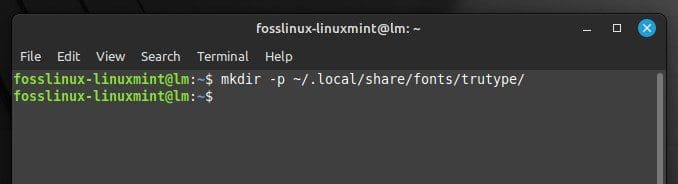
Creating a new fonts directory
This command creates a new ” fonts ” directory in your home folder’s “.local/share” directory.
Step 3: Once you have created the new directory, move the font file to it by running the following command:
mv /path/to/font.ttf ~/.local/share/fonts/truetype/
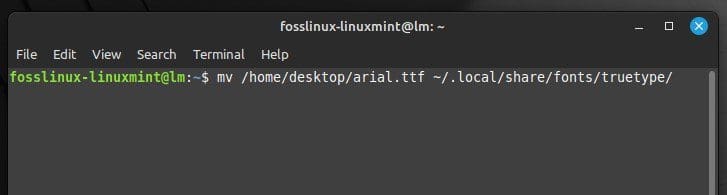
Moving the file to the new directory
Replace “/path/to/font.ttf” with the path to the file and “font.ttf” with the file’s name.
Step 4: After moving the font file to the new directory, update the font cache for the changes to take effect.
fc-cache -f -v ~/.local/share/fonts/truetype/
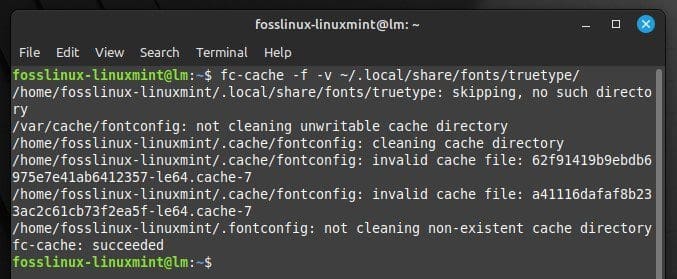
Updating the font cache in Linux Mint
This command updates the font cache and makes the new font available to your user account.
Step 5: To verify that the font has been installed successfully, open a text editor or word processor and check whether it is listed in the selection menu or not. If it is, the font has been installed, and you can start using it.
Installing custom fonts for individual users does not require administrator privileges; each user can have their own set. However, you must still be cautious as they may conflict with previously installed fonts for the same user.
Using custom fonts in applications
Once you have installed a custom font, you can use it in various applications, including text editors, word processors, and graphic design software.
Step 1: Open the application in which you want to use the custom font.
Step 2: Once the application is open, go to the font selection menu, usually in the toolbar. In this menu, you should see the font you installed previously. If not, you may have to repeat the installation process with some other file format.
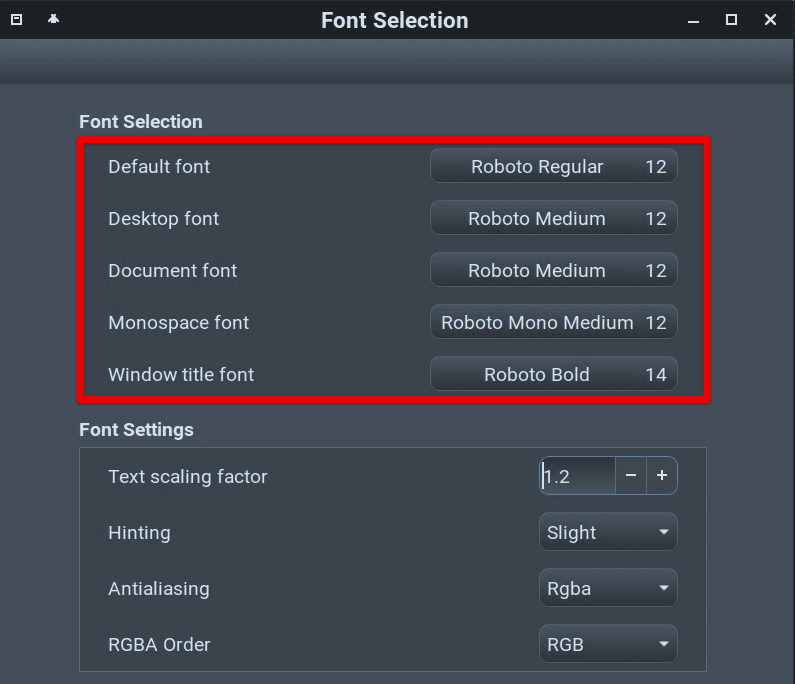
Font selection menu
Step 3: Select the custom font from the list, and the application should apply it to the text you are working on.
Note: Not all applications support custom fonts. Some may have their own menu, while others may require additional configuration. Similarly, many low-end graphic design software may need you to import the font file before using it in a project.
Also, be aware that sharing documents or files that use custom fonts with others who don’t have the same fonts installed may result in the text appearing incorrectly. To avoid this, consider embedding the custom font in the document or converting the text to an image before sharing it with others.
Conclusion
Installing custom fonts on Linux Mint can help you personalize your projects and improve their visual appeal. With the right font, you can make your documents, presentations, and designs stand out and convey your message more effectively. Whether you want to install custom fonts system-wide or for individual users, Mint provides a simple and flexible way to do so. Following the steps outlined in this article, you can install custom fonts and use them in various applications, including text editors, word processors, and design applications.
Remember to choose fonts that are compatible with Linux Mint and that you have the appropriate permissions to use. Also, be aware of potential conflicts with other fonts on the system and back up the system fonts directory before installation. If you are a Discord user catching up with friends or connecting with fellow gamers, you spend countless hours looking at the client daily. In such instances, it is highly reasonable that you would want to customize every little aspect of its interactive interface, including the fonts. Go through our article on how to write different fonts in Discord.
2 comments
Excellent article. Thank you.
This page is *very* difficult to navigate using the keyboard (arrows, etc). All sorts of unpredictable leaping around.
Amd the font you chose for this comment box is microscopic.
thanks that helped me