
Pop!_OS is a Linux-based operating system developed by computer manufacturer System76. It is designed to be easy to use and offers a variety of features and tools for casual and power users. If you’re interested in trying Pop!_OS but don’t want to install it on your physical machine, using it on a virtual machine is a great option.
In this article, we’ll guide you through the process of installing and using Pop!_OS on a virtual machine, step by step. This will cover everything from setting up the virtual machine and configuring the system after installation. By the end, you’ll be ready to explore all features and capabilities of Pop!_OS in a virtualized environment. Over the years, the Linux community has created several virtualization tools, such as QEMU, KVM, or Libvert, which augment the development of open-source programs. Here are the top 8 open-source virtualization software for Linux.
How to install Pop!_OS in a Virtual Machine
Prerequisites
Before we begin, there are a few things you’ll need to have in place to install and use Pop!_OS on a virtual machine. Following are the hardware and software requirements.
Hardware requirements:
- A computer with at least 4GB of RAM (8GB recommended) and a dual-core processor or higher.
- At least 20GB of available storage space.
Software requirements:
- Virtualization software such as VirtualBox, VMWare, or Hyper-V. For this article, we’ll be using VirtualBox.
- Pop!_OS ISO image. You can download it from the official System76 website.
Installing VirtualBox: To install VirtualBox on your computer, go to the VirtualBox website and download the appropriate version of VirtualBox for your operating system.
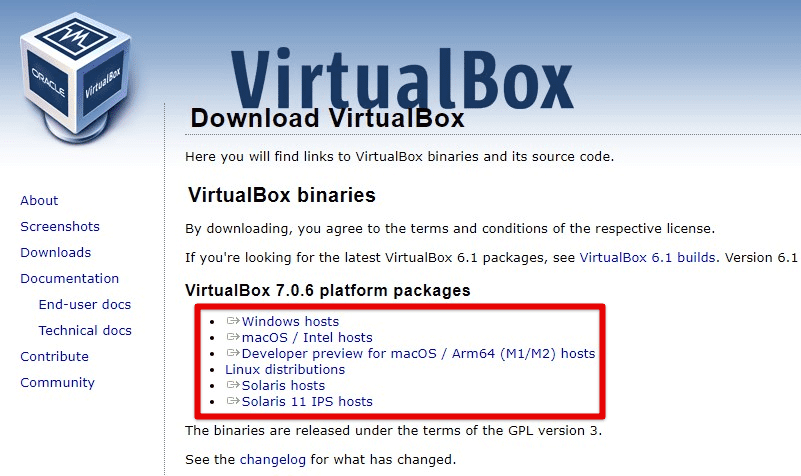
Downloading VirtualBox
Double-click on the downloaded file to start the installation process. Follow the on-screen prompts to install VirtualBox on your computer.
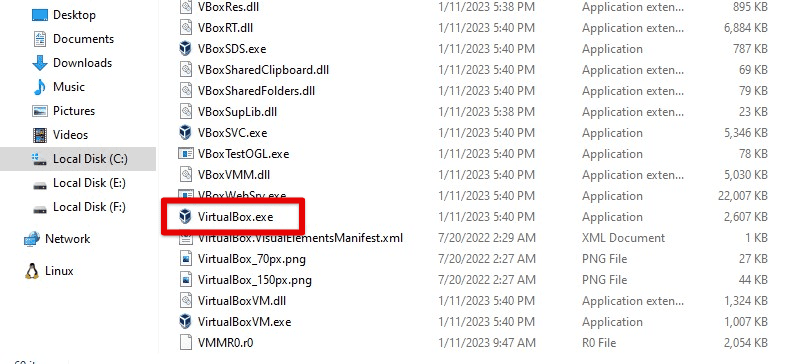
Installing VirtualBox
Once VirtualBox has been installed, you can create a new virtual machine and install Pop!_OS on it. That’s it! With VirtualBox installed and the Pop!_OS ISO image downloaded, you’re ready to create a new virtual machine and install Pop!_OS.
Downloading Pop!_OS ISO image
To download the Pop!_OS ISO image from the official System76 website, open your web browser and go to the Pop!_OS download page. Choose the version of Pop!_OS you want to download. You can choose between the LTS version or the latest version at that time.
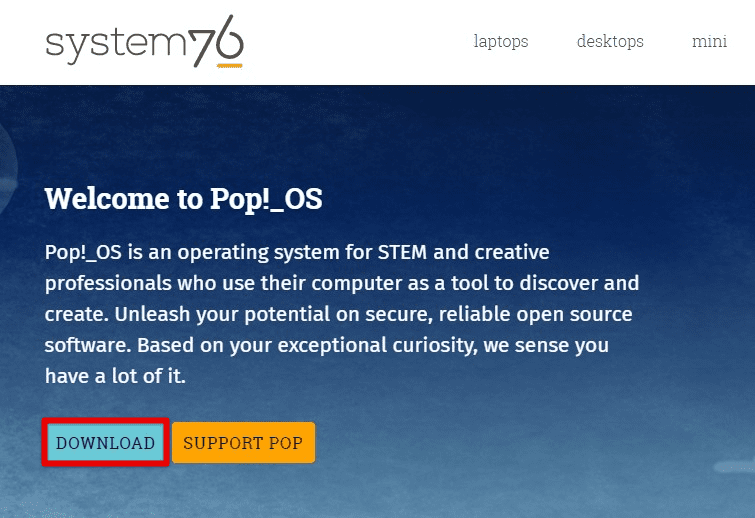
Downloading Pop!_OS
Select the appropriate download option for your system. Choose appropriately between the 64-bit or 32-bit version of the ISO image, depending on your host system.
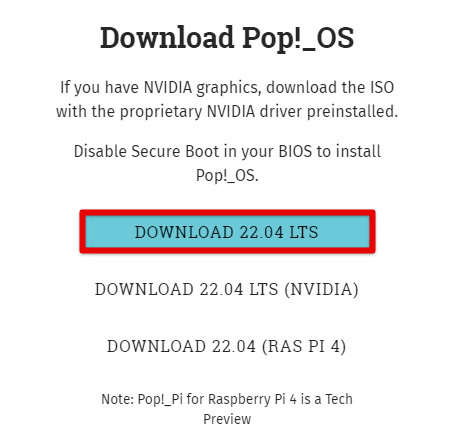
Selecting the appropriate downloading option
Once you’ve selected the version and download options, click the “Download” button to start the process. The Pop!_OS ISO image will start downloading to your computer. The actual download time will depend on your internet speed and the size of the ISO image. After the download finishes, you’re ready to create a new virtual machine and install Pop!_OS.
Note: The Pop!_OS ISO image is a large file, so downloading may take some time. Be sure to check the integrity of the downloaded ISO image using its checksum before creating a virtual machine.
Creating a virtual machine
Now that you have downloaded the Pop!_OS ISO image and installed VirtualBox on your computer, it’s time to create a new virtual machine to install Pop!_OS on. Open VirtualBox on your computer.
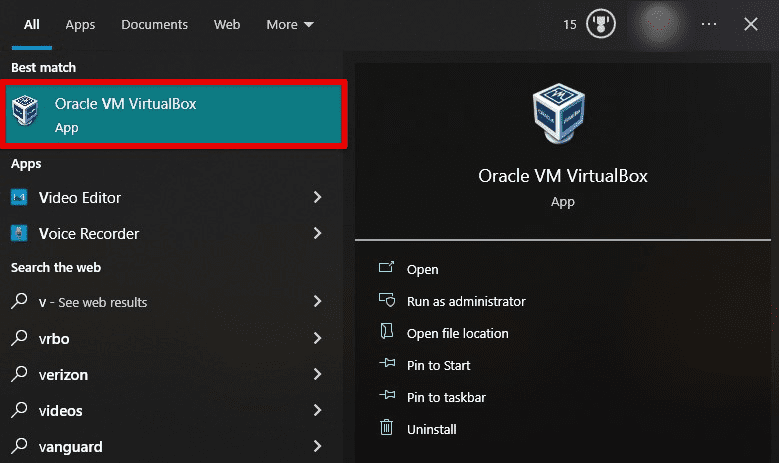
Opening VirtualBox
Click on the “New” button in the top left corner of the window to start the new virtual machine wizard.
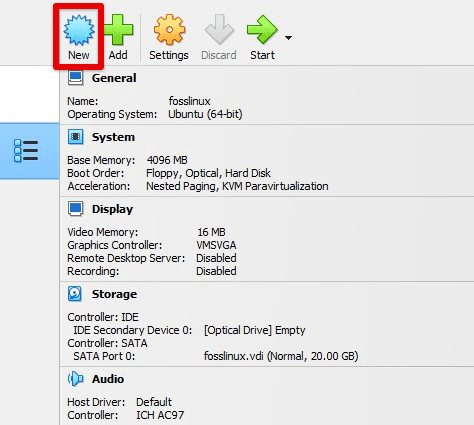
Starting a new virtual machine wizard
In the “Name and operating system” screen, enter a name for your virtual machine (e.g., “Pop!_OS VM”) and select “Linux” as the type of operating system. For the version, select “Ubuntu (64-bit)” as Pop!_OS is based on Ubuntu.
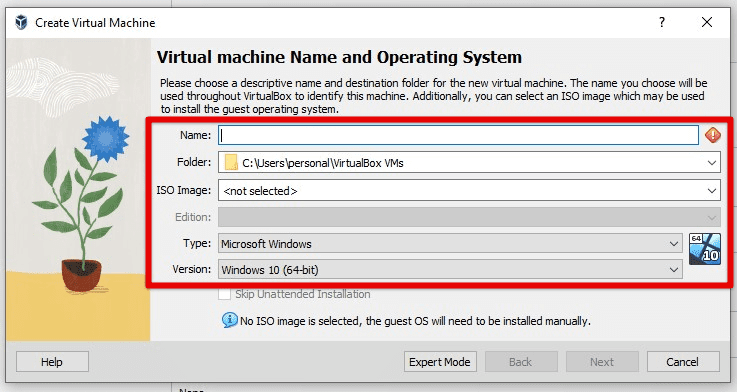
Virtual machine name and operating system
Set the amount of memory (RAM) you want to allocate to the virtual machine. The recommended amount is 4GB, but you can allocate more if your computer has sufficient memory.
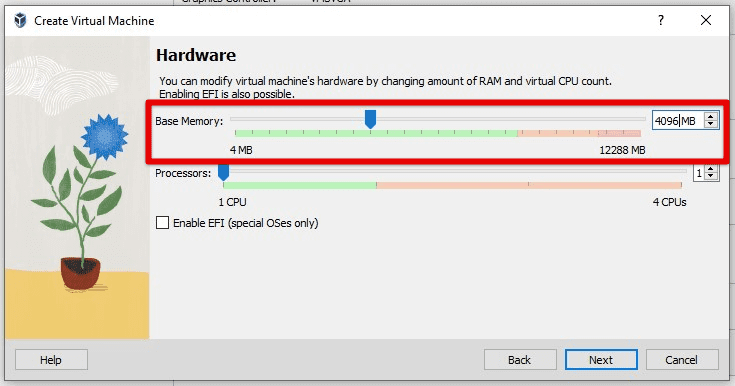
Allocating RAM
In the “Hard disk” section, select “Create a virtual hard disk now” and click on “Create”. In the “Hard disk file type” section, choose “VDI (VirtualBox Disk Image)” and click on “Next” to proceed.
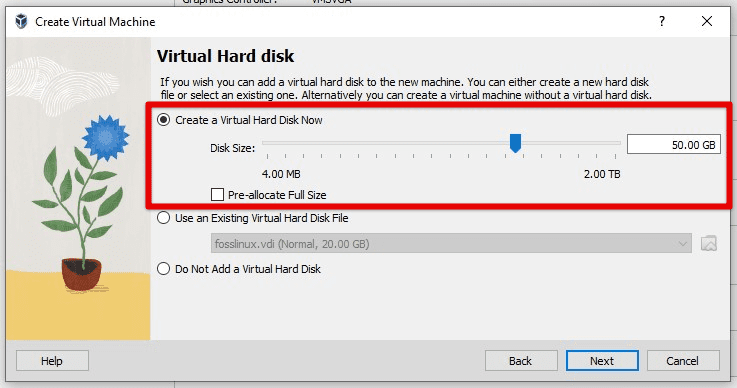
Creating a virtual hard disk
On the “Storage on physical hard disk” prompt, select “Dynamically allocated” and click on “Next”. Choose a location to save the virtual hard disk and set the size to at least 20GB. Click on “Create” to proceed.
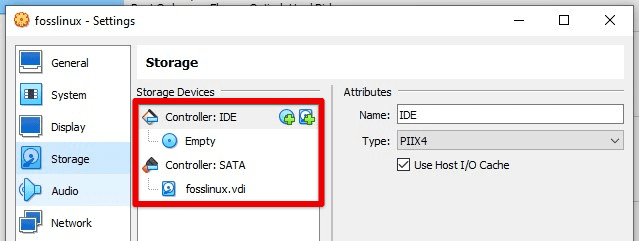
Once the virtual machine has been created, select it in the VirtualBox Manager and click “Settings”. In the “Settings” window, select “Storage” and click on the “Empty” CD/DVD drive under “Controller: IDE”.
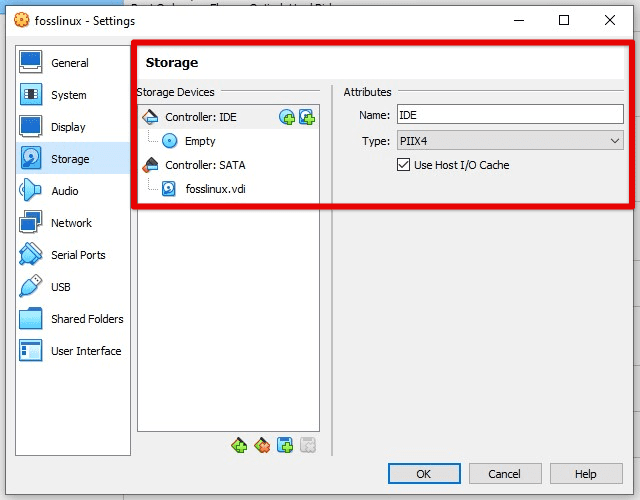
Storage settings for virtual machine
Click on the “Add” icon to the right of “Attributes” and select “Choose Virtual Optical Disk File”. Next, please navigate to the directory where you downloaded the Pop!_OS ISO image and select it. Press “OK” to close the settings window.
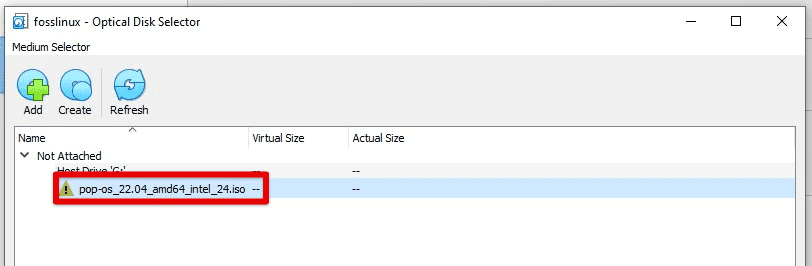
Choosing a virtual optical disk
That’s it! You have now created a virtual machine and attached the Pop!_OS ISO image to it. You’re now ready to start the virtual machine and begin the installation process.
Configuring the virtual machine settings
Before you start the virtual machine and install Pop!_OS, a few settings might as well be configured to ensure optimal performance.
Memory: Allocate at least 4GB of memory to your virtual machine. This will ensure your system runs smoothly without lag or performance issues. However, if your computer has sufficient memory, you can allocate more memory to the virtual machine.
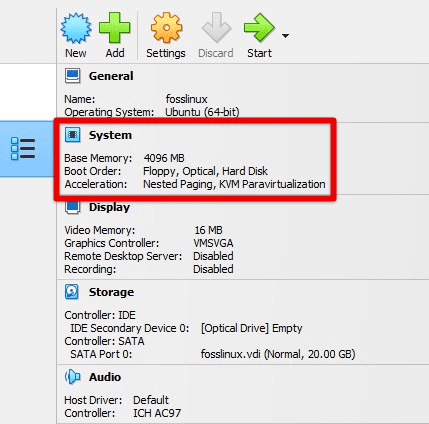
Base memory for virtual machine
CPU Cores: Assign at least 2 CPU cores to your virtual machine. This will ensure the device can handle multiple tasks simultaneously without any performance issues.
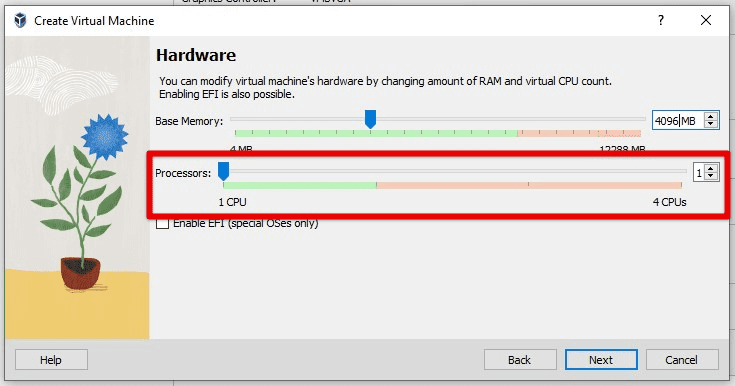
CPU cores
Storage space: As described earlier, providing at least 20GB of storage space to the virtual machine is recommended. This is enough space to install Pop!_OS and any additional software that might be required in the foreseeable future.
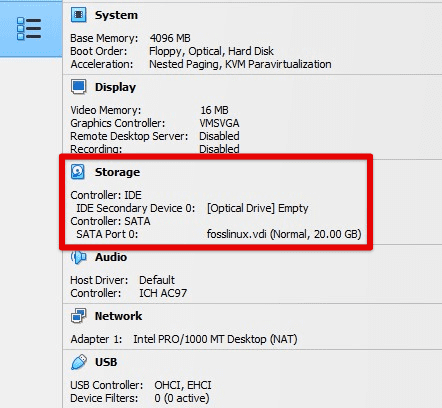
Storage space for the virtual machine
Video Memory: Allocate 128MB of video memory to the virtual machine. This ensures a smooth graphical interface when using Pop!_OS.
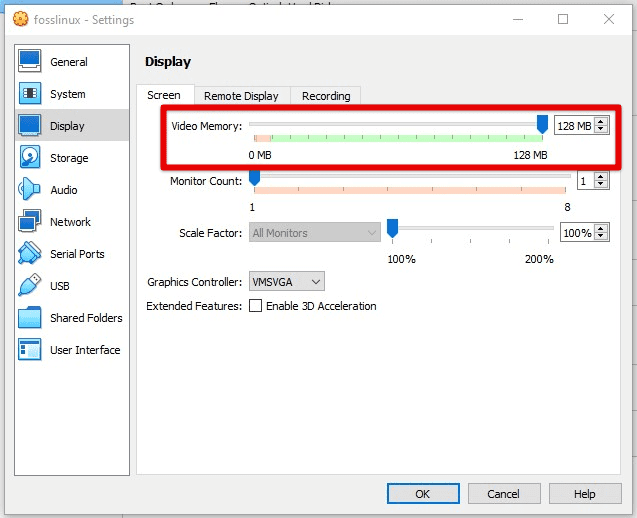
Video memory
To configure all of these settings, start VirtualBox and select your Pop!_OS virtual machine. Next, click the “Settings” button in the VirtualBox Manager window.
In the “Settings” window, select the “System” tab. Then, you can access all the settings mentioned above under the motherboard, processor, display, and storage tabs. Once all of these settings have been configured, start the virtual machine and proceed with the installation.
Installing Pop!_OS on the virtual machine
Now that you have created and configured the virtual machine, it’s time to install Pop!_OS. First, select your Pop!_OS virtual machine and click the “Start” button in the VirtualBox Manager window.
In the virtual machine window, select “Devices” > “Optical Drives” > “Choose/Create a Disk Image”. Then, browse to the location where you downloaded the Pop!_OS ISO image and select it.
Choosing a disk image
Once the ISO image has been mounted, the virtual machine should automatically start booting from the ISO. You may need to change the boot order in the virtual machine settings if it doesn’t. Press “Enter” to begin the installation process.
Select your preferred language and choose a keyboard layout for the installation. Next, you will be given the option to try or install Pop!_OS. Click on “Install Pop!_OS”.
Installing Pop!_OS
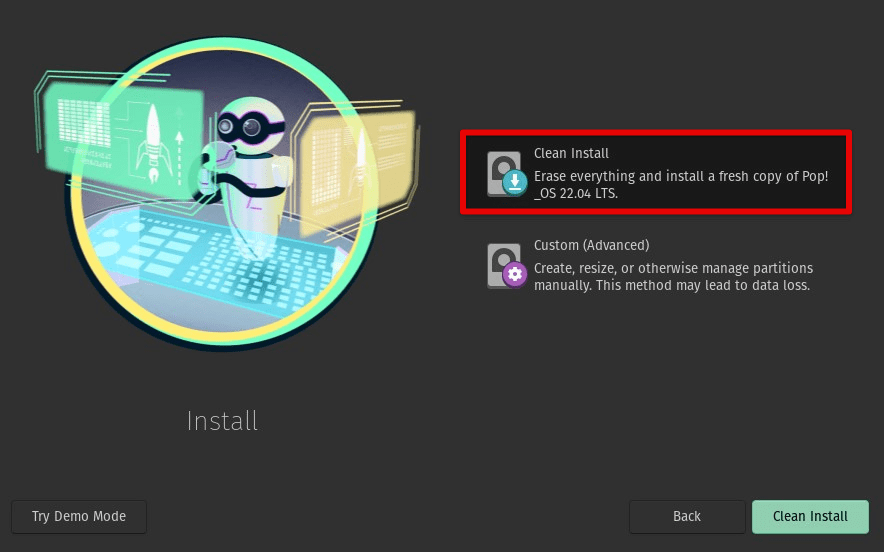
You will then be asked to choose your disk partitioning method. If you’re unsure, go with the default (recommended) option, “Erase disk and proceed with a fresh installation”.
Select your time zone from the list provided. You will be asked to enter your name, username, and password. Fill in the required information and click on “Continue”.
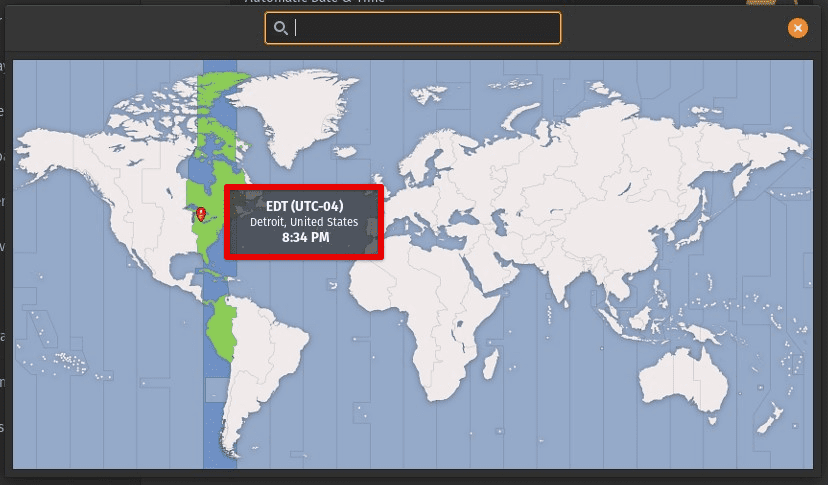
Selecting time zone
Wait for the installation to complete: The installation process will take a few minutes. Once it’s complete, click on “Restart Now”. After the virtual machine restarts, you will be prompted to remove the ISO image. Select “Devices” > “Optical Drives” > “Remove Disk from Virtual Drive” to do so.
After removing the ISO image, you should be presented with the login screen for Pop!_OS. Enter the username and password you set up earlier to log in. You have successfully installed Pop!_OS on a virtual machine.
Configuring Pop!_OS
After installation, a few more configurations must be done to ensure that the operating system runs smoothly.
Installing updates: It’s recommended to check for and install any available updates. Click on the “Activities” menu in the top left corner of the screen and search for “Software & Updates”. Open the application and click on the “Updates” tab. Then click on “Check for updates” to see any available updates. If there are any available, click on “Install Now”.
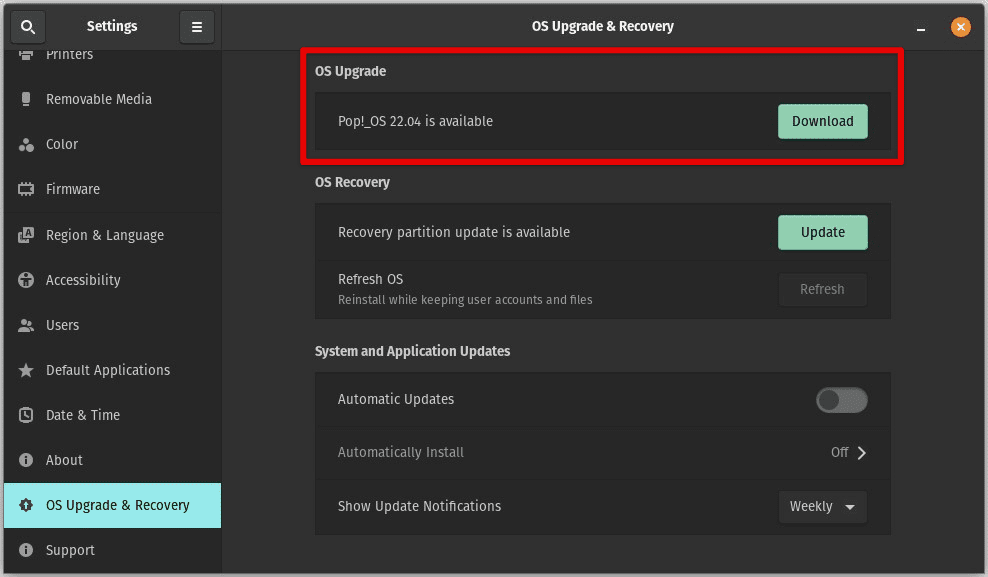
Installing updates
Setting up a user account: It’s important to set it up properly. Click on the “Activities” menu and search for “Settings”. Open the “Settings” application and click “Users” on the left sidebar. You can change your password, add another user, or configure automatic login here.
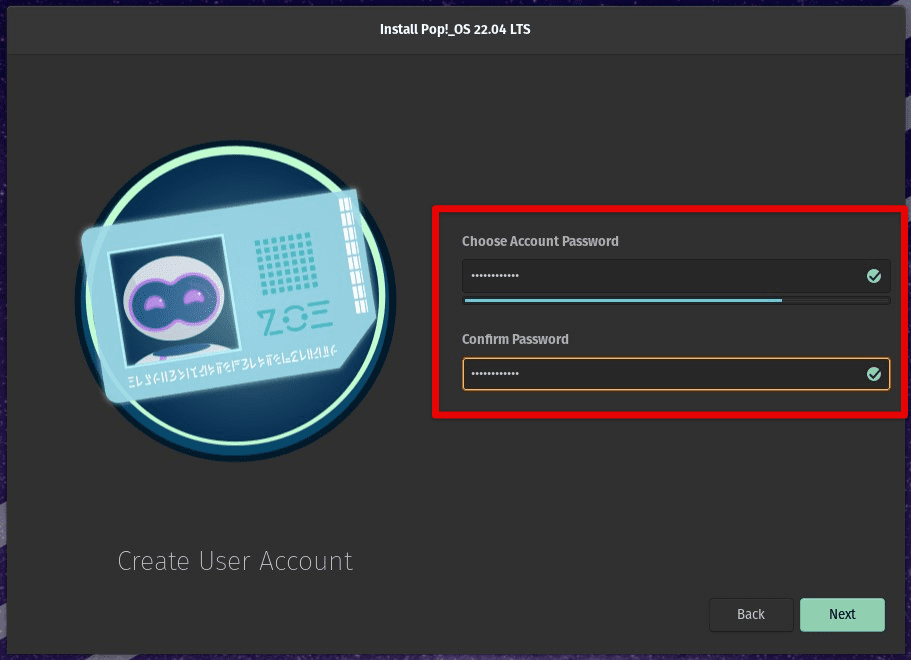
Setting up a user account
Installing necessary software: Depending on your needs, you may need to install additional software on your Pop!_OS virtual machine. You can use the built-in “Pop!_Shop” application to find and install software and applications. This can be accessed by clicking the “Activities” menu and searching for “Pop!_Shop”. It is also present in the dock at the bottom of your screen. In Pop!_Shop, you can search for software by name or category or browse different collections.
Installing necessary software
Enabling virtual machine tools: If you are using VirtualBox or any other virtualization software, it’s essential to install the virtual machine tools to enable features like shared clipboard, drag-and-drop, and better screen resolution. First, select “Devices” from the virtual machine menu on VirtualBox and choose “Insert Guest Additions CD image”. Then, follow the on-screen instructions to install the virtual machine tools in Pop!_OS.
Using Pop!_OS on a virtual machine
After completing the installation and configuration steps, you can use it like any other operating system.
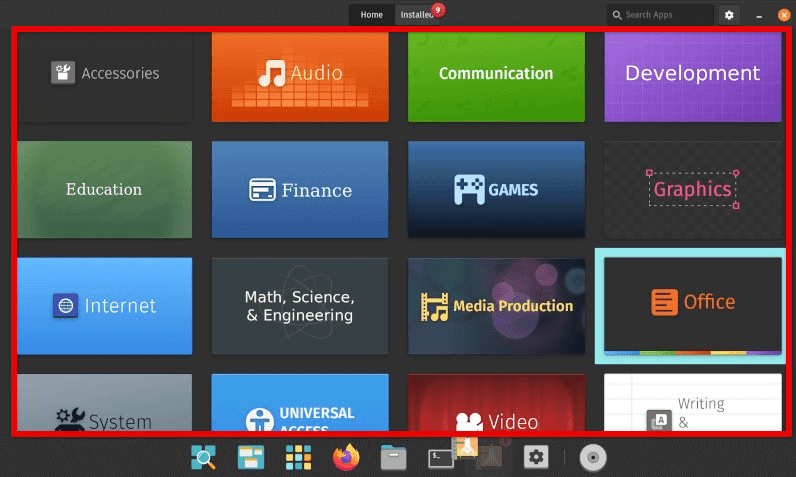
Launching applications: You can launch applications on Pop!_OS by clicking on the “Activities” menu in the top left corner of the screen and searching for the application name. Alternatively, use the keyboard shortcut “Alt + F2” or the “Super” key to open the quick launch window and type the application name.
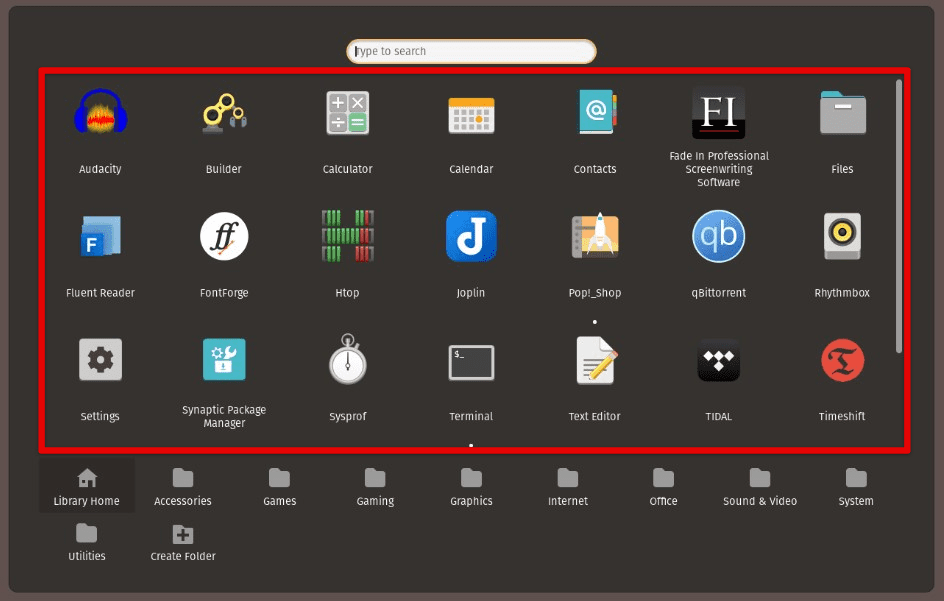
Launching applications
Connecting to the internet: To connect to the internet on Pop!_OS, click on the network icon in the top right corner of the screen. Select one of the available Wi-Fi networks or configure a wired network connection. You might need to enter the network password if it was previously secured.
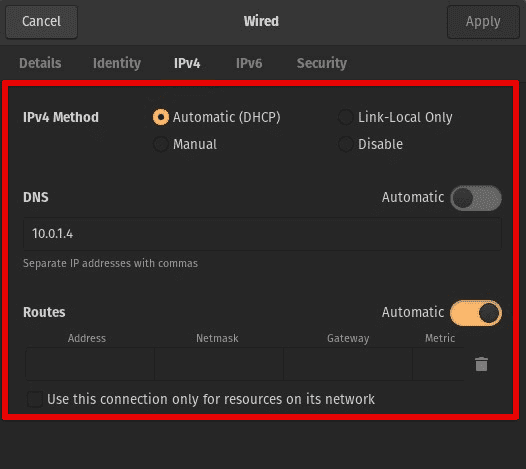
Connecting to the internet
Accessing files: You can access files on your host machine from the virtual machine by enabling shared folders. On VirtualBox, select the virtual machine from the main menu, click “Settings”, and then go to the “Shared Folders” tab. Here, you can add a new shared folder and specify the folder path on the host machine. The shared folder on Pop!_OS can be accessed from the file manager under “Other Locations”.
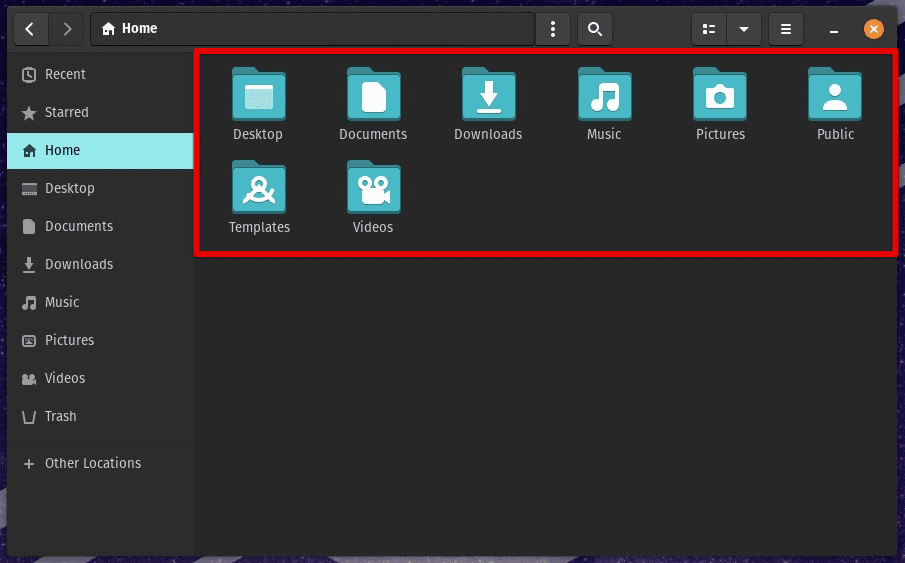
Accessing files
Copying and pasting: You can copy and paste text between the virtual and host machines by enabling a shared clipboard. On VirtualBox, select the virtual machine from the main menu, click “Settings”, and then go to the “General” tab. Enable the “Shared Clipboard” option to copy and paste stuff between the machines.
Conclusion
Installing and using Pop!_OS on a virtual machine can be a great way to try out the operating system or develop applications without committing to a complete installation. In this article, we have covered the necessary steps to install Pop!_OS on VirtualBox, which include downloading the ISO image, creating a virtual machine, configuring its settings, and installing and configuring Pop!_OS itself.
Virtualization is the process of creating a virtual version of something, such as an operating system, a server, a storage device, or a network. It allows you to run multiple operating systems on a single computer without partitioning your hard drive or setting up a dual-boot system. Here is our detailed guide on simplifying virtualization on Ubuntu with GNOME boxes.