
In the dynamic landscape of modern software development, the ability to make, deploy, and manage applications efficiently has become a paramount concern. Docker containers, a revolutionary technology, have emerged as the answer to these challenges. With Docker, developers and system administrators can encapsulate applications and their dependencies into self-contained units, enabling seamless deployment across various environments.
In this guide, we’ll delve into the world of Docker containers and explore how to run them on Pop!_OS, a Linux distribution known for its focus on usability and simplicity.
Understanding Docker Containers and Their Significance
Docker containers are lightweight, portable, and consistent environments that encapsulate an application and all its dependencies, including libraries, runtime, and configuration files. This encapsulation ensures that applications run consistently across different environments, from development to production, eliminating the notorious “it works on my machine” problem. Containers achieve this isolation by utilizing features of the host operating system and sharing the host’s kernel. This efficient utilization of resources sets containers apart from traditional virtual machines, making them quicker to start and more resource-efficient.
Key Features of Docker Containers
Docker containers come with a plethora of features that revolutionize application deployment and management. Here are some of the standout features:
- Isolation: Docker containers provide isolation that ensures applications and their dependencies are contained within an environment, preventing conflicts and compatibility issues.
- Portability: Docker’s “build once, run anywhere” philosophy allows containers to run consistently across different environments, from development workstations to production servers.
- Efficiency: Containers share the host’s OS kernel, making them lightweight and resource-efficient compared to traditional virtual machines.
- Rapid Deployment: Containers can be spun up and torn down quickly, enabling agile development cycles and seamless scaling to accommodate varying workloads.
- Version Control: Docker images serve as snapshots of an application’s environment. These images can be versioned, making it easier to roll back to a previous state if issues arise.
- Microservices Architecture: Docker facilitates the creation of microservices by allowing different components of an application to run in separate containers, enabling better modularity and maintainability.
Pros of Using Docker Containers
The adoption of Docker containers has surged due to the multitude of advantages they bring to the table:
- Consistency: With Docker, the “it works on my machine” dilemma becomes a thing of the past. Containers ensure consistency between development, testing, and production environments.
- Resource Efficiency: Containers share resources with the host system, reducing overhead and enabling efficient utilization of hardware resources.
- Isolation: Containers offer strong isolation, preventing conflicts between applications and dependencies. This isolation enhances security and stability.
- Fast Development Cycles: Docker’s rapid deployment capabilities accelerate development cycles, allowing developers to iterate and release new features quickly.
- Scalability: Docker’s container orchestration tools like Kubernetes enable seamless scaling of applications across clusters of machines, adapting to changing demand.
- Ecosystem: Docker Hub provides a vast repository of pre-built images, saving time and effort in setting up software and services.
- Version Control and Rollback: Docker images can be versioned, allowing teams to track changes and roll back to previous states if needed.
Cons and Considerations
While Docker offers a multitude of advantages, there are also specific considerations to keep in mind:
- Security: Containers share the host OS kernel, which can pose security tensions if not correctly configured. Care must be taken to isolate containers and limit their privileges.
- Learning Curve: While Docker’s fundamental concepts are easy to grasp, mastering advanced features and orchestration tools may require a learning curve.
- Stateful Applications: Managing stateful applications within Docker containers can be complex, as containers are designed to be ephemeral by nature.
- Limited GUI Applications: Docker containers are primarily designed for command-line applications, making the containerization of GUI-heavy software more challenging.
- Compatibility: Containers might not seamlessly run on all host systems due to kernel versions or configuration differences.
- Resource Sharing: While resource sharing is a pro, it can also lead to resource contention if not appropriately managed, affecting performance.
Installing Docker Containers on Pop!_OS: A Step-by-Step Guide
Prerequisites
Before diving into Docker containers on Pop!_OS, a few prerequisites need to be in place:
- Pop!_OS Installation: Ensure that you have Pop!_OS installed on your system. You can download the recent version from the System76 website (https://pop.system76.com/).
- Command-Line Familiarity: Basic Linux command-line knowledge will be beneficial as Docker is primarily managed through the terminal.
- Access to the Internet: Docker requires internet access for downloading container images and updates.
Installing Docker on Pop!_OS is a breeze, offering you a gateway to the world of containerization. In this section, we’ll walk you through the installation process using the official Docker repository, ensuring you’re equipped to harness the power of Docker containers.
1. Update Package Lists for a Fresh Start
Before embarking on the installation journey, let’s ensure your system is current. Open your terminal and enter the following command:
sudo apt update
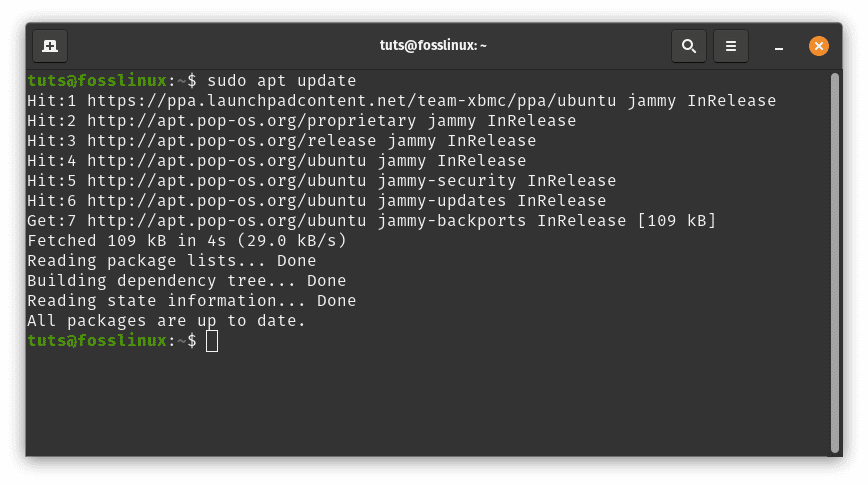
Update system resources and packages
Updating the package lists ensures you’re working with the latest available packages and versions.
2. Install Dependencies to Unlock Docker Installation
To enable apt to use repositories over HTTPS, you’ll need a few essential packages. These packages pave the way for a smooth installation process. Execute the following command to install them:
sudo apt install apt-transport-https ca-certificates curl software-properties-common
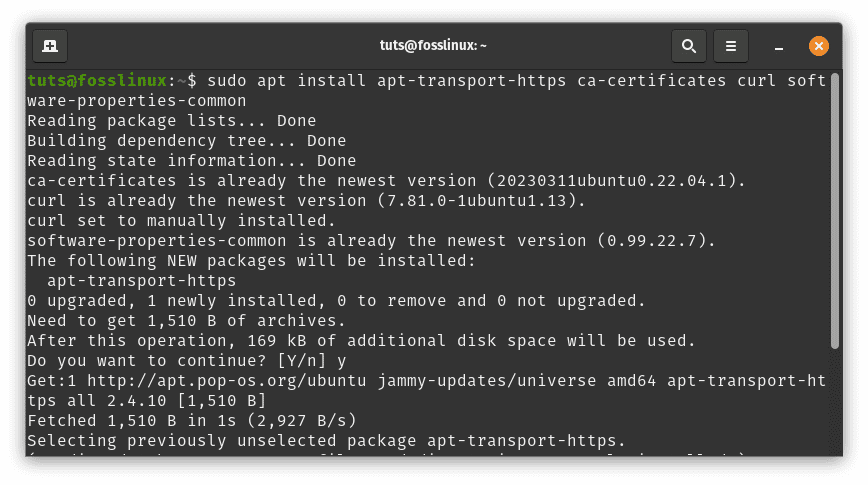
Install dependencies
These dependencies are like building blocks, laying the foundation for the subsequent steps of the Docker installation.
3. Add Docker’s Repository for Easy Access
Docker’s official repository is your gateway to a treasure trove of containerization capabilities. Adding the repository and GPG key opens the door to a world of Docker goodness. Execute these commands one after the other:
curl -fsSL https://download.docker.com/linux/ubuntu/gpg | sudo gpg --dearmor -o /usr/share/keyrings/docker-archive-keyring.gpg

echo "deb [arch=$(dpkg --print-architecture) signed-by=/usr/share/keyrings/docker-archive-keyring.gpg] https://download.docker.com/linux/ubuntu $(lsb_release -cs) stable" | sudo tee /etc/apt/sources.list.d/docker.list > /dev/null

Add docker repo
These lines of code seamlessly incorporate the Docker repository into your system’s configuration, ready to serve you the latest Docker goodies.
4. Unveil the Docker Engine: Installation Time
With the integrated repository, it’s time to unveil the Docker Engine. Follow these steps to bring Docker to life on your Pop!_OS system:
sudo apt update

sudo apt install docker-ce
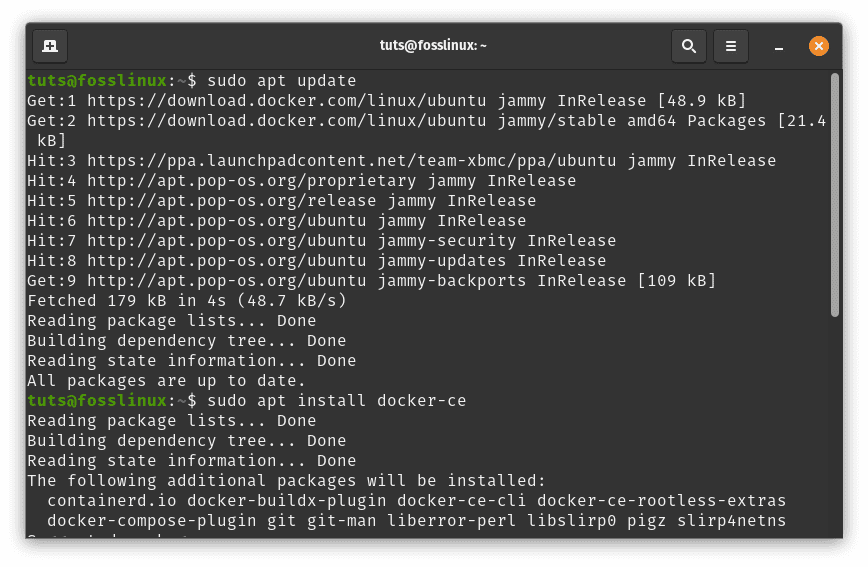
Update and install docker
The package manager will spring into action, fetching and installing the Docker engine, laying the groundwork for your containerization adventures.
5. Set Sail with Docker: Start and Enable the Engine
Docker is now on your system, but it’s still inactive. You need to start and enable the Docker service to set sail on your containerization journey. Execute these commands:
sudo systemctl start docker

sudo systemctl enable docker
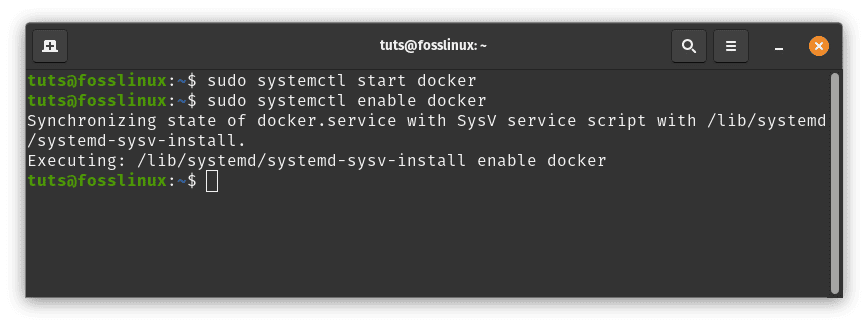
Start and enable the docker engine
These commands bring Docker to life, ensuring it starts automatically when your system boots up.
Congratulations! You’ve successfully installed Docker on your Pop!_OS system. Now let us explore how to use this fantastic application:
Using Docker Containers: Unleash the Full Potential
With Docker firmly planted in your system, it’s time to grasp the essence of using containers. Docker’s agility and versatility shine as you learn to pull images, launch containers, monitor activity, and interact with running instances. In this section, we’ll navigate through the process, ensuring you’re well-prepared to harness the full potential of Docker containers.
Pulling an Image: Acquire the Building Blocks
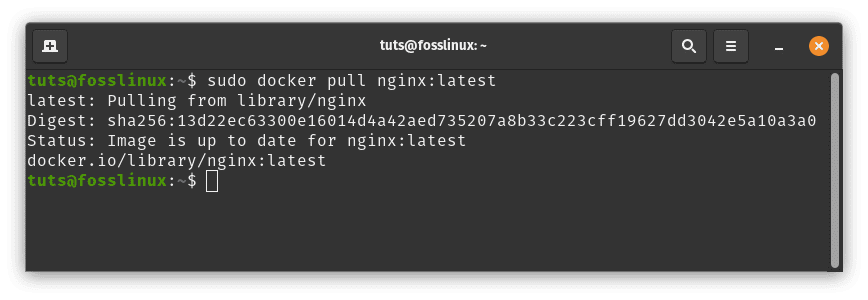
To embark on your container journey, you need the fundamental building blocks—the Docker images. These images encapsulate everything an application needs to run. Using the straightforward docker pull command, you can fetch images from Docker Hub, a vast repository of pre-built containers. Let’s say you’re eager to dive into the world of web servers with the popular Nginx server. Execute the following line of code to pull the latest Nginx image:
sudo docker pull nginx:latest
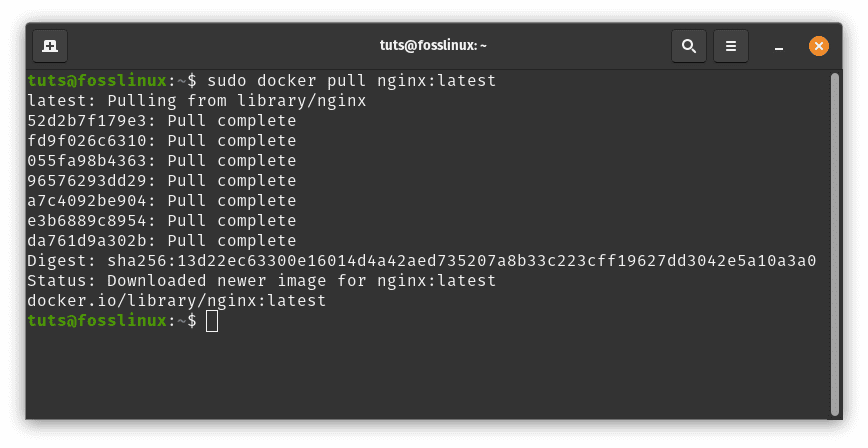
Pull nginx image
In mere moments, you’ll possess the Nginx image, your gateway to hosting web applications within containers.
Running a Container: Breathing Life into Images
With your image in hand, it’s time to breathe life into it by creating a container. Containers are instances of images running as isolated environments on your system. The docker run command is your ticket to launching containers. In this example, let’s start an Nginx container and map the host’s port 80 to the container’s port 80, allowing web traffic to flow seamlessly. Execute this command:
sudo docker run -d -p 80:80 nginx:latest
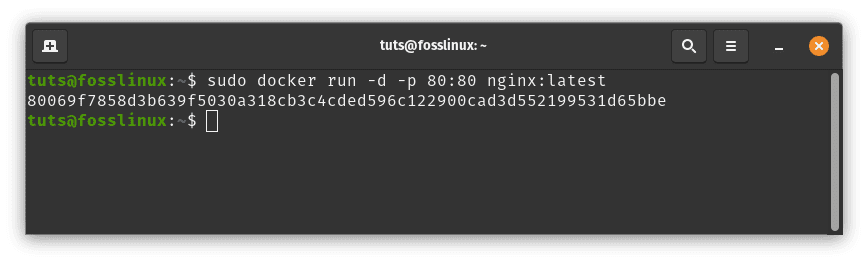
Run nginx container
In this command, the -d flag detaches the container, allowing it to run in the background. The -p 80:80 flag maps port the host’s port 80 to port 80 of the container. Your Nginx container is now alive, ready to serve web content.
Listing Containers: Keep an Eye on Your Fleet
As you delve deeper into Docker, you might find yourself juggling multiple containers. The docker ps command comes to the rescue, providing an overview of the containers currently running on your system. Each listing offers crucial information such as the container’s ID, name, status, ports, and more. With a simple command, you gain insight into your container fleet, ensuring they operate as expected.
sudo docker ps
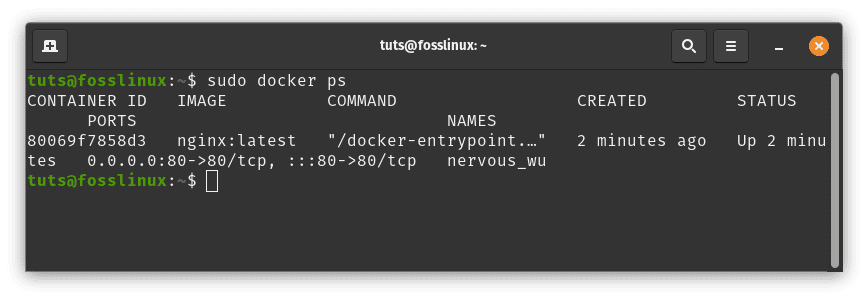
List containers
Accessing Containers: Peek Inside the Magic
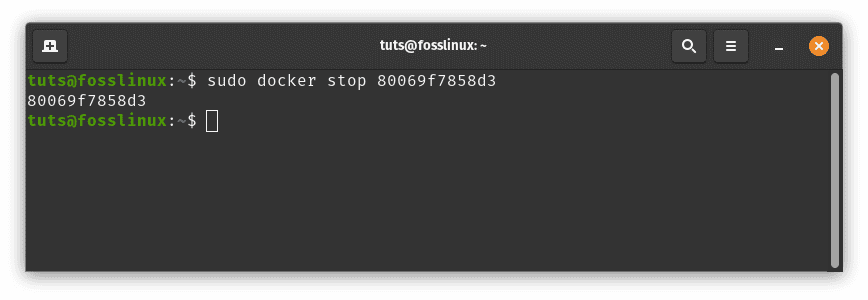
Containers are more than just isolated environments; they’re dynamic spaces where your applications come to life. The docker exec command grants you access to the inner workings of a running container. You can open a terminal session within the container by specifying the container’s ID or name. For instance, to dive into the Nginx container we launched earlier, execute this command:
sudo docker exec -it container_id_or_name /bin/bash
You’ll find yourself inside the container, able to interact with its file system, processes, and configurations, gaining a deeper understanding of how your applications function within these encapsulated environments.
Example:
sudo docker exec -it 80069f7858d3 /bin/bash
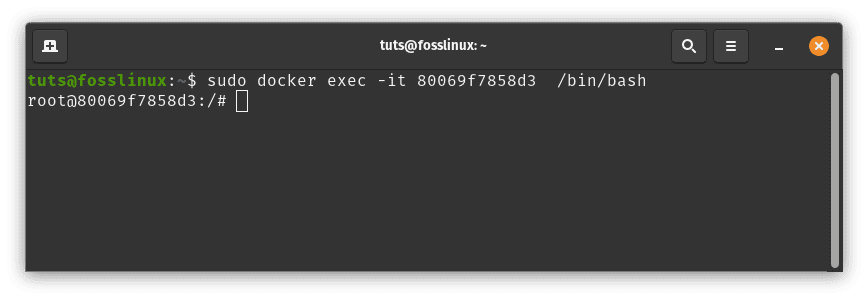
Access container
With a firm grip on pulling images, launching containers, monitoring activity, and peeking inside running instances, you’re well on your way to mastering the art of Docker containers.
Updating and Removing Docker Containers: A Masterclass in Container Management
In this section, we’ll dive into the process of updating and removing Docker containers, ensuring you’re well-versed in every aspect of container management.
Updating Docker Containers: Ensuring Security and Performance
Updating Docker containers isn’t just about staying current; it’s a vital step for bolstering security, optimizing performance, and harnessing the latest features. Let’s explore the steps to ensure your containers are up-to-date:
1. Update Images: Evolve with the Latest
Start by pulling the recent version of the image from your image repository. For instance, imagine you’re keen to update your Nginx image. Execute the following command to fetch the latest iteration:
sudo docker pull nginx:latest
Update images
You’re acquiring the latest improvements and security patches by pulling the most recent image.
2. Bid Farewell to the Old, Welcome the New
With your updated image in hand, it’s time to retire the old container and usher in the new gracefully. First, stop the running container using the docker stop command, providing the container’s ID or name:
sudo docker stop container_id_or_name
Stop nginx container
Once the container is halted, proceed to remove it using the docker rm command:
sudo docker rm container_id_or_name

Remove nginx container
This step ensures that you’re not carrying forward any remnants of the old container.
3. Launch a Fresh Container: A New Beginning
Now that you’ve bid farewell to the old and welcomed the new image, it’s time to launch a fresh container using the updated image. Revisit the steps you’ve learned earlier to execute this task. This cycle of pulling, stopping, removing, and launching ensures your containers are always running on the latest and most secure foundation.
Removing Docker Containers: A Farewell to Containers
Containers have a lifecycle, and when the time comes, it’s essential to bid them farewell gracefully to free up resources and ensure an efficient system. Here’s how to remove a container:
1. Halt and Remove: The Farewell Process
To say goodbye to a container, first, stop it using the docker stop command:
sudo docker stop container_id_or_name
Stop nginx container
With the container stopped, proceed to remove it using the docker rm command:
sudo docker rm container_id_or_name
Remove nginx container
This process frees up resources and ensures the container’s footprint is no longer lingering on your system.
Congratulations! You’ve just completed your masterclass in updating and removing Docker containers. By staying up-to-date, you’re ensuring your applications’ security, performance, and reliability. Moreover, knowing when and how to bid farewell to containers ensures a streamlined system and efficient resource utilization.
Conclusion
In the ever-evolving world of software development, Docker containers have become an essential tool for streamlining application deployment and management. Pop!_OS, known for its user-friendly interface and performance, provides an excellent environment for running Docker containers. By encapsulating applications and their dependencies, Docker containers ensure consistent behavior across different systems, enabling developers to focus on building without being hindered by deployment complexities.
In this guide, we embarked on a journey to understand Docker containers and how to harness their power on Pop!_OS. We covered the installation process, container management commands, updating containers, and the graceful removal of containers. Armed with this knowledge, you’re equipped to dive into the world of containerization, optimizing your development workflow and conquering application deployment challenges.