
One crucial aspect of maintaining a robust digital workspace is safeguarding your data. This is where a cloud-based backup system comes into play – an invisible safety net that protects your invaluable files from unexpected disasters. In this article, we embark on a journey to grasp the significance of a cloud-based backup system on Pop!_OS and equip ourselves with the knowledge to set it up effectively.
Understanding cloud-based backup and its necessity
Imagine a scenario: you’re engrossed in a project on your Pop!_OS-powered device, and suddenly, a power surge fries your hard drive. Or worse, malicious software infiltrates your system, causing data corruption. It’s at times like these that a cloud-based backup system stands as a guardian angel. This system involves storing your files, documents, and settings in a remote server maintained by a cloud service provider. This setup offers numerous advantages, including:
- Data redundancy: Cloud-based backup ensures that your data is not confined to a single location. In case of hardware failure or other disasters, you can retrieve your files from any device with an internet connection.
- Automated backups: Manual backups can be cumbersome and prone to human error. Cloud-based systems often provide automated backup schedules, reducing the risk of data loss.
- Version control: Some cloud services maintain multiple versions of your files, permitting you to revert to previous states. This is invaluable in cases where unintended changes are made.
- Disaster recovery: Natural disasters, theft, or accidents can result in the loss of physical hardware. Cloud-based backups ensure your data survives such unfortunate events.
When does Pop!_OS need a cloud-based backup system?
Even though Pop!_OS is a dependable operating system, unexpected issues can still occur. Whether you’re a creative professional with a collection of digital artwork or a programmer with complex lines of code, protecting your work is crucial. In the following situations, it’s essential to have a cloud-based backup system for your Pop!_OS:
- Ongoing projects: If you’re working on projects of any kind, having an up-to-date backup ensures that your progress is never lost.
- System updates and upgrades: Major system updates can occasionally lead to unforeseen issues. A backup lets you revert to a stable state if the update causes problems.
- Hardware vulnerabilities: Hard drives can fail without warning. By storing your data in the cloud, you curb the risk of losing it due to hardware failures.
- Protection against malware: Despite Linux’s robust security, malware can still find its way into your system. A backup can help you recover from such attacks without losing your data.
Setting up a cloud-based backup system on Pop!_OS
Now that we understand how important a cloud-based backup system is, it’s time to learn how to set it up on your Pop!_OS computer. Before starting, it’s essential to make sure you have all the necessary requirements ready to ensure a smooth and successful setup process.
Prerequisites
- Stable internet connection: A robust and unwavering internet connection is an absolute necessity.
- Cloud storage account: To start your cloud backup, you need a cloud storage account. Choose a provider that fits your storage needs, security preferences, and integration requirements. Popular options are Google Drive, Dropbox, and Nextcloud. Register for the service that suits you.
With these prerequisites firmly established, let’s delve into the comprehensive step-by-step guide for setting up your cloud-based backup system on Pop!_OS.
Step 1: Choosing your cloud service provider
Choose your cloud service provider wisely for a successful backup. Each provider has unique features; Google Drive integrates with Google Workspace, and Dropbox has a user-friendly interface. Consider your preferences, needs, and productivity boosters when making a choice.
Step 2: Installing the cloud provider’s application
Install your cloud provider’s specialized Linux application on Pop!_OS to sync files and create a backup system with real-time data replication onto the cloud server.
Now that we’ve explored the significance of a cloud-based backup system and understood its necessity let’s dive into the practical steps of installing the applications of two popular cloud service providers – Google Drive and Dropbox – on your Pop!_OS machine.
Installing Google Drive application:
Open a web browser: Launch your favourite browser and go to the Google Drive website.
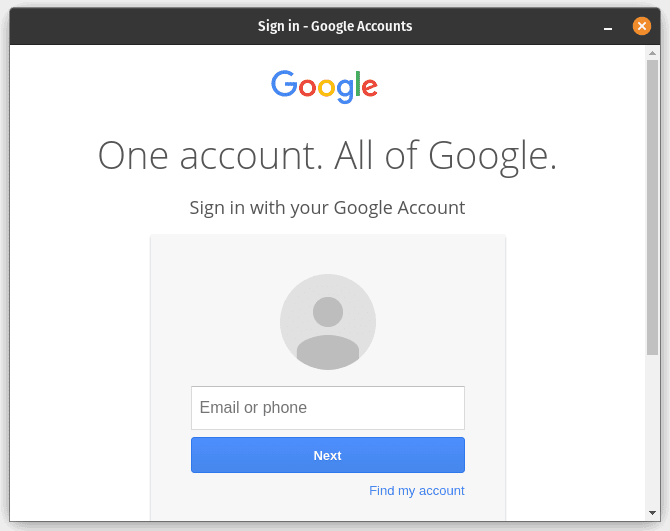
Sign in to your Google account: If you already have a Google account, sign in. If not, create a new account.
Access Google Drive app: Once signed in, click on the “Apps” or “More” option, usually represented by a grid of dots, located at the upper-right corner of the Google homepage. Select “Drive” from the list of apps.
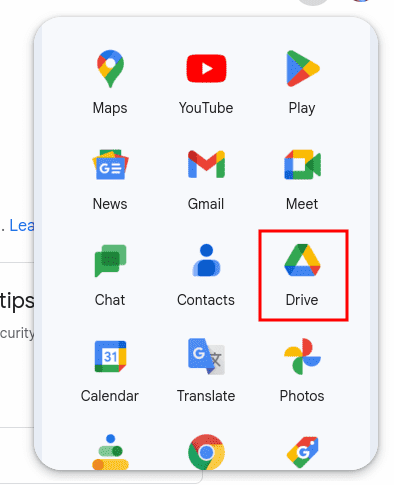
Select google drive application
Download and install Backup and Sync: Locate and click the “Install Backup and Sync” button on the Google Drive page. This will notify you to download the installer for Google’s desktop application.
If there is no application (In most cases Linux), execute the following lines of code to install gnome account which we shall use to access google drive:
sudo apt update && sudo apt install gnome-online-accounts
Search for ‘Settings’ to add your google drive to your Pop!_OS system
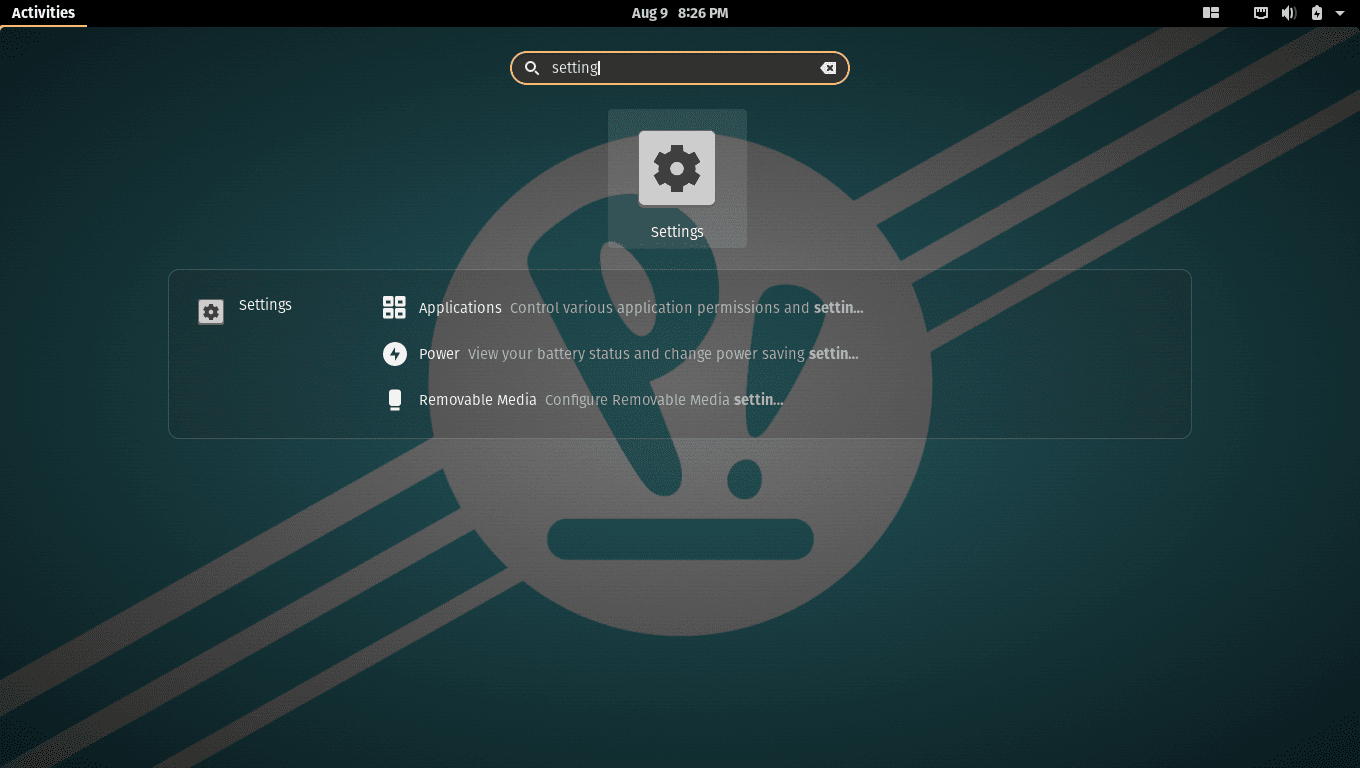
Open system settings
Choose ‘Online accounts’ and select ‘google accounts’
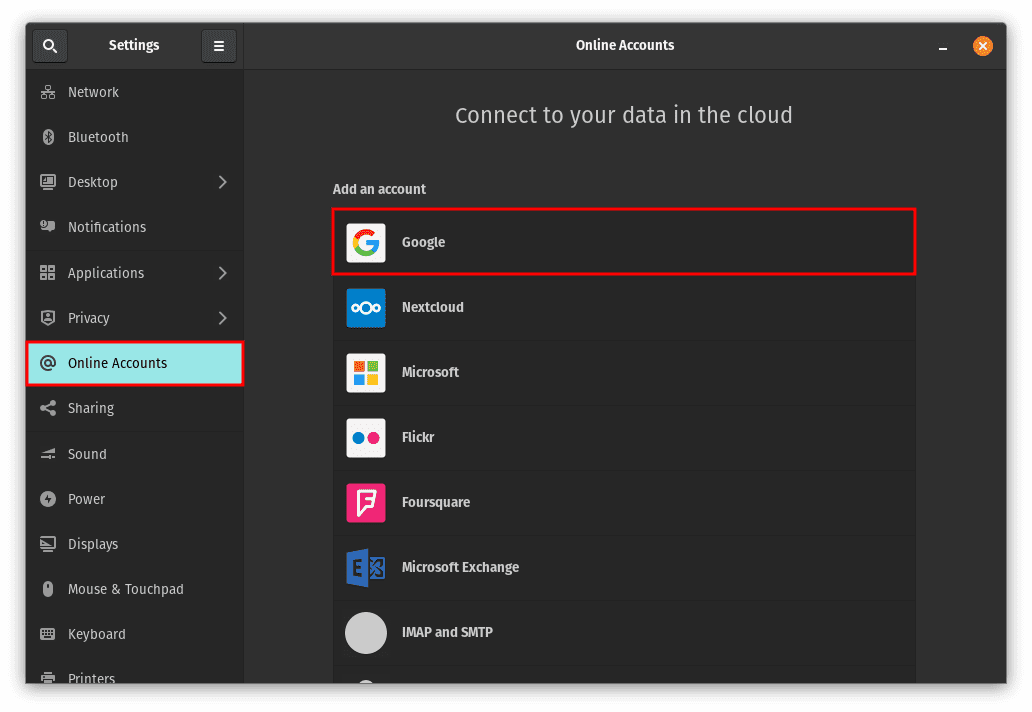
Select online accounts
Follow the on-screen guides to sign in to your google account and you will be automatically asked to sync to your google drive.
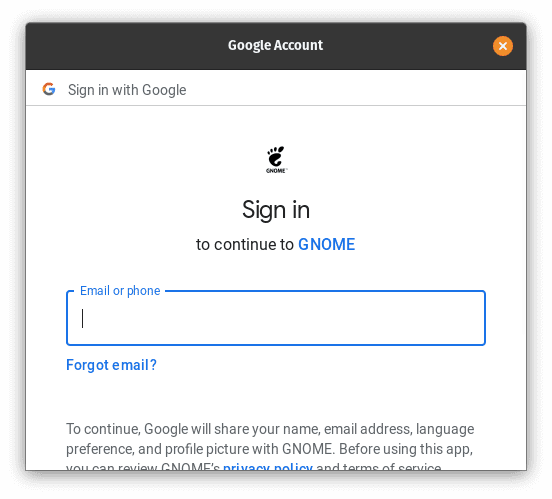
Sign in to your google account
Alternatively you can use the Pop!_OS shop to install Open Drive client that will aid you have a GUI like version of Google Drive on your OS.
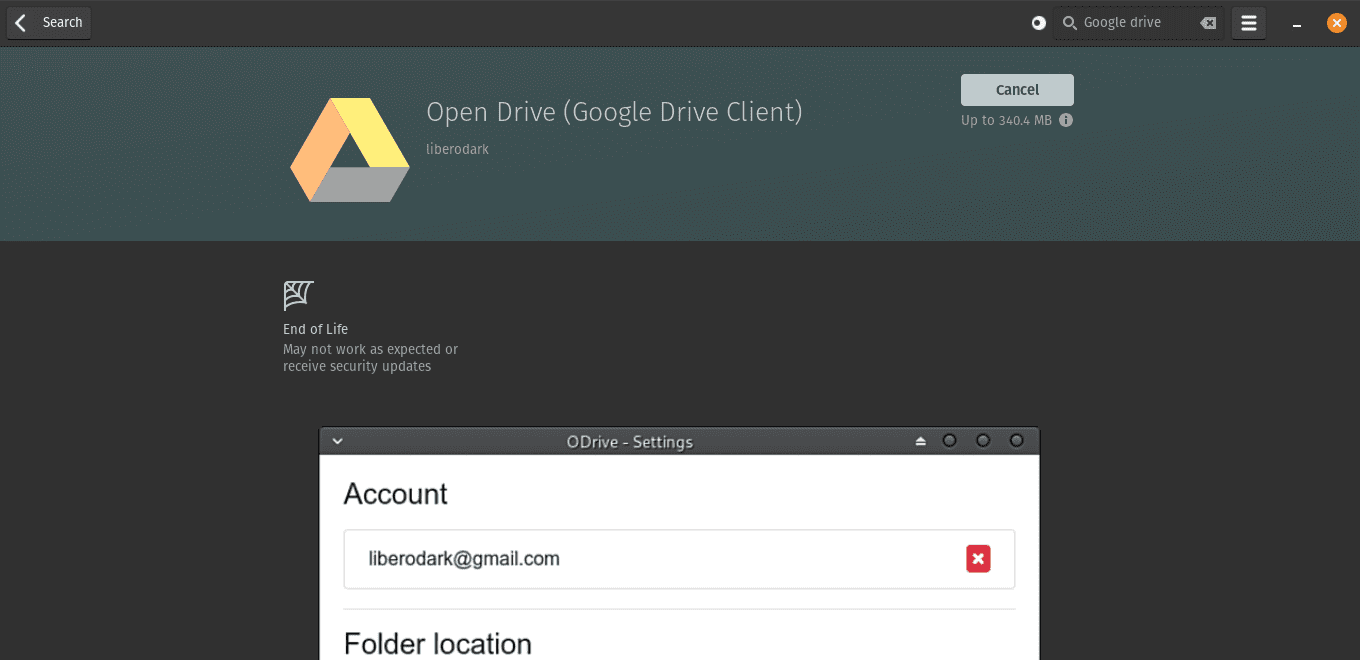
Download and install open drive a google drive client
Note: If you found the installer or wish to use alternative procedures, proceed with the remaining steps to install it to your OS.
- Run the installer: Once the installer is downloaded, find it in your Downloads folder and double-click to run it.
- Installation process: Follow the on-screen guides to install Backup and Sync. You might need to grant necessary permissions during the process.
- Sign in and configure: The application will prompt you to sign in to your Google account after installation. Once signed in, you can configure the folders you want to sync with Google Drive, including your backup files.
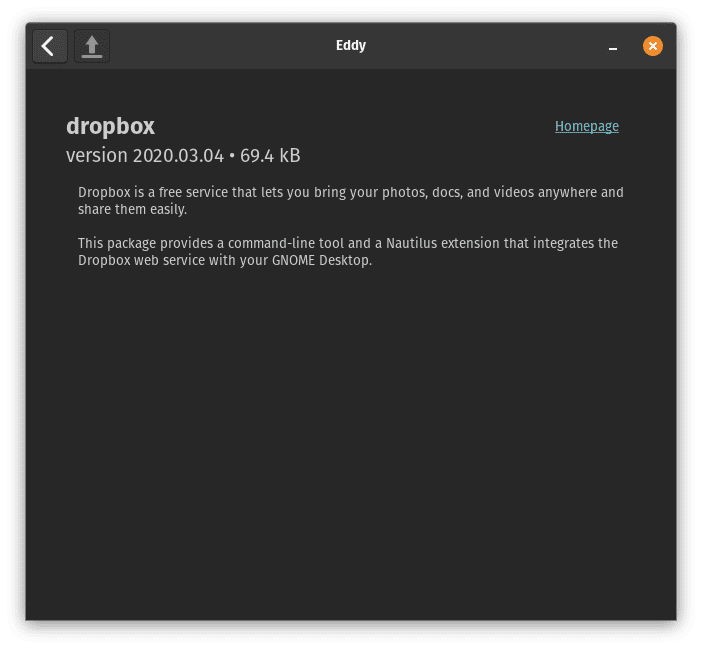
Installing Dropbox application:
Visit the Dropbox website: Open your web browser and go to the Dropbox website.
Create or sign In to your account: If you don’t have a Dropbox account, create one. Otherwise, sign in to your existing account.
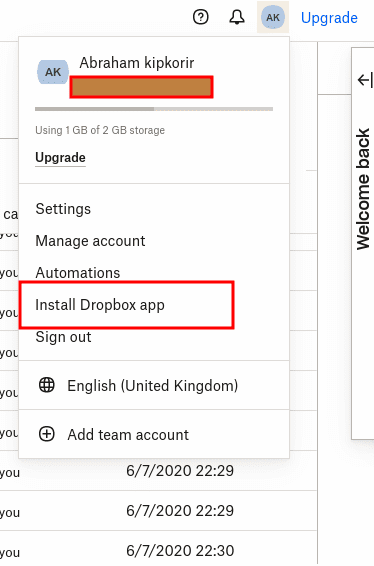
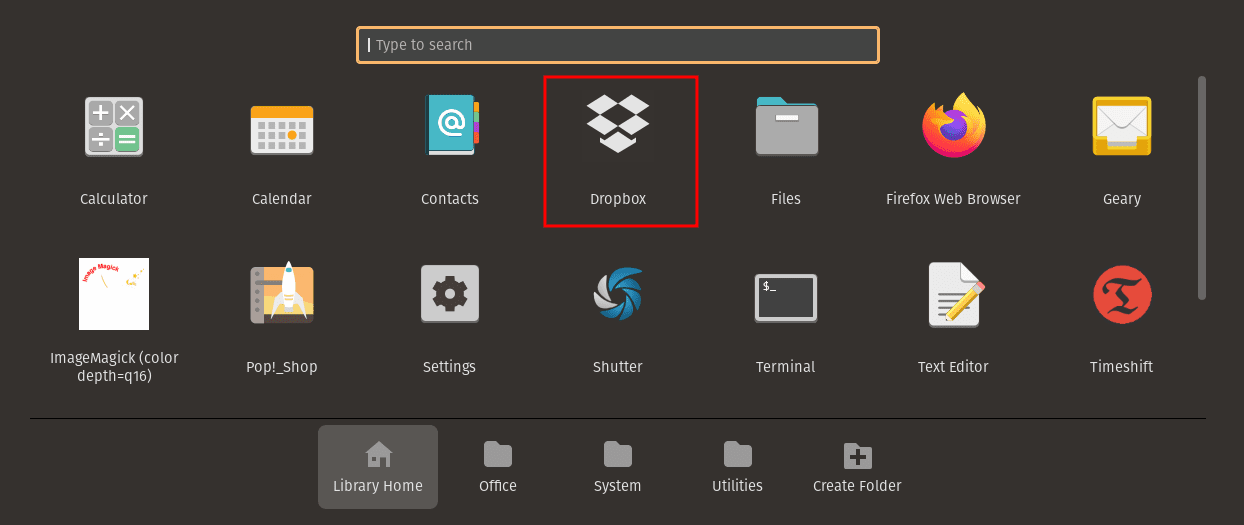
Download the Dropbox application: Once signed in, locate and click the “Install app” button to download the Dropbox application for Linux. This button is usually located under your name after signing up as shown below:
Install dropbox app
Run the installer: After downloading, locate the installer in the Downloads folder and double-click to run it.
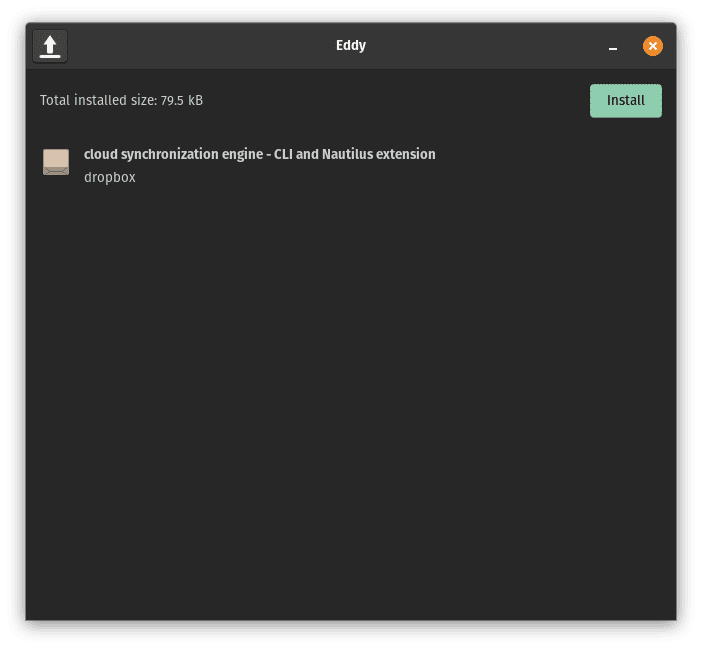
Install dropbox
Installation process: Follow the installation prompts. You might need to grant permission for the installation to proceed.
Install dropbox by following onscreen prompts
Sign in and configure: The Dropbox application will prompt you to sign in once the installation is complete.
Launch dropbox
After signing in, you can choose which folders to sync to your Dropbox account, ensuring that your essential files are included in the backup process.
Launch dropbox application
By following these steps, you’ll successfully install the applications for Google Drive and Dropbox on your Pop!_OS system. These applications will enable seamless synchronization of your files with their respective cloud storage services, forming the backbone of your cloud-based backup system. Remember that the specifics of the installation process might vary slightly based on updates and changes made by the cloud providers, so it’s always a good idea to consult their official documentation if you encounter any issues.
Step 3: Configuring backup settings
After installing the application, open it and sign in to your cloud storage account. This is where you can customize the settings that control how your backup system behaves. During the configuration process, you’ll need to choose the specific folders and files that you want to synchronize with the cloud. Be sure to prioritize essential files like documents, project folders, and any critical data to ensure they’re included in the backup. By carefully selecting these settings, you can make sure that your backup system works seamlessly with your workflow and keeps your most valuable information safe.
This step allows you to customize your backup system for Google Drive and Dropbox.
Below is a step-by-step guide on how to configure your Google Drive backup settings
Configuring Google Drive Backup Settings:
Launch Google Drive: Open the Google Drive application from your applications menu. Alternatively, you can use the web version.

Launch google drive (open drive client)
Sign In: Enter your Google account credentials if you’re not already signed in.
Sign in to google drive
Connecting to Google Drive Using Linux GUI: With your account now activated, you’re ready to make use of Google Drive. Upon opening the “Files” application, a freshly added drive will be visible in the left menu, labeled with your Gmail address. This drive represents your Google Drive, granting you the ability to manage files – copying, deleting, and renaming – just as you would with any regular folder.

Launch google drive from GUI
Utilizing Google Drive via Nautilus: Since you’ve successfully linked Google Drive to your desktop, all your applications can also access it. Leverage your preferred backup tool (perhaps Deja Dup?) to transfer important files to Google Drive seamlessly. To do so, follow the steps below:
Install Deja Dup
Deja Dup comes pre-installed on GNOME-based Linux distributions. If it’s not already installed, you can usually find it in your distribution’s package manager. For example, on Ubuntu-based systems, you can install it with the following command:
sudo apt-get install deja-dup
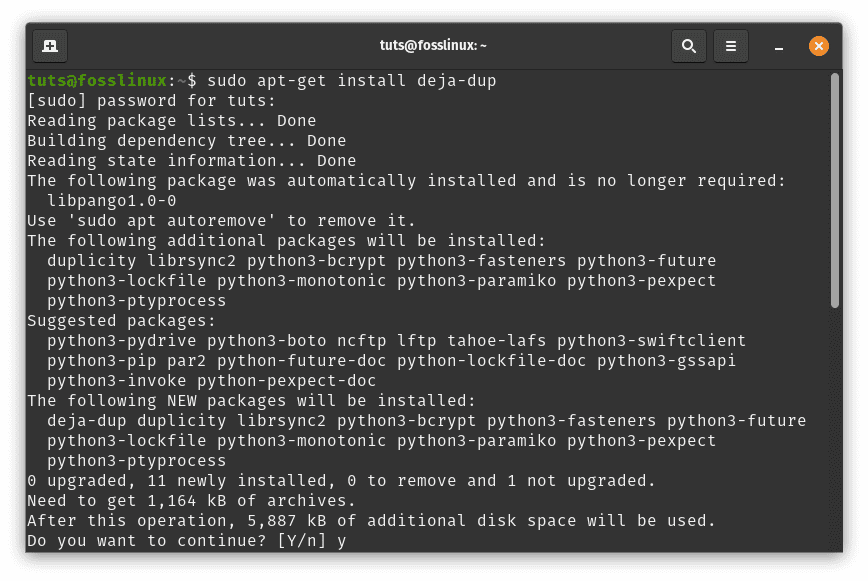
Install deja-dup utility
Configure Google Drive and Backup
Deja Dup uses the Duplicity backend to handle backups. Follow these steps to configure it to work with Google Drive:
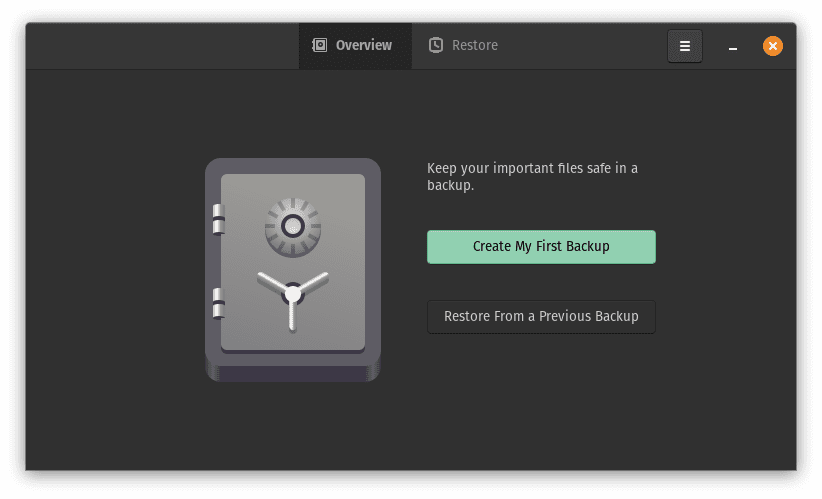
Launch Deja Dup from your applications menu.
Launch DejaDup
Click on “Create My First Backup”
Create first backup
Choose the folders to backup (for instance I will choose my home directory) and folders to ignore(I will ignore trash and Downloads folder). Once you are done, click ‘Forward’
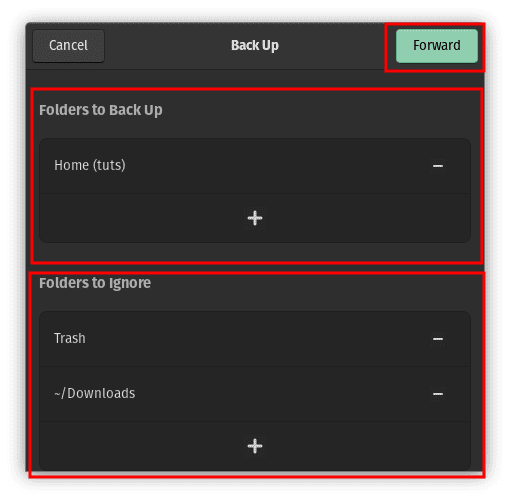
Choose folders to backup and folders to ignore
Click on “Storage Location” and select “Google Drive” then click forward.

Choose storage location
Install the necessary/required packages and dependencies.

Install required dependencies
Ensure to provide your login password to proceed with the installation process
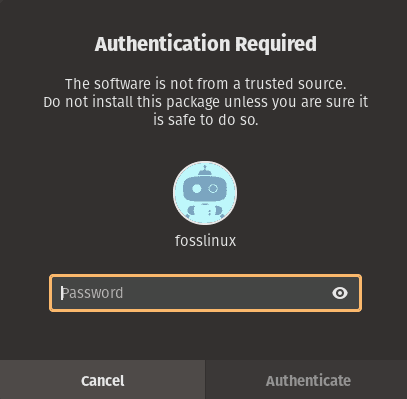
Provide authentication
Click “Google Account” and sign in with your Google account to authorize Deja Dup’s access to your Google Drive.
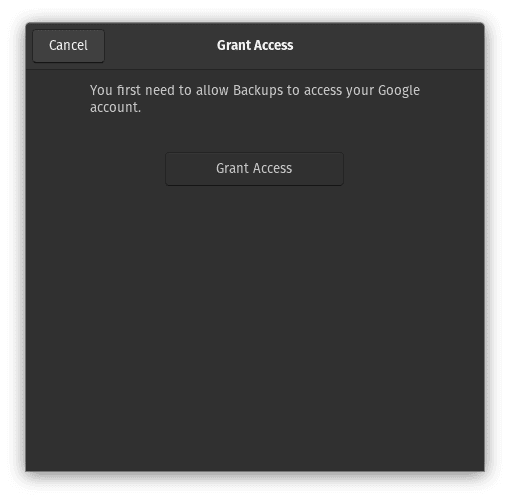
Grant access
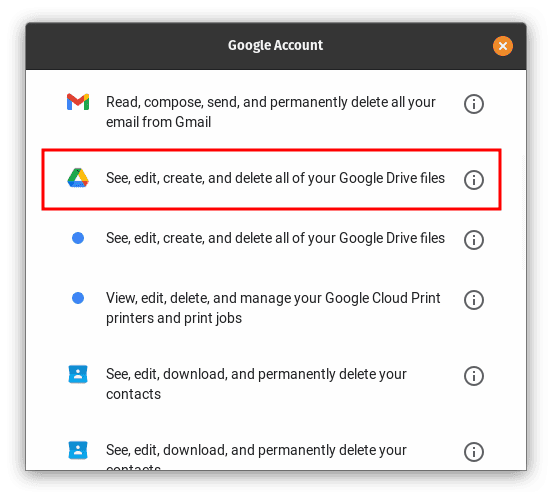
Once you click grant access, you will be redirected to the google drive web page where you will need to allow access to DejaDup backups as shown in the screenshot below:
Once you have allowed access you will be required to provide a restore password as shown below:
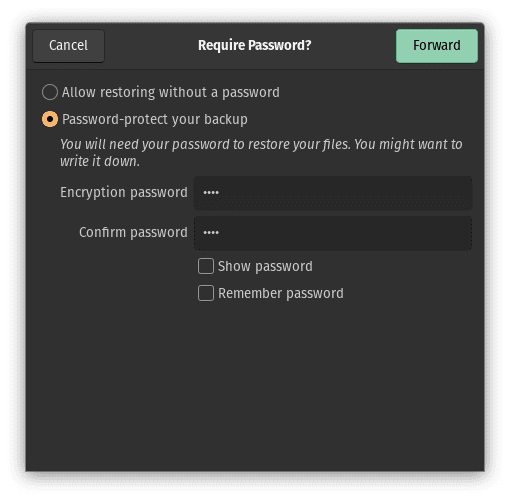
Provide a restore password
The backup process will start

The backup process will start
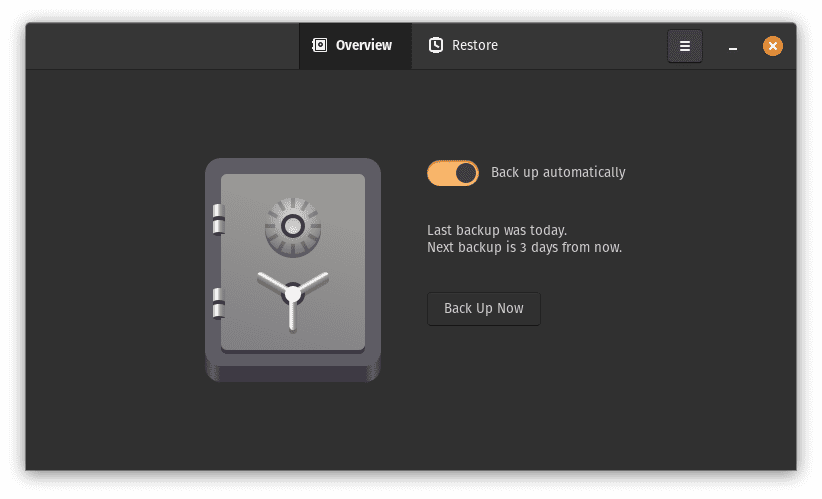
Once configured, close the Deja Dup window.
Schedule automatic backups
To schedule regular backups, you can set up automatic backups using the built-in scheduling feature:
Open Deja Dup preferences from the settings or preferences menu.
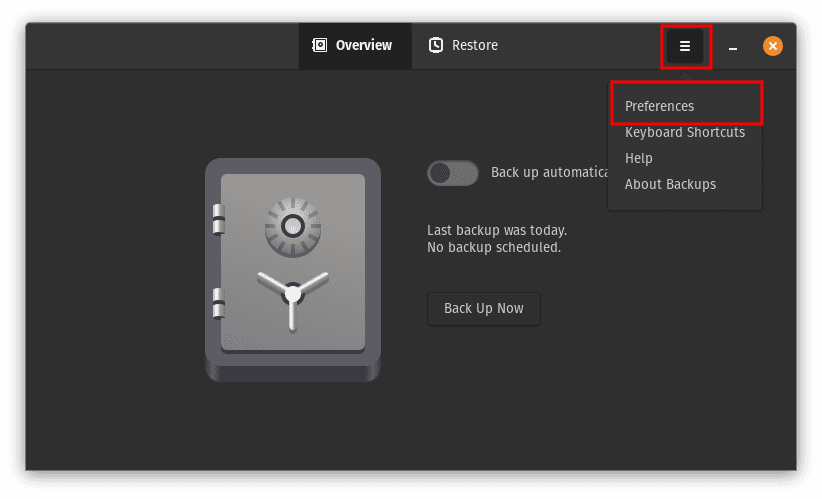
Deja Dup preferences
Navigate to the “General” tab.
Turn on the “Back Up Automatically” toggle.
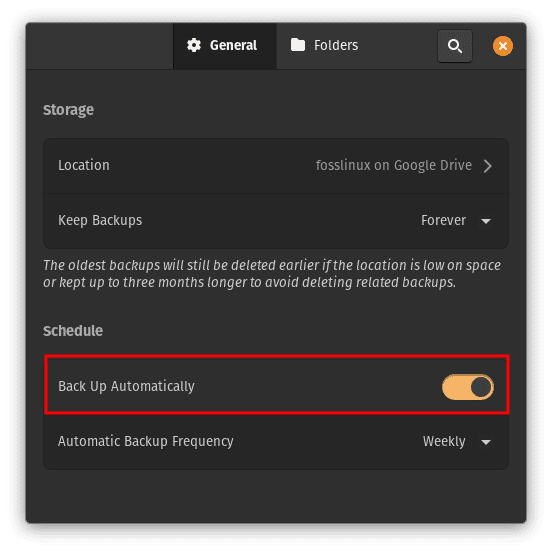
Turn on automatic backup toggle
Choose the frequency and time for the backups to occur.
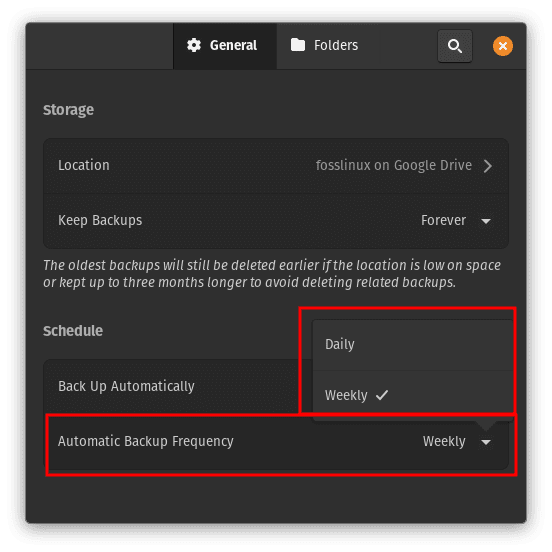
Choose the backup frequency
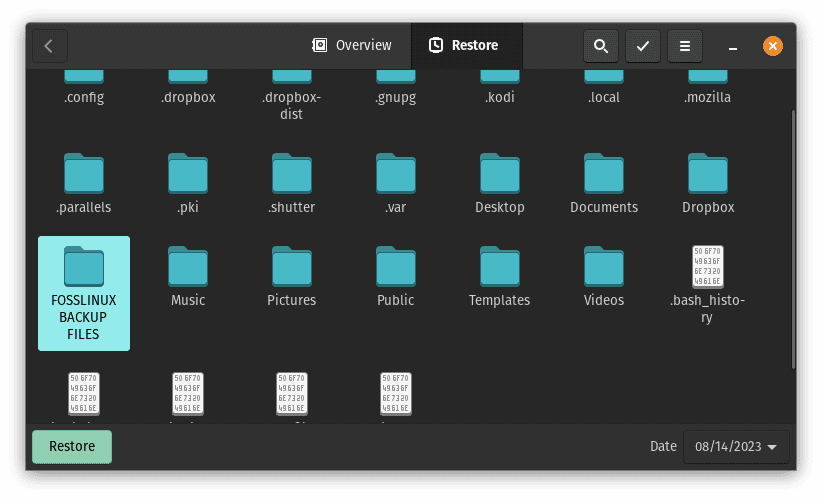
Restore Files: If you need to restore files from your backup, Deja Dup makes it easy:
Open Deja Dup.
Open Deja Dup utilty
Click “Restore” and select the backup you want to restore from.
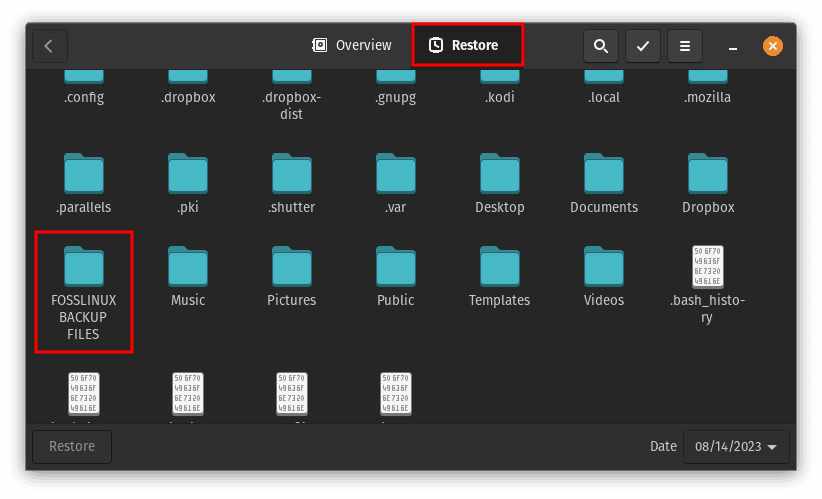
Click restore and choose the backup you intend to restore
Choose the files or directories you want to restore.
Click the files you want to restore
Select the restore destination and initiate the restore process.

Choose the restore destination
Remember that Deja Dup provides a user-friendly graphical interface, making it easier for users who prefer not to use command-line tools. While it might not have the same advanced options as “rclone,” it’s great for basic backup needs and is especially suitable for users who are new to Linux or prefer a more straightforward cloud storage backup solution.
Follow this guide to know how to configure your DropBox backup settings:
Configuring Dropbox Backup Settings:
- Open Dropbox: Launch the Dropbox application from your applications menu.
Launch dropbox
- Sign In: Enter your Dropbox account credentials if you’re not logged in.
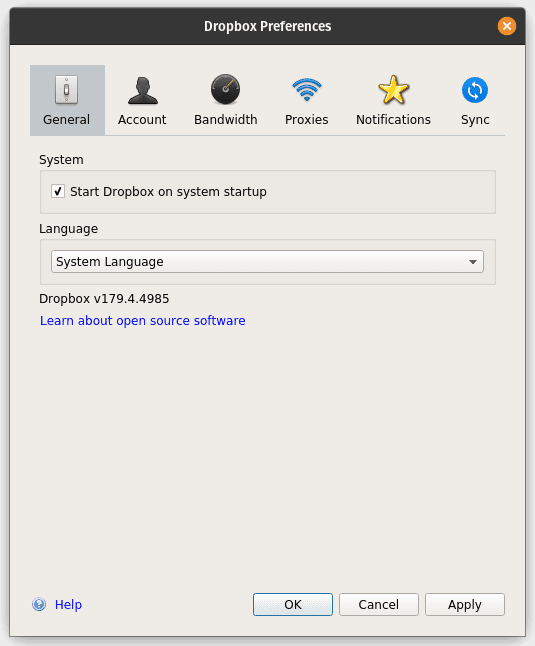
- Choose Folders to Sync: Locate the Dropbox icon in your system tray and click on it. Choose “Preferences.”
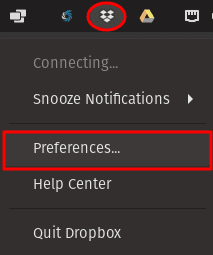
Choose preferences
- Selective Sync: In the “Preferences” window, navigate to the “Sync” tab. Click on “Selective Sync.”
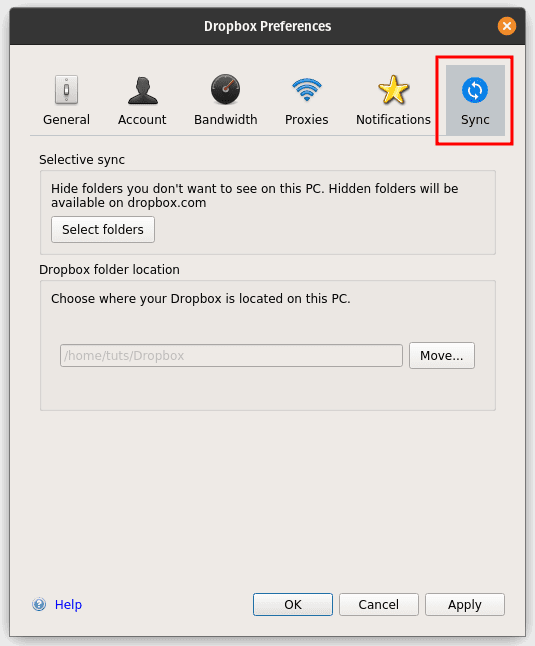
Select sync tab
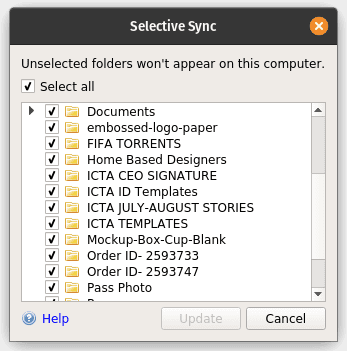
- Select Folders: When you click ‘Select folders” a list of your Dropbox folders will appear. Check the boxes next to the folders you intend to sync with your Pop!_OS machine. Prioritize folders containing important files, documents, and projects.
Check folders you intend to backup
- Adjust Settings: Depending on your preferences, adjust settings related to bandwidth usage, notifications, and other synchronization options.
Step 4: Scheduling automatic backups
Automation stands as a pillar of an effective backup strategy. Within the cloud provider’s application, set up a recurring backup schedule that resonates with your preferences. The frequency of backups can vary – from daily to weekly or any interval that suits your workflow. This automatic synchronization guarantees that your data is consistently mirrored onto the cloud, significantly minimizing the risk of data loss. Automation also relieves you of the burden of manually initiating backups, allowing you to focus on your tasks without compromise.
Automation is the cornerstone of an effective backup strategy. Both Google Drive and Dropbox offer the capability to schedule automatic backups, ensuring that your data remains consistently mirrored in the cloud. By meticulously configuring backup settings and scheduling automatic backups for both Google Drive and Dropbox, you’ve laid a strong foundation for a resilient cloud-based backup system. The synchronization of your files, coupled with automated processes, ensures the seamless replication of your essential data onto the cloud, safeguarding your digital assets and fostering peace of mind.
Step 5: Testing the backup and restoration process
After effectively configuring your cloud-based backup system using the Google Drive and Dropbox applications, it’s imperative to validate the integrity and functionality of your setup through rigorous testing. The testing phase confirms that your data is being reliably synchronized to the cloud and ensures that you’re equipped to restore files in the event of data loss. We’ll provide examples of how to conduct these essential tests for both Google Drive and Dropbox.
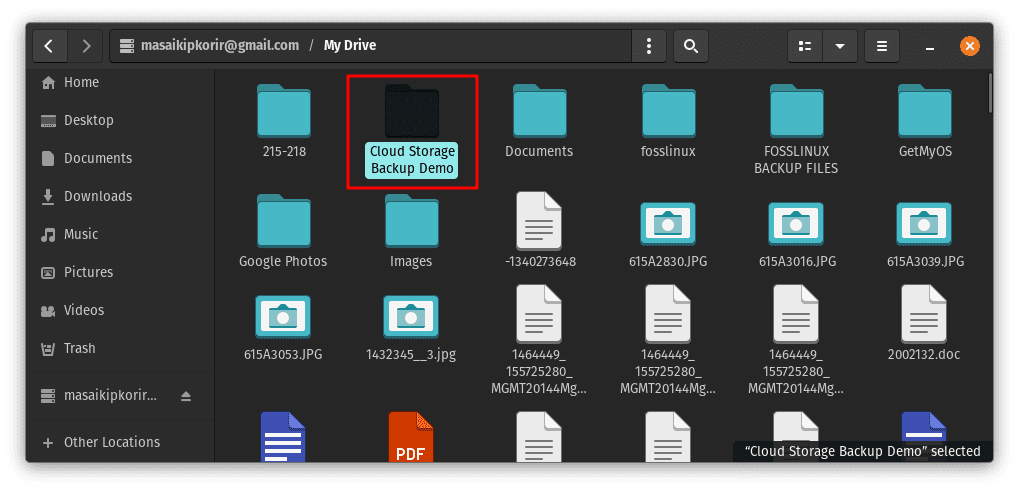
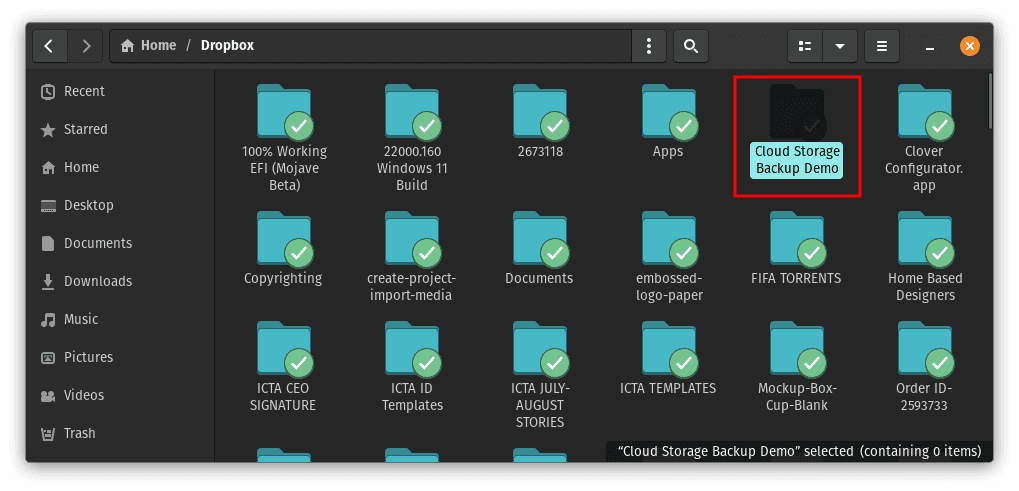
Create a Sample File: On your Pop!_OS machine, craft a sample text file or select any small document as a test file.
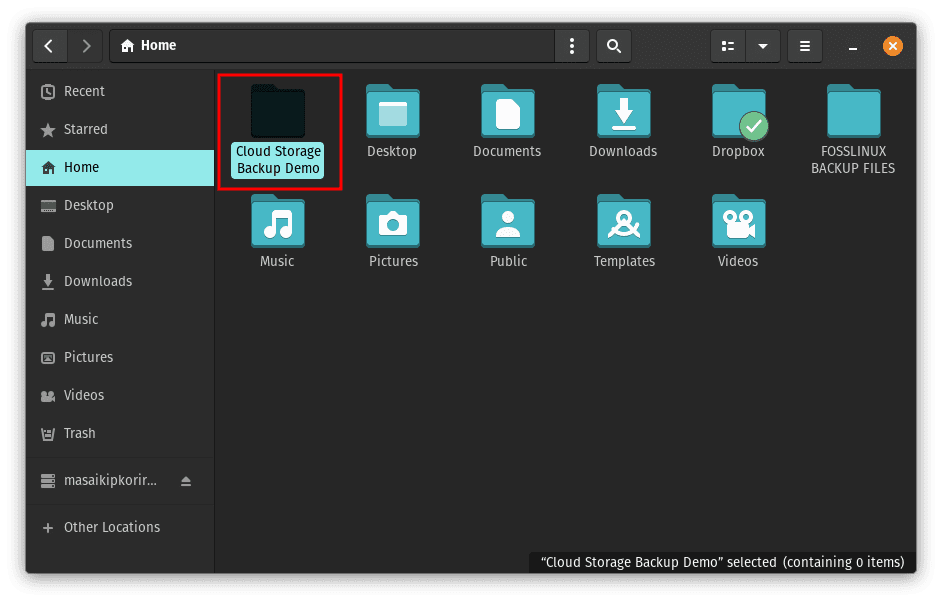
Cloud storage backup demo
Observe Synchronization: Save the sample file in one of the folders you’ve designated for synchronization with Google Drive. Monitor the Google Drive application to confirm the file synchronizes with the cloud.
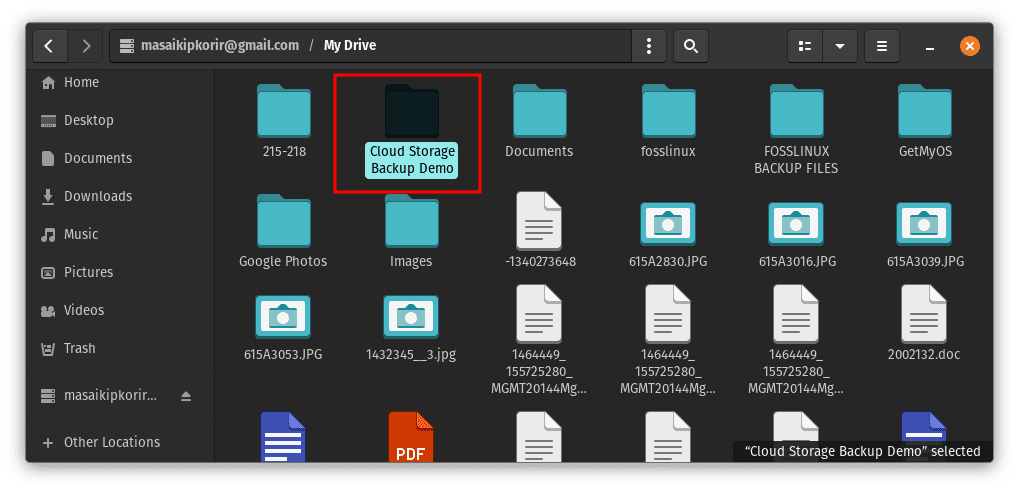
Save the file to Google drive for synchronization to take place
Check Google Drive: Open Google Drive in your browser and move to the folder where you stored the sample file. Confirm that the file is now present in your Google Drive cloud storage.

Confirm the file has synced successfully
Practice Restoration: Simulate data loss by deleting the sample file from your local machine’s synchronized folder. You can use a temporary folder for this test.
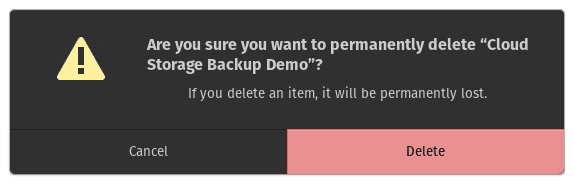
Delete synchronized file
Restore the File: Access your Google Drive via the web browser, locate the deleted sample file, and initiate its restoration. Observe the file’s return to your Google Drive.
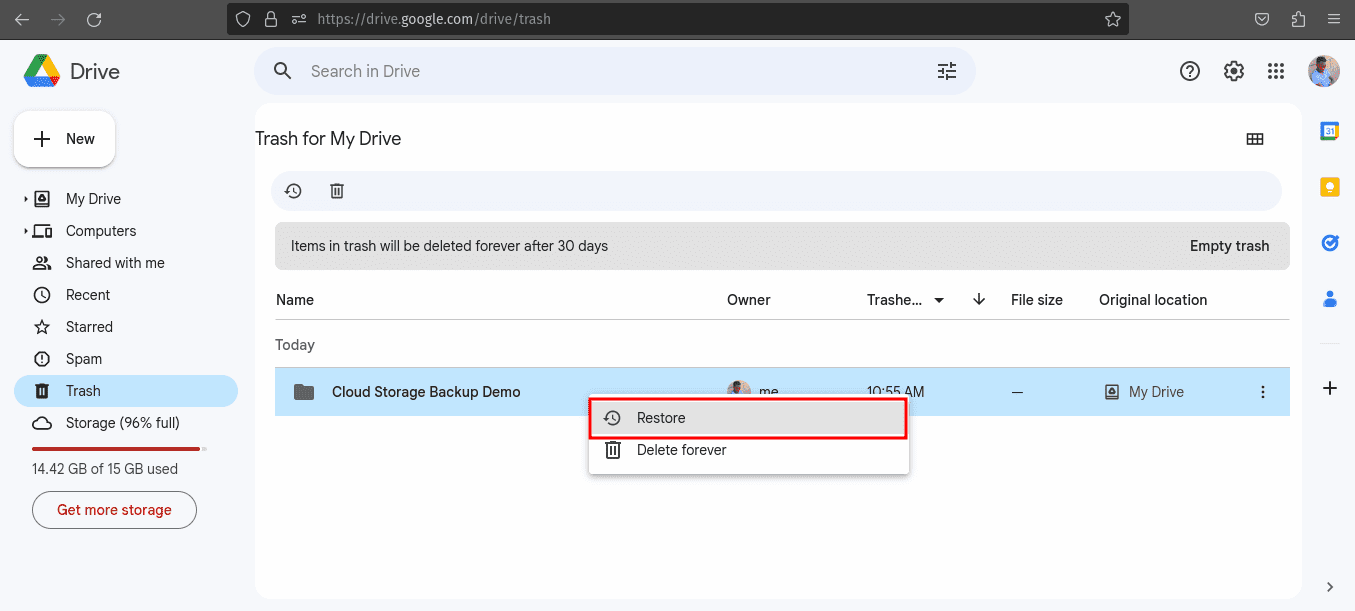
Restore the deleted file
Verify Local Restoration: Return to your local synchronized folder on your Pop!_OS machine. Confirm that the restored sample file has been returned to your local system.
Confirm file has been successfully restored
Testing Dropbox Backup and Restoration
Craft a Sample File: Similarly, generate a small image or document test file on your Pop!_OS machine.
Cloud storage backup demo
Monitor Synchronization: Save the test file within a folder designated for synchronization with Dropbox. Keep an eye on the Dropbox application to ensure the file commences syncing to the cloud.

Ensure the file is synced
Access Dropbox: Navigate to your Dropbox account using a web browser and locate the folder where you stored the test file. Confirm the presence of the file in your Dropbox cloud storage.
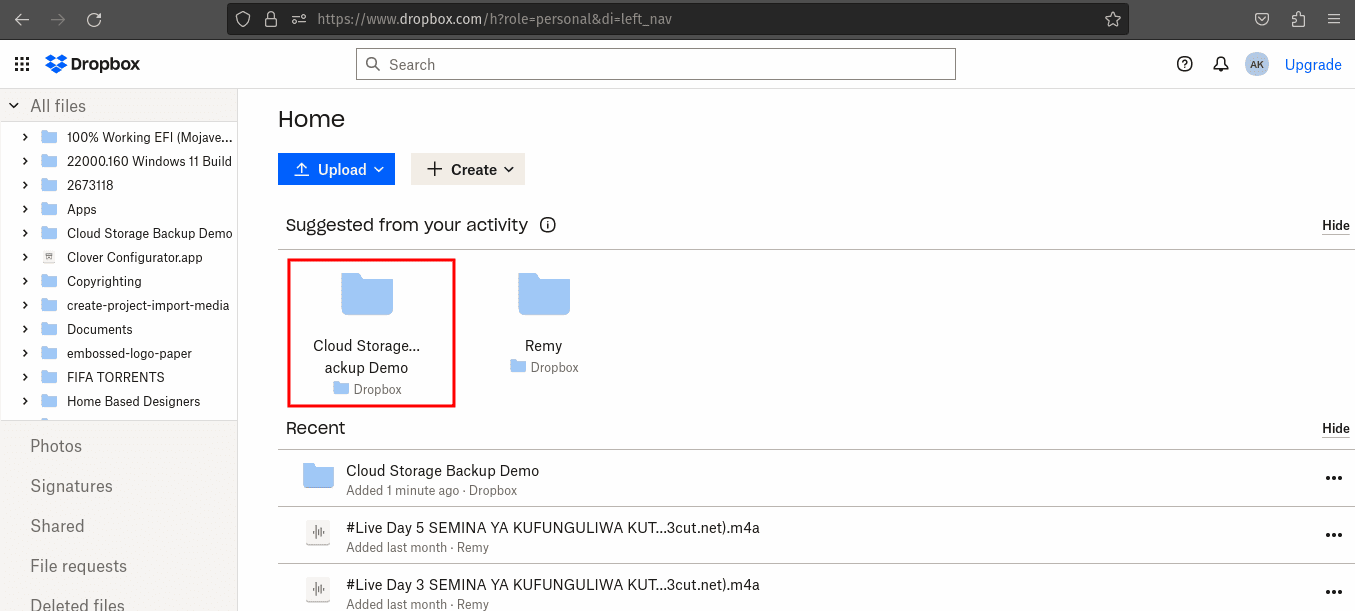
Launch browser and confirm that the file has synced
Simulate Data Loss: Delete the test file from the synchronized folder on your local machine.
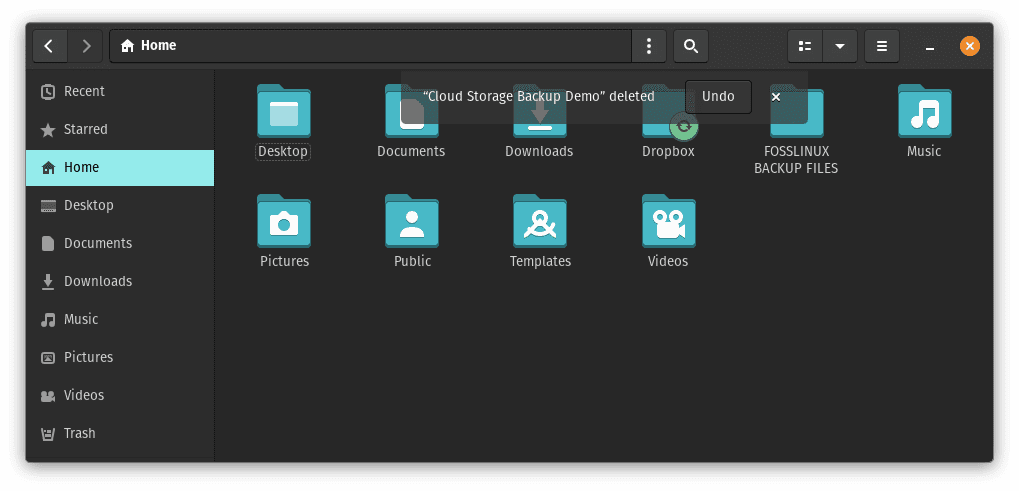
Delete original file
Restore the File: Access your Dropbox account through a web browser, find the deleted test file, and initiate its restoration. Observe the file’s return to your Dropbox storage.
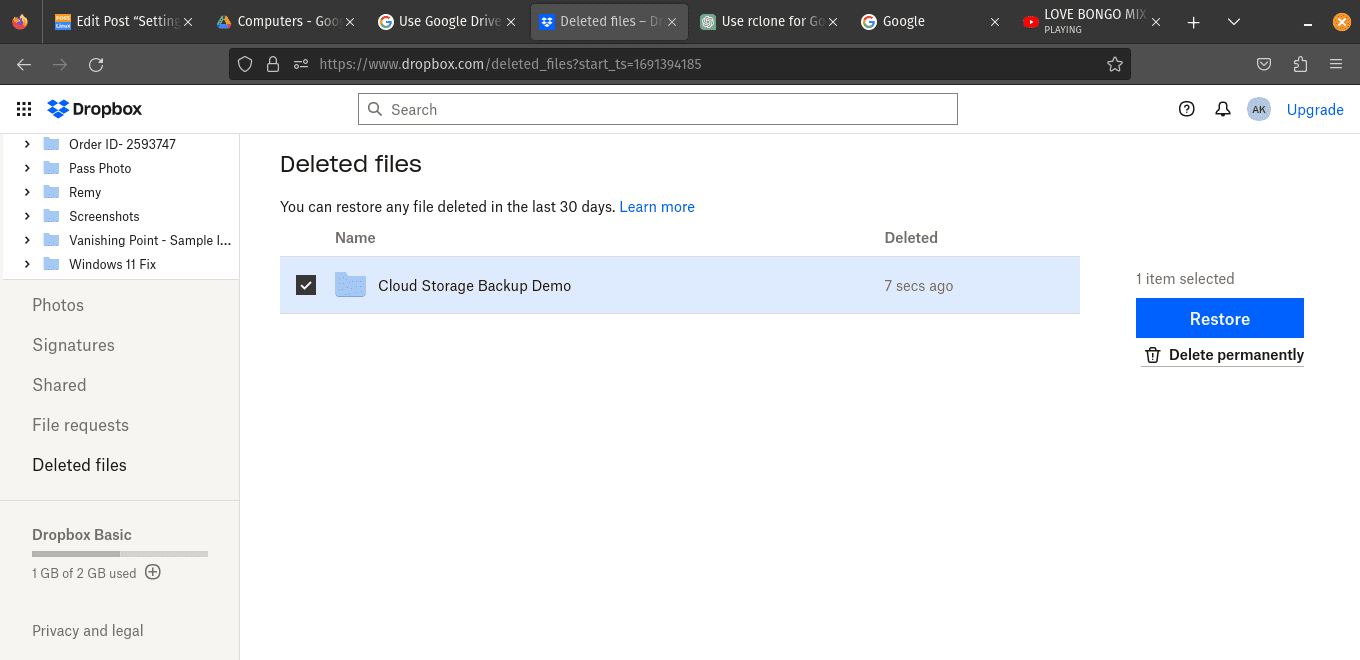
Restore deleted file
Check Local Restoration: Return to your local synchronized folder on your Pop!_OS system. Verify that your local machine has successfully reinstated the restored test file.
File has been successfully restored
Performing thorough tests on both Google Drive and Dropbox will help you better understand how the cloud storage backup and restoration processes work. By synchronizing and recovering test files, you can confirm that your cloud-based backup system is effective and capable of safeguarding your important data against potential loss. These tests serve as rehearsals, allowing you to prepare for unexpected scenarios and maintain the security of your digital assets.
Conclusion
In the ever-evolving world of technology, securing your data is not just an option – it’s a necessity. Pop!_OS, with its user-centric design and performance-driven ethos, deserves to be complemented with a robust backup strategy. A cloud-based backup system not only shields your precious files from the unpredictable circumstances but also provides you with the peace of mind to explore, create, and innovate without fear. By following our step-by-step guide, you’ve taken a significant stride toward ensuring your digital journey on Pop!_OS remains uninterrupted, safe, and inspiring.