
No matter how cutting-edge or reliable your OS is, data loss remains a potential threat. In this guide, we’ll delve into the essential practice of data backup on Pop!_OS. We’ll explore using the Timeshift approach to ascertain that your data remains secure and accessible, even in the face of unforeseen circumstances.
Why Backup Matters on Pop!_OS
Pop!_OS, developed by System76, is based on Ubuntu and designed for a seamless computing experience. It caters to a wide range of users, from software developers to graphic designers, with a focus on performance, security, and customization. Your data, including important documents and cherished memories in the form of photos and videos, is invaluable, which is why data backup is crucial to protect against potential data loss due to hardware failures, system crashes, or accidental deletion.
Mastering Data Backup on Pop!_OS with TimeShift
Timeshift is a powerful backup and restore tool for Linux systems, including Pop!_OS. It is designed to simplify the data backup process by creating snapshots of your current system, making data restoration on the new OS easier. This method suits users who prefer a hassle-free migration experience and want to ensure a smooth transition to Pop!_OS.
To install Timeshift, follow these steps:
Step 1: Open the Terminal
Press Ctrl + Alt + T to launch the Terminal, the command-line interface in Pop!_OS.
Step 2: Update the Package List
Before installing Timeshift, ensuring your system has the latest package information is essential. Type the following command and press Enter:
sudo apt update
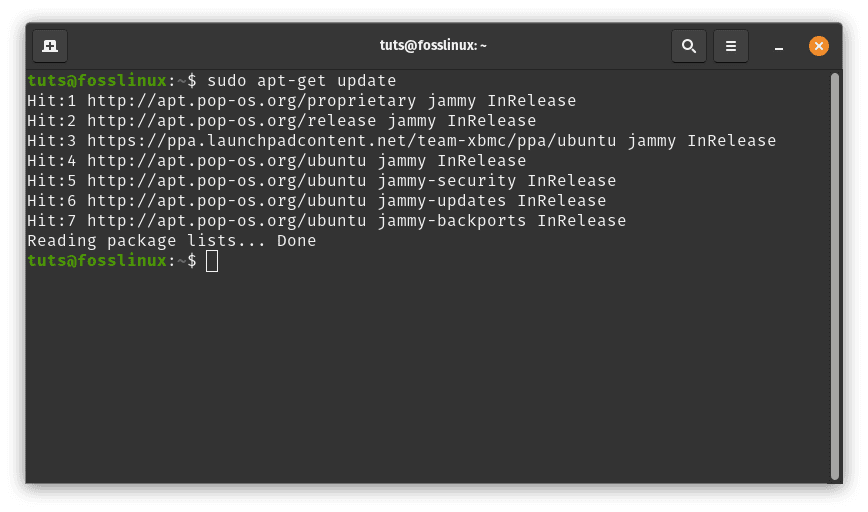
Update system resources
Step 3: Install Timeshift
Now that your package list is up-to-date install Timeshift by entering the following command and pressing Enter:
sudo apt install timeshift
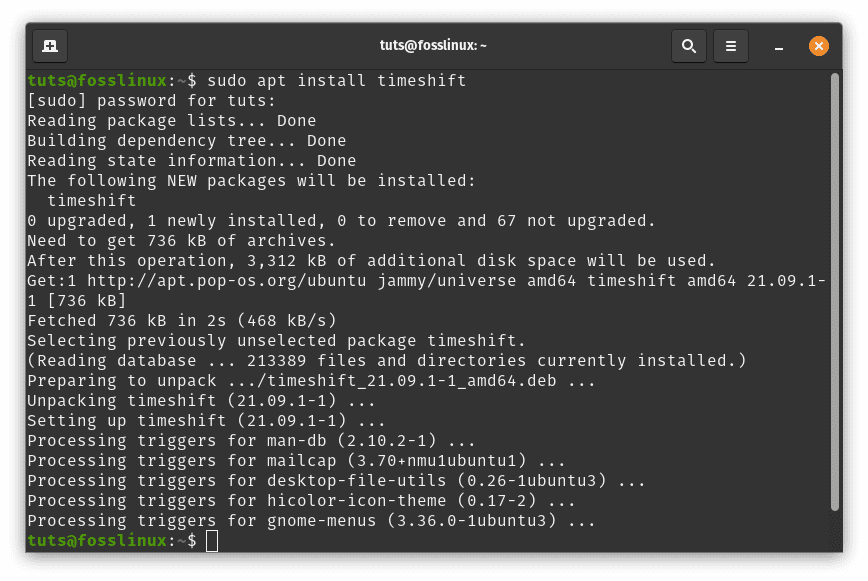
Install timeshift
That’s it. Timeshift has been successfully installed on your Pop!_OS system. To launch it, navigate the application launcher and search for Timeshift.
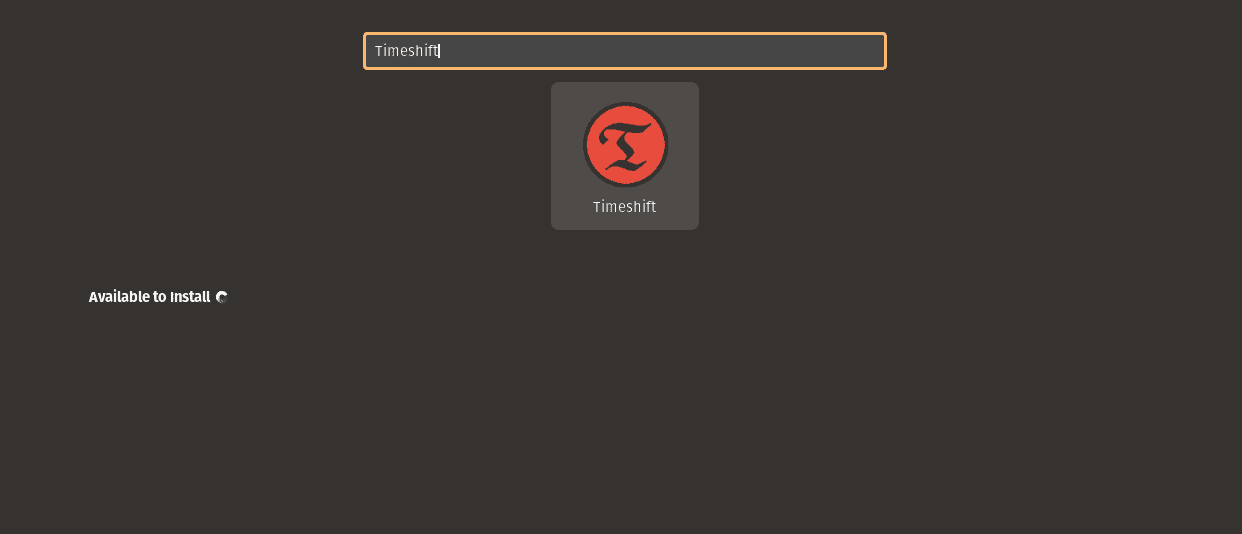
Search for Timeshift
Once the correspondent results have been displayed, click the Timeshift icon to launch it.
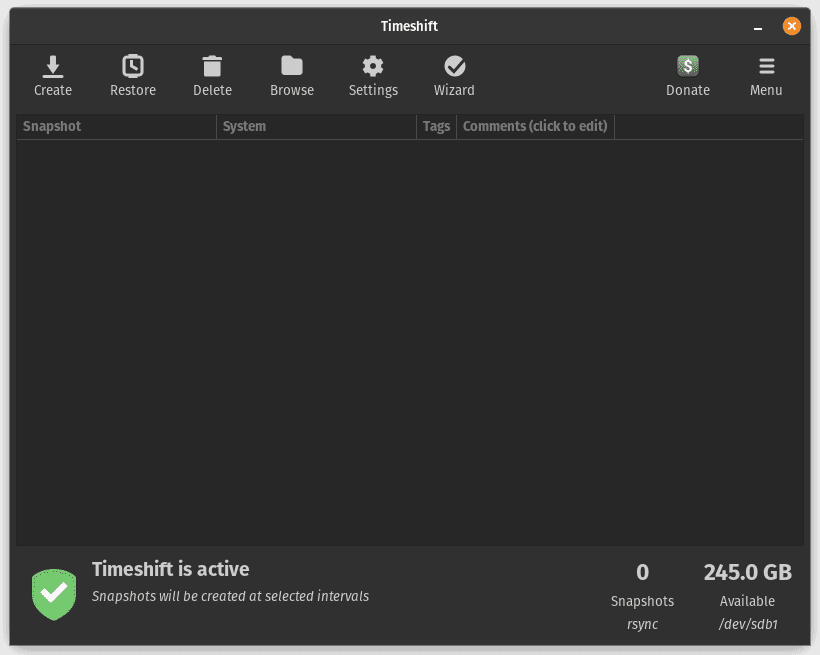
Launch Timeshift
Backing Up Your Data Using Timeshift
Follow these simple steps to back up your data using Timeshift:
Open Timeshift: To access Timeshift, go to the Applications menu and search for “Timeshift.” Launch the Timeshift application to begin the backup process.
Launch Timeshift
Create a Snapshot: Once in Timeshift, click on “Create” to initiate the snapshot creation process.
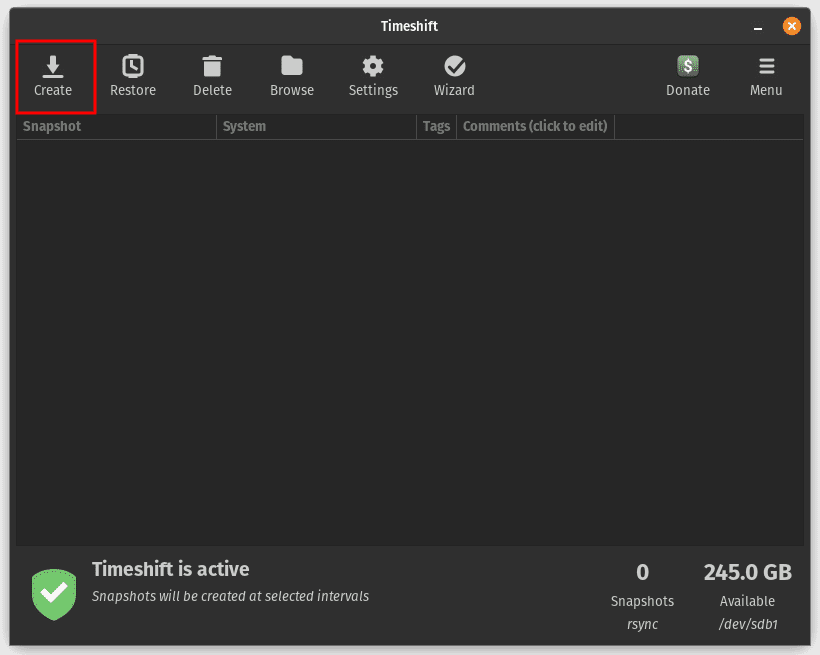
Create snapshot
You’ll be prompted to choose the snapshot type:
- RSYNC: This snapshot type captures only user data, resulting in a smaller backup size.
- BTRFS: BTRFS snapshots include both user data and system files, resulting in a more comprehensive backup.
Choose the snapshot type that aligns with your preferences and system configuration, and proceed to the next step.
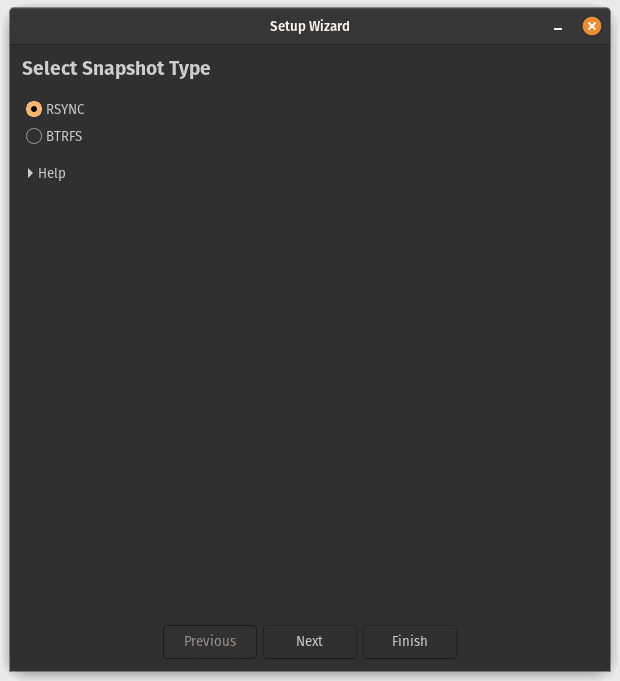
Show snapshot type
Select Backup Location: Next, you’ll need to choose the backup location. Timeshift gives you the flexibility to store the snapshots on your local system, an external storage device, or a network location. Choose the storage option that best suits your requirements.
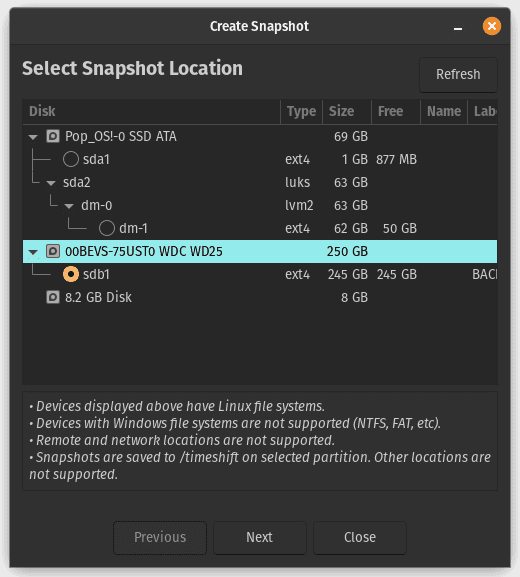
Select backup location
Set Snapshot Name and Description: Provide a meaningful name and description for your snapshot to help identify it later. This step ensures you can easily recognize and select the correct snapshot for restoration.
Initiate Backup: With all the necessary settings in place, click “Create” to start the backup process. Timeshift will begin capturing your system’s current state and save it as a snapshot for future restoration.
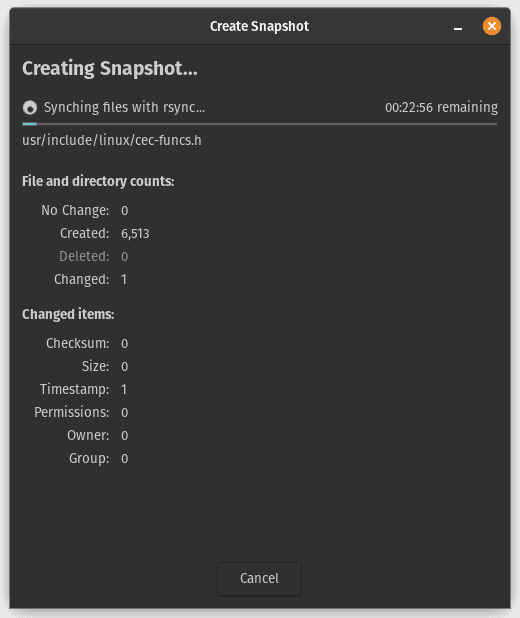
Creating backup
Monitor Backup Progress: The backup process might take some time, depending on the size of your system and the type of snapshot you selected. Monitor the progress through the Timeshift interface and wait until it completes successfully.
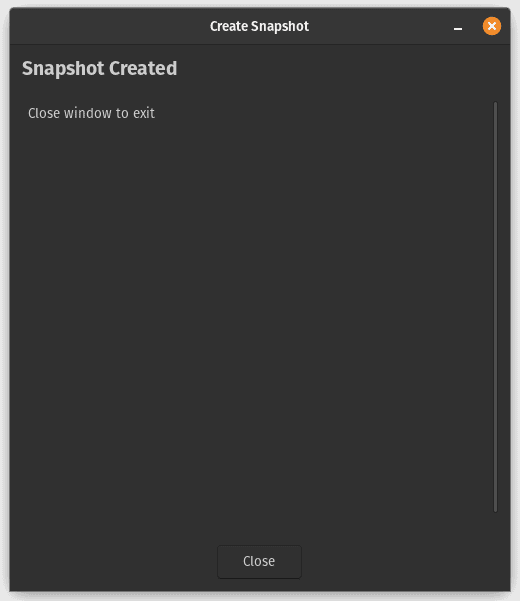
Creation successfull
Congratulations! You’ve successfully backed up your Pop!_OS data using Timeshift, making it easier to restore your system to this state later if the need arises.
Restoring Your Data Using Timeshift
Should the need ever arise to restore your system to a previous state, Timeshift simplifies the restoration process. Follow these straightforward steps to initiate the restoration:
Open Timeshift: Launch the Timeshift application from the Applications menu.
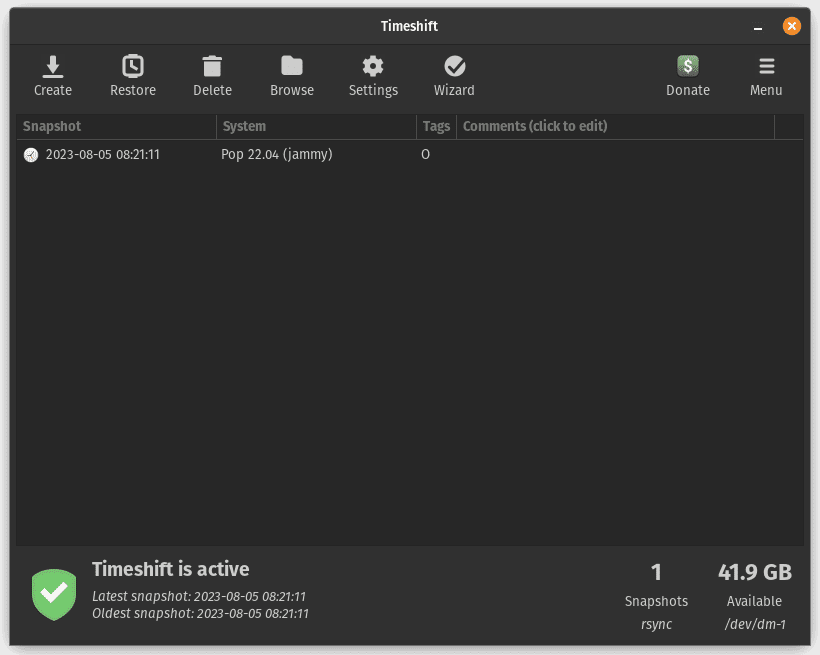
Launch Timeshift application
Choose the Snapshot: From the list of available snapshots, select the one you created. Carefully review the snapshot details to ensure you are restoring the desired state of your system.
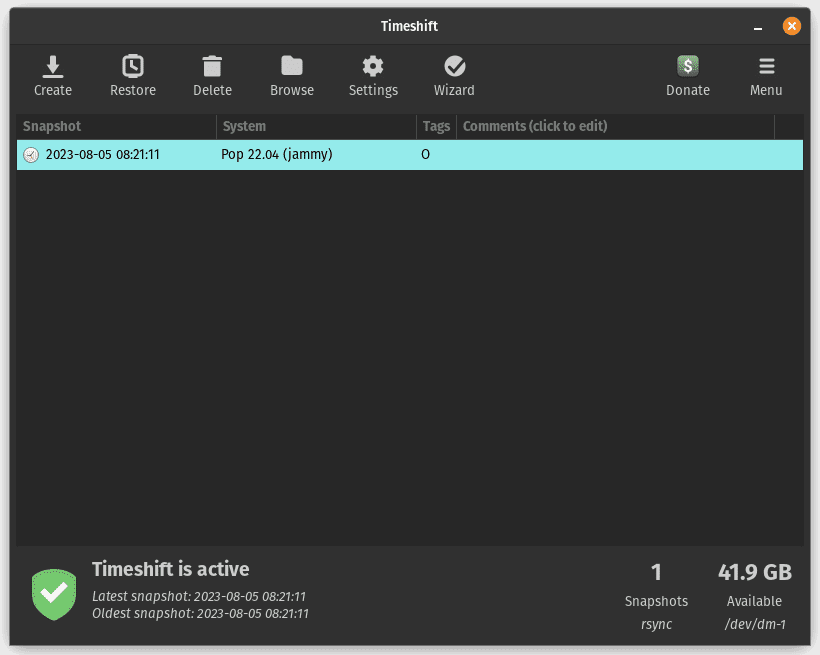
Select restore snapshot
Select “Restore”: In Timeshift, click on the “Restore” button to access the available snapshots.
Restore snapshot
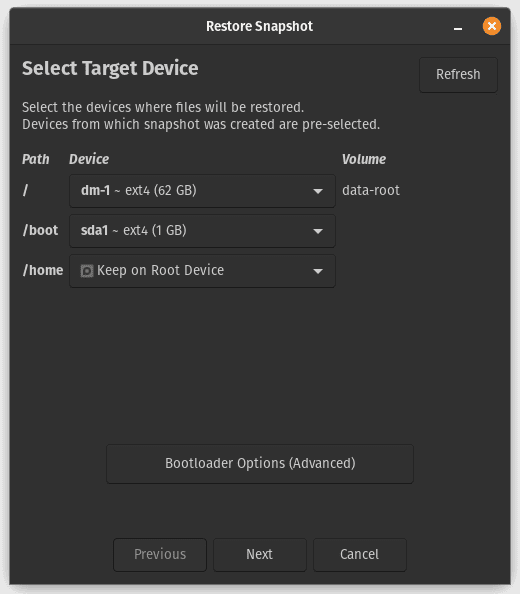
Confirm Restoration: After selecting the appropriate snapshot, click “Next” to initiate the restoration process. Timeshift will handle the rest, and your data will be restored to the selected snapshot.
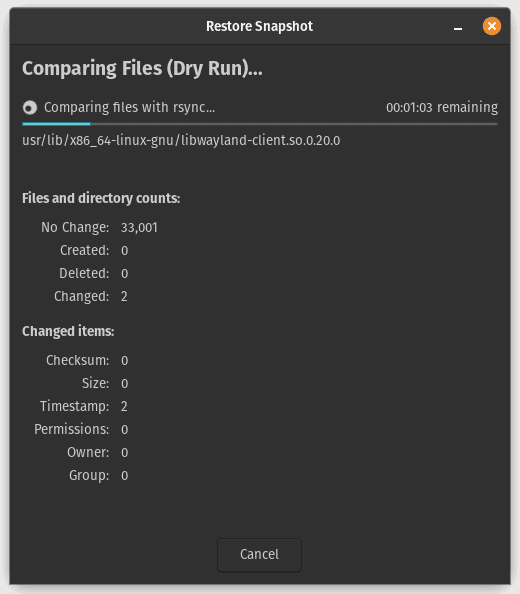
Restoration process
Please note that the restoration process will replace your current system state with the data from the selected snapshot. Any changes made since the snapshot was created will be lost.
Pros of using Timeshift
- User-friendly Interface: Timeshift provides a straightforward and intuitive interface, making it accessible to users of all experience levels. The graphical user interface simplifies the process of creating, managing, and restoring system snapshots.
- Efficient System Snapshots: Timeshift employs the power of Rsync and Btrfs filesystem technology to capture system snapshots efficiently. This results in minimal storage overhead while providing comprehensive backups.
- Supports Incremental Backups: To save disk space and time, Timeshift supports incremental backups. It only stores the differences between successive snapshots, making subsequent backups faster and less resource-intensive.
- Easy Restoration Process: When you need to restore your data, Timeshift’s restoration process is seamless and user-friendly. You can select the desired snapshot and initiate the restoration with just a few clicks.
Cons of using Timeshift
- Limited to Restoring on the Same Architecture: While Timeshift is an excellent tool for restoring data on the same architecture (e.g., 64-bit to 64-bit), it may not be suitable for cross-architecture migrations, such as moving from a 32-bit system to a 64-bit Pop!_OS installation.
Conclusion
In the world of computing, data is the currency of our digital lives. As a Pop!_OS user, you’re part of a vibrant community that values performance, customization, and innovation. However, the journey of computing is not without its challenges. Data loss can strike unexpectedly, disrupting your work and erasing your cherished memories. That’s why the practice of data backup is not just a recommendation; it’s a crucial necessity.