
With the rise of connected devices and digital systems, creating a home server is no longer just for tech-savvy individuals. A home server used to be complex and obscure, but it has now become a useful tool for people to take control of their digital lives.
This guide will explain how to set up a home server using Pop!_OS, a Linux distribution known for being easy to use and high-performance. By the end of this article, you will not only learn how to set up a home server, but also understand why it’s important for personal computing and managing data.
Unveiling the home server concept
Before we dive into the technical intricacies, let’s illuminate the concept of a home server. Imagine a centralized hub within the confines of your home, tirelessly serving your digital needs. A home server is a versatile machine that can function as a personal cloud, a media server, a file storage solution, a backup repository, a home automation center, and more. It’s your own slice of the internet, where you can exert total control over your data and services. No more relying on external providers for cloud storage or exposing your sensitive information to the world. With a home server, the power lies in your hands.
Why a Home server?
Have you ever wondered why setting up a home server is worth your time and effort? Well, there are two major benefits: autonomy and security. In today’s digital age, data is often referred to as the new oil, making it crucial to retain control over your data. With a home server, you can host your applications and store your files without surrendering your privacy to third-party companies. Plus, having your data within your own domain enhances its security, as you become the gatekeeper who sets up a fortress against potential cyber threats.
While there are many Linux distributions available, Pop!_OS stands out as an excellent choice for a home server. It’s user-friendly, has robust performance optimizations, and focuses on developer tools, making it an ideal platform. Pop!_OS’s simplicity and elegance are refreshing, even for those new to Linux. Additionally, it seamlessly integrates with System76 hardware but is also compatible with a wide range of hardware configurations.
Preparation: Tools and resources
Before we embark on this exhilarating journey, a few tools are needed to pave our way:
- Hardware -Your server’s foundation: While it doesn’t need to be a high-tech marvel, a reliable computer with decent specs forms the bedrock of your server.
- Pop!_OS installed – Your canvas awaits: Assuming the vibrant landscape of Pop!_OS is already adorning your machine, you’re poised to start this creative process.
- A Plan – Charting your course: Take a moment to etch your server’s aspirations onto paper—the guiding star that shall illuminate your path. Whether it’s the role of a media maestro, data guardian, or virtual bard, your plan is the blueprint from which your server shall rise.
In this symphony of technology, we’re not just setting up a server but crafting a personalized masterpiece. So let the journey commence as we unravel the intricacies, conquer the challenges, and sculpt your digital haven with the power of Pop!_OS.
Step-by-step guide: Setting up your home server on Pop!_OS
Let’s transform your Pop!_OS installation into a formidable home server. Before diving into the installation process, it’s essential to identify the type of home server you wish to set up. There are several types of home servers, as shown in the section below:
- Media Server: A platform to store, organize, and stream your media content.
- File Server: A repository for your personal files, accessible from anywhere.
- Web Server: Host your website, blog, or portfolio.
- Home Automation Server: Control your smart home devices from a central hub.
Building your home server on Pop!_OS
Follow the sections below to build your home server on Pop!_OS:
1. Update everything
Start by ensuring your system is up to date. Open a terminal (press Ctrl + Alt + T) and enter the following commands:
sudo apt update && sudo apt upgrade
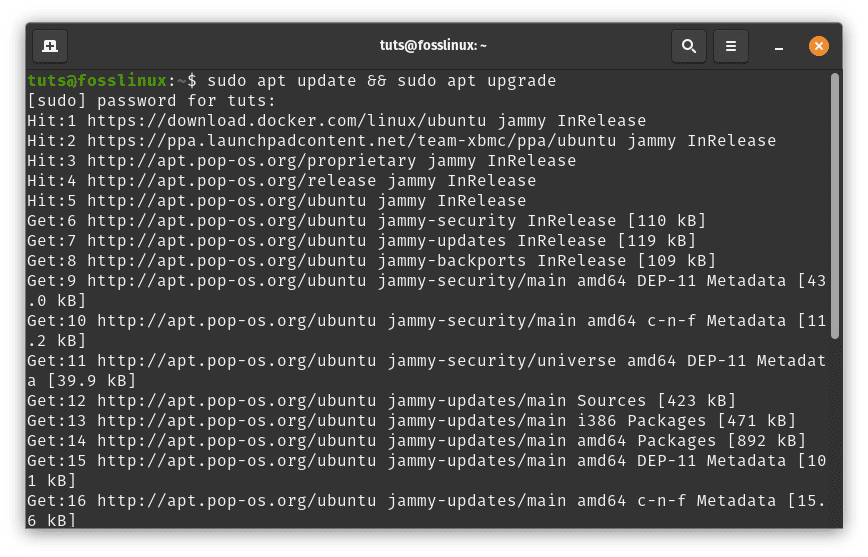
Update and upgrade system resources
This will update your system’s package list and upgrade any installed system resources and packages to their latest versions.
2. Install the necessary software
Depending on the purpose of your home server, you’ll need specific software packages. Let’s say you want to set up a web server, file sharing, and media streaming using Apache, Samba, and Plex, respectively. Run the following commands in the terminal:
sudo apt install apache2       # for web hosting

sudo apt install samba         # for file sharing

sudo apt install plexmediaserver   # for media streaming
These commands install the necessary software components for your chosen purposes.
Before diving into the exciting installation process, defining your server’s purpose is crucial. Picture it as selecting the tools for your adventure—a compass guiding your steps through uncharted digital landscapes.
Below is an in-depth guide on the different types of home servers one can choose from and how to set them up on your Pop!_OS:
a. Media Server: A platform for media magic
Welcome to the enchanting realm of media servers, where the screen becomes a canvas for your desires. This is your digital theater, a place to store, organize, and stream your media content at the wave of your command.
Installation Steps:
Install Plex Media Server: Open your terminal and infuse your server with magic using this command:
sudo apt install plexmediaserver
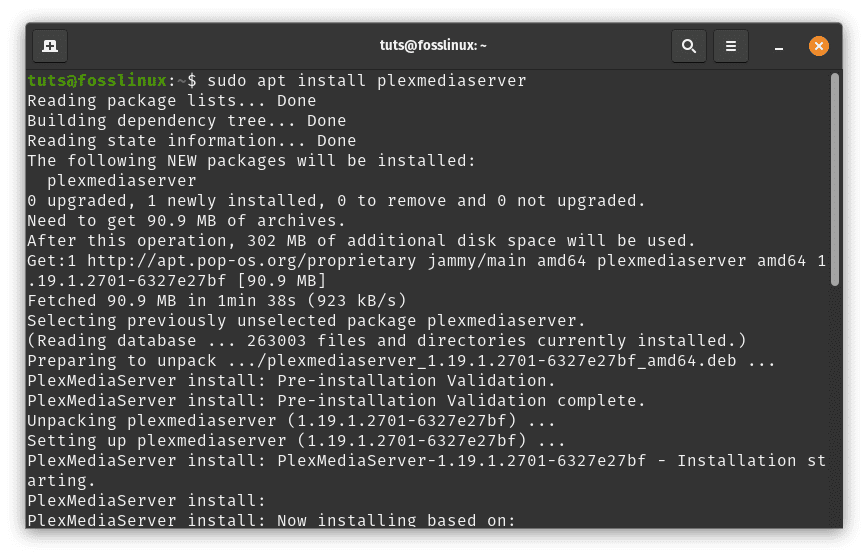
Install plexmediaserver
Configure Plex: Access the enchanting world of Plex by entering http://localhost:32400/web in your browser. Allow the on-screen instructions to guide you through setting up your Plex account, libraries, and the enchanted realms of media folders.
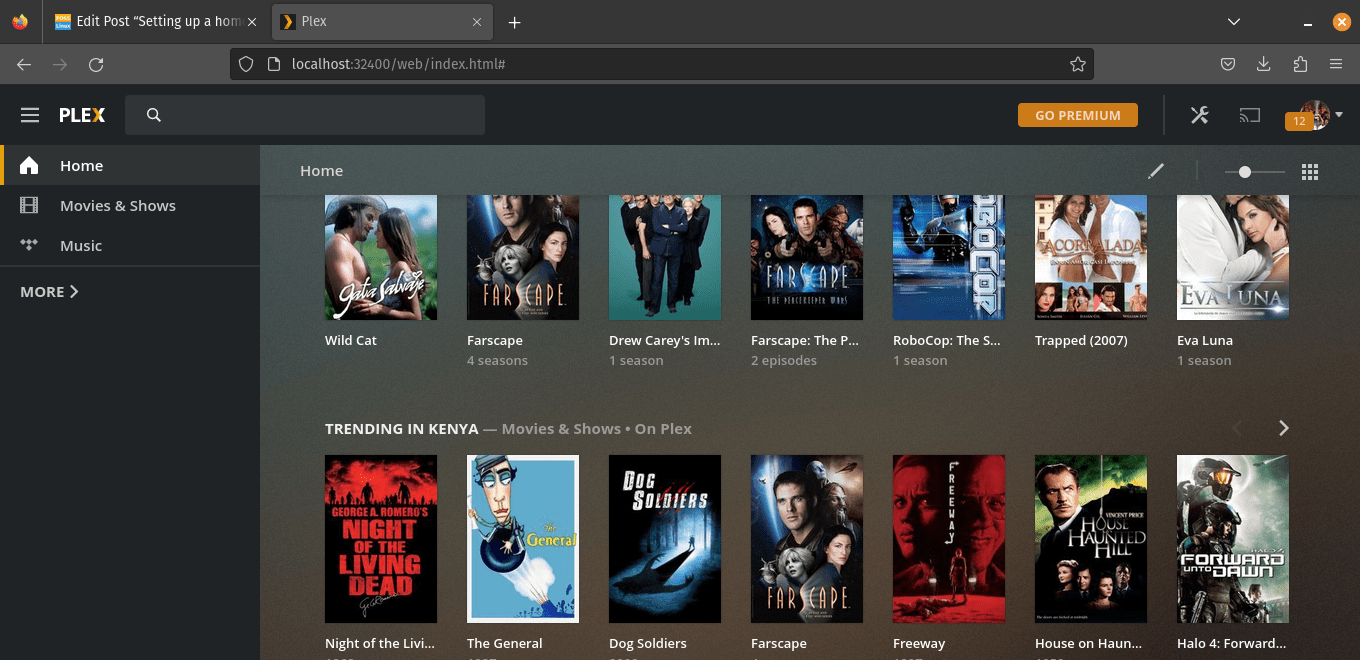
Plexmediaserver
Add Media Content: Harness the power of Plex’s web interface. Venture to “Settings” > “Libraries” and grant access to your media treasures.
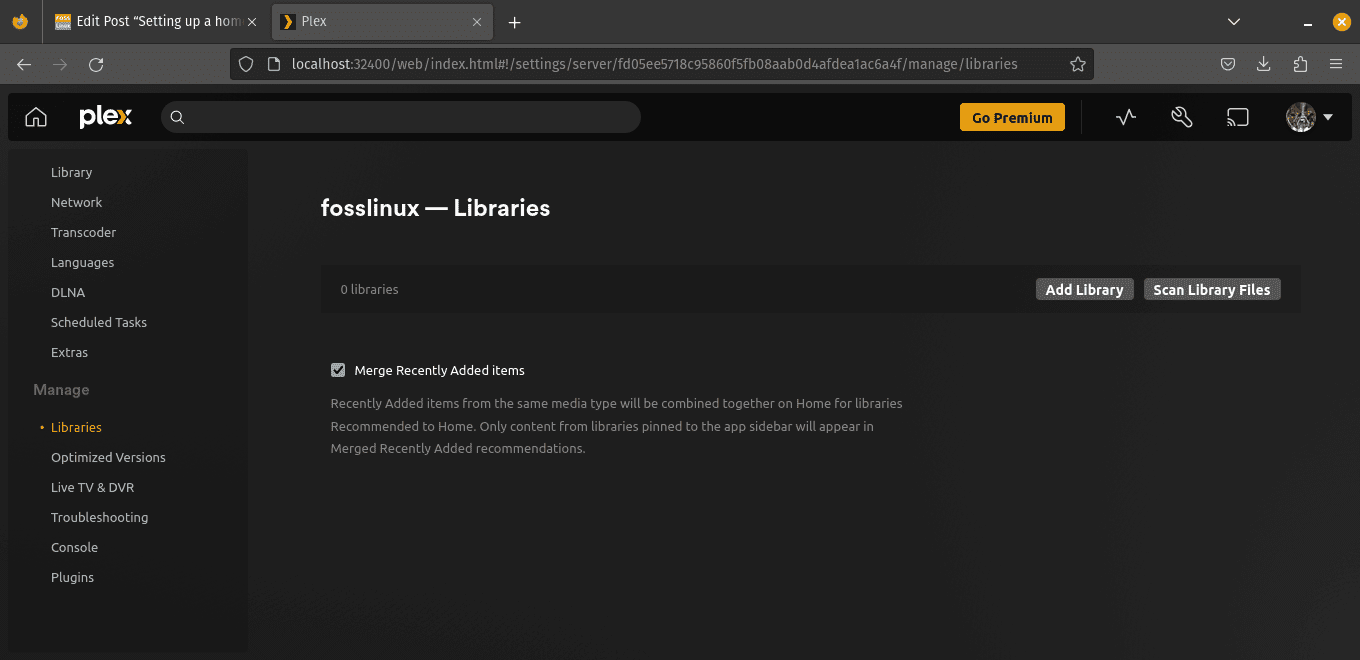
Libraries
Watch as Plex scans and weaves its magic to organize your content seamlessly.
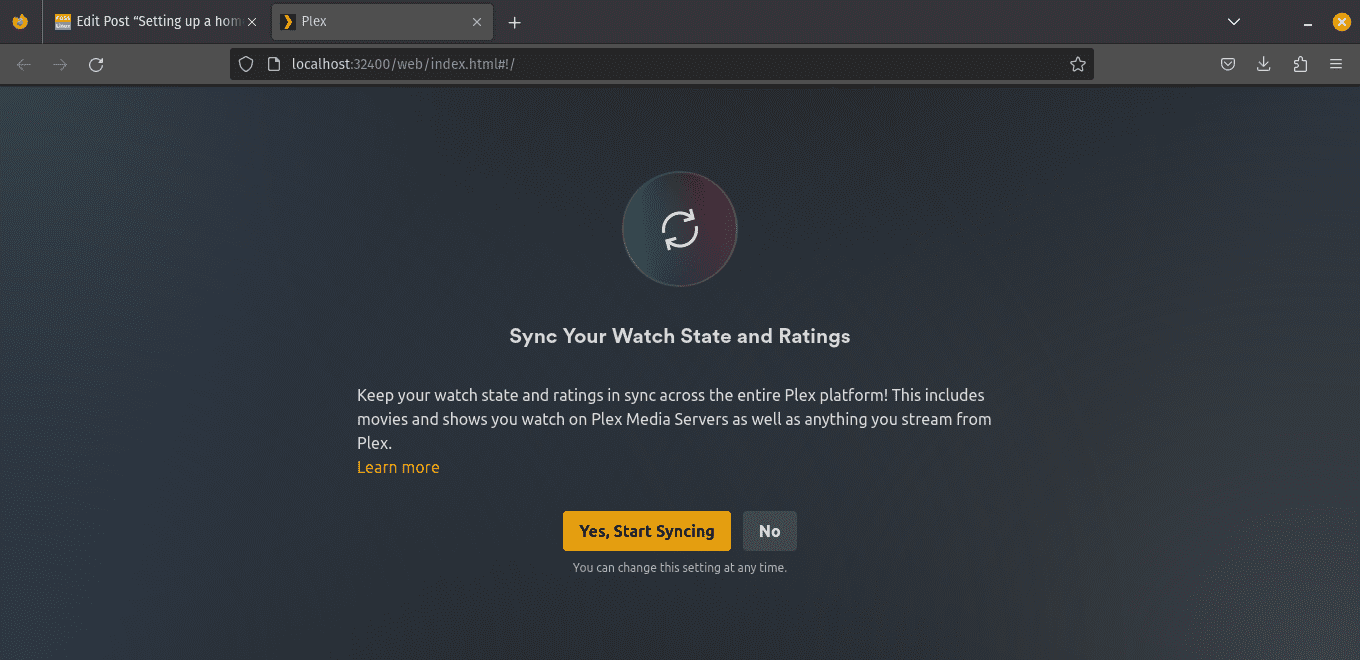
Start syncing
b. File Server: Your personal data vault
Imagine a vault transcending time and space—your digital sanctum where files are meticulously organized and accessible no matter where you roam.
Installation Steps:
Samba is a popular software suite that enables file and printer sharing between Linux and Windows systems. Here’s a step-by-step guide:
Install Samba: Open a terminal window and execute the following commands to install Samba:
sudo apt update

sudo apt install samba
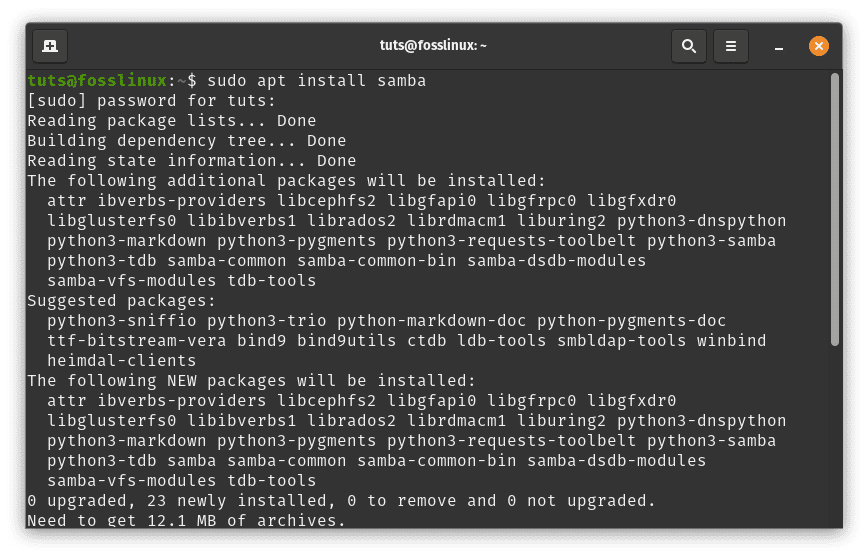
Install samba
Create a shared directory: Create a directory that you want to share with other devices on your network. For this example, we’ll create a directory called “shared” in your home directory:
mkdir ~/shared
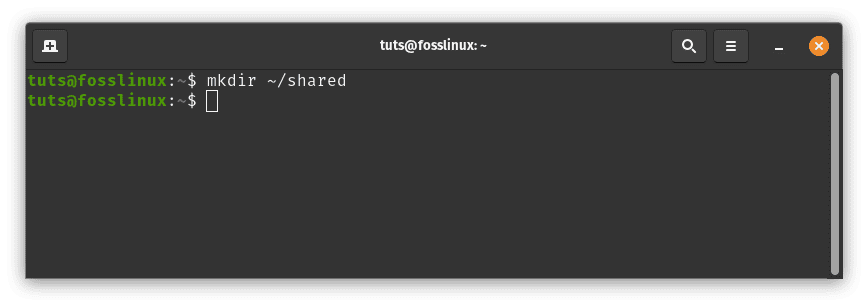
Create a shared folder
Configure Samba: Open the Samba configuration file for editing:
sudo nano /etc/samba/smb.conf

Configure samba
At the end of the file, add the following lines to define your shared directory:
[Shared]

comment = Shared Directory

path = /home/yourusername/shared

browseable = yes

read only = no

guest ok = yes
Replace yourusername with your actual username. This configuration creates a share named “Shared” that allows guest access.
[Shared]

comment = Shared Directory

path = /home/tuts/shared

browseable = yes

read only = no

guest ok = yes
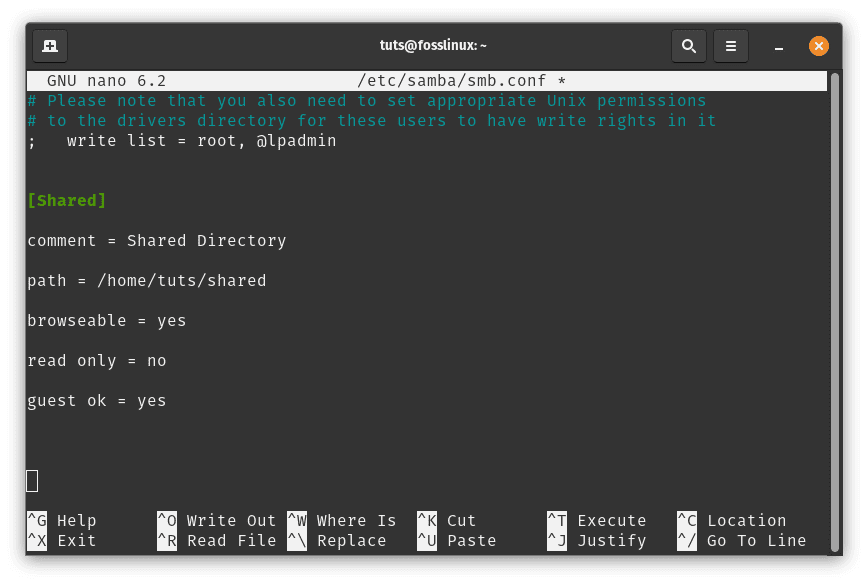
Configure samba shared file
Save the changes by pressing Ctrl + O, then press Enter. Exit the text editor by pressing Ctrl + X.
Set Samba Password: Next, you need to set a Samba password for your user. Run the following command and set a password when prompted:
sudo smbpasswd -a yourusername
Replace yourusername with your actual username.
sudo smbpasswd -a tuts
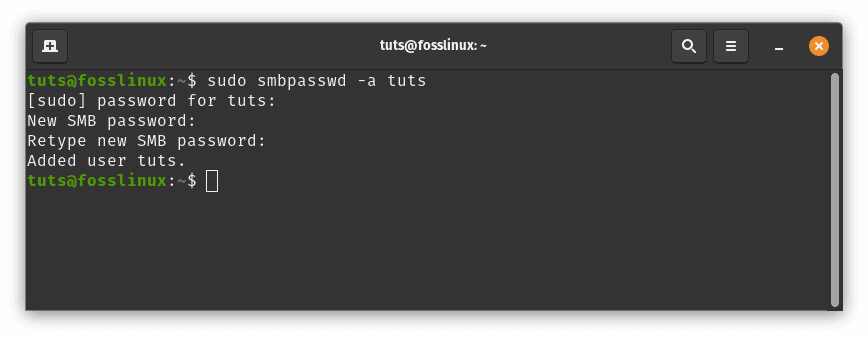
Set samba password
Restart Samba: After making changes to the Samba configuration, restart the Samba service:
sudo systemctl restart smbd
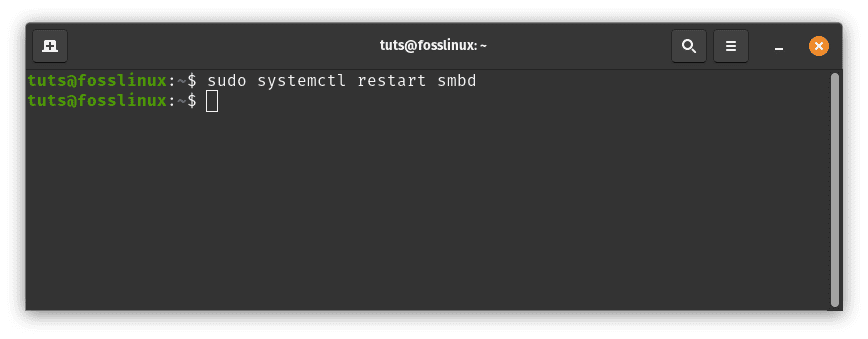
Restart Samba
Allow Samba Through Firewall: If you have a firewall enabled, you need to allow Samba traffic. Run the following commands:
sudo ufw allow 'Samba'

sudo ufw reload
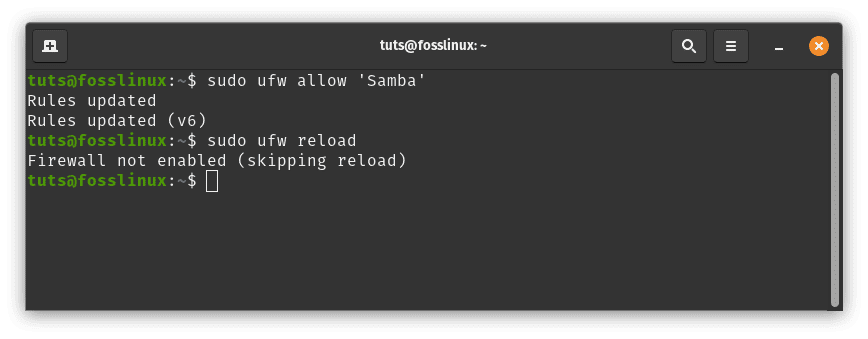
Allow samba through firewall
Access the Shared Folder: Now you can access the shared folder from other devices on your network. On Windows, open File Explorer and enter \\pop-os-ip\Shared in the address bar, replacing pop-os-ip with the IP address of your Pop!_OS machine.
On Linux, you can use the following command to access the shared folder:
smbclient //pop-os-ip/Shared -U yourusername
Replace pop-os-ip with the IP address of your Pop!_OS machine and yourusername with your actual username
smbclient //192.168.100.6/shared -U rutto
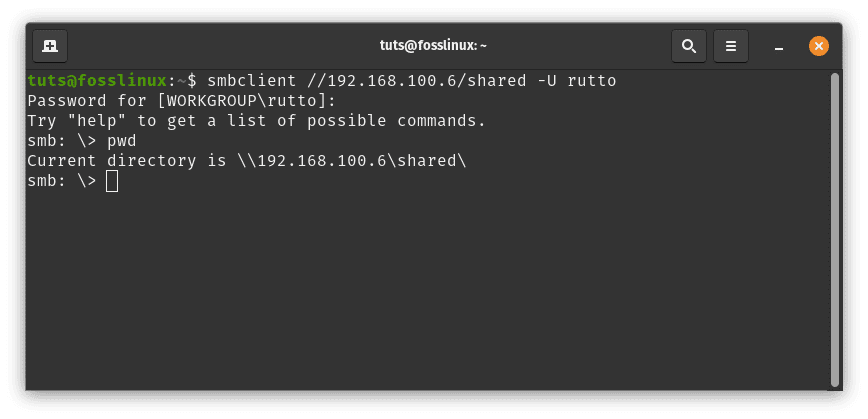
Connect file server via samba
That’s it! You’ve successfully set up a Samba file server on your Pop!_OS machine. Other devices on the same network can now access the shared directory using the provided credentials.
3. Web Server: Your digital showcase
Now, envision your Pop!_OS machine as a grand stage—a place where your creations shine and your stories echo through the digital winds.
Installation Steps:
Install Apache: Bring the curtains up by summoning Apache with the spell:
sudo apt install apache2
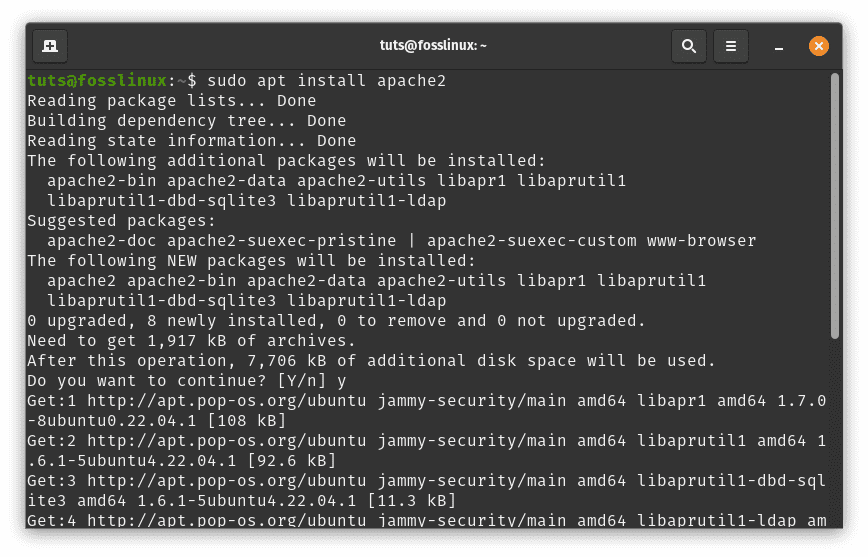
Install Apache
Start Apache2: After the installation is complete, start the Apache2 service using:
sudo systemctl start apache2

Start Apache
Enable on Startup: To ensure that Apache2 starts automatically upon system boot, run:
sudo systemctl enable apache2
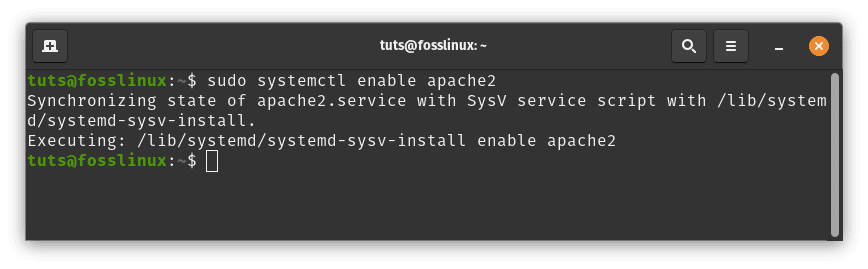
Enable Apache on start
Verify Installation: Open a web browser and enter http://localhost or http://127.0.0.1 in the address bar. You should see the default Apache2 landing page, indicating that Apache2 is working correctly.
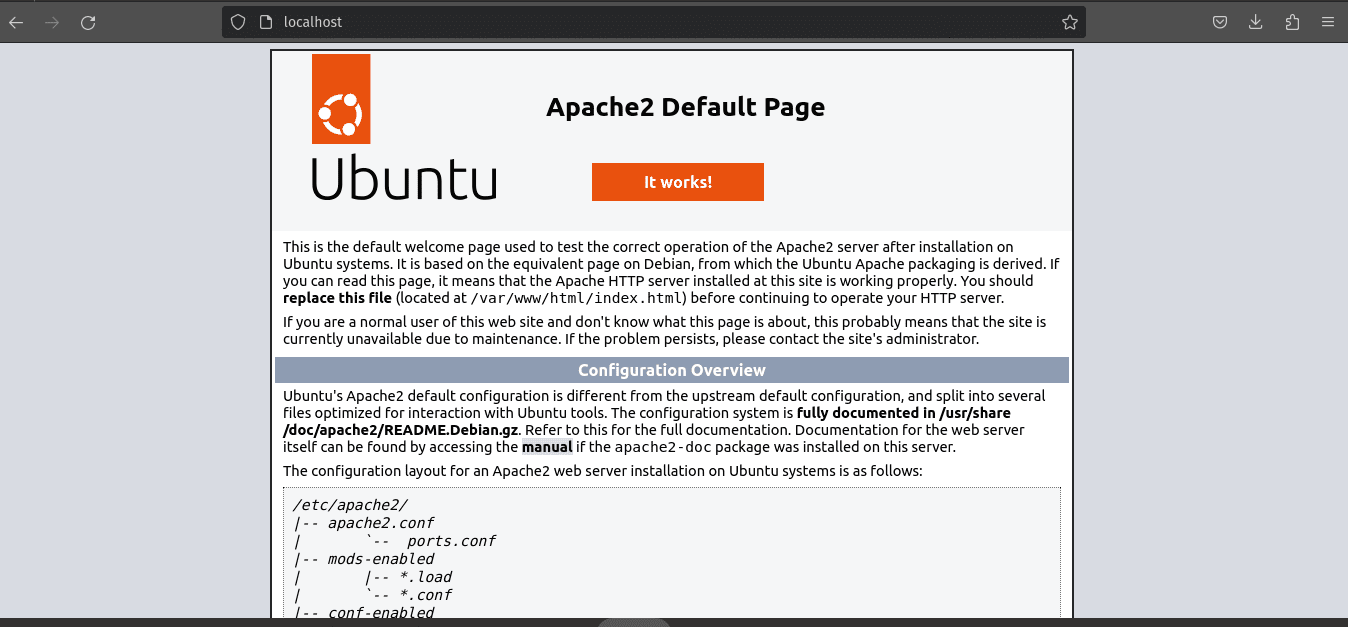
Apache2 default landing page
Create Your Website: Now, let’s create a simple demo website.
Navigate to the default web root directory:
cd /var/www/html/
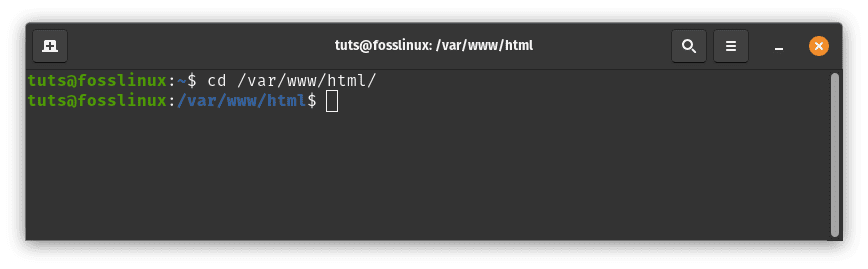
Default webroot directory
Create a basic HTML file for your demo website:
sudo nano index.html
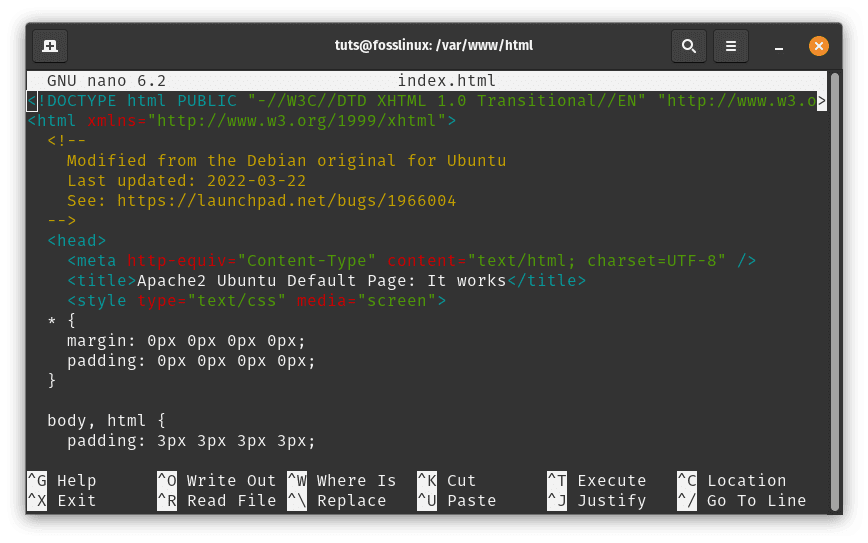
Create demo website
Add some content to the file (e.g., a simple “Hello, Foss Linux Enthusiasts!” message):
<!DOCTYPE html>

<html>

<head>

<title>My Foss Linux Demo Website</title>

</head>

<body>

<h1>Hello, Foss Linux Enthusiasts!</h1>

<p>This is a demo website hosted by Apache2 on Pop!_OS.</p>

</body>

</html>
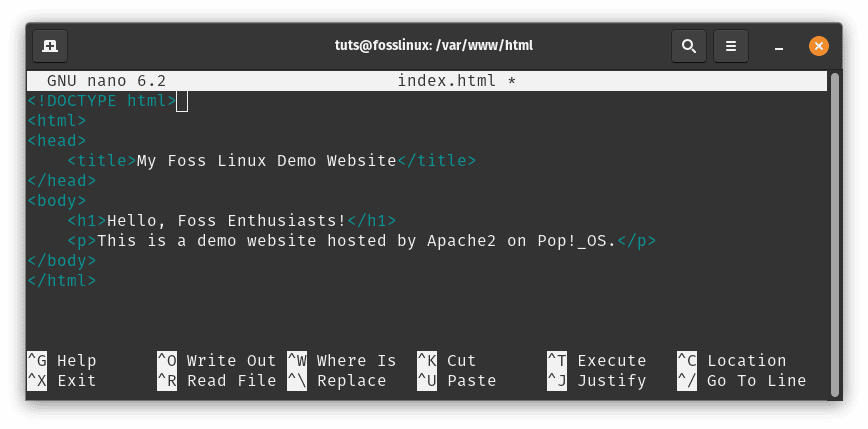
Add content to index.html file
Save and exit the text editor (Press Ctrl + O to save, Ctrl + X to exit).
Configure Virtual Host (Optional): If you plan to host multiple websites on your server, you can set up virtual hosts to differentiate them. Here’s a basic example:
Create a new virtual host configuration file:
sudo nano /etc/apache2/sites-available/mydemo.conf
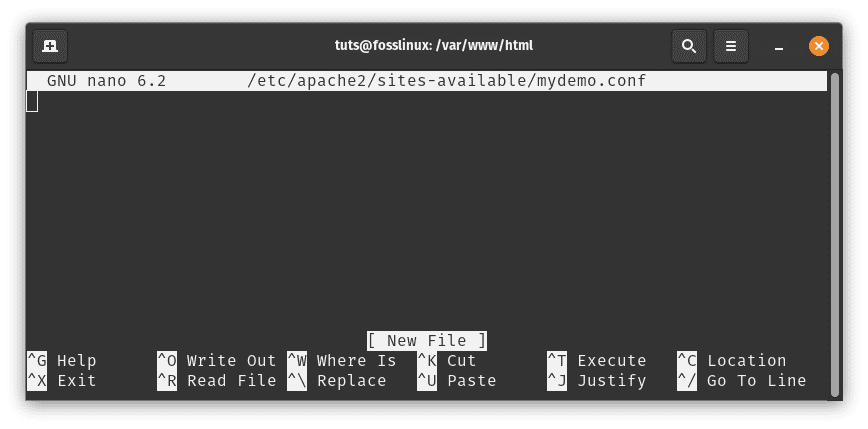
Create a new virtual host config file
Add the following content, adjusting paths and settings as needed:
<VirtualHost *:80>

ServerAdmin webmaster@example.com

ServerName mydemo.local

DocumentRoot /var/www/html/

<Directory /var/www/html >

Options Indexes FollowSymLinks AllowOverride All Require all granted </Directory>

ErrorLog ${APACHE_LOG_DIR}/error.log CustomLog ${APACHE_LOG_DIR}/access.log combined

</VirtualHost>

Append the following content
Save and exit the text editor.
Enable the virtual host and reload Apache2:
sudo a2ensite mydemo.conf

sudo systemctl reload apache2

Enable virtual config and reload Apache2
Access your website: If you configured a virtual host, add an entry to your /etc/hosts file:
sudo nano /etc/hosts
Add this line:
127.0.0.1 mydemo.local
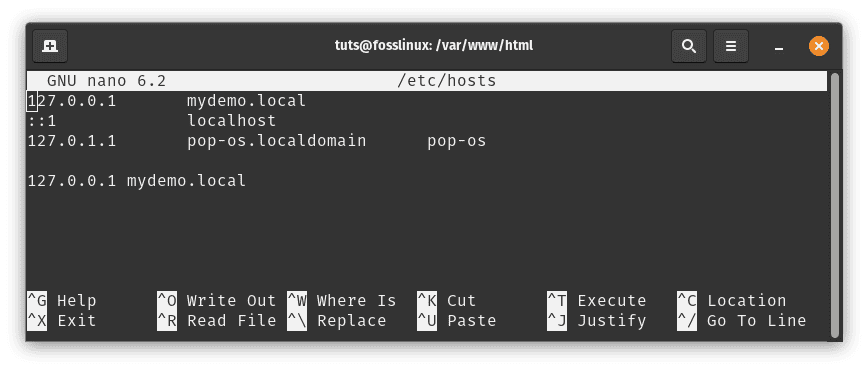
Append entry to etc-hosts
Now you can access your demo website by typing http://mydemo.local in your browser.
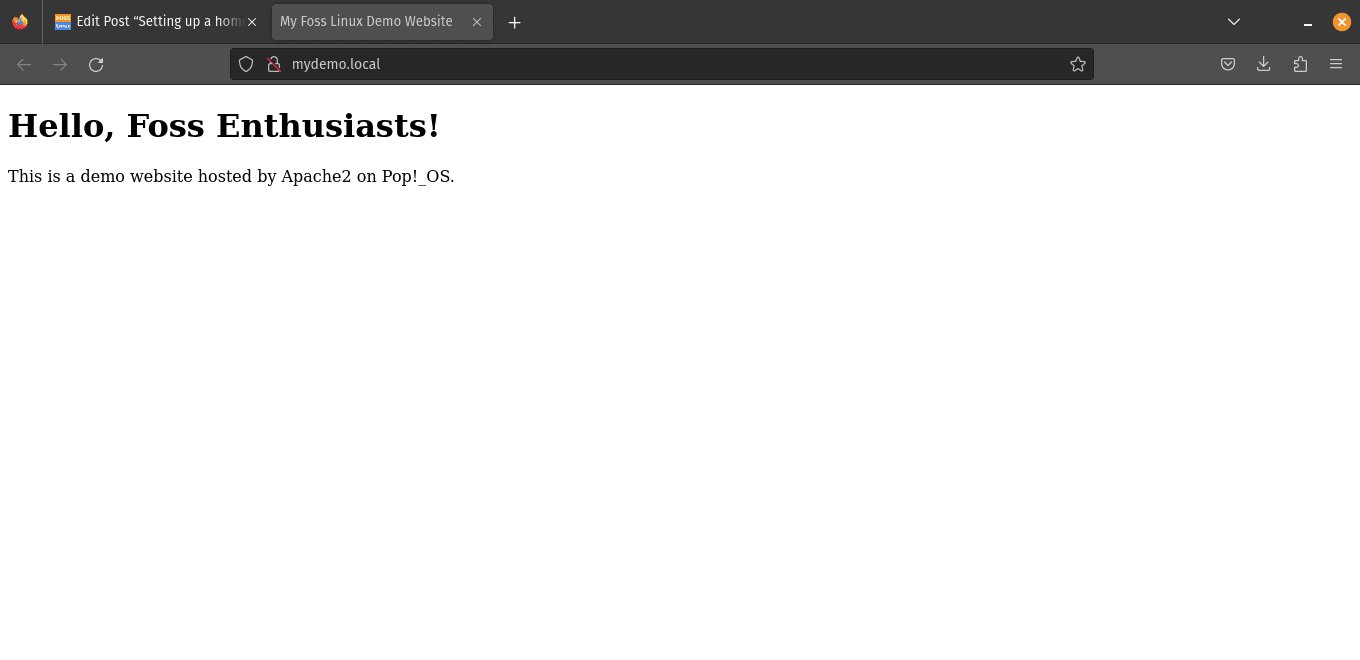
Access demo website
That’s it! You now have Apache2 set up as a web server on Pop!_OS, and you’ve created a basic demo website. From here, you can explore more advanced configurations and settings as your needs require.
4. Home Automation Server: The smart hub
Prepare to wield your Pop!_OS like a conductor’s baton—a control center orchestrating your smart home devices harmoniously and precisely.
Installation Steps:
To set up Home Assistant as a systemd service, you might need to follow a different approach. Here’s a step-by-step guide to help you:
Install Home Assistant: Before proceeding, let’s make sure Home Assistant is installed properly. You can do this by setting up a virtual environment for Home Assistant. Open a terminal and run the following commands:
sudo apt update

sudo apt install python3 python3-venv

python3 -m venv homeassistant

source homeassistant/bin/activate

pip install wheel

pip install homeassistant

Install home assistant
Create a Systemd Service: Now we need to create a systemd service file for Home Assistant. This will allow you to manage Home Assistant using systemd commands.Create a service file by opening a text editor with elevated privileges (sudo):
sudo nano /etc/systemd/system/home-assistant.service

Create a systemd service
Paste the following content into the file:
[Unit]

Description=Home Assistant

After=network-online.target

[Service]

Type=simple

User=yourusername

ExecStart=/path/to/homeassistant/bin/hass -c "/path/to/config"

[Install]

WantedBy=multi-user.target
Replace yourusername with your actual username, and replace /path/to/homeassistant with the actual path to your Home Assistant virtual environment, and replace /path/to/config with the path to your Home Assistant configuration directory.
[Unit]

Description=Home Assistant

After=network-online.target

[Service]

Type=simple

User=tuts

ExecStart=/home/tuts/homeassistant/bin/hass -c "/home/tuts/homeassistant"

[Install]

WantedBy=multi-user.target
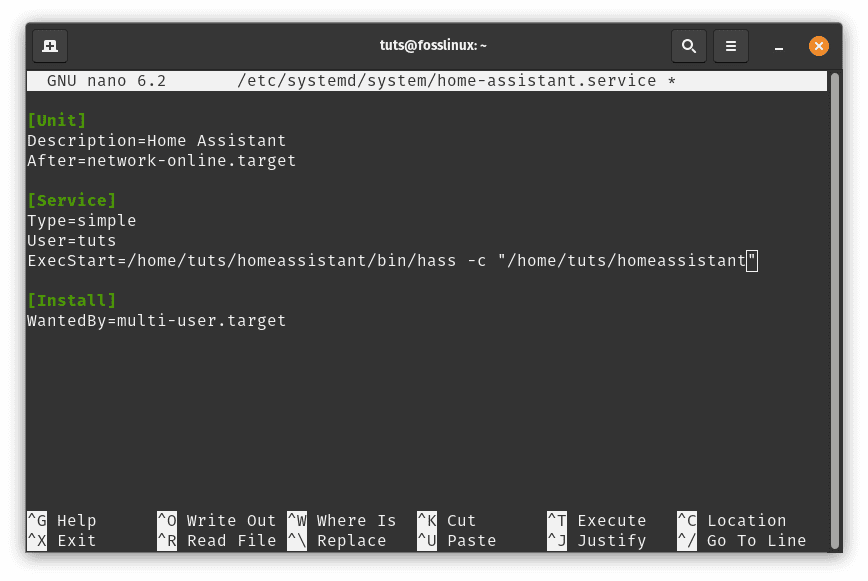
Append the following lines
Reload and Start the Service:After creating the service file, reload the systemd manager configuration and start the Home Assistant service:
sudo systemctl daemon-reload

sudo systemctl start home-assistant
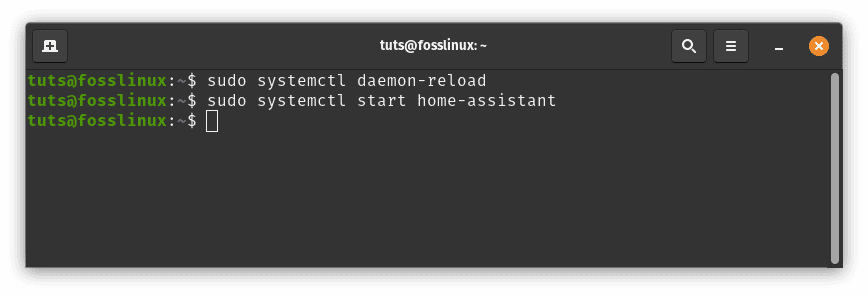
Reload and start home assistant
Enable Auto-Start:Enable Home Assistant to start on system boot:
sudo systemctl enable home-assistant
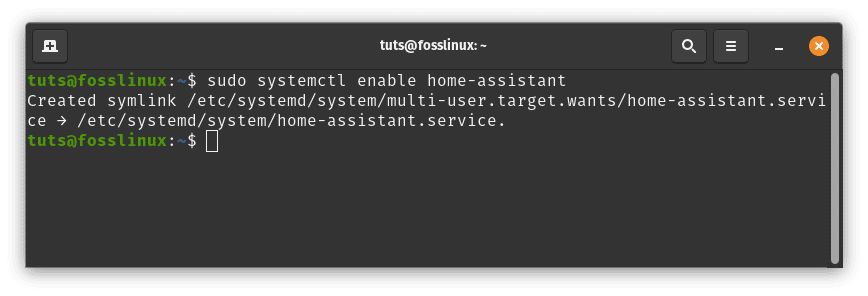
Enable home assistant to autostart
Check Service Status: Check the status of the Home Assistant service:
sudo systemctl status home-assistant
You should now see the status of the Home Assistant service.
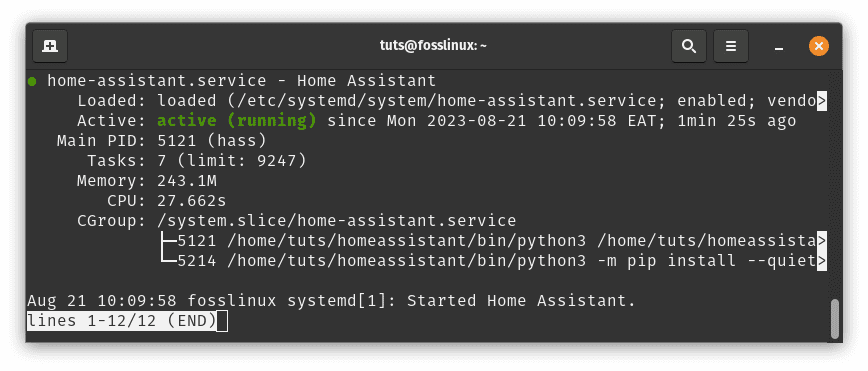
Check home assistant service status
If everything is set up correctly, you should be able to access Home Assistant’s web interface using your browser.
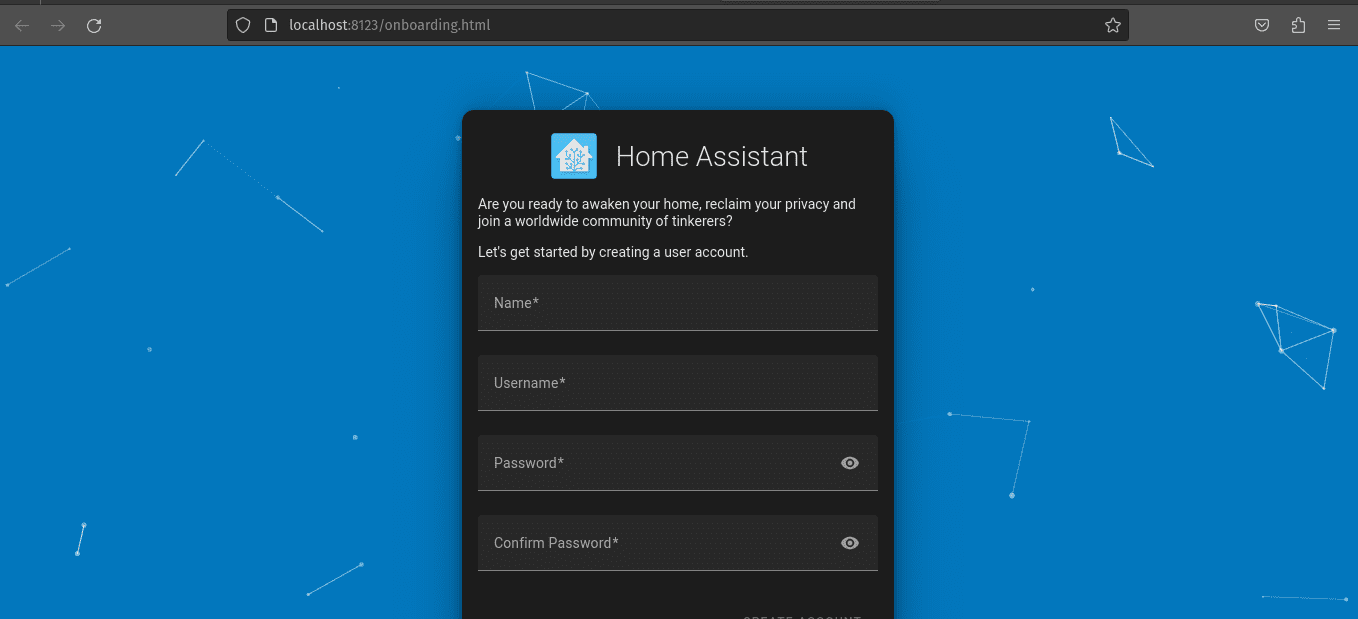
Home assistant is now up and running
Note: Please remember to replace /path/to/homeassistant and /path/to/config with the actual paths on your system. If you encounter any issues or errors during these steps, consult the official Home Assistant documentation or community for assistance.
By following these tailored steps, you’re not just setting up a server but crafting an experience that mirrors your desires. As you venture forth, your Pop!_OS-based home server will breathe life into your media, empower your files, showcase your creativity, and synchronize your smart home. Embrace this newfound power, for your digital life is now yours to shape and command.
Keep your home Server up-to-date
The digital landscape evolves rapidly, and keeping your home server up-to-date is essential to ensure security and functionality. Pop!_OS makes this process relatively straightforward:
- Regular Updates: Enable automatic updates or run them manually via the terminal. This ensures you possess the latest security patches and software improvements.
- Backup Strategies: Always back up your server’s data before making significant changes. This ensures you can revert in case of any issues during upgrades.
Conclusion
Creating a home server on Pop!_OS allows you to build your own digital world. You can use it to host your services, protect your data, and experiment with different applications. Although setting up a fully functional home server from scratch may be challenging, the benefits of being in control of your data and security outweigh the difficulties.
We have explored Pop!_OS and the significance of home servers, and have looked into different installation methods and server types. With Pop!_OS as your starting point, the possibilities are endless. Whether you want to build a media hub, a private cloud, or a virtual playground, you have the freedom to do so.
We thank you for embarking on this journey with us. As you continue to explore the world of home servers, remember that your digital domain is a reflection of yourself. With Pop!_OS as your guide, you have the power to shape and control your digital destiny. Have fun building your server!