
MariaDB has emerged as a formidable open-source relational database management system (RDBMS) in the ever-evolving world of data management. With its robust features, performance optimizations, and a thriving community, MariaDB is an excellent choice for developers and administrators seeking a reliable database solution. If you’re a Linux enthusiast or professional, this article is your comprehensive guide on installing and using MariaDB on Linux.
Introduction to MariaDB
MariaDB is a community-based fork of MySQL, one of the most popular RDBMS platforms globally. Created by the original MySQL engineers, MariaDB not only upholds the values of its predecessor but also extends the capabilities of the database system. It is designed to be a drop-in replacement for MySQL, making it relatively easy for MySQL users to transition to MariaDB.
MariaDB is renowned for its:
- High Performance: It’s optimized for speed and can handle high workloads efficiently.
- Open-Source Nature: MariaDB is licensed under the GPL (GNU General Public License) and is freely available for use and modification.
- Community-Driven Development: A passionate and active community ensures continuous improvement and support.
- Advanced Features: MariaDB incorporates advanced features like Galera Cluster, JSON support, and more.
In this guide, we will dive into installing MariaDB on your Linux machine, configuring it to your needs, and unleashing its power for various tasks. If you’re ready to embark on a journey into the world of MariaDB, let’s get started.
Prerequisites
Before we dive into the installation process, ensure you have the following prerequisites in place:
- A Linux System: This guide assumes you have a Linux distribution installed. We’ll use Ubuntu 22.04 for demonstration purposes, but the steps generally apply to other distributions like CentOS and Debian.
- Access to the Terminal: You should be comfortable working with the command line. Most of the tasks in this guide require terminal commands.
- Root or Sudo Privileges: To install software and make system-level configurations, you need root or sudo privileges.
Now, let’s proceed with the installation of MariaDB.
Installing MariaDB on Linux: A step-by-step guide
Now that you understand MariaDB’s significance let’s dive into the nitty-gritty of installing it on your Linux system. This step-by-step guide ensures a smooth and secure installation process.
Step 1: Update your system
Before diving into any software installation, it’s wise to ensure your system is up to date. Doing so guarantees you’re working with the latest package information and minimizing potential conflicts. Here’s how to do it:
sudo apt update

sudo apt upgrade -y
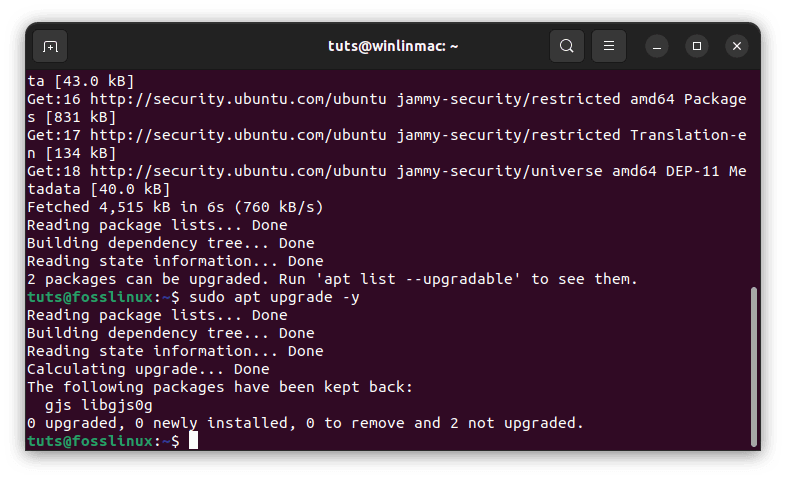
Update and upgrade system resources
The first command (sudo apt update) refreshes the package list, while the second (sudo apt upgrade -y) upgrades your existing packages. The -y flag automatically confirms the upgrades, so you won’t have to intervene during the process.
Step 2: Install MariaDB
On Ubuntu, the installation of MariaDB is a breeze, thanks to the apt package manager. Simply enter the following command:
sudo apt install mariadb-server
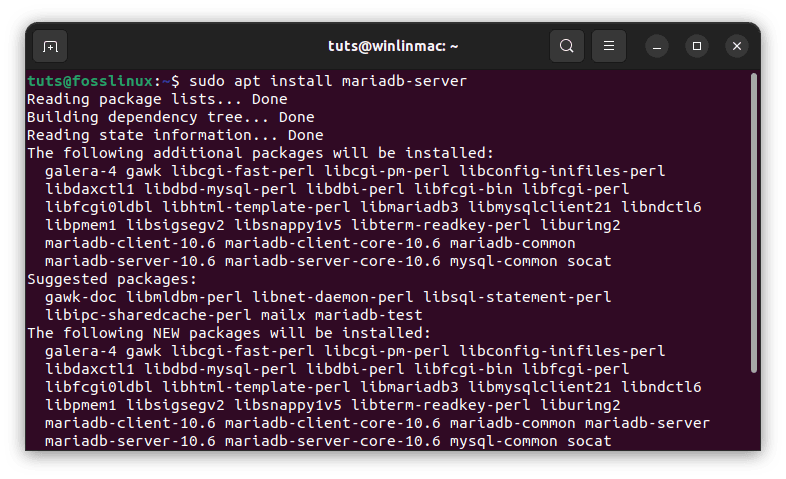
Install mariadb server
This command initiates installation, pulling in all the necessary packages and dependencies. During the installation, you’ll be prompted to set a root password for MariaDB. Be sure to choose a robust and secure password and, most importantly, store it in a safe place. You’ll need this password later to access and manage your MariaDB instance.
Step 3: Secure MariaDB
With MariaDB installed, the next crucial step is to tighten its security. MariaDB includes a convenient security script to help you lock down your installation. Execute the following command to get started:
sudo mysql_secure_installation
This script will lead you through a series of security-related options, enhancing the overall security of your MariaDB instance. Some of the actions it performs include:
- Removing anonymous users: To prevent unauthorized access, it’s essential to eliminate anonymous users.
- Disabling remote root login: Root access should only be granted locally, not remotely. The script will disable remote root login to minimize potential vulnerabilities.
- Removing the test database: The test database is often a playground for attackers. Removing it is a wise move.
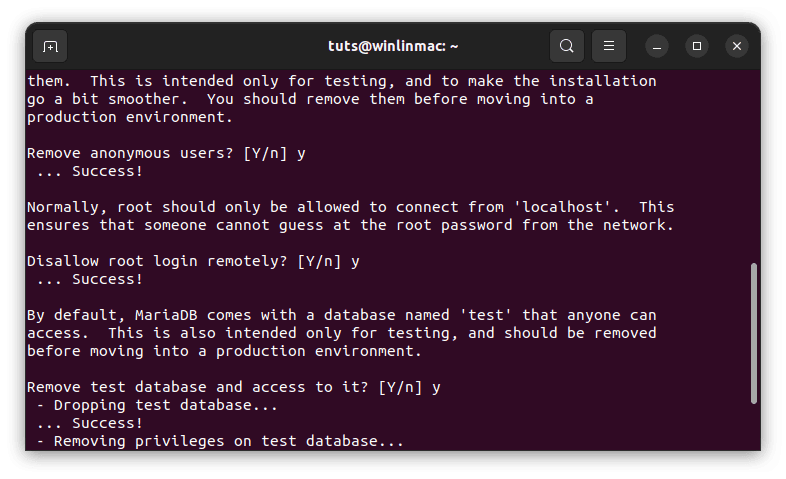
Remove anonymous users
Feel free to follow the prompts and make the necessary selections as you go through the script. Your choices will significantly enhance the security posture of your MariaDB installation.
Step 4: Start and enable MariaDB
With MariaDB installed and secured, it’s time to set it in motion. Launch the MariaDB service using the following command:
sudo systemctl start mariadb
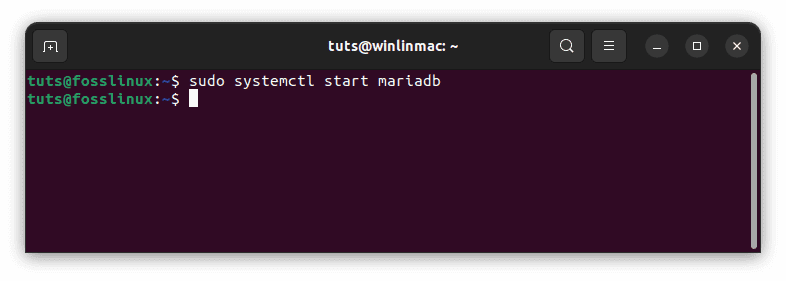
Start mariadb service
This command initiates the MariaDB service, making it operational. However, to ensure that MariaDB starts automatically every time your system boots up, enable it with the following command:
sudo systemctl enable mariadb
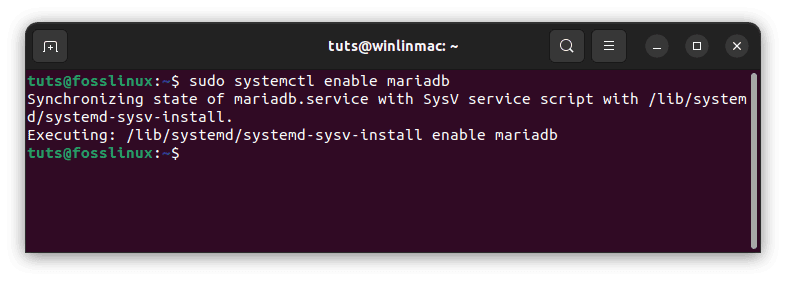
Enable mariadb at boot
Now, MariaDB is installed and secure and set to run as a system service. You can verify its status by checking the service status:
sudo systemctl status mariadb
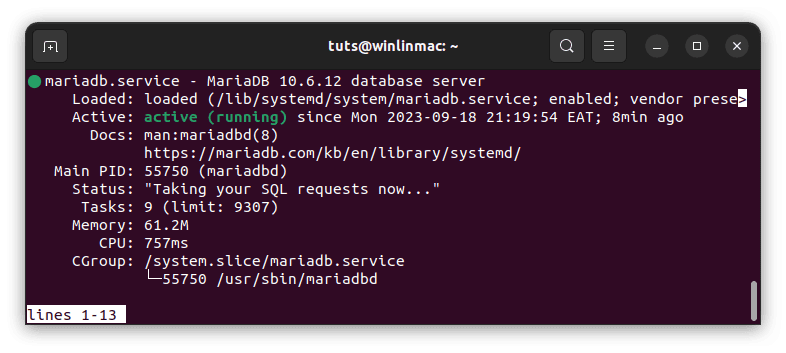
Check mariadb service
If all goes well, you should see a status message indicating that MariaDB is active and running smoothly.
Congratulations! You’ve successfully installed MariaDB on your Linux system, fortified its security, and ensured it starts automatically with your system. Now, you’re ready to dive into the world of relational databases powered by MariaDB.
Configuring MariaDB: Fine-tuning your database
MariaDB, a robust and versatile database system, comes with default configurations that work well for most users. However, there are times when you need to fine-tune your MariaDB installation to align it with your specific use cases. This section will explore the key aspects of configuring MariaDB and how to make adjustments when needed.
Understanding MariaDB configuration files
MariaDB’s configuration settings are stored in the my.cnf file, typically located in the /etc/mysql directory. This file serves as the central hub for customizing your MariaDB instance.
While many default settings are well-suited for general use, understanding how to modify the my.cnf file gives you the flexibility to optimize MariaDB according to your unique requirements.
Basic configuration options
1. Port configuration
By default, MariaDB listens on port 3306 for incoming connections. While this is the standard port for MySQL and MariaDB, you may need to change it to accommodate specific network configurations or avoid conflicts with other services.
First run this command to get to the config files:
sudo nano /etc/mysql/my.cnf

Launch mariadb config file
Here’s how to adjust the port setting in the my.cnf file:
# In my.cnf

[mysqld]

port = 3307 # Change to your desired port
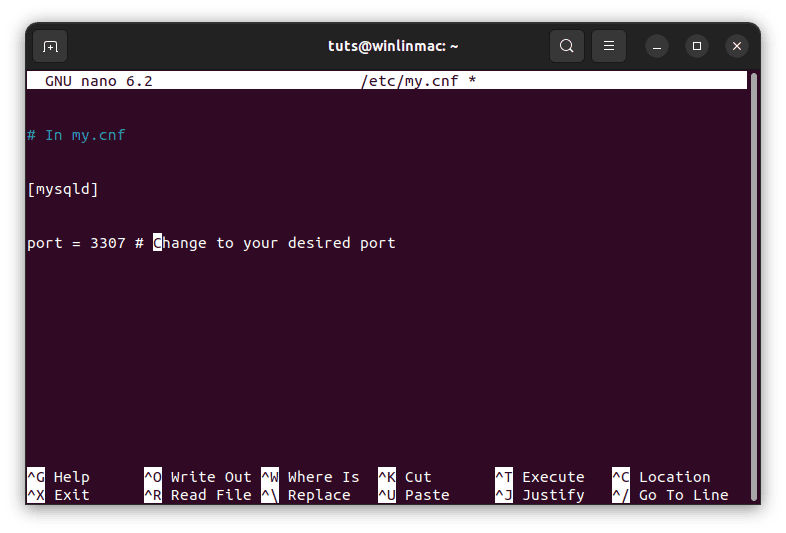
Port configuration
Simply replace 3307 with the desired port number. After making this change, restart the MariaDB service to apply the new configuration.
2. Character set
The character set determines how data is stored and interpreted in your database. The default character set is often suitable, but you may need to customize it to support specific languages or character encodings.
To set the default character set for your database, edit the my.cnf file:
# In my.cnf

[mysqld]

character-set-server = utf8mb4
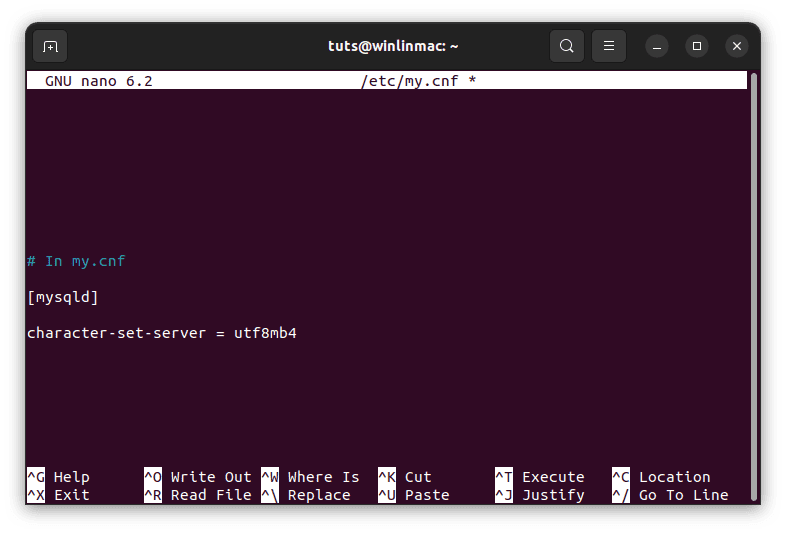
Character set
In this example, we’ve set the character set to utf8mb4, which supports a wide range of characters and is suitable for multilingual applications. Adjust this setting as needed for your particular use case.
3. Data directory
The data directory is where MariaDB stores its databases and data files. While the default directory (/var/lib/mysql) works well in most scenarios, there may be cases where you need to change it, such as when you have limited disk space on your system or prefer to store data in a different location.
To configure the data directory, modify the my.cnf file:
# In my.cnf

[mysqld]

datadir = /path/to/your/directory
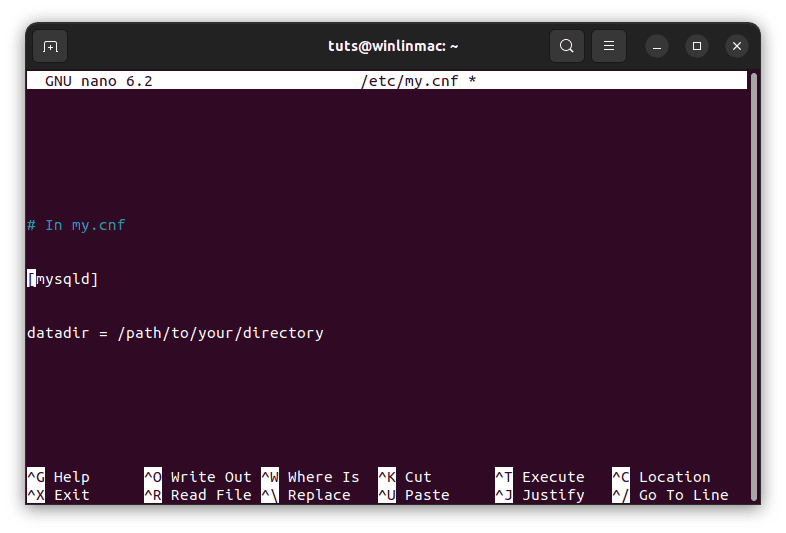
Data directory
Replace the /path/to/your/directory with the actual path to your desired data directory. Once again, remember to restart the MariaDB service after making changes to the my.cnf file to apply the new configuration.
Advanced configuration
Beyond these basic configurations, MariaDB offers various advanced settings that allow you to fine-tune performance, security, and resource usage. Depending on your specific use case, you may need to delve into these options to optimize your MariaDB instance fully.
In short, understanding how to configure MariaDB is a valuable skill for any database administrator or developer. While the default settings are sufficient for many users, the ability to tailor MariaDB to your specific requirements ensures that it remains a powerful and flexible database solution for a wide range of applications.
Creating a database and user: Empowering your MariaDB instance
Now that MariaDB is running smoothly on your Linux system, it’s time to take the next steps in harnessing its power. In this section, we’ll guide you through creating a database and a user, setting up their privileges, and ensuring everything is in place for effective database management.
Step 1: Logging into the MariaDB shell
To begin, you’ll need to access the MariaDB shell as the root user. The root user has superuser privileges, enabling you to perform administrative tasks. Open your terminal and enter the following command:
sudo mysql -u root -p
You will be asked to write the root password you set during the installation of MariaDB. After successfully entering the password, you’ll be greeted by the MariaDB command prompt.
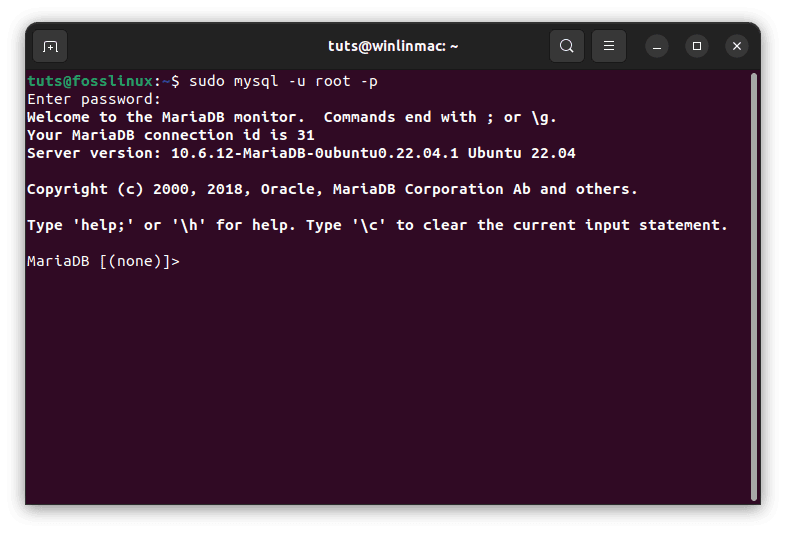
Login to the mariadb shell
Step 2: Creating a new database
Now that you’re in the MariaDB shell let’s create a new database to store your data. Replace mydb in the following command with your desired database name:
CREATE DATABASE mydb;
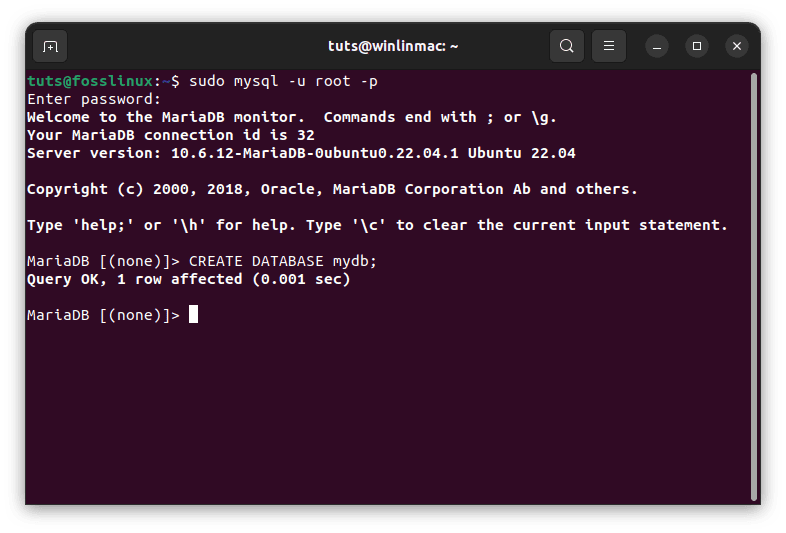
Create new database
This SQL command instructs MariaDB to create a new database with your specified name. The database is now ready to hold your tables, records, and other data.
Step 3: Creating a new user
With your database in place, the next step is to create a user who will interact with the database. Replace myuser and password in the following command with your preferred username and password:
CREATE USER 'myuser'@'localhost' IDENTIFIED BY 'password';
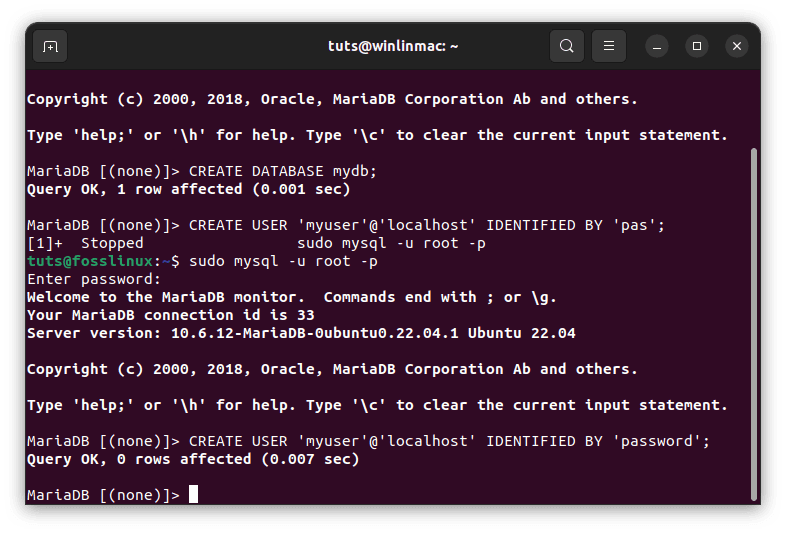
Create new user
This SQL command creates a new user and associates it with the localhost, meaning the user can only connect to the MariaDB server from the local machine. This is a security measure that restricts remote access. If you require remote access for this user, replace localhost with the appropriate hostname or IP address.
Step 4: Granting privileges
Now that you have a user, it’s time to grant them the necessary privileges on your database. The GRANT statement is used for this purpose. In the following command, we grant the user ‘myuser’ all privileges on the ‘mydb’ database:
GRANT ALL PRIVILEGES ON mydb.* TO 'myuser'@'localhost';

Grant user all privilleges
This command provides the user with full control over the ‘mydb’ database. They can create, modify, and delete tables and perform other database operations.
Step 5: Applying privilege changes
After granting privileges to the user, you need to apply these changes immediately by flushing the privileges. This ensures that the user’s new privileges take effect without the need to restart the MariaDB server:
FLUSH PRIVILEGES;
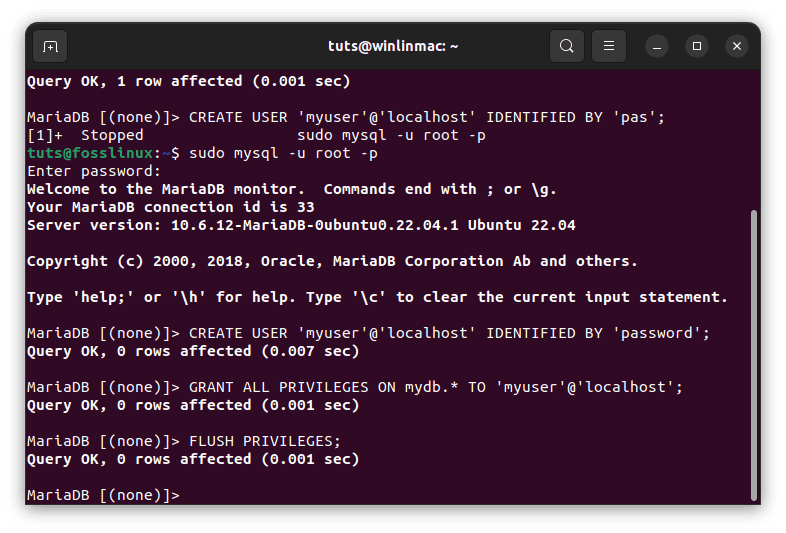
Apply privilleges
Step 6: Exiting the MariaDB shell
With the database and user set up, you can exit the MariaDB shell:
EXIT;
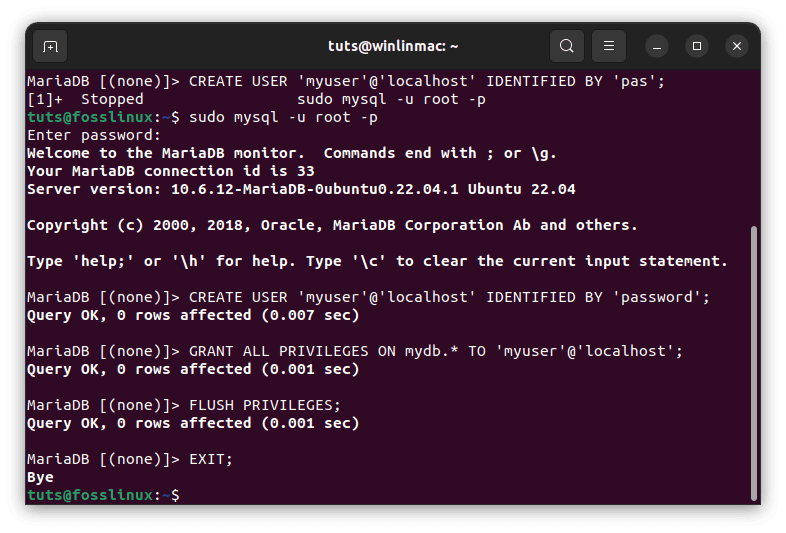
Exit mariadb shell
You are back in your system’s terminal, ready to interact with your newly created database using the user you just established.
Congratulations! You’ve successfully created a database and a user in MariaDB, equipped with the necessary privileges to manage and manipulate data.
Connecting to MariaDB: Unleashing the SQL powerhouse
With your MariaDB instance up and running and a database created, it’s time to connect to MariaDB and start wielding the power of structured query language (SQL). In this section, we’ll guide you through the process of connecting to MariaDB and explore some fundamental SQL operations to manage your data effectively.
Connecting to MariaDB
To connect to MariaDB from the command line, open your terminal and use the following command:
sudo mysql -u myuser -p
Replace myuser with the username you created earlier. Upon executing this command, you’ll be prompted to enter the password associated with the myuser account. Once you’ve successfully entered the password, you’ll find yourself in the MariaDB shell, ready to run SQL queries and manipulate your database.
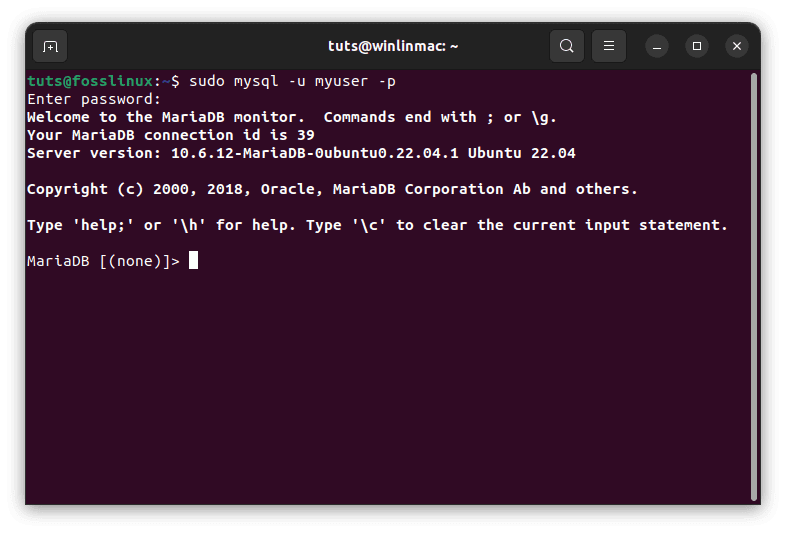
Connect mariadb to created user
Using MariaDB
Now that you’re inside the MariaDB shell, let’s explore some basic database operations.
Creating tables
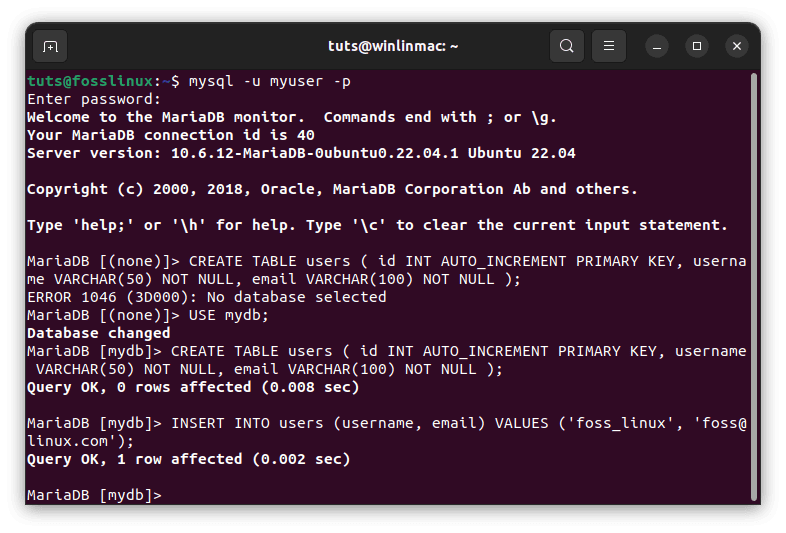
Tables are the foundation of any relational database. They define the structure of your data. For example, you can create a simple table to store information about users using the following SQL command:
CREATE TABLE users (

id INT AUTO_INCREMENT PRIMARY KEY,

username VARCHAR(50) NOT NULL,

email VARCHAR(100) NOT NULL

);
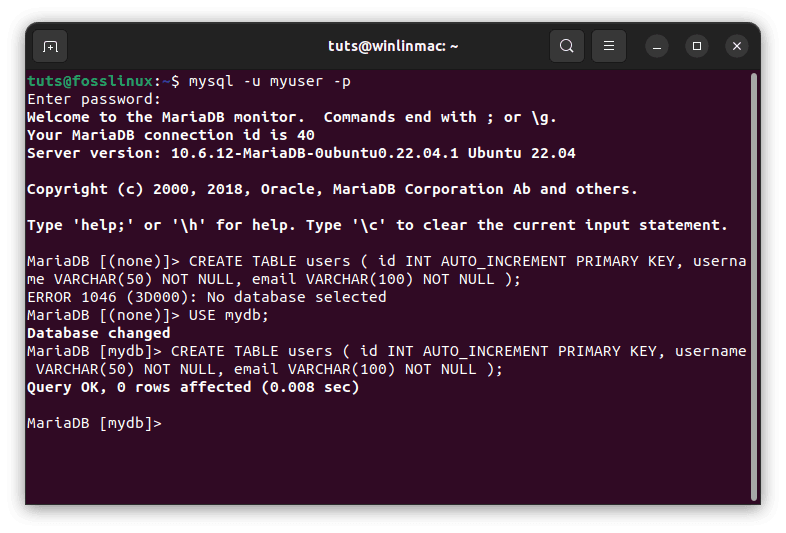
Create table
This SQL command creates a table named users with three columns: id, username, and email. The id column serves as the primary key and will auto-increment, ensuring each user has a unique identifier.
Inserting data
Now that you have a table in place, you can append data into it using the INSERT INTO statement. For instance, to insert a new user record:
INSERT INTO users (username, email) VALUES ('foss_linux', 'foss@linux.com');
Insert data into the users table
This command adds a new user with the username ‘foss_linux’ and the email address ‘foss@linux.com’ to the users table.
Querying data
You can employ the SELECT statement to retrieve data from your users table. For example, to fetch all rows and columns from the users table:
SELECT * FROM users;
This command returns all the records in the users table, providing a complete view of your user data.

Query data
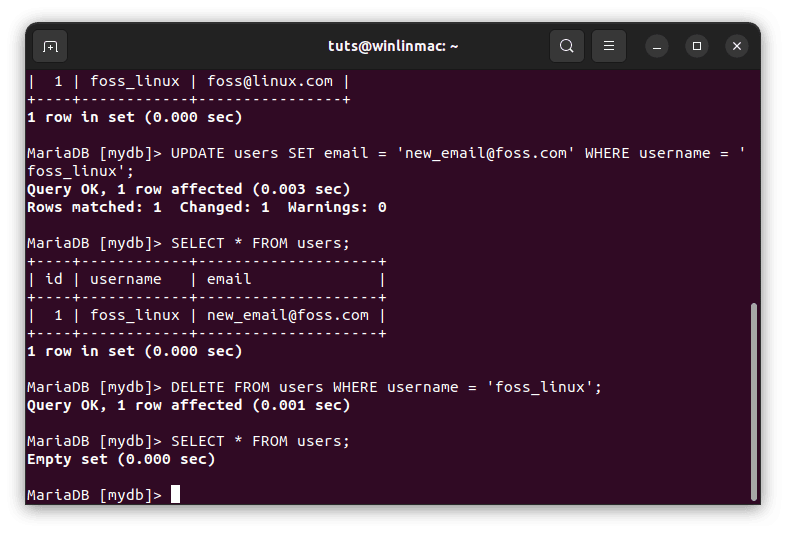
Updating data
To modify existing records, the UPDATE statement comes in handy. Let’s say you want to change the email address of a user:
UPDATE users SET email = 'new_email@foss.com' WHERE username = 'foss_linux';
This command updates the email address for the user with the username ‘foss_linux’.

Update data in the users table
Deleting data
Sometimes, data needs to be removed from a table. The DELETE statement is used for this purpose. For instance, to delete a user:
DELETE FROM users WHERE username = 'foss_linux';
This command removes the user record with the username ‘foss_linux’ from the users table.
Delete data from users table
Backing up and restoring databases
Regularly backing up your databases is crucial to prevent data loss. MariaDB provides handy tools for creating backups and restoring them.
Creating database backups
You can create a backup folder of your database using the mysqldump command. Replace mydb with your database name and backup.sql with your desired backup file name:
mysqldump -u myuser -p mydb > backup.sql
This command asks you to enter the password for the myuser account and then creates a backup of the mydb database, saving it to the backup.sql file.
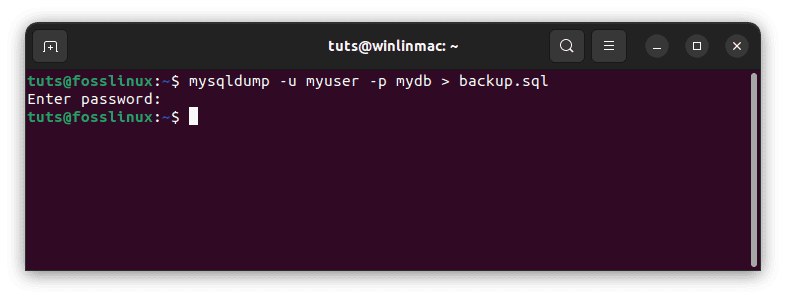
Create database backup
Restoring databases
To restore a backed-up database file, employ the mysql command. Replace mydb with your database name and backup.sql with the name of your backup file:
mysql -u myuser -p mydb < backup.sql

Restore database
After entering the password for the myuser account, this command restores the mydb database from the backup.sql file, bringing your data back to life.
Conclusion
Congratulations! You’ve now embarked on a journey to harness the power of MariaDB on your Linux system. We’ve covered installation, basic configuration, database creation, user management, and essential database operations. With this knowledge, you can build and manage databases efficiently, making MariaDB an invaluable tool for Linux-based projects.
As you continue exploring and utilizing MariaDB, you’ll discover its versatility and flexibility in handling data, whether for personal projects, web applications, or enterprise-level solutions. Its performance, open-source nature, and thriving community make it an excellent choice for any data-driven endeavor.