
This tutorial takes you through the steps of setting up your own Minecraft Server on your CentOS machine. Previously we have installed the Minecraft Server on Ubuntu. (Click Here!).
Minecraft is a game developed by Mojang AB founder Markus “Notch” Persson. Gameplay includes players interacting with the game world by laying and breaking different kinds of blocks in a three-dimensional setting. Players can create creative structures, creations, and artwork on multiplayer servers and singleplayer worlds across various game modes.
Step 1. First Make sure that your CentOS system is up-to-date.
sudo yum -y update
Step 2. Create a Minecraft Server user using the next command.
sudo adduser minecraftuser
Create New Minecraft User On CentOS
Step 3. Set a password to the newly created Minecraft Server user.
sudo passwd minecraftuser

Set Password To New Minecraft User On CentOS
Step 4. Add the Minecraft user to the wheel group to be able to run privileged commands.
sudo usermod -aG wheel minecraftuser
Add Minecraft User To Wheel Group On CentOS
Step 5. Now let’s switch to the Minecraft user.
su - minecraftuser

Switch To Minecraft User On CentOS
Step 6. Download and install the java OpenJDK package using the following command.
sudo yum install java-1.6.0-openjdk

Install Java OpenJDK package On CentOS
Step 7. Check the java version to make sure that the installation was successful.
java -version

Check Installed Java Version On CentOS
Step 8. Install the “wget” package if it is not already installed.
sudo yum install wget
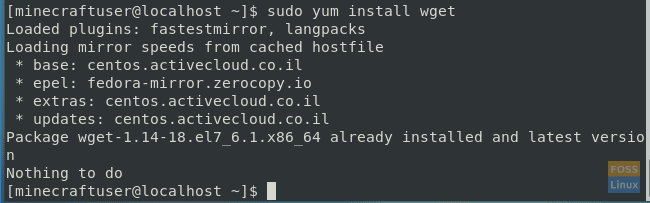
Install wget Package On Centos
Step 9. Create a Minecraft directory to hold and keep the Minecraft Server files.
mkdir minecraftdir
Create A Minecraft Directory On CentOS
Step 10. Move to the newly Minecraft directory.
cd minecraftdir
Move To New Minecraft Directory On CentOS
Step 11. Download the Minecraft Server using the next command. You can check for the latest Minecraft Server release from Minecraft official website (Click Here!!). Then replace the below link with the newest Minecraft Server release.
wget -O minecraft_server.jar https://s3.amazonaws.com/Minecraft.Download/versions/1.11.2/minecraft_server.1.11.2.jar
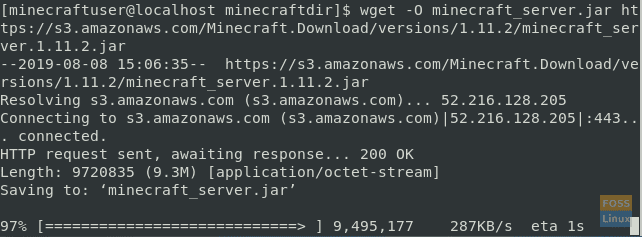
Download Minecraft Server On CentOS
Step 12. Set permissions on the downloaded file to be executable.
chmod +x minecraft_server.jar
Set Permissions On Minecraft Server Downloaded Files On CentOS
Step 13. Create the License agreement file “eula.txt.”
vi eula.txt
License Agreement File On CentOS
Step 14. Edit the “eula.txt” file and add the following line to it “eula=true.” It should look like the below screenshot.

Edit License Agreement File On CentOS
Step 15. To let the Minecraft Server run in the background, you will need to download the “screen” package. Otherwise, you can skip to “Step 17” and start the Minecraft Server.
sudo yum install screen
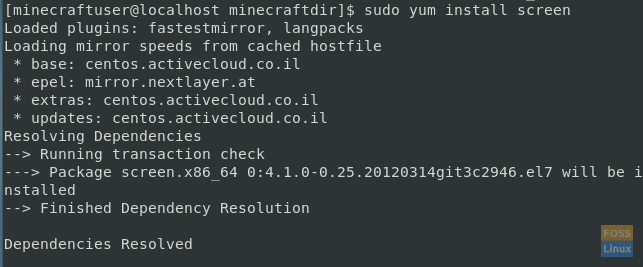
Download and Install Screen Package On CentOS
Step 16. Start the “screen” package using the next command.
screen
Step 17. Now let’s start the Minecraft Server with the following command. In this command we will run the Minecraft Server by allocating 1024MB memory, in case you need to change this then replace the “-Xmx” and “-Xms” parameters with the desired size.
java -Xmx1024M -Xms1024M -jar minecraft_server.1.11.2.jar nogui
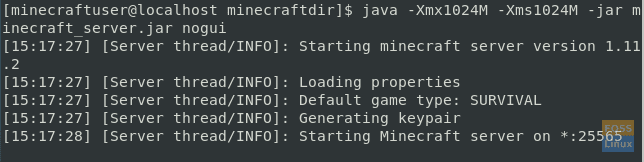
Start The Minecraft Server In Background On CentOS
Step 18. If you are running the Minecraft Server in the background, then you can detach the current screen using the next command.
screen -r
OR
CTRL+A+D
Step 19. To stop the Minecraft Server use the stop command.
stop
That’s it for now. In this tutorial, we have shown you how to install and configure the Minecraft Server on your CentOS machine.
2 comments
Thank you for the tutorial!
However, I would personally recommend _not_ giving your minecraft-server user “sudo” privileges. That way, if the server were to become compromised through a vulnerable mod, the attacker wouldn’t immediately have access to “root” privileges off the bat.
It’s always better to operate with the least amount of privilege possible, and I was able to remove “sudo” from the minecraft-server user with no issues.
In step 6 you install java 1.6
In step 7 you check that the version is 1.8?