
Odoo is a business software that comes packed with CRM, e-commerce, billing, accounting, project management, manufacturing, warehouse, and inventory apps. The Community version is an open-source version, while the Enterprise version adds proprietary features and services to the Community edition.
At FOSS Linux, we are focused on open-source apps, so in this tutorial, we are going to install and configure the Oddo community version on CentOS.
Installing Odoo 12 on CentOS
We shall execute commands using the root user.
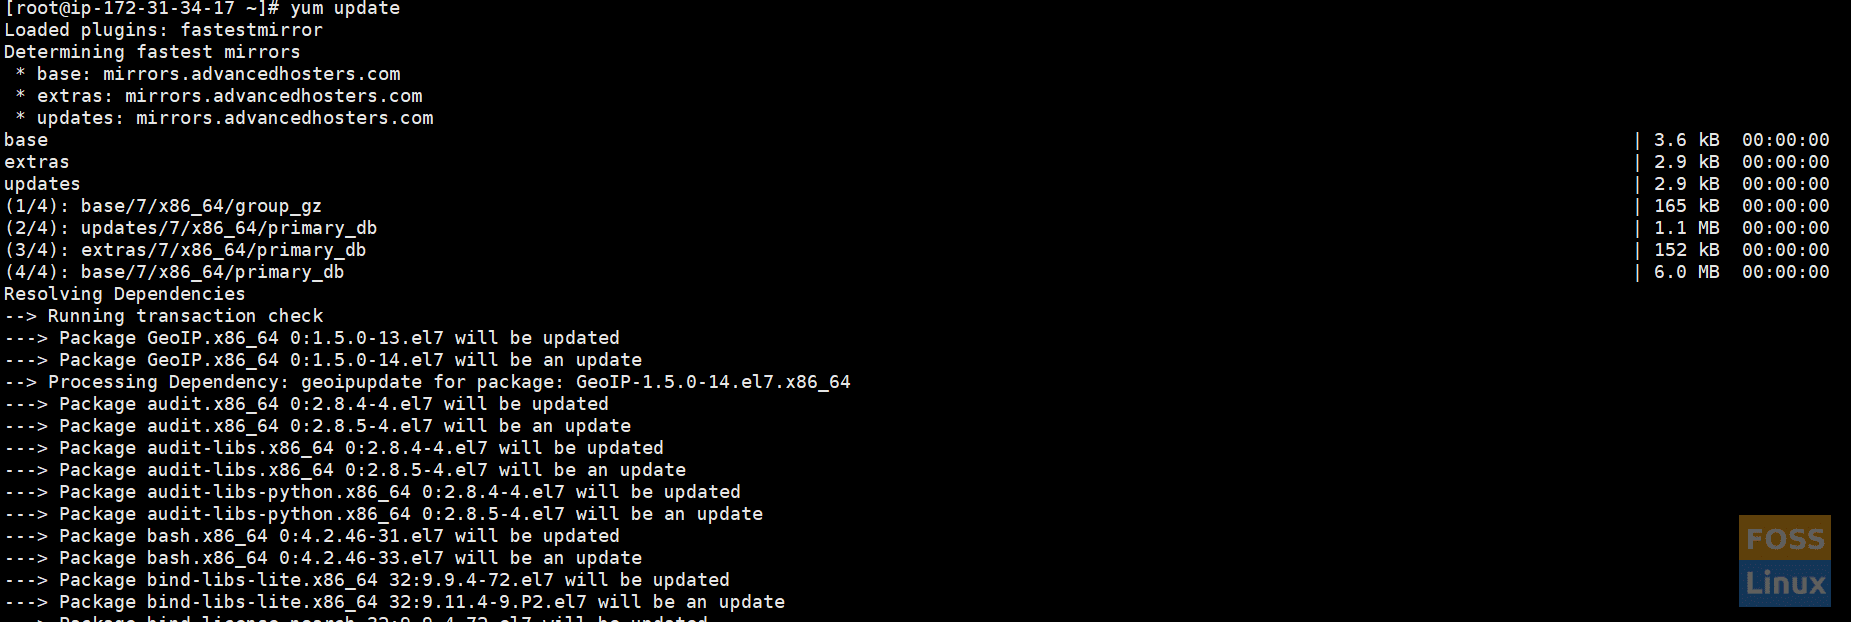
1. Update System
yum update
Update Server
The server will ask to update or no. Type “y” and hit enter. It will get some time to update the system.
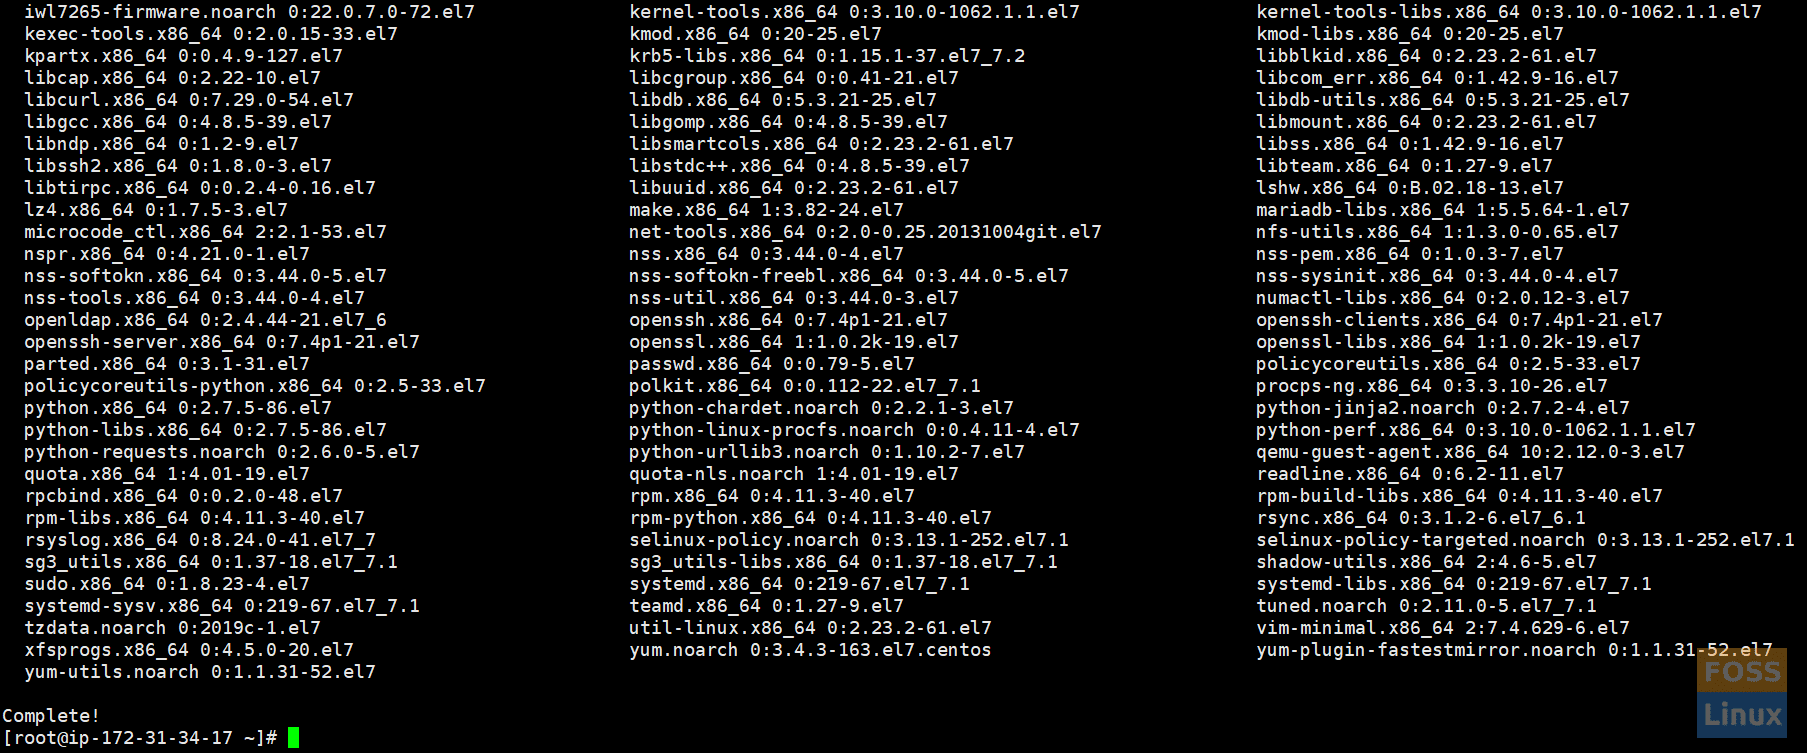
Update Completed
2. Configure Needed Repositories
Enable Epel repository:
yum install epel-release
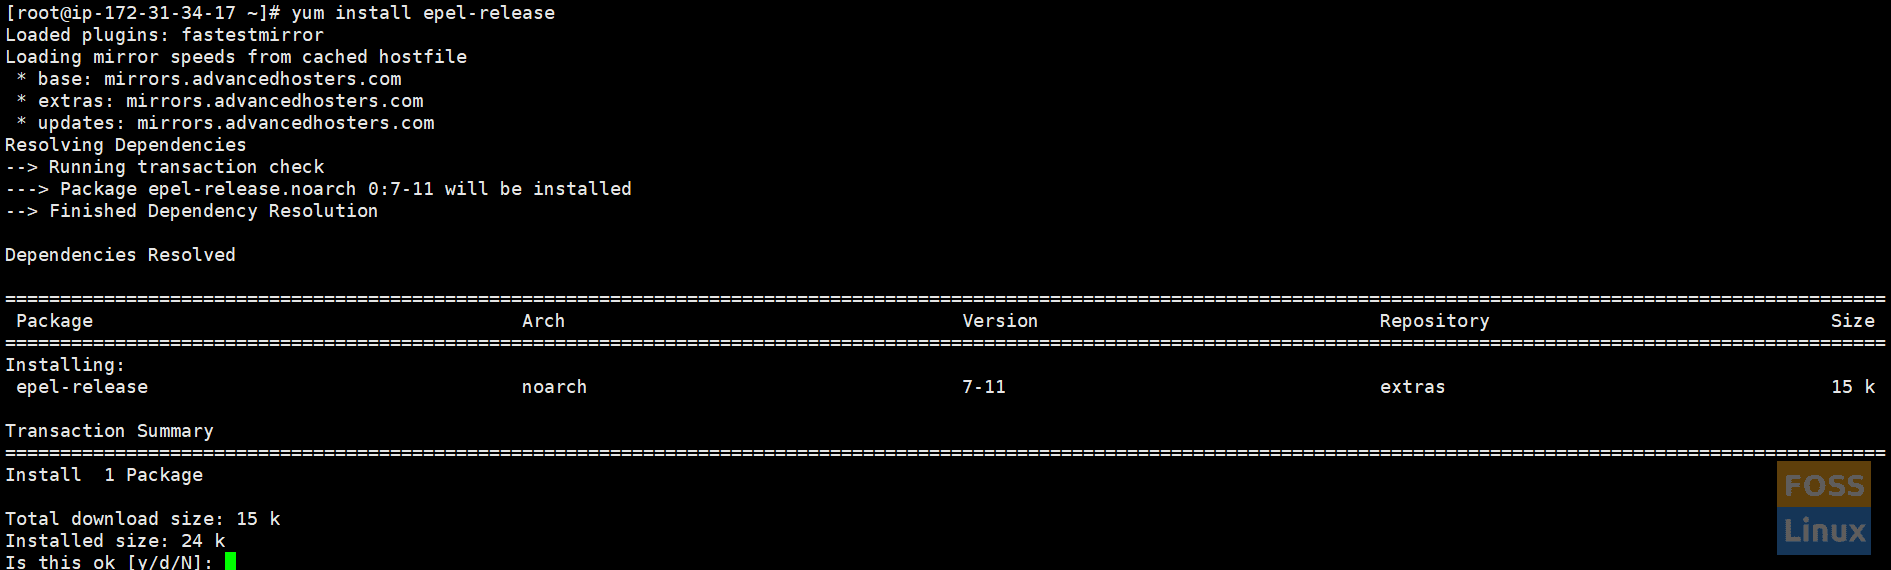
Add EPEL Repository
Enable the Software Collections (SCL) repository:
yum install centos-release-scl

Enable SCL Repository
3. Install Python 3.6 and Dependencies
yum install rh-python36

Install Python 3.6
Install needed dependencies.
yum install bzip2-devel freetype-devel nodejs-less libxslt-devel openldap-devel libjpeg-devel gcc

Install Dependencies
4. Create Odoo User
useradd -m -U -r -d /opt/odoo -s /bin/bash odoousr

Create Odoo User
5. Install and configure PostgreSQL
Check repositories from the official site and install the Postgres repository for Centos 7 64bit.
rpm -Uvh https://yum.postgresql.org/11/redhat/rhel-7-x86_64/pgdg-redhat-repo-latest.noarch.rpm

Configure PostgreSQL Repository
Now Install PostgreSQL 11 server.
yum install postgresql11-server
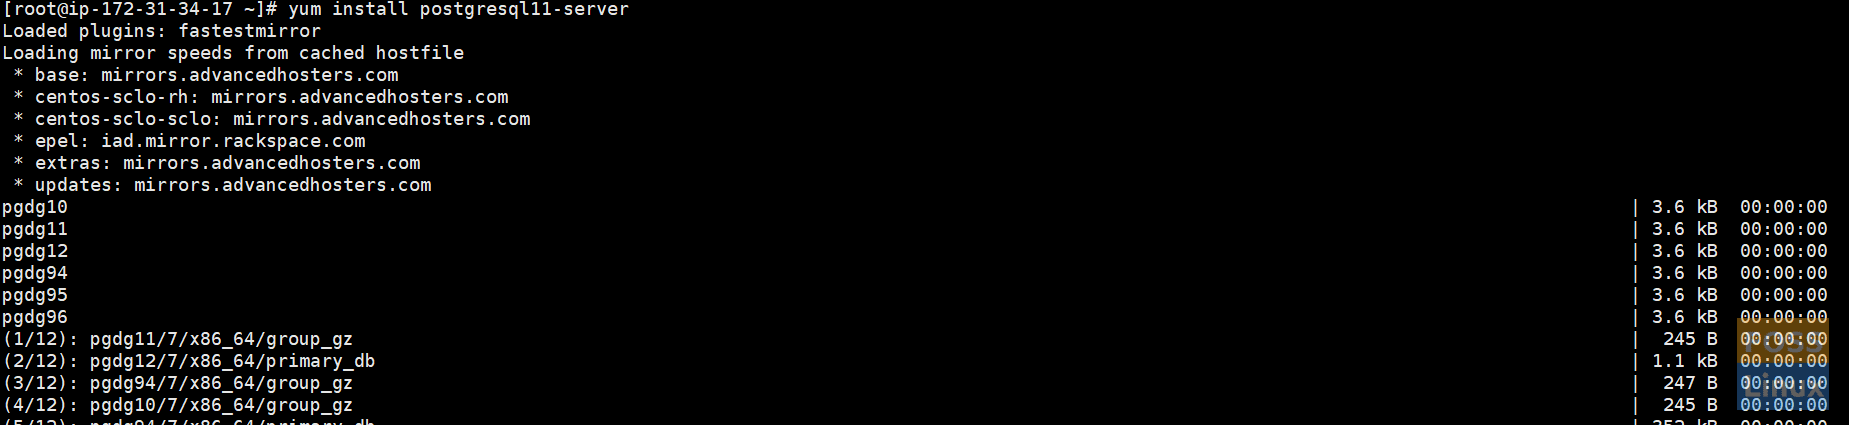
Install PostgreSQL 11
Initialize PGDATA
Initialize the database using the below command. It should create a data directory and other configuration files on the system.
/usr/pgsql-11/bin/postgresql-11-setup initdb

Initialize PGDATA
Now, check PostgreSQL Service Status.
systemctl status postgresql-11.service

PostgreSQL Service Status
If service is not started. Run the following command to start service:
systemctl start postgresql-11.service
Enable service on the system boot.
systemctl enable postgresql-11.service

Enable Service OnBoot
Need to Check and Verify PostgreSQL Installation.
su - postgres -c "psql"
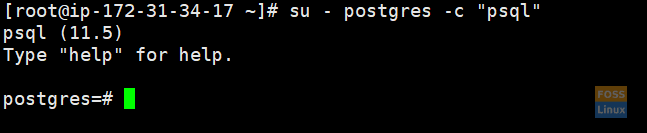
Check Installation
If you want, you can create a password too.
\password postgres

Configure PostgreSQL Password
Create a PostgreSQL user.
su - postgres -c "createuser -s odoousr"

Create PostgreSQL User
6. Install Wkhtmltopdf
It is an open-source tool that Odoo uses to make HTML in PDF formats so that it can print PDF reports.
wget https://downloads.wkhtmltopdf.org/0.12/0.12.5/wkhtmltox-0.12.5-1.centos7.x86_64.rpm

Download Package
“wget” is not available. need to install it first
yum install wget -y
Install the downloaded package using below command:
yum localinstall wkhtmltox-0.12.5-1.centos7.x86_64.rpm
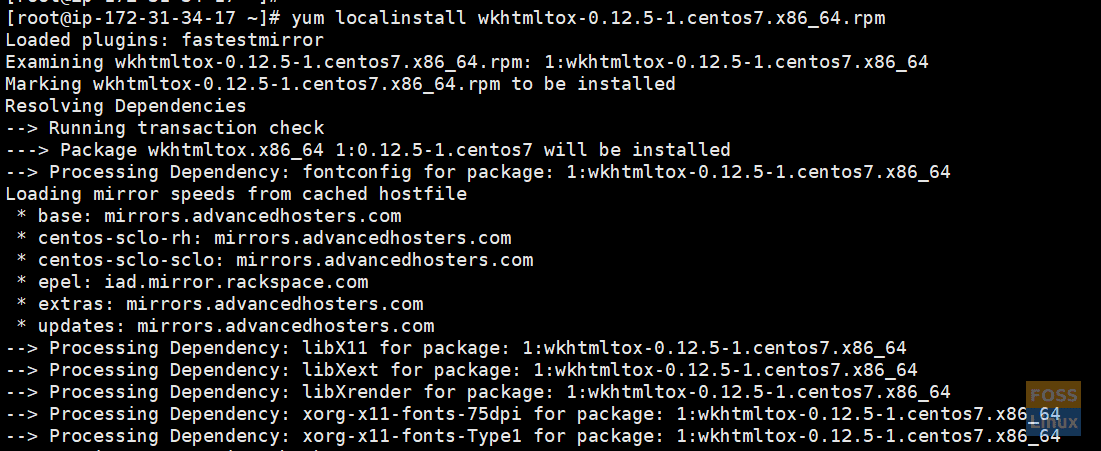
Install wkhtmltopdf Package
7. Install and configure Odoo 12
Git is not installed on your system Install git first.
yum install git -y
Change user to odoo user:
su - odoousr
Now we are going to clone odoo 12 from its repository. We are going to download it to the “/opt/odoo/odoo12” directory.
git clone https://www.github.com/odoo/odoo --depth 1 --branch 12.0 /opt/odoo/odoo12

Git Clone Odoo12
To enable python36, run the following command:
scl enable rh-python36 bash
8. Create a new virtual environment
Go to odoo directory:
cd /opt/odoo
Run the below command to create an environment.
python3 -m venv odoo12-venv
Activate the environment:
source odoo12-venv/bin/activate

Create Virtual Environment
Upgrade pip:
pip install --upgrade pip

Upgrade Pip
Install the Wheel library, followed by all the required Python modules.
pip3 install wheel
pip3 install -r odoo12/requirements.txt
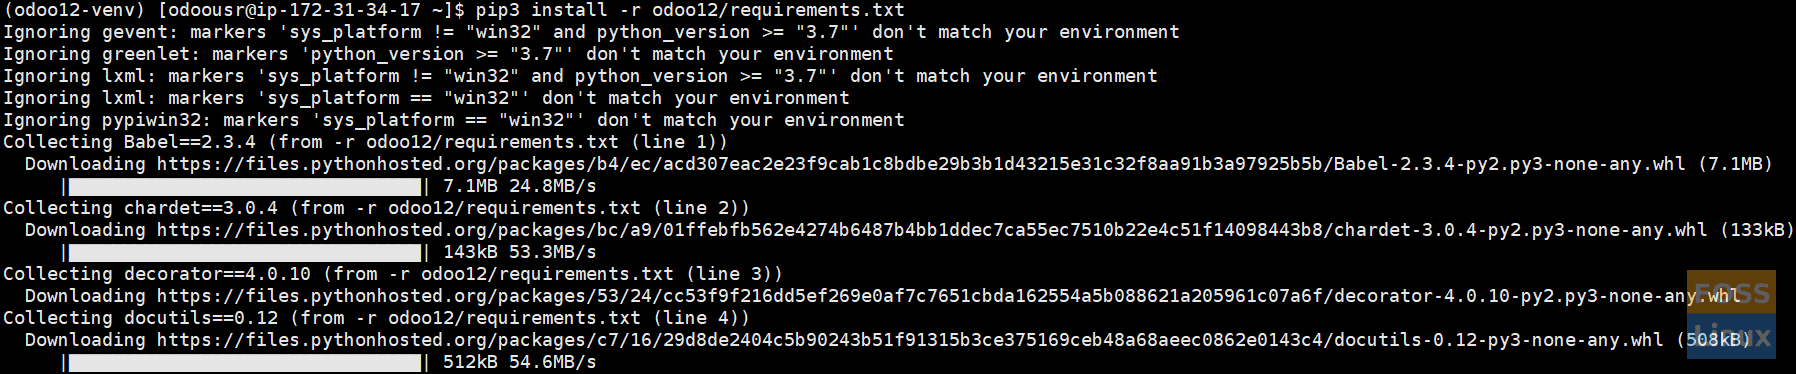
Install Required Python Modules
After installation is complete, Deactivate the virtual environment and return to the root user.

Return to root
9. Other configurations for Odoo12
Create a directory for custom modules.
mkdir /opt/odoo/odoo12-custom-addons
chown odoousr: /opt/odoo/odoo12-custom-addons

Folder For Custom Modules
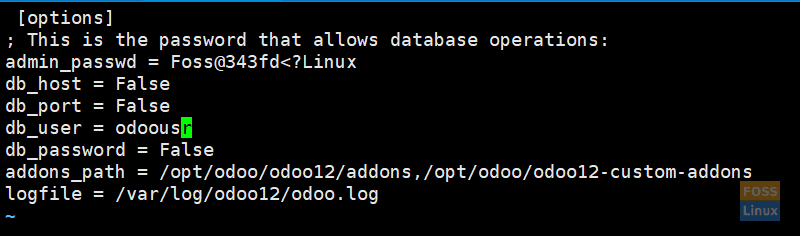
Create a configuration file for the Odoo12.
vim /etc/odoo12.conf
If vim is not available, you should install it first, or you can use any editor of your choice.
yum install vim
Add the following lines to file:
 [options]
; This is the password that allows database operations:
admin_passwd = Foss@343fd<?Linux
db_host = False
db_port = False
db_user = odoousr
db_password = False
addons_path = /opt/odoo/odoo12/addons,/opt/odoo/odoo12-custom-addons
logfile = /var/log/odoo12/odoo.log
Configurations
Save, and exit. Then create a log folder and grant permission to it.
mkdir -p /var/log/odoo12
chown -R odoousr: /var/log/odoo12
10. Manually start odoo12
Now start service and check whether it is working correctly. Change the user and then start command.
su - odoousr
/usr/bin/scl enable rh-python36 -- /opt/odoo/odoo12-venv/bin/python3 /opt/odoo/odoo12/odoo-bin -c /etc/odoo12.conf

Start Service
Check Odoo12 port is up and running. Then open another terminal and run below command:
netstat -tunlp | grep 8069

Odoo12 Port
11. Configure firewall
Check firewall status.
systemctl status firewalld
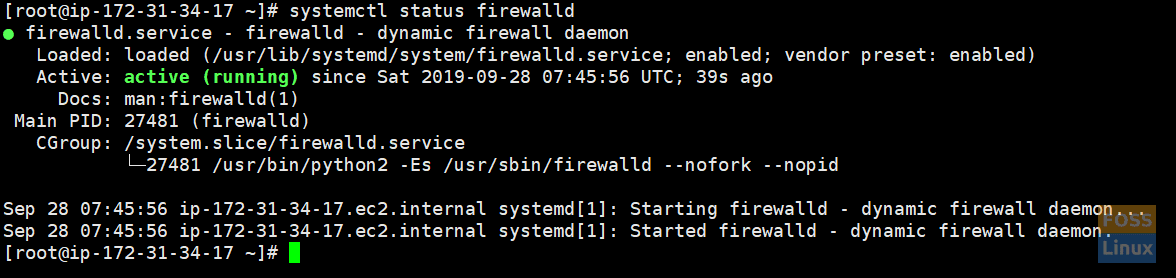
Firewall Status
If the service has not started, start it using the following command:
systemctl start firewalld
Add firewall rules and reload firewall:
firewall-cmd --zone=public --permanent --add-service=http
firewall-cmd --zone=public --permanent --add-port=8069/tcp
systemctl reload firewalld

Firewall Rules
12. Browse Application
http://Ip or domain name:8069
You will get the Start page.
Start Page
If you get a “Service Unavailable” message, temporary change Selinux mode.
setenforce 0
13. Configure Odoo12 run as a Service
Create a systemd file and add the following content to the file:
vim /etc/systemd/system/odoo12.service
[Unit]
Description=Odoo12
Requires=postgresql-11.service
After=network.target postgresql-11.service

[Service]
Type=simple
SyslogIdentifier=odoo12
PermissionsStartOnly=true
User=odoousr
Group=odoousr
ExecStart=/usr/bin/scl enable rh-python36 -- /opt/odoo/odoo12-venv/bin/python3 /opt/odoo/odoo12/odoo-bin -c /etc/odoo12.conf
StandardOutput=journal+console

[Install]
WantedBy=multi-user.target
Save, and exit.
Reload systemctl daemon.
systemctl daemon-reload
14. Now stop previously started odoo12
Check process.
ps -aux | grep odoo

Odoo ProcessKill process.
kill -9 28416 28417 28420
Make sure to replace process IDs with yours.
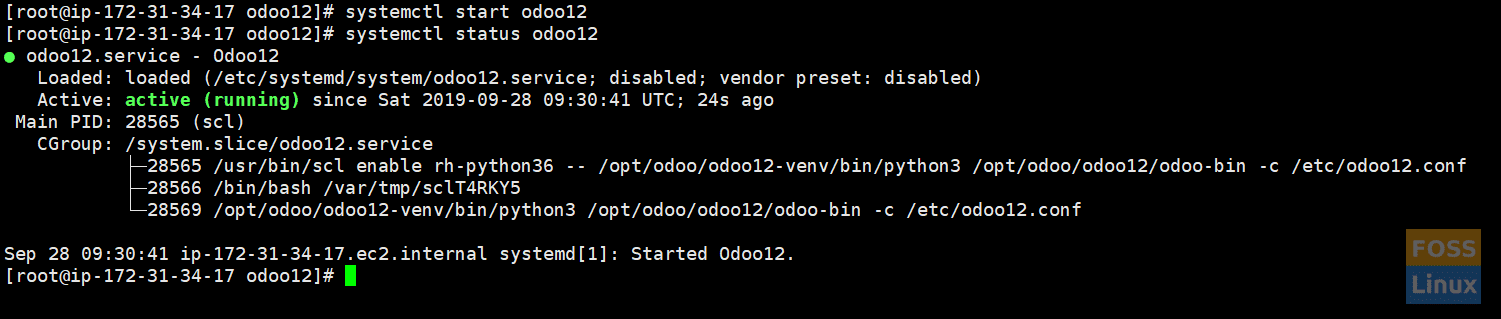
15. Now start odoo12 service
systemctl start odoo12
Check status.
systemctl status odoo12
Odoo Service Status
Monitor the log file using the following command:
tail -f /var/log/odoo12/odoo.log
Check status and enable Odoo service on system boot.
systemctl enable odoo12
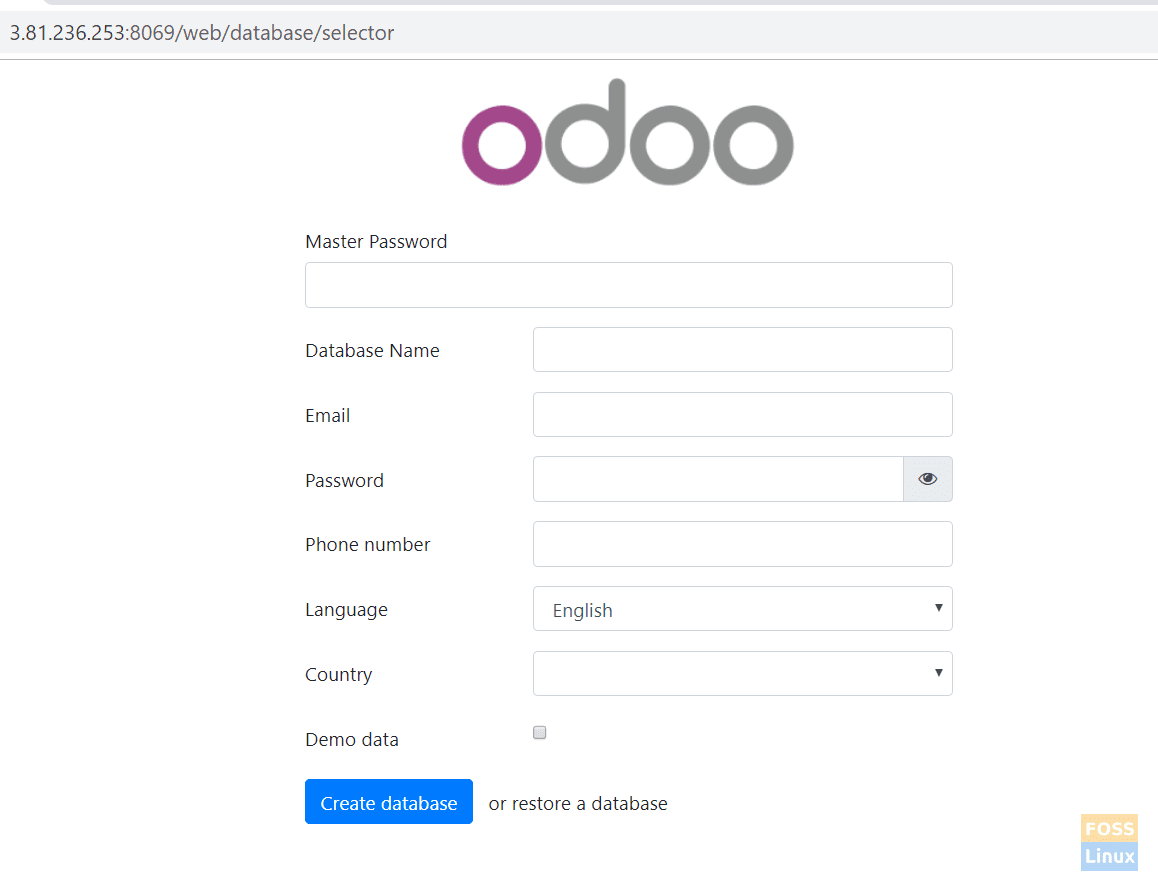
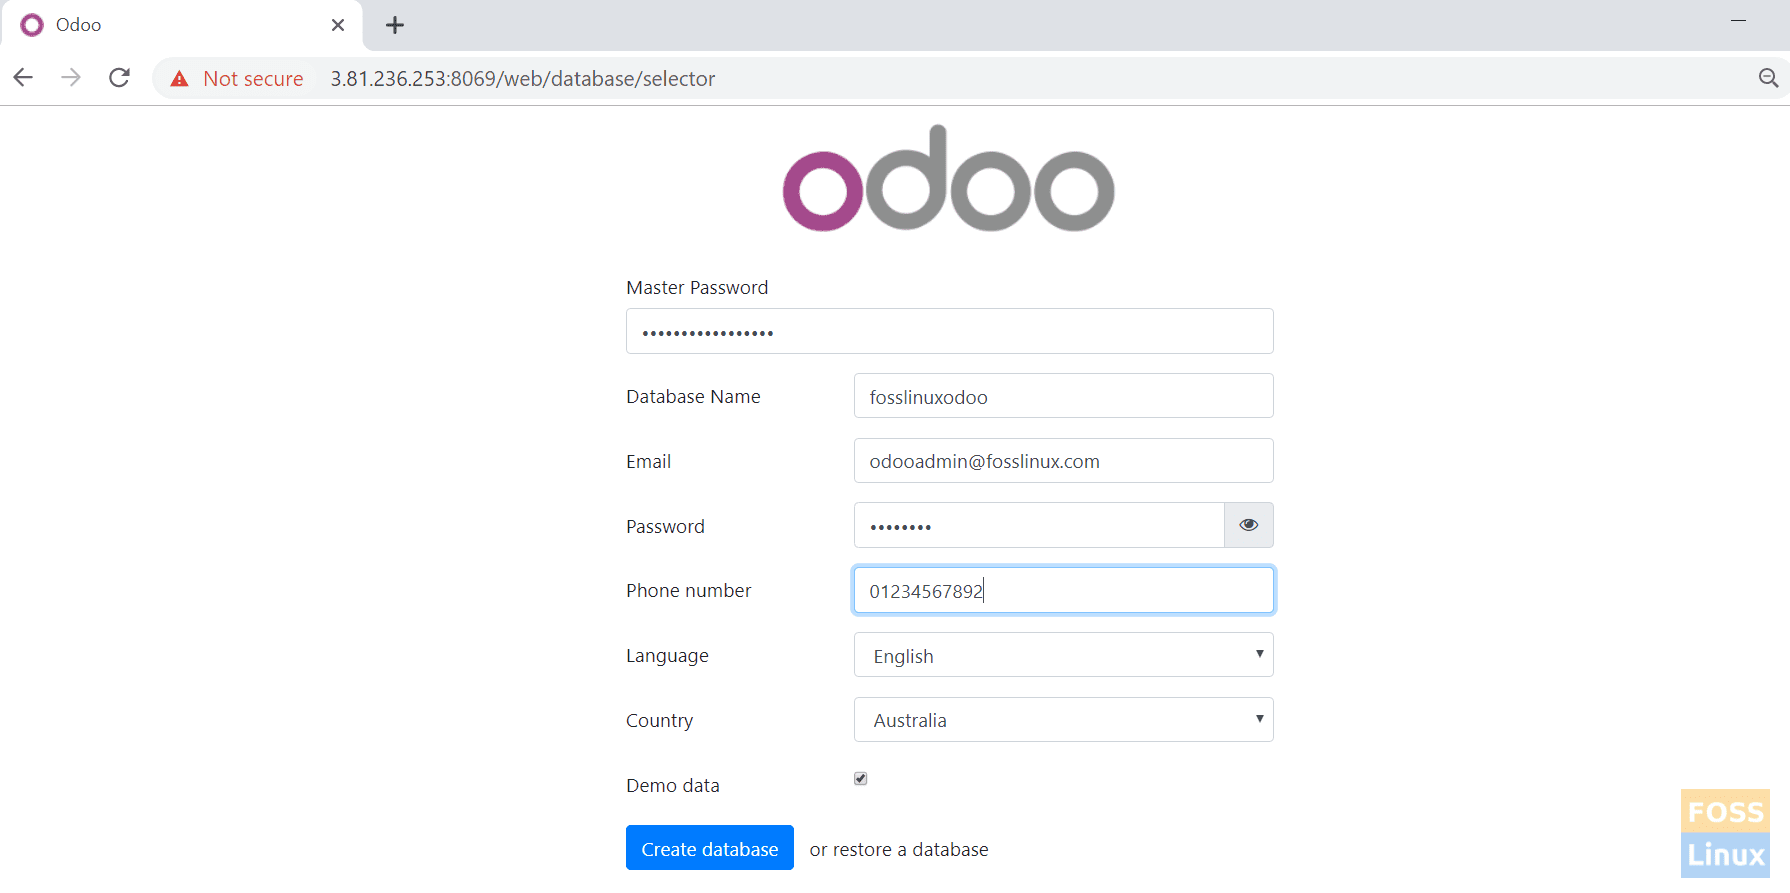
16. Browse the web site and continue
http://Ip Or Domain name:8069
Add a Master password, database name, and other details.
Odoo DB Creation
Then click “create database” (Here I added demo data too). You should be redirected to the welcome page.
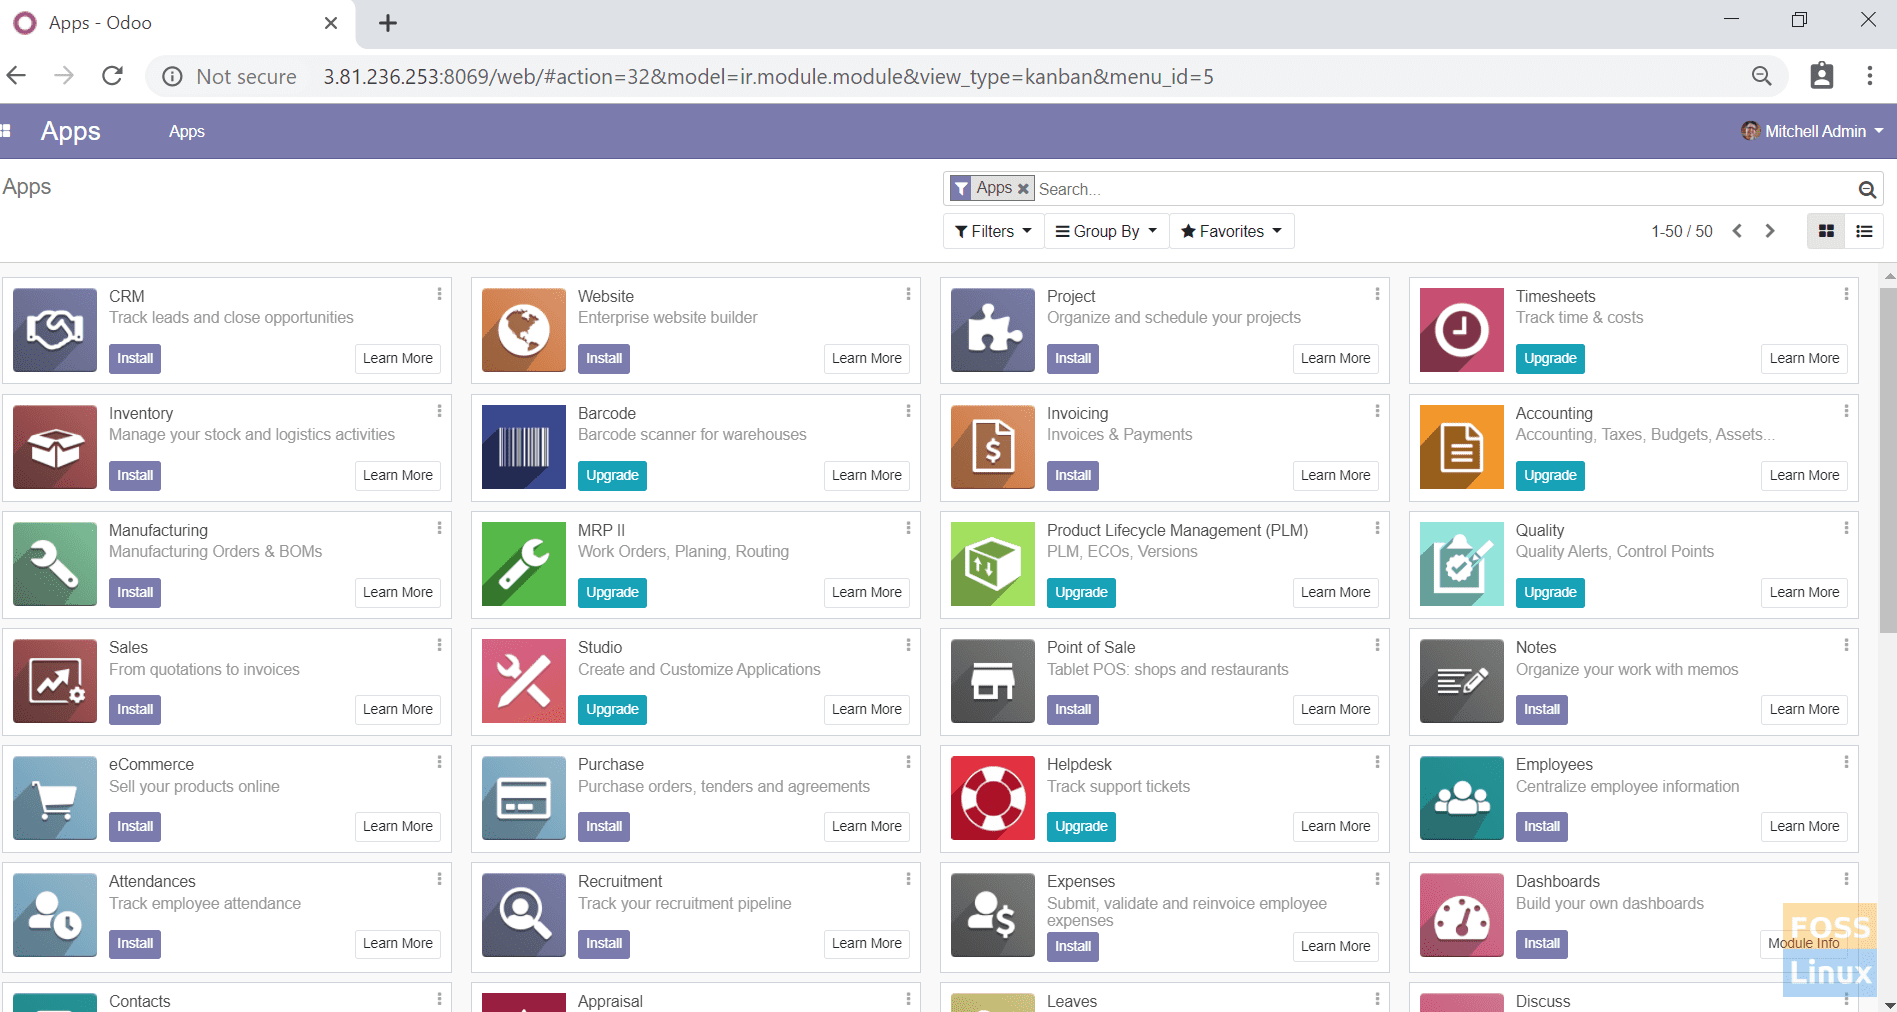
Welcome Page
After sign out from the above page, you should go to the login page.
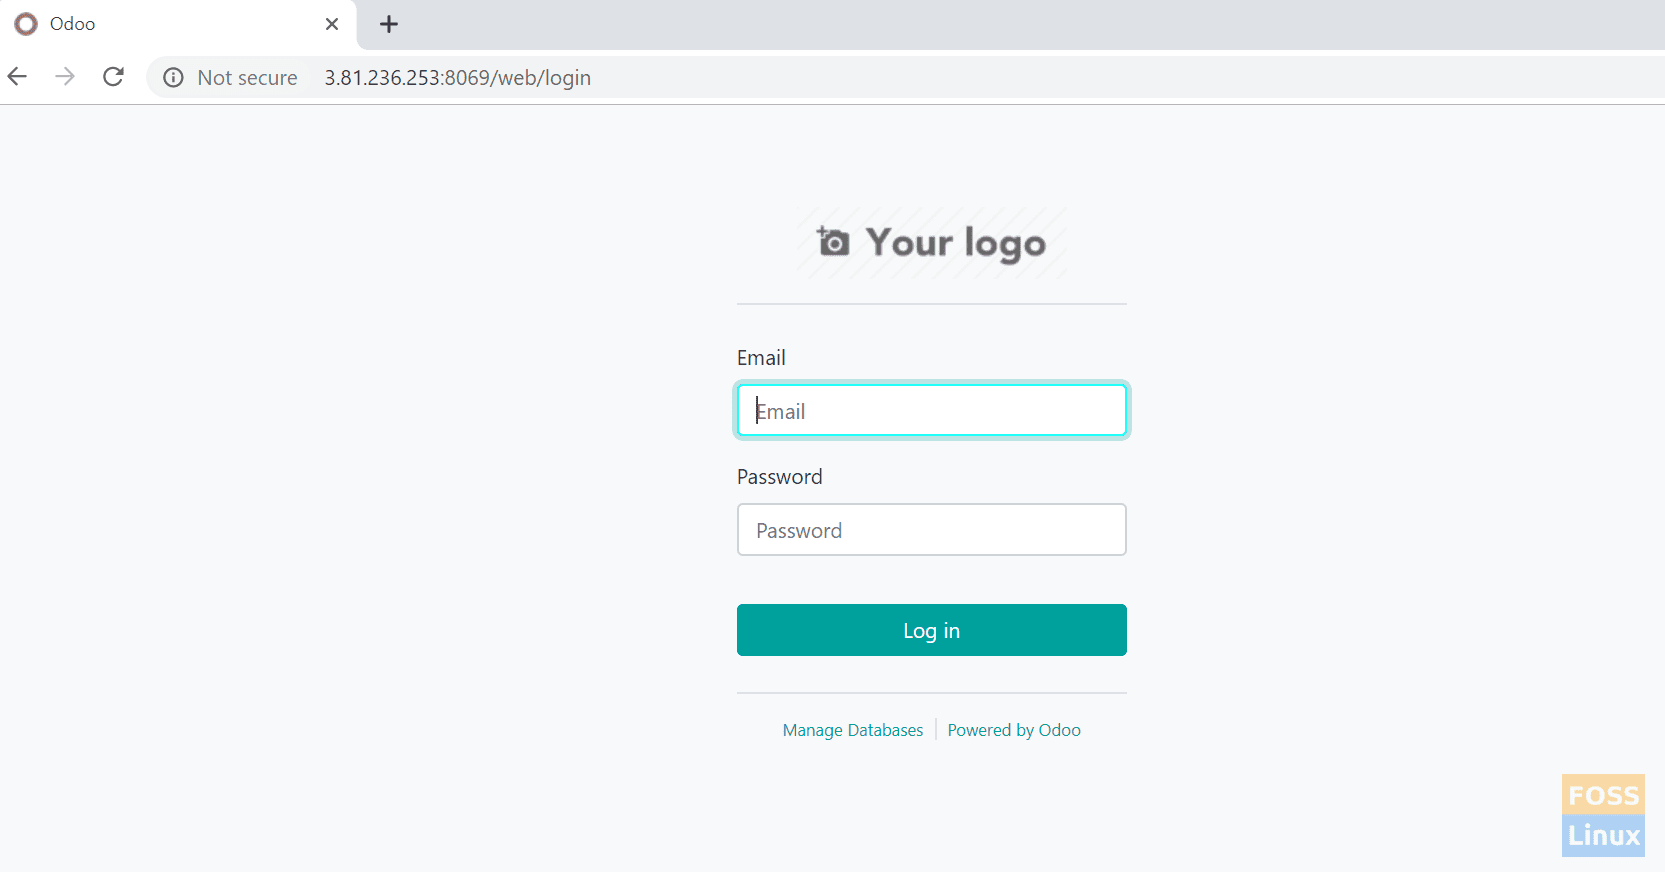
Login Page
That’s all about the installation of the latest Odoo 12 on Centos 7. I hope you enjoyed the tutorial.