
Manjaro Linux Kernel update can be applied in two ways: GUI way and the command-line way via Terminal. Both the methods are safe to use, but for those new to Linux OS, I suggest to read our article on why to update Linux Kernels for any Linux distributions.
Updating Linux Kernel in Manjaro 17
We shall learn both the ways of updating the Linux Kernel.
GUI Method: Using Manjaro Linux Setting Manager
I prefer GUI method over command-line in this case due to the recommendation shown in the Manager which we will discuss below.
STEP 1: Launch ‘Manjaro Settings Manager’.
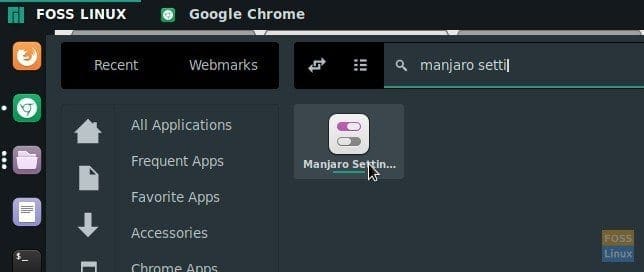
Launch Manjaro Settings Manager
STEP 2: Click ‘Kernel’.
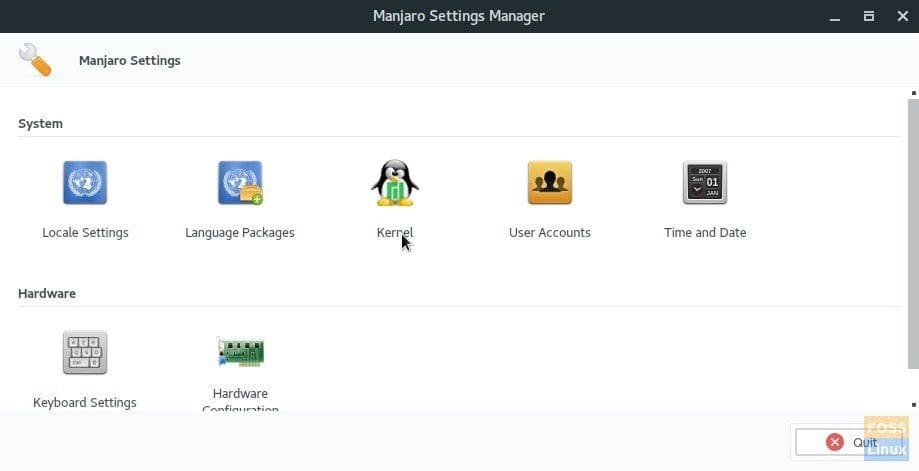
Manjaro Settings Manager
STEP 3: Here is the place you can find all the available kernels info. You will see a comment ‘LTS Recommended’ against some of the Linux Kernel versions. LTS implies Long Term Support from the official Manjaro dev team. It’s safer to install them as it is tested and proven to work with the version of Manjaro. You can’t see this advantage if you were to proceed by command-line method which will be covered in second part of this article.
Go ahead and click on install. I have already installed on my PC, so you can see the comment ‘Running/Installed’.
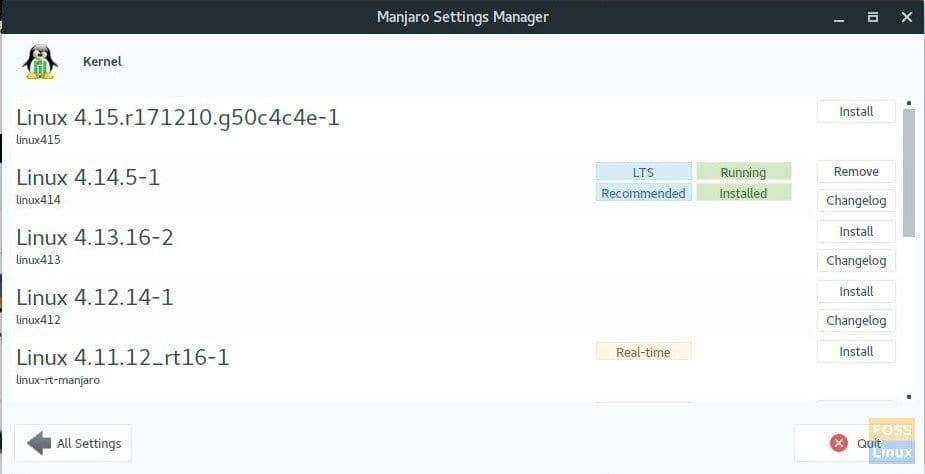
Install Linux Kernel
After the installation is complete, you may need to restart the computer for the new kernel to take effect. The old kernel will still be in your computer. You can remove it after some days when you see no problems in your Manjaro running the updated kernel.
Command-line Method: Using Terminal
Manjaro allows easy access to the very latest kernel through the use of Manjaro’s own MHWD-kernel (Manjaro Hard-Ware Detection) command. The general syntax of the command is as follows:
Launch Terminal and enter the following command:
sudo mhwd-kernel [-i] [new kernel: linux(version)]
For example, if you want to install Kernel 4.14, the complete command is as follows:
sudo mhwd-kernel -i linux414
As you see there is no need to type the entire kernel version, just first 3 digits is enough.
Optionally, you can use rmc command to remove the existing kernel, but I wouldn’t recommend it because you never know if the new kernel works without problem on your computer. So the below command is only for your information.
sudo mhwd-kernel -i linux414 rmc
Once installation is complete, close the terminal and re-boot the system for the change to take effect. If the new Linux Kernel is working good, you can remove the older kernel using following command. Replace 316 with your computer’s kernel version in the below command. The following command with uninstall old kernel, remove the Linux headers, and also remove extra modules.
sudo pacman -R linux316 linux316-headers linux316-extramodules
Hope you find this article useful while dealing with Linux Kernel upgrades on your Manjaro PC.
1 comment
Pretty much every time, neither windoze nor Linux troubleshooting instructions ever resemble what I see, close enough, so that I can follow the instructions through to successful completion. Once again!
Why is that?