
Remote Desktop tools are essential if you want access to resources or services from another PC that is not in the same physical location as you. Say, for example, you are on a camping trip but wish to remotely access your work machine. This remote machine can be in your office desktop computer or laptop with updates on what is happening in your work environment.
A practical scenario is a checkup on your work network performance. Under such circumstances, you need a remote desktop tool with authenticated access to your office computers to perform tasks that would also be possible if you were physically present in the target environment.
The 10 Best Linux Remote Desktop Tools
Luckily, numerous Desktop remote tools run on different protocols. Some have superior functionalities compared to others, while some are more suited for specific scenarios.
Below is a deep dive into the 10 best Linux remote desktop tools.
1. Remmina
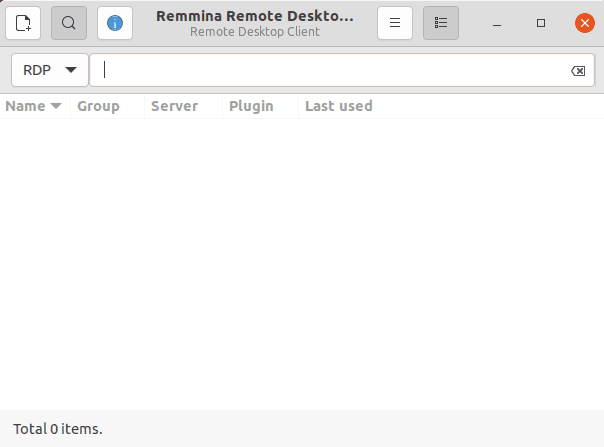
Remmina
Remmina has a user-friendly interface, making it a reliable application for remote desktop sharing. Therefore, it is a suitable tool for travelers, system administrators, and any other user who frequently works with remote computers. Besides, it supports a variety of network protocols.
Remmina is an open-source remote desktop tool written in GTK+3. Besides, Ubuntu, Reminna works well with other Linux distributions. It is also an efficient tool for remote desktop sharing.
There are plenty of plugins and configurable features in Remmina that enable users to meet their individual needs. Standard plugins in Remmina include special features such as SSH, SPICE, VNC, EXECm RDP, and SFTP. On the other hand, its common features comprise Dark Tray Icons, Last View Mode for every connection, Full-Screen Toggle Mode option, and Double-Click configurations.
Remmina Installation on Ubuntu OS
sudo snap install remminaRemmina Installation on CentOS
First, enable snaps on CentOS before you start this installation. Snaps are applications whose packaging contains all the needed dependencies to facilitate a single build. As a result, it can run on all popular Linux distributions. Snaps updates run automatically, and their rollback is smooth all the way.
How to enable snapd
Access Snap in the EPEL, i.e., Extra Packages for Enterprise Linux repository by adding the EPEL repository.
sudo yum install epel-release
Now install snap.
sudo yum install snapd
After completing this installation, enable the systemd unit. The systemd unit is responsible for the management of the main snap communication socket.
sudo systemctl enable –now snapd.socket
Now enable support for classic snap. Create a symbolic link between /var/lib/snapd/snap and /snap
sudo ln -s /var/lib/snapd/snap /snap
Subsequently, to ascertain that the snap paths are correctly set, restart the target remote system or log-out and log-in again. Finally, resume Remmina installation.
sudo snap install Remmina
Note that Snapd only supports Red Hat Enterprise Linux and CentOS versions 7.6+.
2. TeamViewer
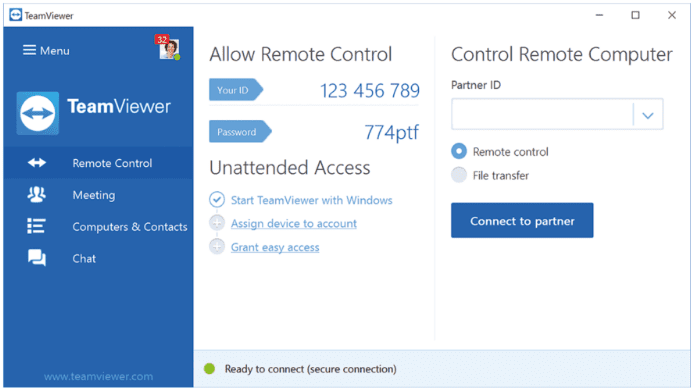
Team Viewer
It is a popular and diversely used remote desktop tool. TeamViewer has two distributions; one for personal use and a commercial one for business use. It is also available for different operating systems besides Linux, Windows, Chrome, and macOS systems. It is one of the few desktop tools that are reliable and secure. Besides, you are guaranteed to enjoy seamless connectivity with this tool on multiple remote gadgets. TeamViewer is a very secure and reliable tool for remote desktop sharing.
Other unique benefits that TeamViewer provides include Augmented Reality (AR). The TeamViewer AR tool called TeamViewer Pilot extends tasks beyond what you can see on the screen. Besides, TeamViewer also helps you accomplish file transfers between two remote devices. For example, your smartphone at home and a desktop computer in your office can share data.
TeamViewer Installation on Ubuntu
Download the latest version from its official APT repository.
wget https://download.teamviewer.com/download/linux/teamviewer_amd64.deb
Now install TeamViewer.
sudo apt install ./teamviewer_amd64.deb
Agree to any installation prompts, and afterward, launch your TeamViewer.
teamviewer
TeamViewer Installation on CentOS 8
First, depending on your machine, download a 32-bit or 64-bit package. You can accomplish this from the TeamViewer website. Alternatively, use the wget utility on your terminal:
wget https://download.teamviewer.com/download/linux/teamviewer.x86_64.rpm
TeamViewer needs additional dependencies from the EPEL repository:
sudo yum install https://dl.fedoraproject.org/pub/epel/epel-release-latest-8.noarch.rpm -y
Now install TeamViewer.
sudo yum install teamviewer.x86_64.rpm -y
3. Zoho Assist
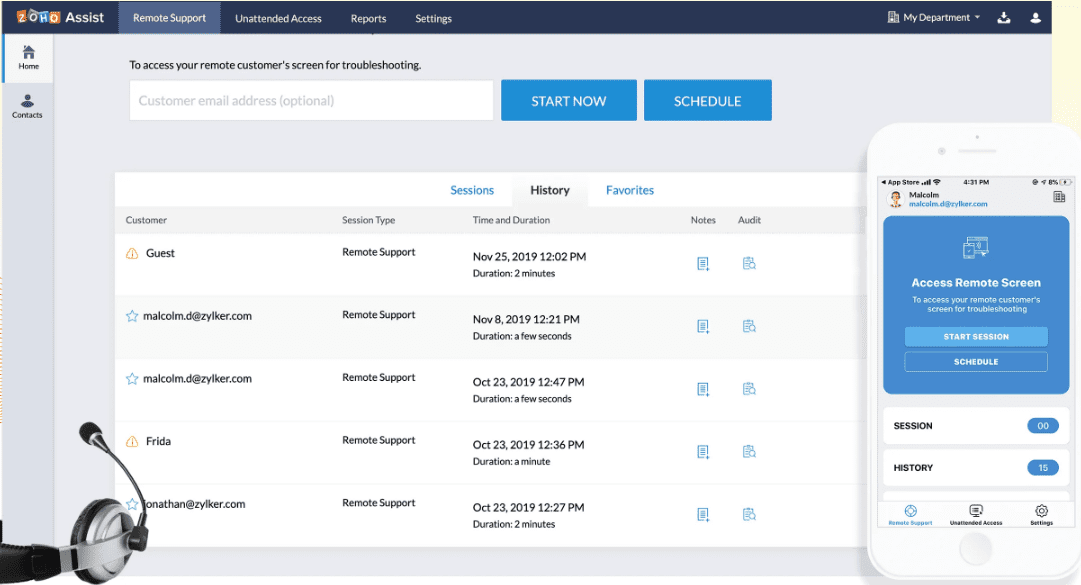
Zoho Assist
Zoho Assist features as one of the best remote sharing desktop tools in 2020 with many features that will excite any user. First, Zoho Assist controls access to other computers, mobile phones, and other devices. It supports comprehensive remote access as well as unattended remote access.
Other exciting and exceptional Zoho Assist features include support for voice calls, video chats, and messaging. You can quickly transfer files from one computer to another, perform random customization, schedule screen recording, and work concurrently on multiple desktops.
It also has utilities that are essential for customer support.
Most people find this tool exceedingly useful for service providers and support managers, IT professionals, and remote customer support professionals.
The security objectives of Zoho Assist are exceptional. It offers alternatives like SSL, 256-bit encryption, and multi-factor authentication. The only challenge you will face when engaging with Zoho is the constant need for a stable internet connection.
Zoho Assist Installation
Its installation is straightforward and can be achieved from its official site. Despite Zoho Assist being a paid service, it currently offers a 15-day trial period to new users.
4. AnyDesk
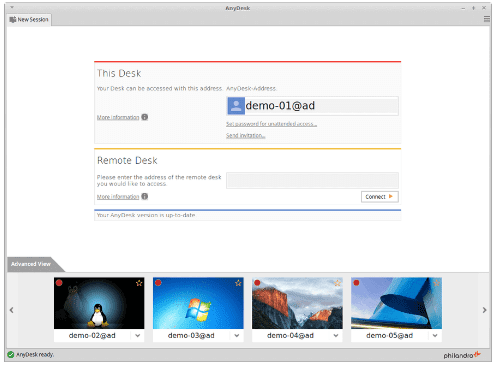
AnyDesk
AnyDesk is one of the fastest-growing remote sharing tools. Its download statistics exceeds 100 million. It’s secure, fast, and equally reliable in reputation. It is a multi-platform application that supports a wide variety of operating systems, including Raspberry Pi, Windows, FreeBSD, Android, iOS mobile, macOS, and Linux distribution.
AnyDesk is free for personal use, though it has a paid plan version for businesses and might cost you some pocket change between the ranges of 8.49 euros and 41.99 euros per month. AnyDesk provides exciting features that are equally likable. They include support for printing remote files, unattended access, auto-discovery, and remote PC control.
The user interface on AnyDesk is friendly and intuitive for anybody to use without much complication. Besides, it is generally lightweight.
In case you want to reap the ultimate features of AnyDesk, go with the paid version. The latter has advanced functionalities and features like support for custom namespaces setup, support for concurrent sessions, and support for session logins.
AnyDesk Installation on Ubuntu 20.04
Step 1: Update your Ubuntu system.
sudo apt update
sudo apt -y upgrade
Step 2: Add AnyDesk repository
Import the AnyDesk GPG key needed for signing its APT packages.
wget -qO - https://keys.anydesk.com/repos/DEB-GPG-KEY | sudo apt-key add -
Add the AnyDesk repository content on your Ubuntu OS.
echo "deb http://deb.anydesk.com/ all main" | sudo tee /etc/apt/sources.list.d/anydesk-stable.list
Step 3: Now Install AnyDesk
First, update the system via apt command before installing AnyDesk.
sudo apt update
sudo apt install anydesk
Step 4: Launch AnyDesk
anydesk
Installation on CentOS 8 and RHEL 8
Use the AnyDesk Yum repository to install the needed RPM packages. Alternatively, download an RPM package and manually perform the installation. However, you will be bound to perform manual updates. Add AnyDesk Repository in CentOS 8 and RHEL 8, respectively.
CentOS 8: Sequentially type the following commands on your CentOS 8 terminal
cat > /etc/yum.repos.d/AnyDesk-CentOS.repo<< "EOF"

[anydesk]

name=AnyDesk CentOS - stable

baseurl=http://rpm.anydesk.com/centos/$basearch/

gpgcheck=1

repo_gpgcheck=1

gpgkey=https://keys.anydesk.com/repos/RPM-GPG-KEY

EOF
RHEL 8: Sequentially type the following commands on your RHEL 8 terminal
cat > /etc/yum.repos.d/AnyDesk-RHEL.repo<< "EOF"

[anydesk]

name=AnyDesk RHEL - stable

baseurl=http://rpm.anydesk.com/rhel/$basearch/

gpgcheck=1

repo_gpgcheck=1

gpgkey=https://keys.anydesk.com/repos/RPM-GPG-KEY

EOF
Now Install AnyDesk on RHEL 8 or CentOS 8 after the AnyDesk repository has been added to the system.
sudo dnf makecache
sudo dfn install -y redhat-lsb-core
sudo dfn install anydesk
Agree to import the GPG key by selecting ‘y’ from the received terminal prompt. This step will initialize the installation of AnyDesk on RHEL 8 / CentOS 8
Check your installed version of AnyDesk by running the following command.
rpm -qi anydesk
Finally, Launch AnyDesk:
anydesk
5. TigerVNC
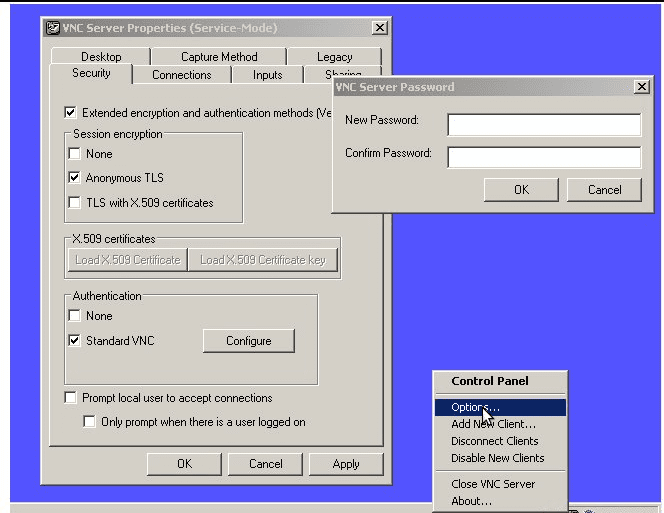
TigerVNC
TigerVNC is not only open source but also free. Its platform-neutral implementation boasts of high performance. It has a server and client application that enables a user to launch and work on a remote machine through a graphical user interface application.
The working of the TigerVNC server is unique. A standalone virtual desktop for each user is launched through its configuration. It does not function like other servers, e.g., Vino or VNC X, which directly connects to the runtime desktop.
As a user, you have various options to choose from when it comes to using TigerVNC. They comprise of selecting the preferred remote machine’s computer view to use, selecting the encoding of your choice, selecting desired compression levels, and choosing the preferred color display for the remote connection. You can also set the screen size to your liking when under a remote session.
TigerVNC boasts of running video applications with 3D capabilities. Also, across the diverse platforms, it presents a consistent user interface. Furthermore, it is known for components re-use.
It also guarantees sustained security through extensions whose implementation supports TLS encryption and other high-scale authentication modes. Other additional encryption schemes include X509Vnc. With TigerVNC, you have the option to share the clipboard with a VNC server stationed remotely.
However, TigerVNC lacks a mobile client. Therefore, if a mobile client is critical to your remote tool’s requirements, you may opt-out. Despite this, the application can handle any remote task because of its outstanding performance under an active connection.
TigerVNC Ubuntu 20.04 Installation
TigerVNC is available in the default repository of ubuntu 20.04. You can install it by running the following terminal command.
sudo apt install tigervnc-standalone-server -y
Do not run VNC as a root user since it is a security risk. Create a normal user without Sudo privileges if you do not have one using the following command sequence.
sudo adduser newvnc_user
Replace newvnc_user with your desired system username, then create a password for this user.
vncpasswd
The password will be needed to connect to TigerVNC. TigerVNC listens to 127.0.0.1 or localhost only. In case you intend to access it from outside, your firewall configurations should give it the needed authorization rights. The router you are using should support port forwarding from which you should get an external or public IP to facilitate a direct connection.
TigerVNC Installation on CentOS 8
Follow the following steps.
Step 1: update your system.
sudo dnf update
Step 2: Install gnome GUI components.
sudo dnf groupinstall -y “Server with GUI.”
Step 3: Set the default target Graphical user interface.
sudo systemctl set-default graphical.target
sudo systemctl default
Step 4: Add the xrdp repo to your CentOS system
sudo rpm -Uvh

http://li.nux.ro/download/nux/dextop/el7/x86_64/nux-dextop-release-0-1.el7.nux.noarch.rpm
Step 5: Now install TigerVNC Server
sudo dnf install -y xrdp tigervnc-server
Step 6: Configure SELinux to permit RDP connections.
sudo chcon --type=bin_t /usr/sbin/xrdp
sudo chcon --type=bin_t /usr/sbin/xrdp-sesman
Step 7: Start and enable the xrdp service
sudo systemctl start xrdp
sudo systemctl enable xrdp
Step 8: Configure your firewall to permit RDP connections.
sudo firewall-cmd --permanent --add-port=3389/tcp
sudo firewall-cmd --reload
6. Vinagre
Vinagre
Vinagre is a remote system whose client environment has a strong connection with the gnome environment. It offers support for several protocols like VNC, SSH, and RDP. In case a VNC server does not cater to JPEG compression, Vinagre will not hesitate to enable this support. There is also the option for a user to configure a color depth of their choice during an active connection.
Vinagre has a unique ability to discover a VNC server running on the network by sniffing and tunneling the active VNC connections via SSH. Besides, it can take screenshots of the remote machines. Furthermore, Vinagre also uses SPICE, SSH, and RDP protocols for network connection. Vinagre lacks a server component of its own and instead works at full speed when paired with the default VNC for Gnome, VNC server, and Vino.
It offers support for a VNC server with many open concurrent connections. Unlike Remmina, the user here can select between a scaled-window or view-only full-screen session by using the provided optional checkboxes. Further, you can choose a color depth from a 24-bit true-color to a 3-bit ultra-low color. It is also limited to run on a Linux desktop environment and lacks reputable mobile clients.
Vinagre Installation on Ubuntu 20.04
Update your system, then run the commands that follow.
sudo apt-get update -y
sudo apt-get install -y vinagre
Vinagre Installation on CentOS 8
You have two options. First, you can download a .rpm package from CentOS official package directory and manually install it, or you can run the following command on the terminal.
dnf install vinagre
7. KRDC
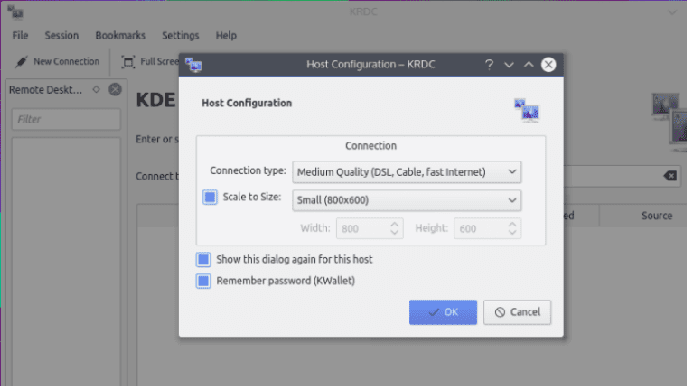
KRDC
KRDC is ideally developed for the KDE environment of a desktop. The quick and fast-paced access facilitated by the KRDC platform is due to implementing a VNC or RDP protocol. It is generally a minimalistic tool suitable for individuals or companies that need an application with basic functionalities. The core functionalities provided by KRDC include access to documents, sharing files, and access to other secondary system files. KRDC is free and has a user interface that is easy to handle. Users find it friendly and straightforward. The only challenge is the limited functionality that an advanced user might notice.
KRDC Installation on ubuntu 20.04
sudo apt-get update
sudo apt install krdc
KRDC Installation on CentOS 8
Step 1: Add the EPEL repository.
sudo yum install epel-release
Step 2: Install Snap
sudo yum install snapd
Step 3: Enable the systemd unit. It is responsible for network communication.
sudo systemctl enable --now snapd.socket
Step 4: Enable classic snap support.
sudo ln -s /var/lib/snapd/snap /snap
Step 5: Installing krdc
sudo snap install krdc
8. NoMachine
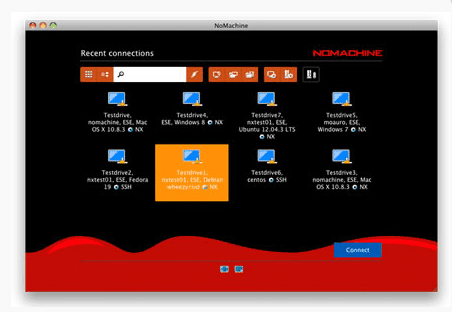
NOMACHINE
It is a secure and fast multi-platform application that produces high-quality performance. The NX protocol contributed to its development. The outstanding benefit of the NX protocol is the increased local speed, which makes it very responsive such that it will feel as though you are in front of the remote computer you are trying to access. As a personal server, it is not only securely encrypted but also proven to be reliable. You have access to virtually all the files, audio, videos, files, and documents. Also, you can share almost anything through its remote desktop client.
NoMachine Installation on ubuntu 20.04
There is no .deb installation package for Debian Linux distributions like ubuntu.
Step 1: Download .deb installation package
sudo apt -y install wget
wget https://download.nomachine.com/download/6.9/Linux/nomachine_6.9.2_1_amd64.deb
Step 2: Installing NoMachine
sudo apt install ./nomachine_6.9.2_1_amd64.deb
Installing NoMachine on CentOS 8
You can download NoMachine installation package from the NoMachine download page or use the wget utility.
Step 1: Download NoMachine installation package
get https://download.nomachine.com/download/6.9/Linux/nomachine_6.9.2_1_x86_64.rpm
Step 2: Installing NoMachine
dnf install nomachine_6.9.2_1_x86_64.rpm
Alternative Installation:
For a direct installation through the internet, run the following command on your terminal:
dnf install https://download.nomachine.com/download/6.9/Linux/nomachine_6.9.2_1_x86_64.rpm
9. X2Go
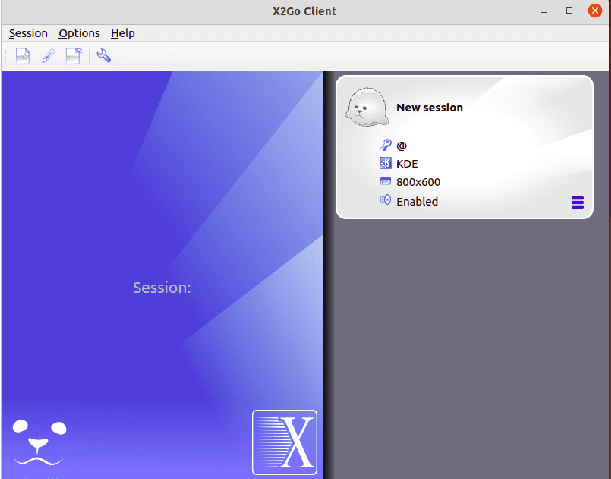
X2G0
The beauty of using X2Go is the ability to work on a low connection bandwidth while effectively performing your system tasks. The default connection protocol on X2Go is NX. Additionally, this connection takes place on a remote graphical desktop. You only need your login credentials to connect to an active session. Afterward, you have the freedom to access your remote desktop. A priceless advantage of using X2Go is its support for more than two active connections at a time. Moreover, it’s adaptable to all kinds of connections and also easy to setup. However, some users might find the process of using port forwarding to access X2Go on a web platform as a security risk.
X2Go Installation on ubuntu 20.04
Step 1: Server installation
=sudo apt-get install x2goserver x2goserver-xsession
Step 2: Client Installation
sudo apt-get install x2goclient
X2Go Installation on CentOS 8
Step 1: X2Go Server installation
sudo dnf install x2goserver
Step 2: X2Go local client installation
sudo apt-get install x2goclient
10. Apache Guacamole
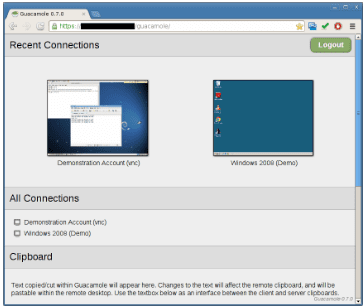
Apache Guacamole
Apache Guacamole allows you to access remote machines over a browser after its successful installation on a target server. In essence, you do not need any application or the need for remote configurations, and for this reason, Apache Guacamole is termed as a clientless system.
HTML5 powers its connections. However, some users imply that this approach does not guarantee its network security. Regardless, this browser connection offers great convenience. Guacamole supports various protocols, including SSH, VNC, and RDP. It is readily available for both the Windows operating system and the Linux distribution. Something unique about Apache Guacamole is its support for remote access connections to desktop computers connected to the cloud.
However, the Apache Guacamole does not have a lot of configurable settings to customize the user experience more. However, you reap the benefit of having multiple connections with diverse interactions regarding printers, gaming, drivers, and media players.
Apache Guacamole Installation on Ubuntu 20.04
Step 1:
Installing Apache Guacamole requires that you build it from the source. Therefore the following build tools are necessary:
sudo apt install -y libwebp-dev gcc libvorbis-dev g++ libssl-dev libcairo2-dev libtelnet-dev libjpeg-turbo8-dev libvncserver-dev libpng-dev libssh2-1-dev libtool-bin libpango1.0-dev libossp-uuid-dev freerdp2-dev libavcodec-dev libswscale-dev libavutil-dev
Perform the download from its official site.
wget https://downloads.apache.org/guacamole/1.1.0/source/guacamole-server-1.1.0.tar.gzExtract source tarball
tar xzf guacamole-server-1.1.0.tar.gz
cd guacamole-server-1.1.0
Run ./configure to ascertain the availability of the necessary dependencies and flag any that could be missing from the system
./configure

--with-init-dir=/etc/init.d
Step 3:
make

make install
These steps are necessary for the successful compilation and installation of the Guacamole server.
Step 4:
Run ldconfig to create the needed links—also, the cache for the libraries that have recently been found in the server directory of guacamole.
ldconfig
Step 5:
Start and enable guacd so that it runs simultaneously during boot after its installation is successful.
sudo systemctl start guacd

sudo systemctl enable guacd
You can always check the status of guacd using this command:
sudo systemctl status guacd
Apache Guacamole Installation on CentOS 8
Step 1: Build the Guacamole Server from the source.
wget http://mirror.cc.columbia.edu/pub/software/apache/guacamole/1.2.0/source/guacamole-server-1.2.0.tar.gz

tar -xvf guacamole-server-1.2.0.tar.gz

cd guacamole-server-1.2.0

/configure --with-init-dir=/etc/init.d

make

sudo make install

sudo ldconfig

sudo systemctl daemon-reload

sudo systemctl start guacd

sudo systemctl enable guacd

systemctl status guacd
Step 2: Install its client on CentOS 8
cd ~
sudo mkdir /etc/guacamole
wget https://downloads.apache.org/guacamole/1.2.0/binary/guacamole-1.2.0.war
sudo mv guacamole-1.2.0.war /etc/guacamole/guacamole.war
The Installation of the Guacamole binary library encompasses the establishment of a link (symbolic) between the Guacamole client to Tomcat webapps as follows:
sudo ln -s /etc/guacamole/guacamole.war /usr/share/tomcat/webapps/
Final Thoughts
In this day and age, we cannot do without remote desktop tools. Despite their differences in functionality and usability, they generally make our work easier in sharing resources from one device to another, with the inclusion of mobile gadgets. We also need them to share screens, monitor, control, and manage network resources from a remote computer. A practical instance is server management.
Whichever remote desktop tools you choose, be assured that you will meet the objective you seek. Some have extensive configurations for advanced custom features, while others are lightweight in their configurations. Regardless, your tech expertise will help you select a complimentary remote desktop tool from the guideline this article provided.
1 comment
After trying VNC and RDP, I found NoMachine to be the most responsive and easy to setup among free software for personal use, while connecting to an Ubuntu machine from Windows 10. It is almost as if I am using the computer directly while accessing it remotely.