
Kali Linux is a Debian-based Linux distro designed for digital forensics and penetration testing. This great OS is maintained and funded by Offensive Security. With it comes approximately 600 pre-installed penetration-testing programs formerly known as tools.
It was developed by Mati Aharoni and Devon Kearns of Offensive Security through the rewrite of BackTrack. BackTrack was their previous information security testing Linux distribution based on Knoppix.
The system supports both 32-bit and 64-bit systems. As such, you need not worry about whether your system will be compatible or not. You only need to download the correct ISO image, and you will be good to go.
Some of the system requirements to have this system working as your host OS are:
- A minimum of 20GB of hard disk space for installation.
- A minimum of 2GB RAM for both 32-bit and 64-bit.
- A bootable CD-DVD drive or a USB stick.
- For good performance, an Intel Core i3 or an AMD E1 processor.
This article will show you how to set up and install Kali Linux in the latest VMware Workstation Player (player 16). This is one of the best ways to use Kali, as it is completely separated from the host OS, allowing you to modify and test the software without impacting your host Operating System.
Before installing Kali Linux on our Vmware, we will first go through the installation of the workstation player.
Installing VMware Workstation Player on Ubuntu
Generally, a VMware workstation is just a desktop virtualization software that permits you to run many isolated operating systems on a single host machine.
With this software, one can create and run an unlimited number of virtual machines. However, Vmware is not open-source software, and it is only free for personal, non-commercial use. Nonetheless, if you are looking for an open-source virtualization tool, you should try VirtualBox.
Requirements
Your system should meet the following requirements for a proper installation of the Vmware player.
- A minimum of 2 GB RAM.
- 1.3GHZ or faster CPU.
Step 1: Update software
The first step is to install this software’s build dependencies. Open your terminal and run the following commands:
sudo apt update
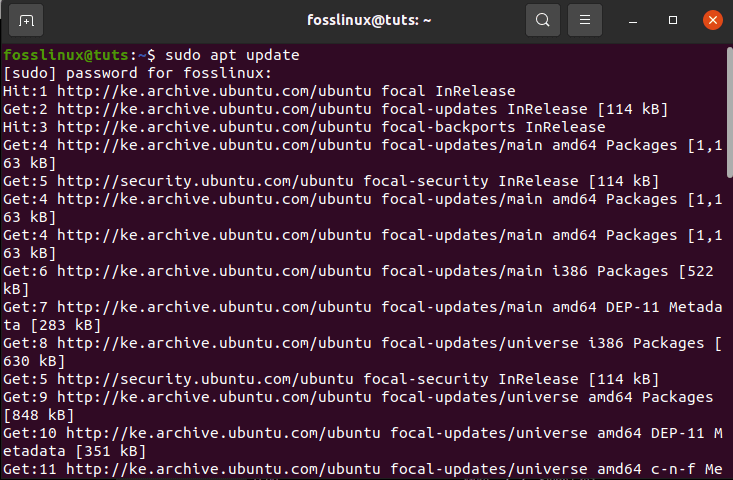
update software
sudo apt upgrade
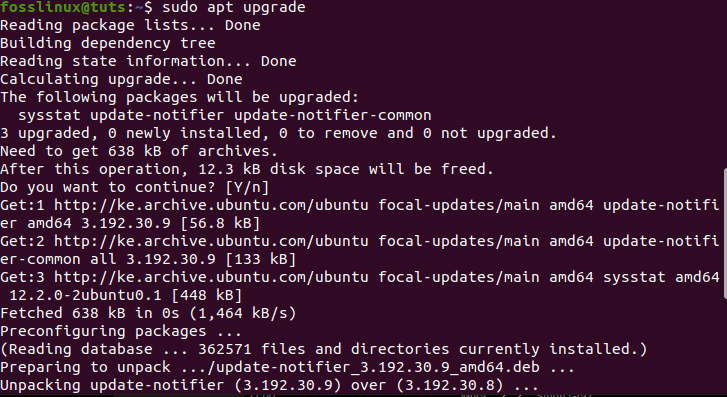
upgrading the software
sudo apt install build-essential linux-headers-generic
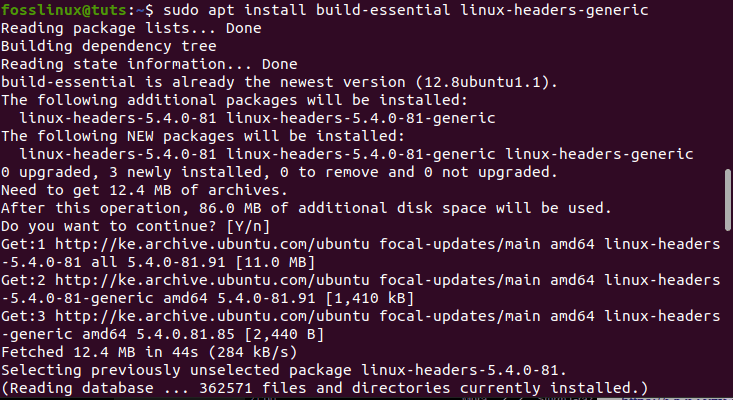
installing build-essentials
After that, download the latest version of the VMware workstation from the Vmware downloads page. Alternatively, you can use the wget command to download the installation bundle.
wget --user-agent="Mozilla/5.0 (X11; Linux x86_64; rv:60.0) Gecko/20100101 Firefox/60.0" https://www.vmware.com/go/getplayer-linux
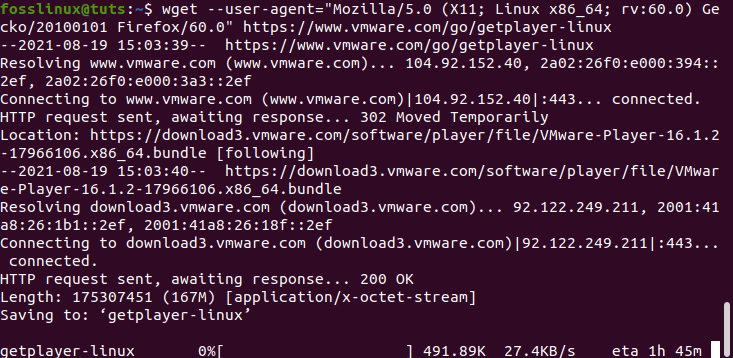
downloading the workstation
The command above will download the latest version of the player workstation. Upon completing the download, make the installation file executable using the following command:
chmod +x getplayer-linux
make the file executable
The installer will take a while, depending on your internet speed and computer specs. So, we suggest you be patient until the installation and extraction are over. You will see such information about the progress during the installation process and finally receive an “installation was successful” message upon completion.
sudo ./getplayer-linux --required –eulas-agreed

extraction window
To this point, you now have the Vmware workstation player installed on your Ubuntu system. Next, open the Activities search bar, type “Vmware Workstation,” and click on the icon to launch the VMware.
VMware workstation icon
Upon launching for the first time, a window like the one shown below will appear requesting you for the License key to allow commercial use. If you don’t have one, we suggest you select the last option at the bottom, “Use VMware player 16 for free non-commercial use”:
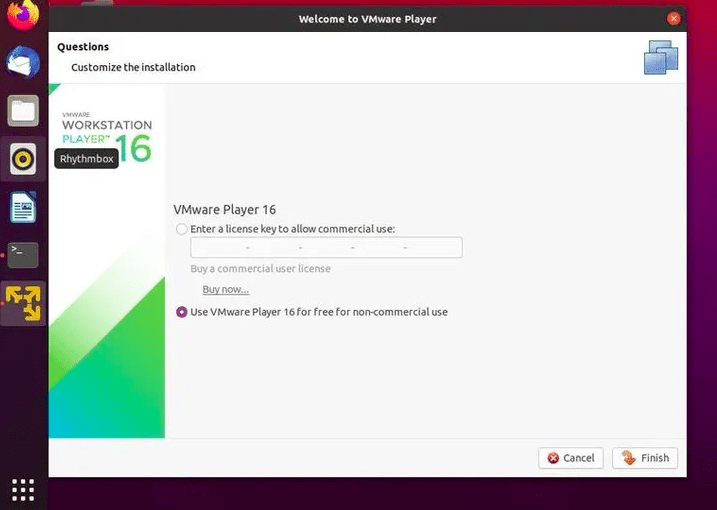
select non-commercial use
After making your selection, click on the “OK” button, and the player will start.
Step 2: Download Kali Linux ISO image
After installing the Vmware workstation, let us go ahead and install Kali Linux on our VMWare. To this point, we are sure you have downloaded the Kali Linux ISO image. If you have not, please do so before going on with the article.
Note: please check your PC’s version before downloading the image to ensure the downloaded image will be compatible with your system.
Step 3: Locate the downloaded file
Under normal circumstances, you will find your downloaded file in the Downloads folder. Nevertheless, the file will be located in the folder you directed your downloads to for those who changed the default settings. The filename should contain something like kali-Linux-2021.1-installer-amd64.iso, which should be around 4.0GB; if not, you will encounter issues while installing the file. If you downloaded the file using torrent software, the ISO file would be in a folder like kali-linux-2021.1-installer-amd64.iso.
Step 4: Open VMware player
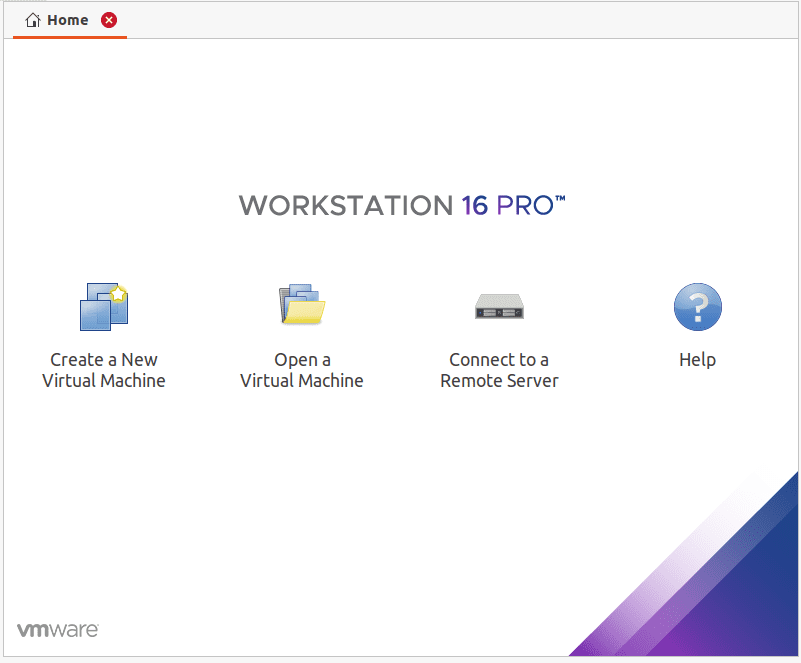
Open the Vmware player from the Windows start menu or your desktop with a VMware player icon.
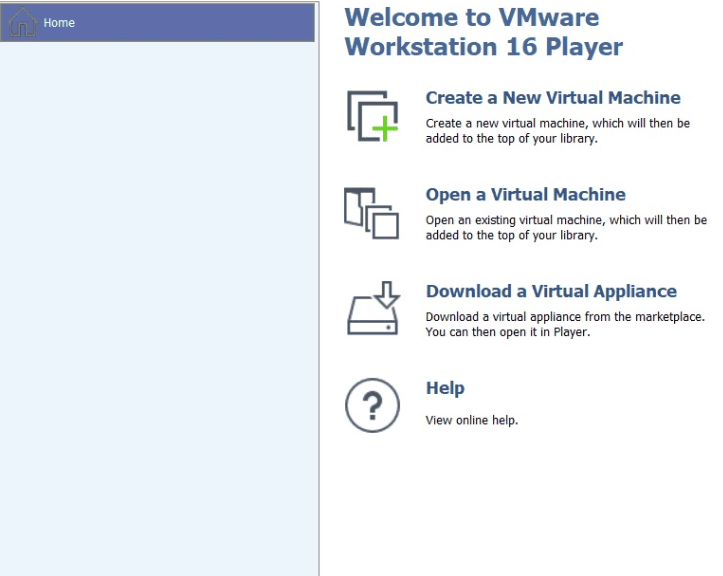
welcome screen to VMware screen
Step 5: Start VMware Play
To launch the startup wizard to create a new virtual machine, click on “ Create a New Virtual Machine,” and another popup will appear. Alternatively, you can click on File>New Virtual Machine.
select create a new virtual machine
Step 6:Virtual machine configuration
Upon clicking the create button, a welcome to the new virtual machine wizard box will open, select typical(recommended), and click on next.

select typical
Step 7:ISO file selection
In this box, you will use the “browse” button to manoeuver the machine to the downloads folder where the ISO file is and click Next. Generally, VMware automatically detects the OS and initiates an easy install. However, this is not the case in Kali Linux; you will see a warning (red caution). We suggest you ignore this caution and proceed by clicking Next.
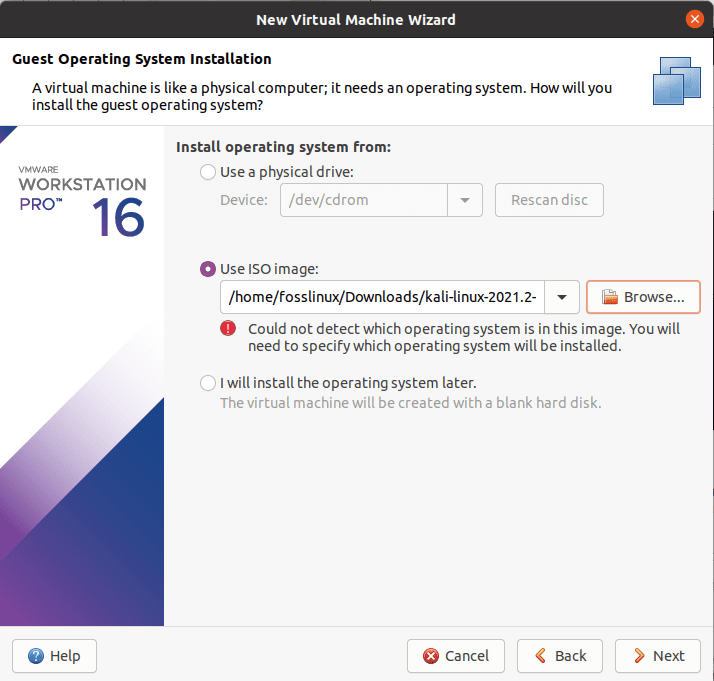
selecting iso image
Step 8:Select guest operating system
Here, you will be required to select the Guest Operating System. Choose Linux in the guest operating system section and Debian 10.x 64-bit or 32-bit depending on your machine as the version and click next.
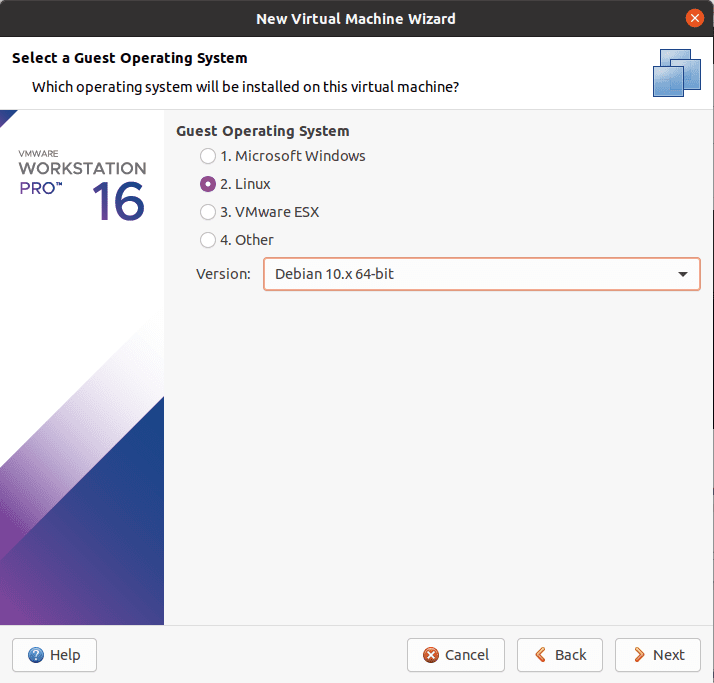
select guest operating system
Step 9: Naming the Virtual machine
In this section, you will give the name of your virtual machine. So in such sections, you are not limited, meaning you can give any name of your liking. Below the naming section is the location where you can change the location of the virtual machine since, by default, it is located in the home/Virtual Machine folder. Here, we suggest you leave it as default and click “Next.”
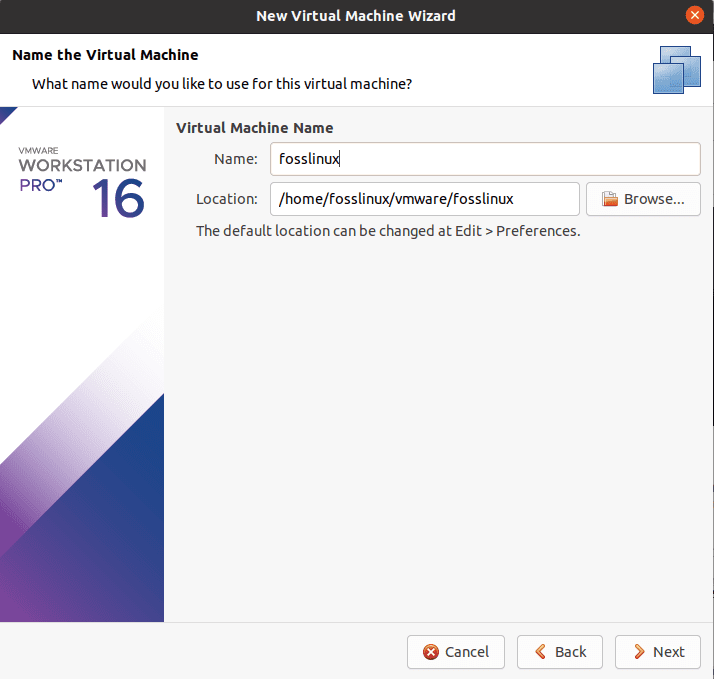
naming the virtual machine
Step 10: Disk capacity specification
Part 1:This dialog box will ask you to specify the capacity needed for your virtual machine disk. This is generally the maximum amount of disk space it will utilize once you create the virtual machine. Here, you can leave it to default, but if you are running low on disk, you can reduce it to 20GB. This is sufficient in case you are not going to use the machine for heavy tasks and software. Heavy software minimizes the machine’s performance if your computer is not robust.

disk capacity specification
Part 2: “Split virtual disk into multiple files” comes as the default option in the storage type section. If you have 50 GB, all of it won’t be used when you go with this option since these disks expand according to usage, with a maximum size being the size you specified as the disk capacity. We will not go with the default selection; we recommend the first option (“Store virtual disk as a single file”).
Step 11: Ready to create the virtual machine
This is the final dialog box containing all the settings you previously made while setting up; you can click on the customize hardware if you want to alter any settings you made before. To proceed, click the “Finish” button.
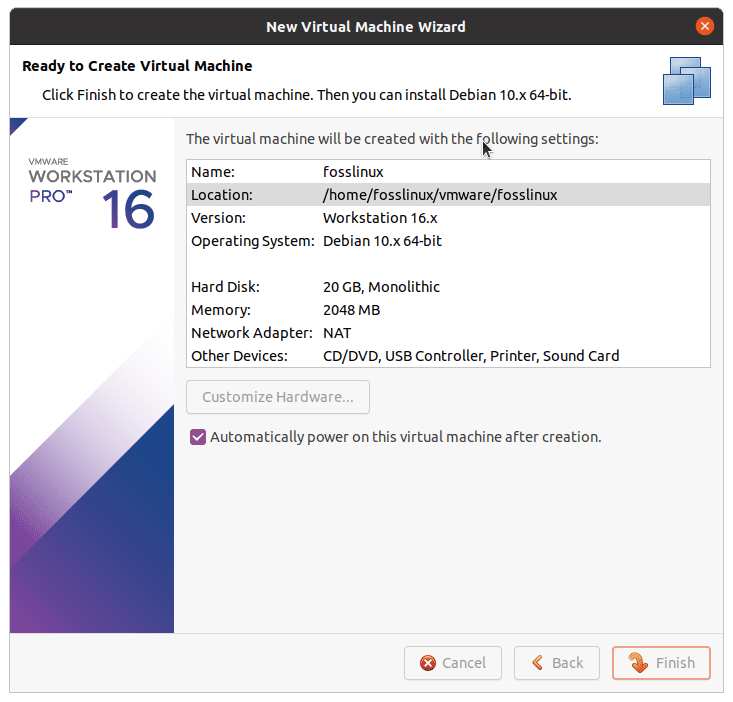
finish window
Step 12: Start the virtual machine
To start the virtual machine, click on the “startup this guest operating system,” The machine will open up. In other cases, the machine will automatically startup. So no worries when in such a situation.
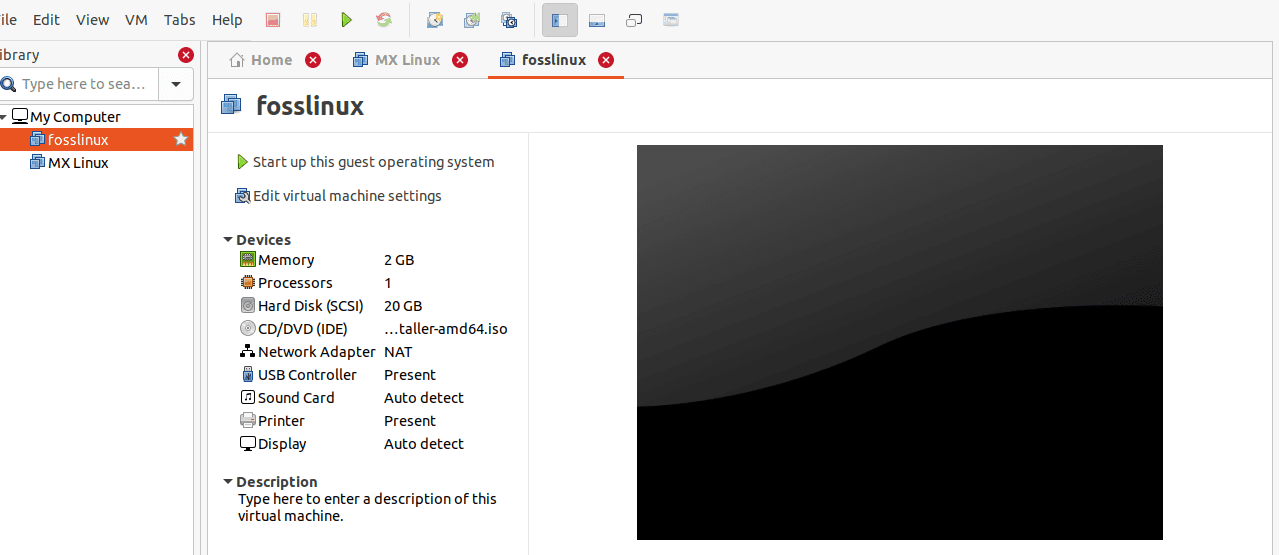
startup the machine
Step 13: Select Graphical install the Boot menu
In this part, you will see a bunch of options. Select “Graphical install” using the down arrow key on your keyboard and hit “Enter.”
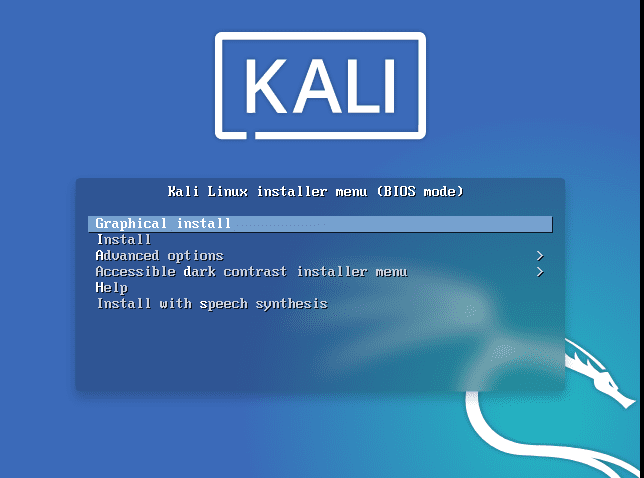
select graphical install
Step 14: Select language
Next, you will be asked to select a language. Here, you will choose a suitable language and click continue. This option sets your machine to use the desired language. For our course, we will go with the default English.
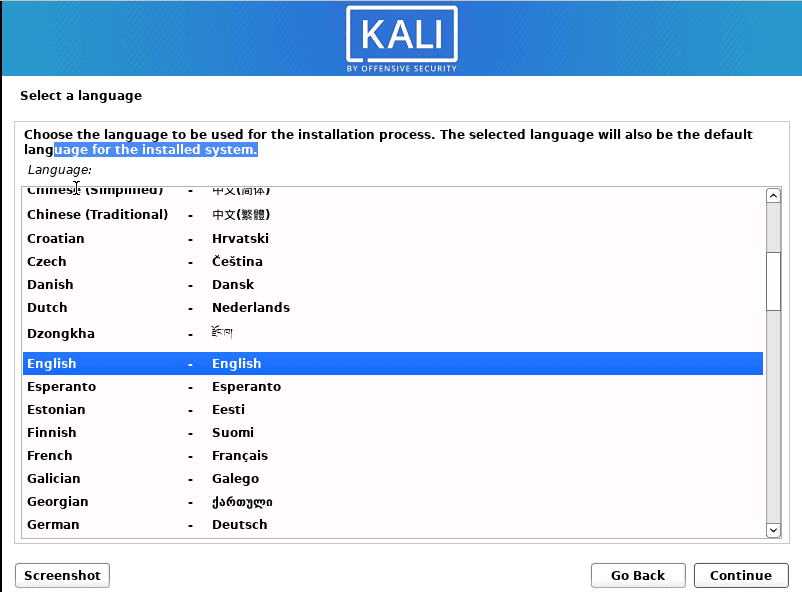
select language
Step 15: Select location
In this part, you will be required to select a location. Again, we suggest selecting the country you are in since the selection made here will be used to set your PC’s location and timezone. in our case, we will go with the default selection “United States.”
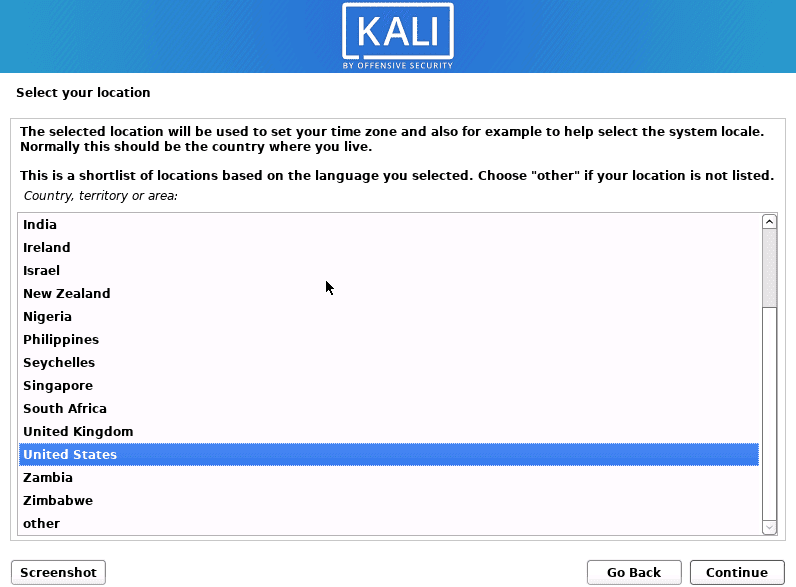
select location
Step 16: Keyboard configuration
Next, you will select a keyboard layout using the arrow keys and click continue. This option will set your OS keyboard. For our cause, we will go with the default option (“American English”).
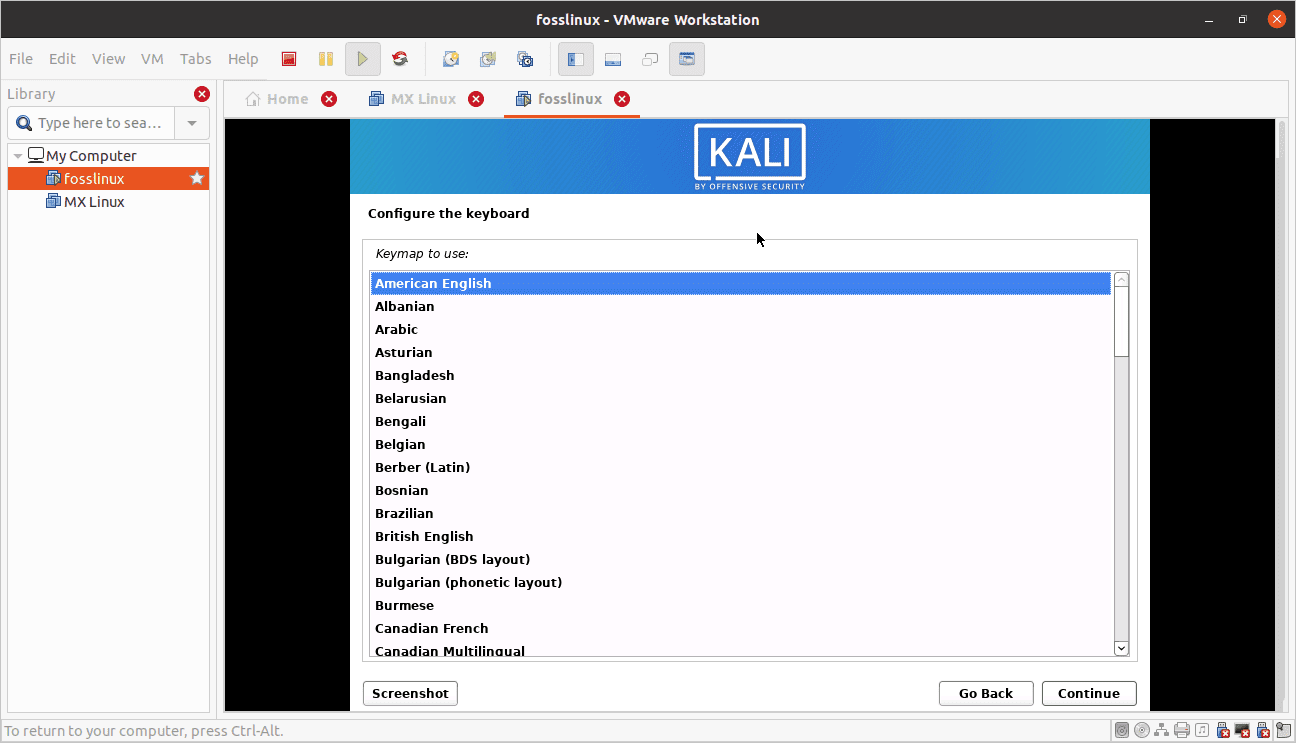
configure keyboard
Upon clicking continue, you will see the installation progress bar for some of the configurations taking place. Be patient.
Step 17: Network configuration – Enter the hostname
In this part, you will be asked to enter the hostname for your system. This being a home connectivity network, you can set anything. So, enter any name or leave it to default and click on “Continue.”
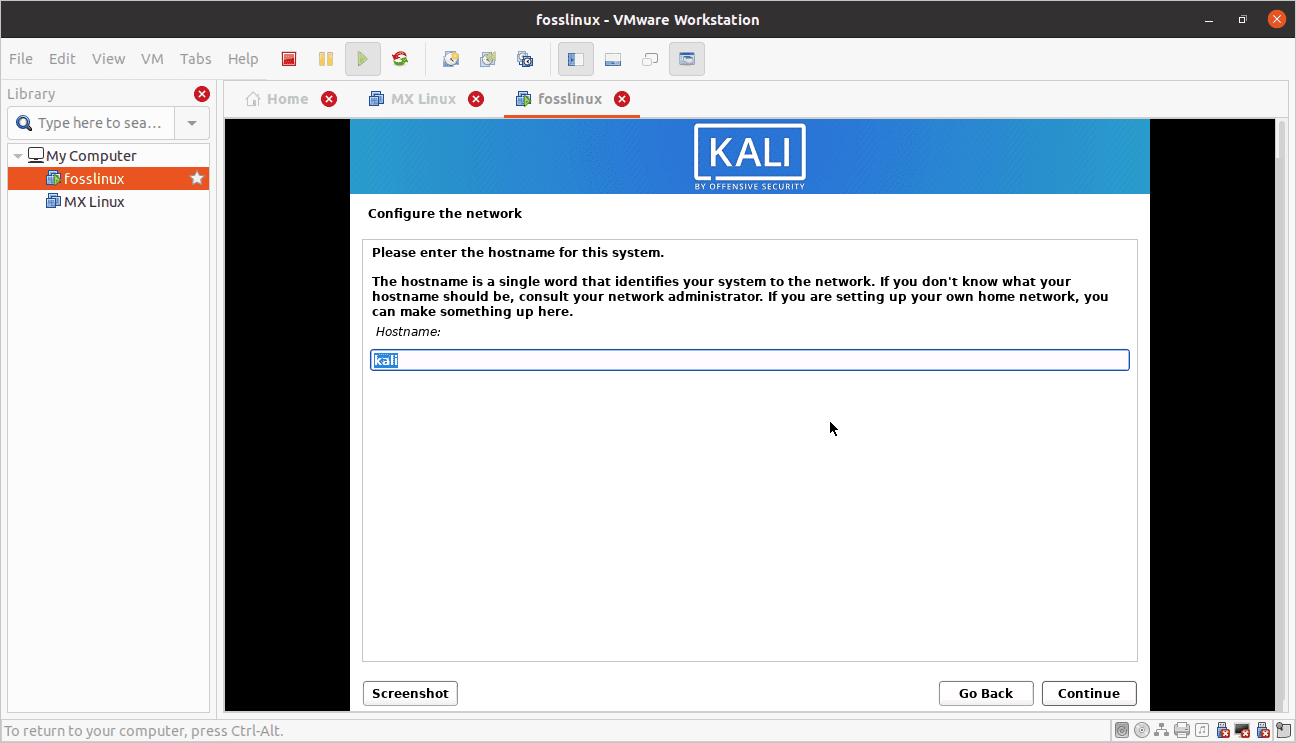
network configuration
Step 18: Configuring the network domain name
In this dialog box, you will be required to enter the domain name for your system. Because it is a home network, we can set anything like “example.com.”
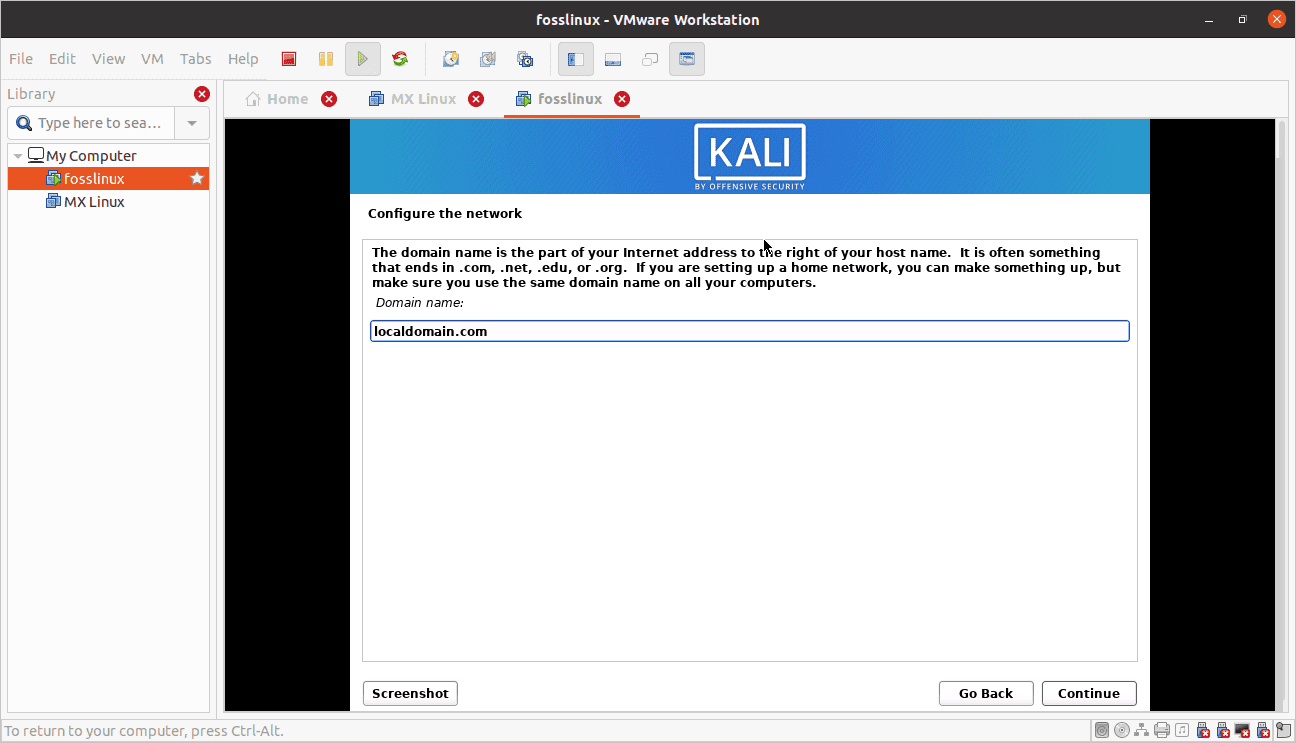
domain name
Step 19: User account and password
Here, we will set the user account other than the root user.
Note: This is another user created beside the root user. Type your name and click “Continue.”
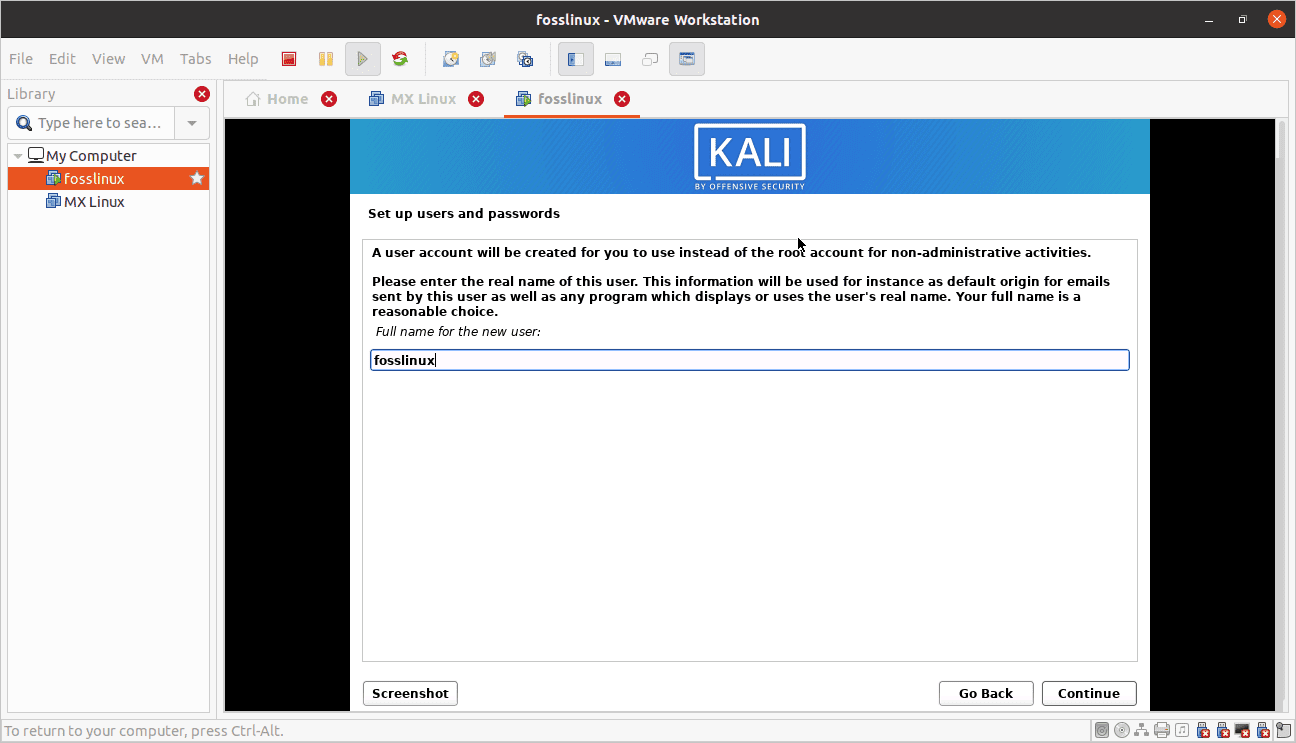
setting up a user account
Thereafter, you will be asked to provide the username again. Again, use the name you previously used on the previous screen.
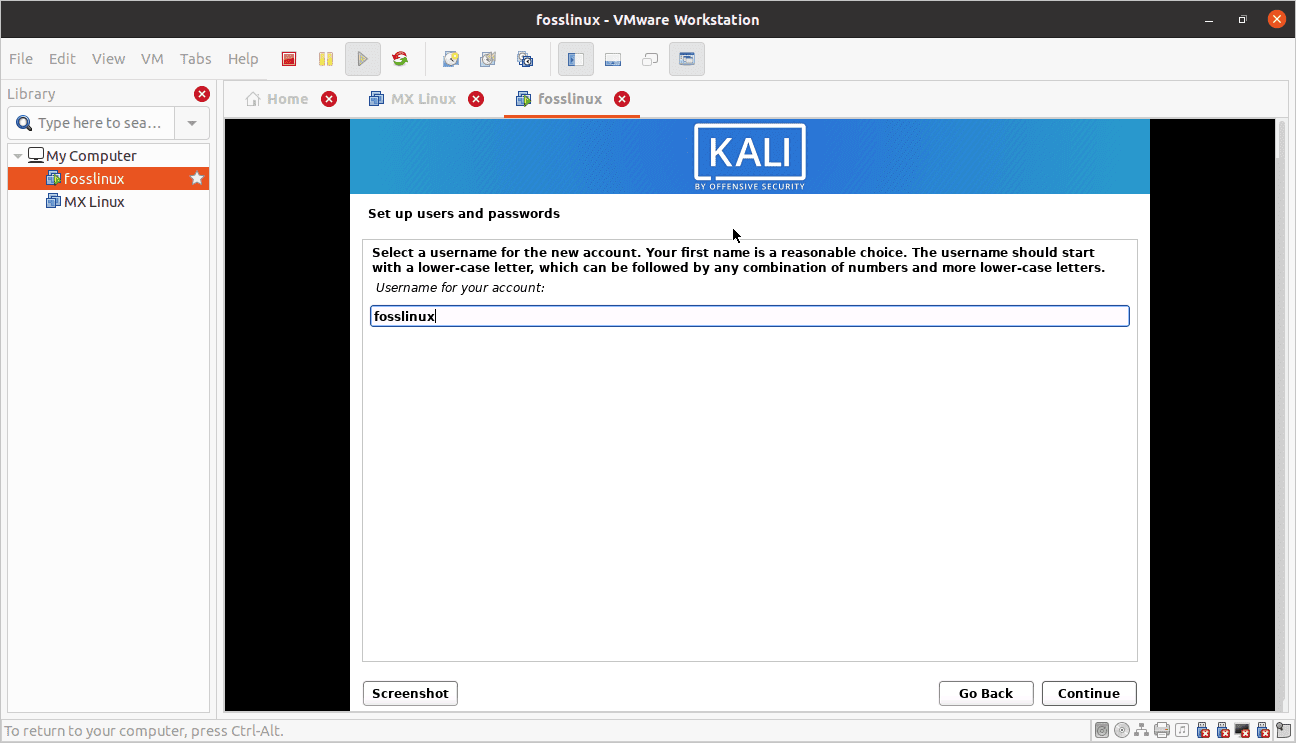
create a user account name
A setup will then prompt you to generate the password for the created user. Here, you will create your preferred password that you will be able to remember easily. So, remember the username and password you created during the installation because these are the credentials you will use to log in.
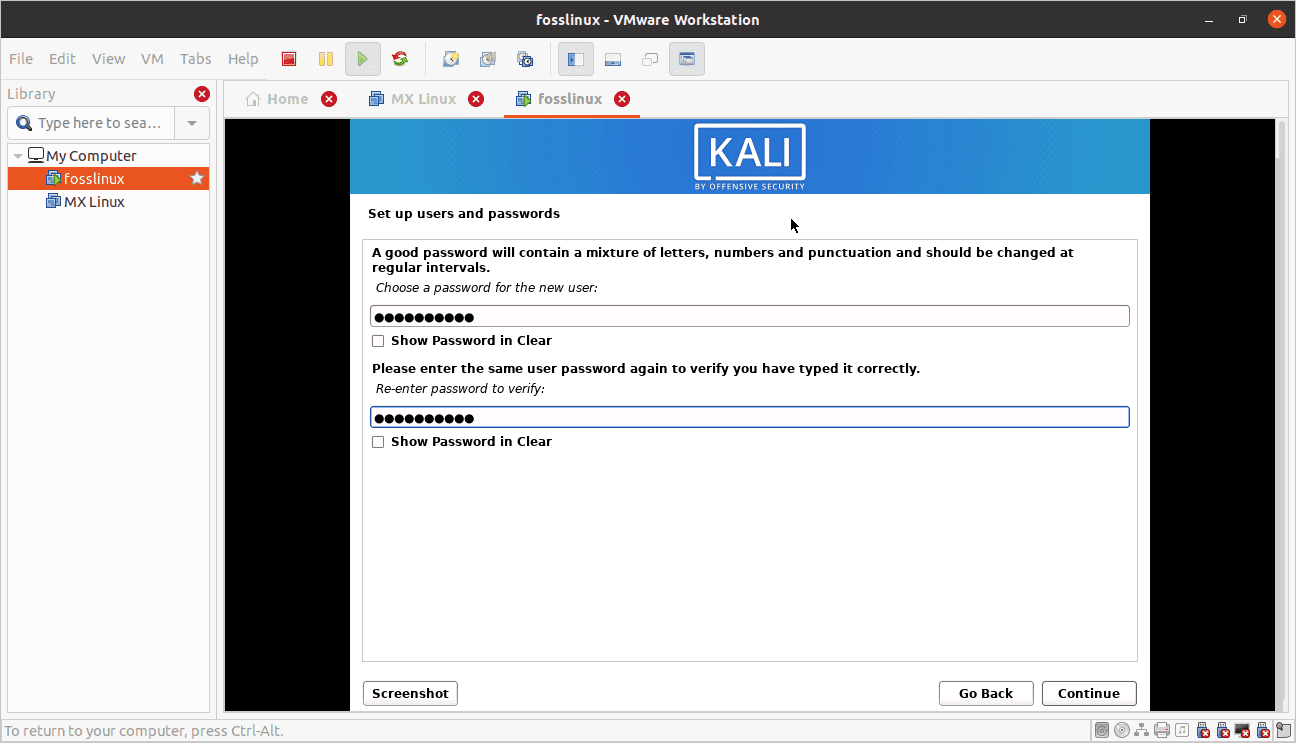
password configuration
Step 20: Disk partition
This section will allow you to partition your disk. Select “Guided-use entire disk,” the default option, and click “continue.”
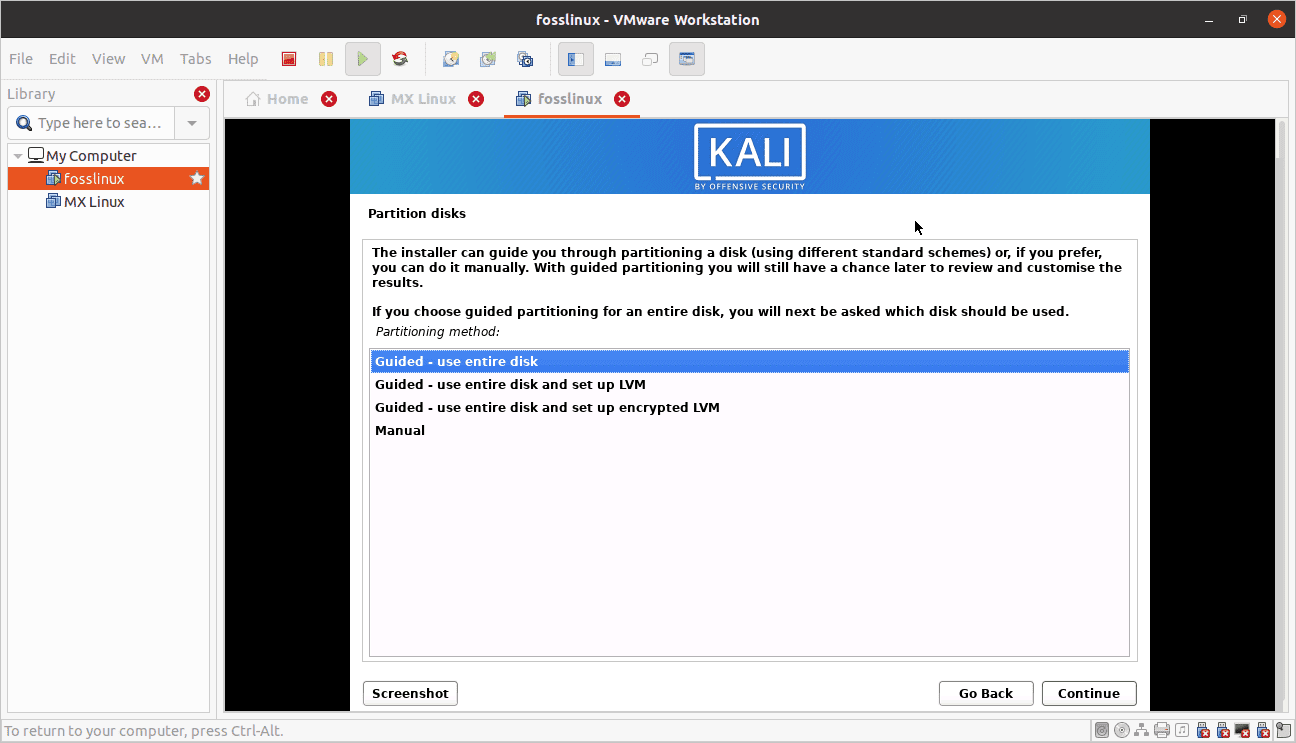
guided use entire disk
Step 21: Select a disk to partition
After selecting the default option, another dialog box window will appear asking you to select a disk to partition. Select sda, VMware virtual disk. There should only be one option. After that, click “Continue.”
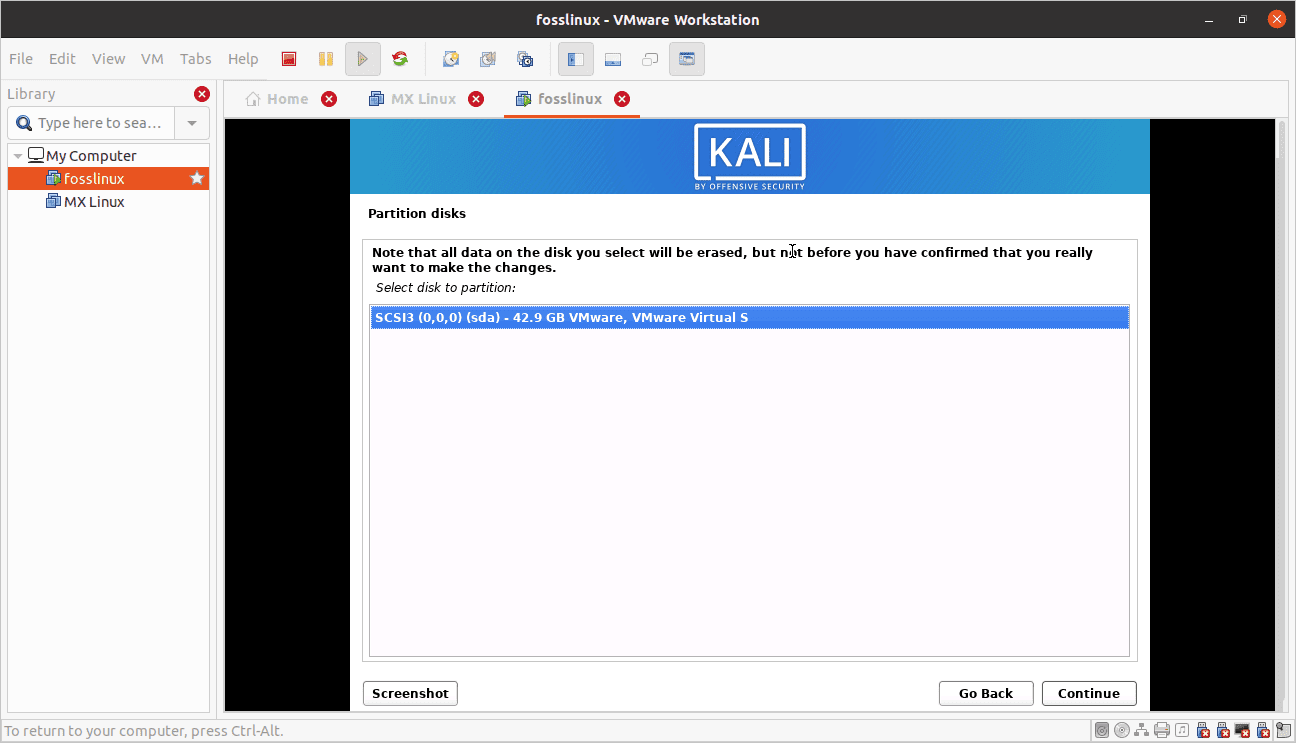
select sda
Step 22: Select partition scheme
Here, you will be asked to select a disk partition scheme. We recommend going with the “All files in one partition,” the default, and click “Continue.”
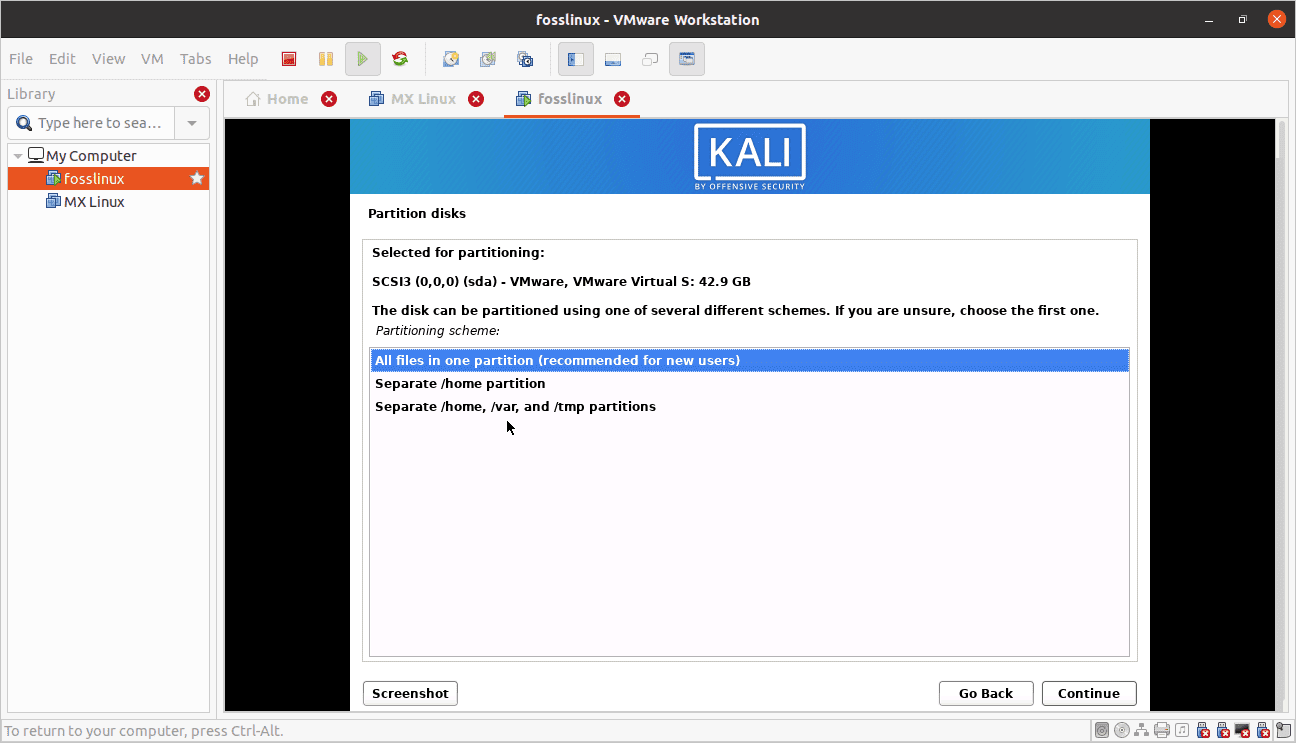
all files in one partition
Step 23: Disk partition summary
Next, you will see the summary of your disk partition. Finally, we will select the “Finish partitioning and write changes to disk,” which should be the default. After that, click “Continue.”
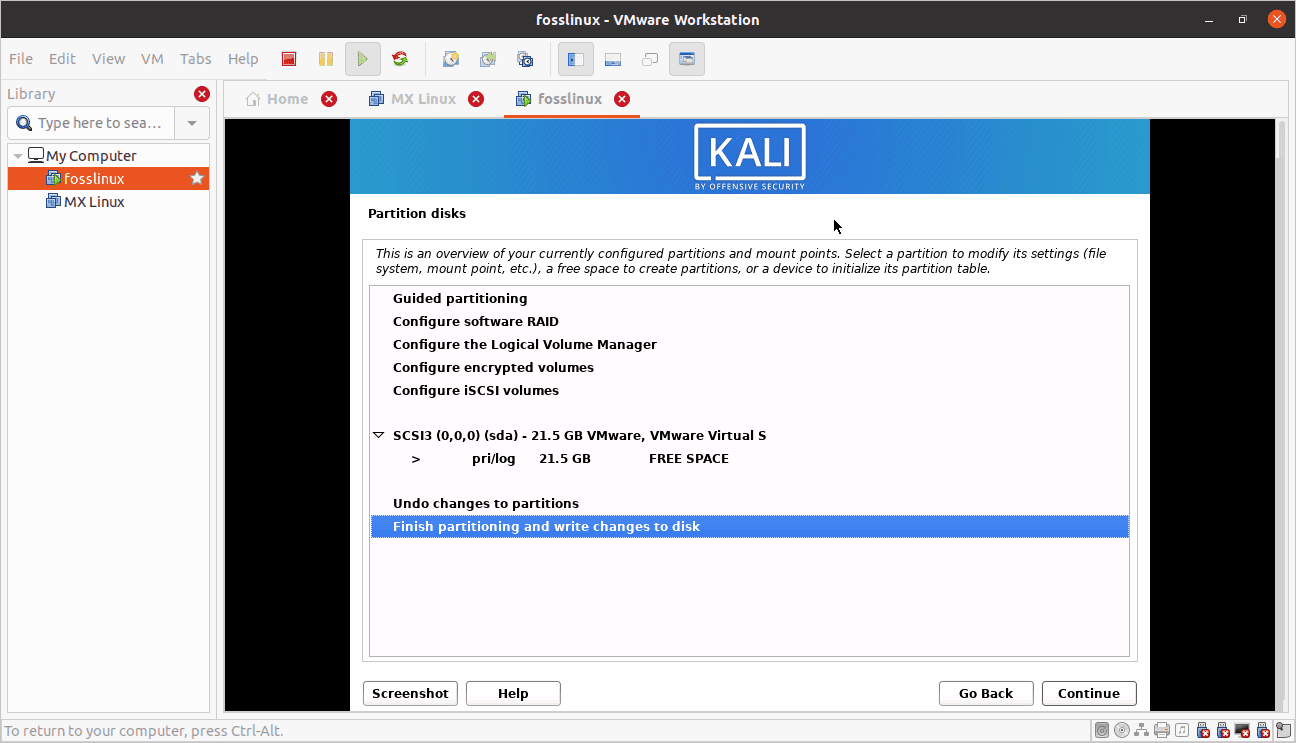
partition summary
Step 24: Disk partition confirmation
You will be asked to confirm whether changes should be written to the disk or not. So go ahead and select yes and click “Continue.”
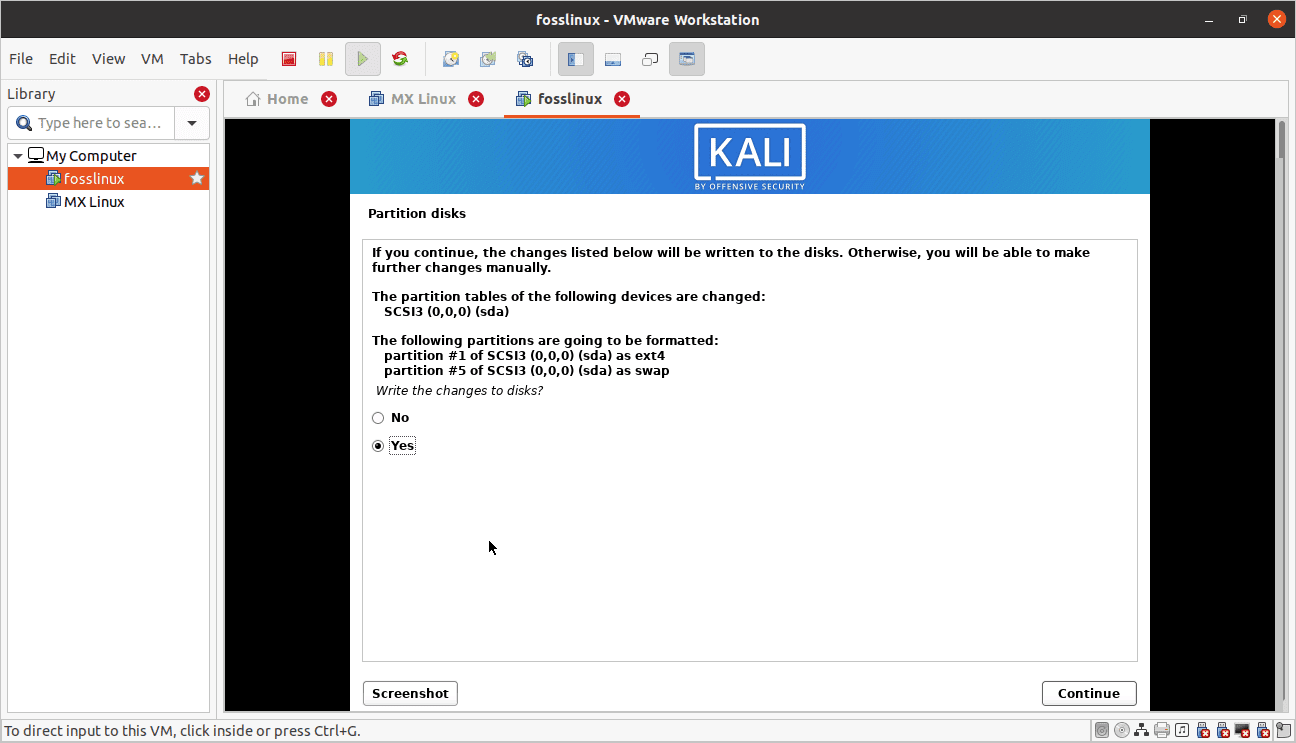
write changes to disk
Step 25: Installation begins
Now in this section is where the actual installation begins. You will be patient for the package configuration manager to appear.
Progress of the installation process. Give it some time.
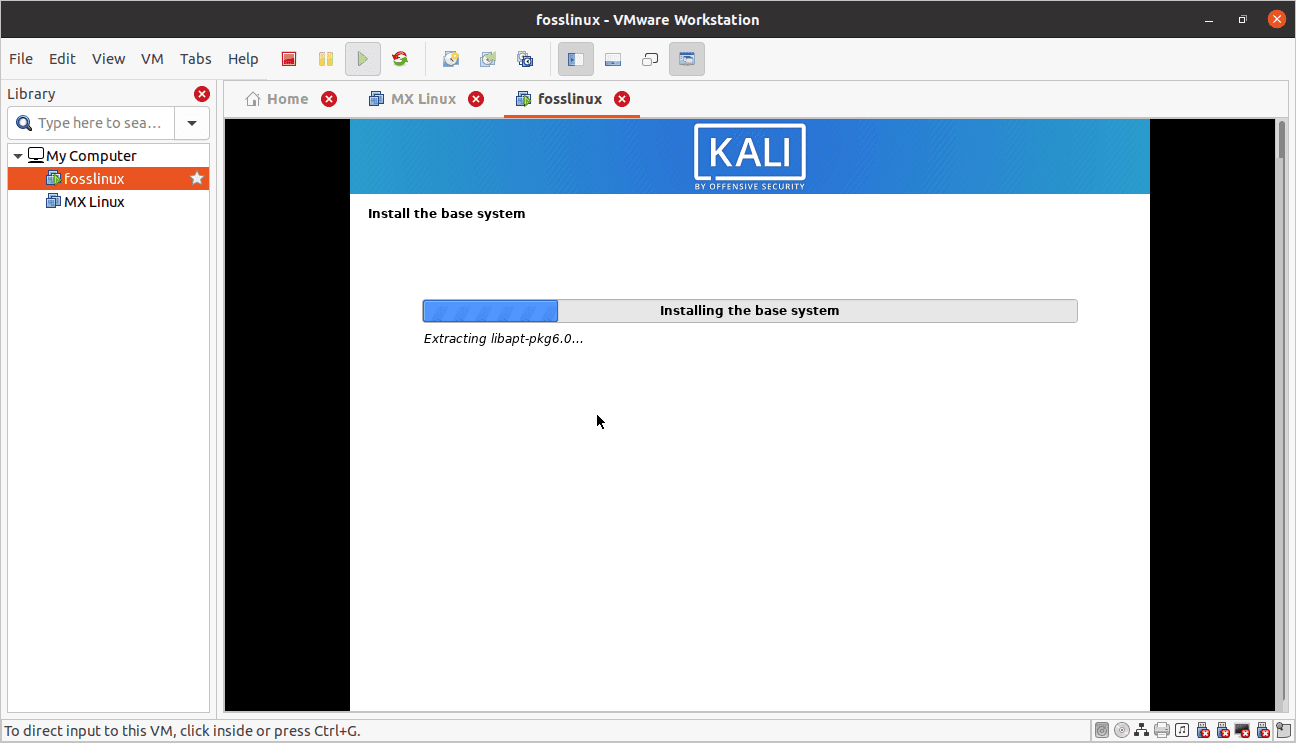
installing base system
Continuation of the process:
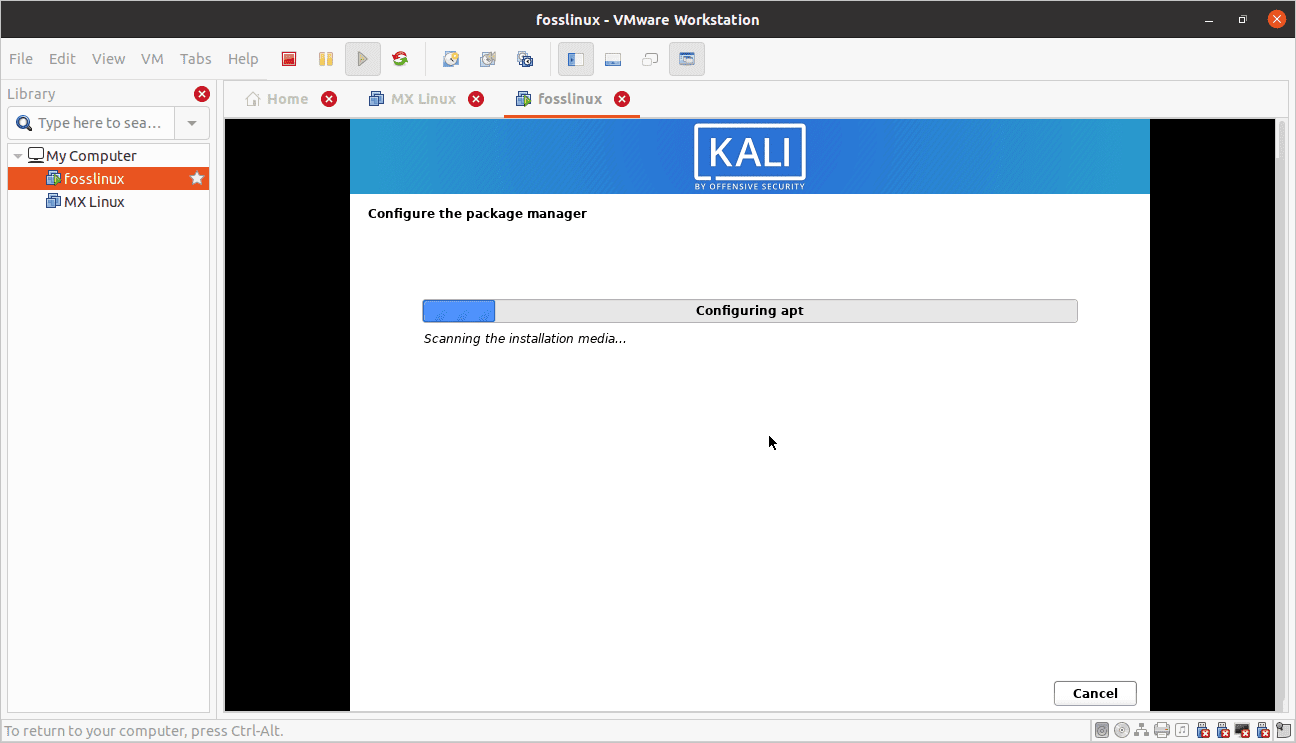
configuring apt
The progress will continue; please be patient

progress
The installation will take a long time, depending on the resources allocated to your machine.
Step 26: Software selection
In this window, you will specify the software you want to be installed. Here, we suggest you check the “large –default selection plus additional tools” alongside the default selected options and click “Continue” to proceed.

software selection
The process will also take some time to complete.
After all, files being retrieved, the installation of the software will begin as displayed by the screenshot below:
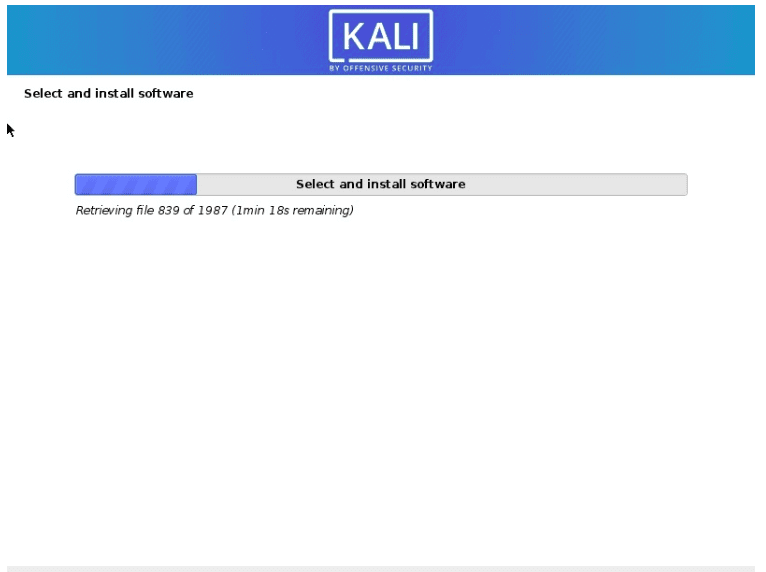
kali installation progress
Step 27: Install Grub boot loader
On this screen, you will be asked if you would like to install the GRUB boot loader. Select “Yes” and click “Continue.”
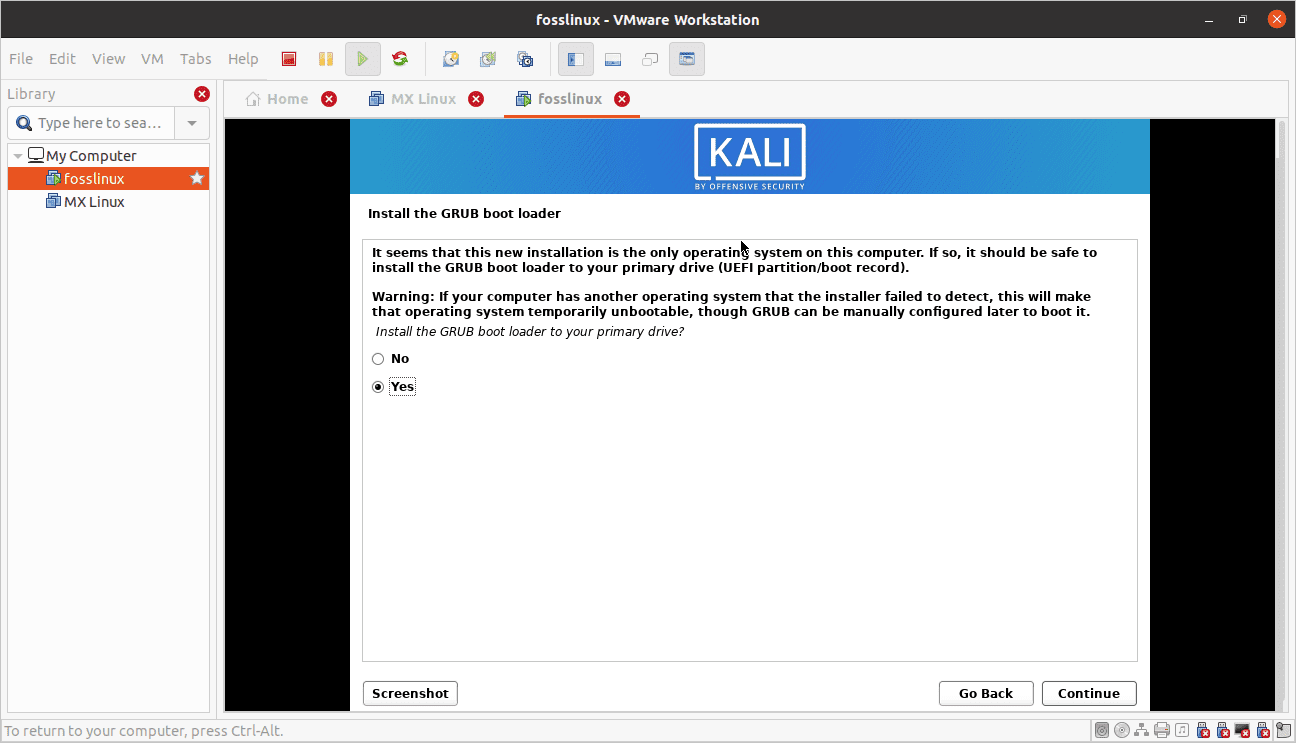
select yes to install the grub boot loader
Step 28: Select device for GRUB boot loader installation
You will be asked to select the boot loader device where your system will install the GRUB loader. Select the one with /dev/sda and click “Continue.”
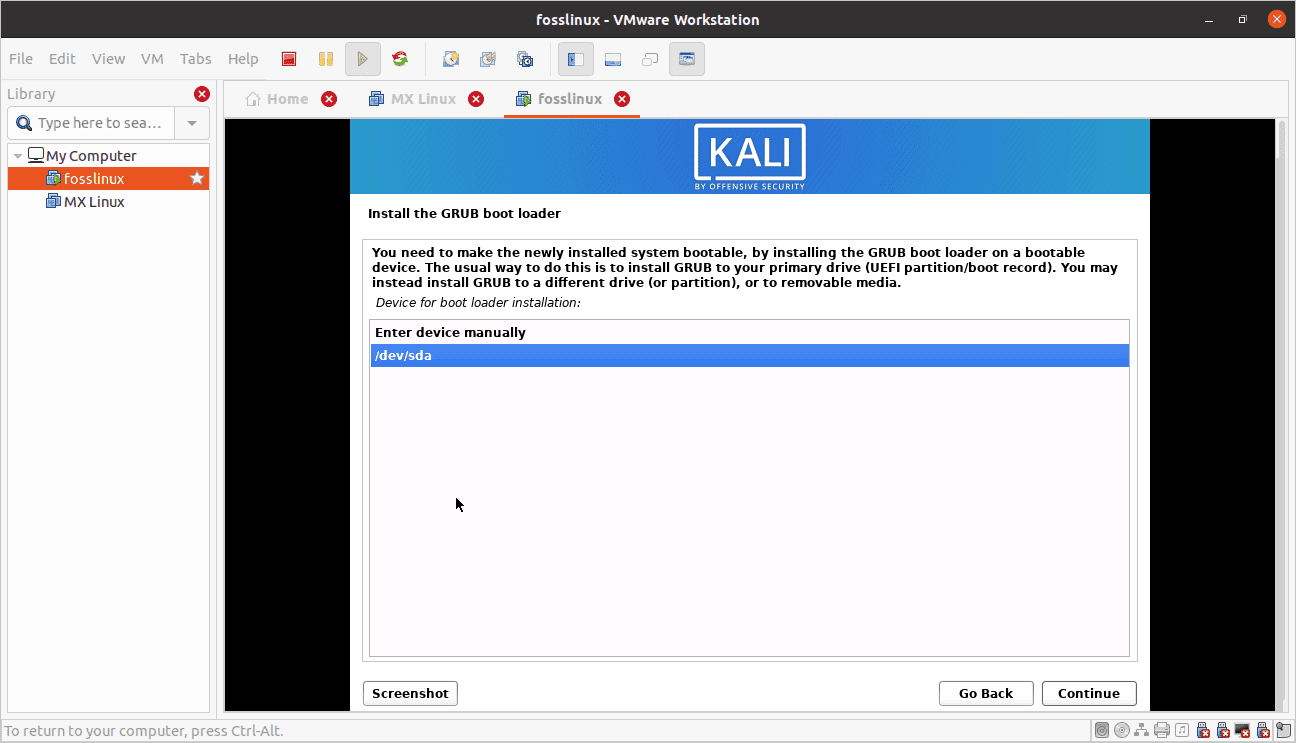
select the second option
Thereafter, the installation will go on, so wait for the process to finish.
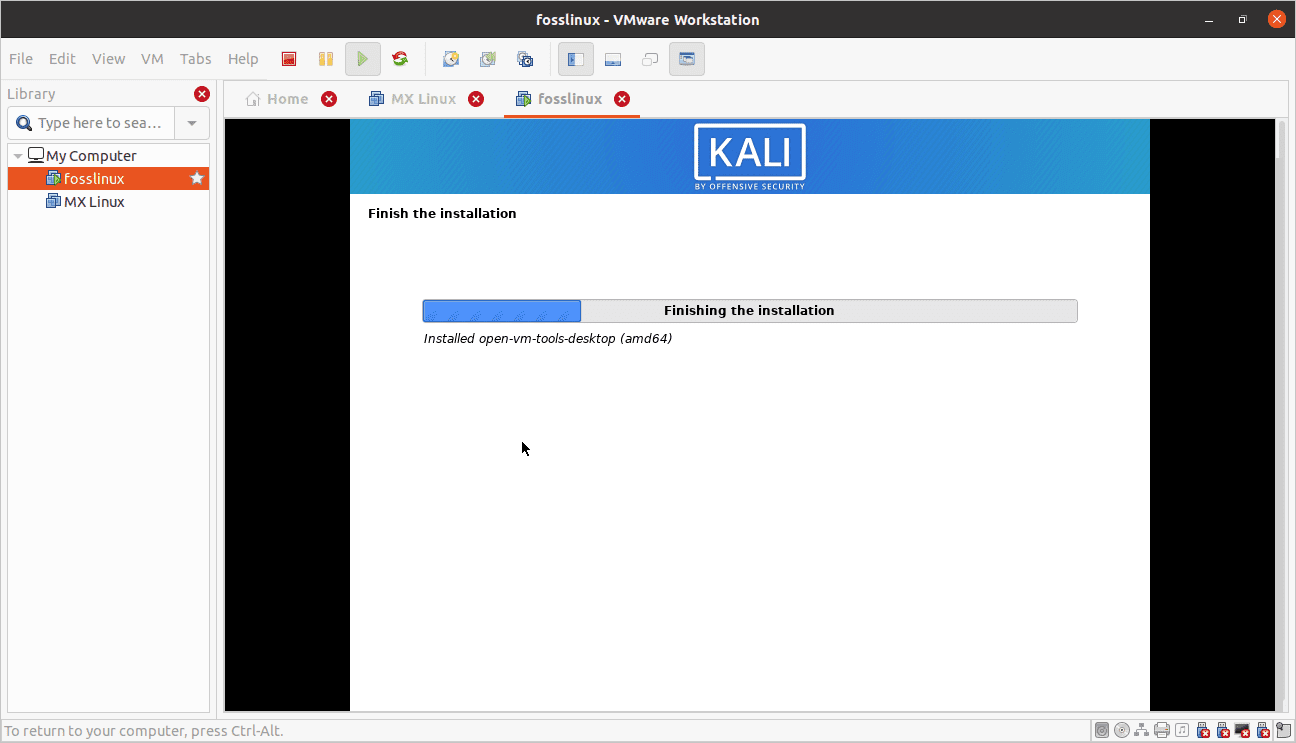
finish installation
Step 29: Installation complete
Once the installation comes to an end, you will see an “installation complete” dialog box, which means that you have successfully installed the Kali Linux machine on our VMware software. Here, click “Continue” to finalize the installation and wait for the VMware to restart.
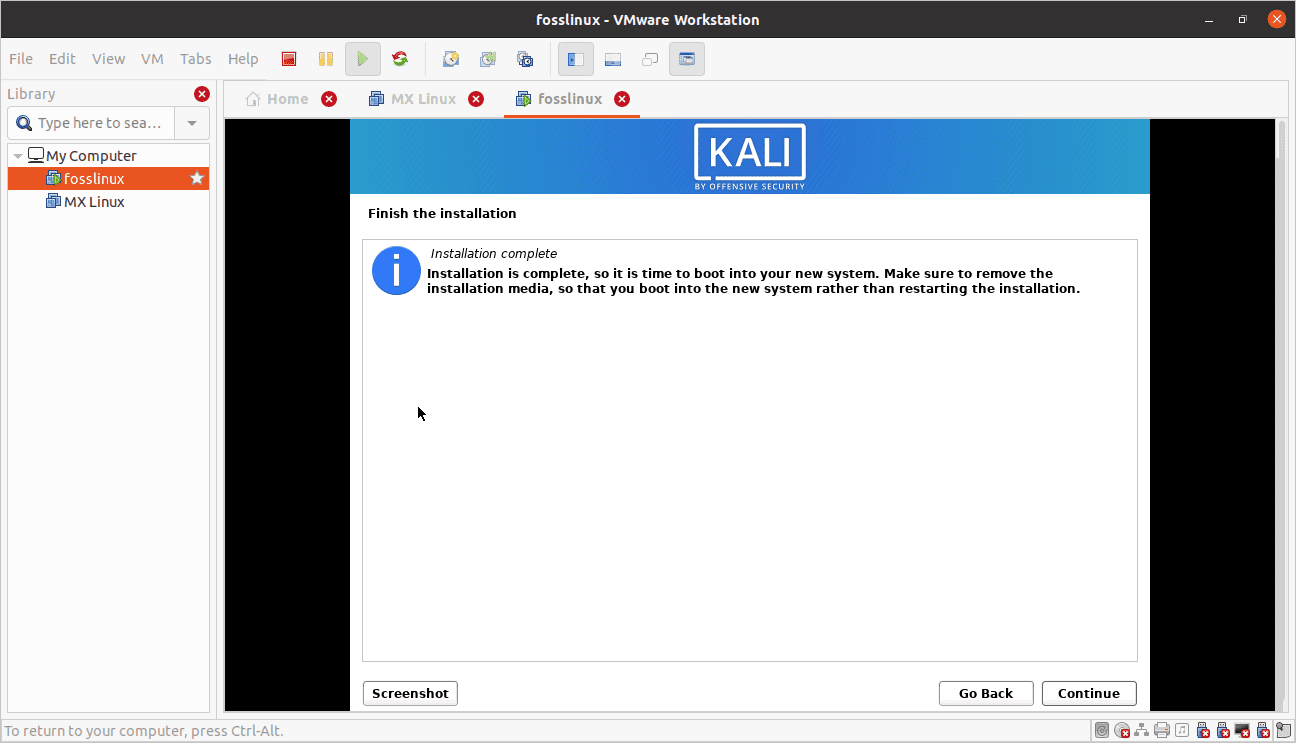
finish the installation
Step 30: GRUB screen
After rebooting, you will see the GRUB boot loader window. Select GNU/Linux. Typically, the system will automatically pick the first option if you don’t select an option after 9 seconds.
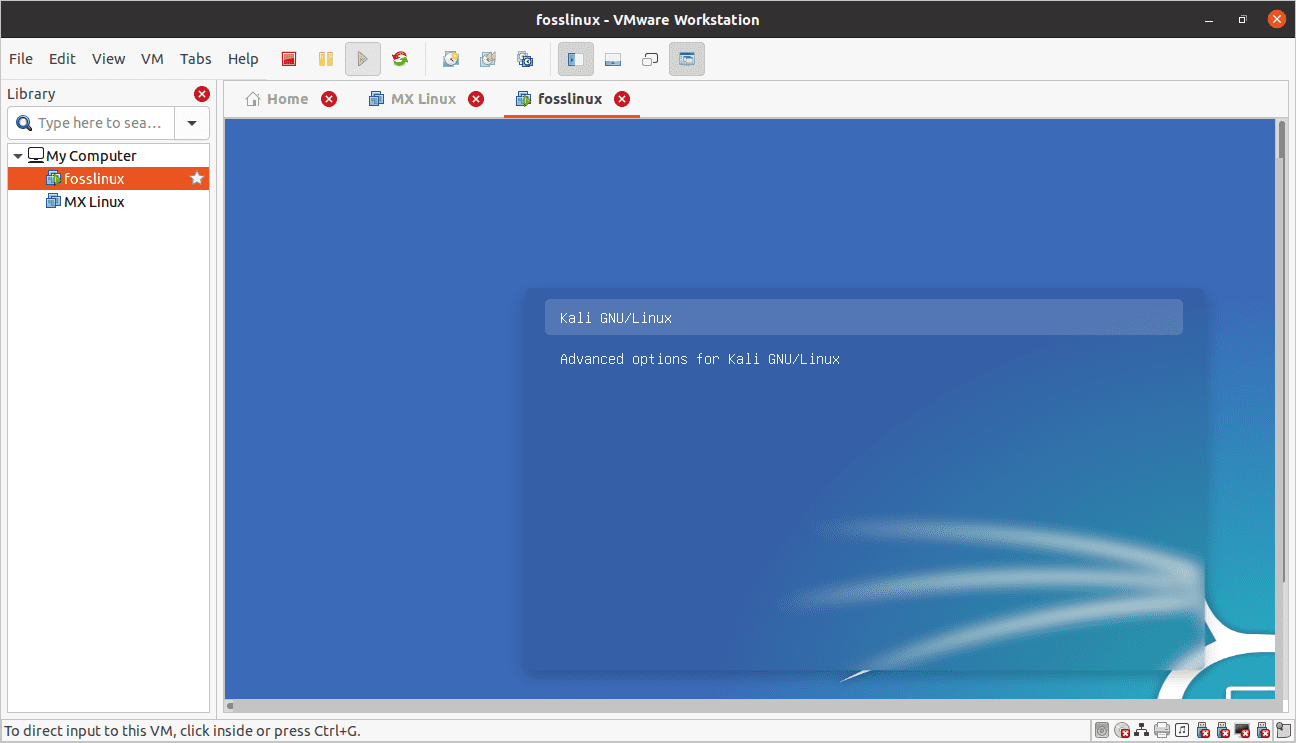
grub gnu
Step 31: The login screen
Here, you will input the login details (username && password) you created during the installation process.

login screen
Final login screen:
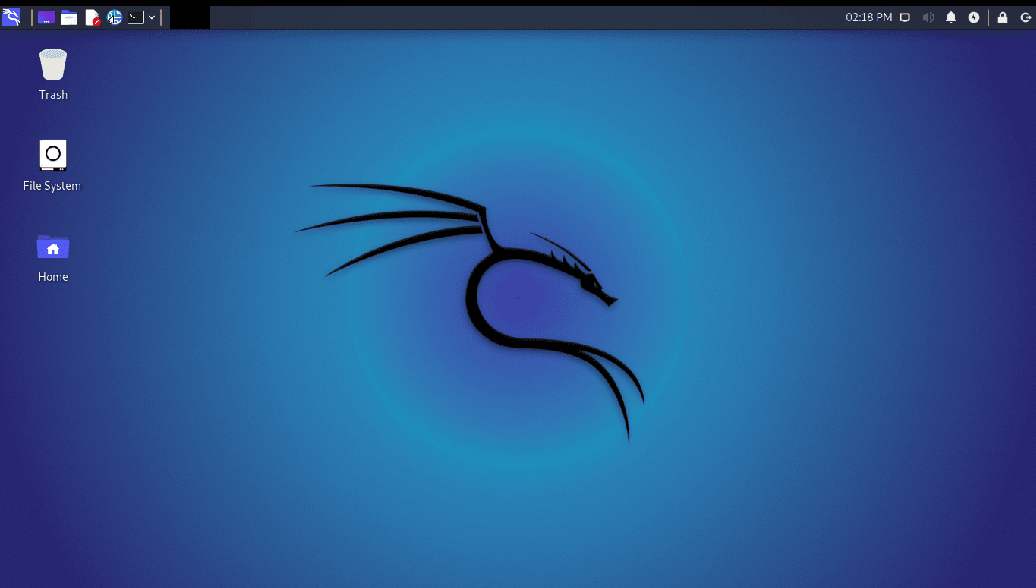
logged on screen
After going through all those essential steps needed to set up Kali Linux on a VMware machine, let us rush through root user creation that many fail to know. This primarily helps users who, for instance, want to allow the VM machine to access wireless networks.
Step 32: Create root user
If you remember well, the only account created during the installation stage is the user account. This, therefore, means that you have to set up the root account and a password for the root account. To do this, follow the outlined steps:
- Open your terminal
- Type in sudo su and enter the password to gain the root access(password created during the installation)

creating root user
- Type in passwd root and enter the root user password. Here, you will set a password of your choice.
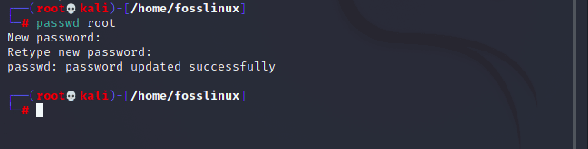
root password
And that should do it.
After that, you will notice that your Kali Linux machine is not in full-screen mode. This is because your VM machine lacks VMware tools. Therefore, this means that we will have to install the VMware tools. However, this will not be the case for VMware 16 users since the system will automatically adapt to the full-screen mode without installing the VMware tools.
Step 1: Open your terminal and type in the following command:
sudo apt-get install open-vm-tools-desktop fuse
Step 2: Enter your password twice if asked
Step 3: Input Y to accept when asked
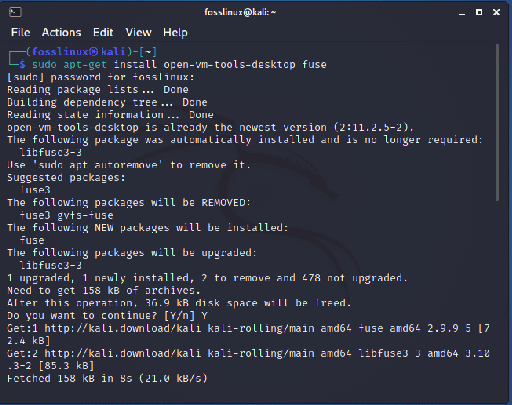
install open vm
Step 4: Wait for the process to complete and restart the machine. After restarting, you should have a fully functional full-screen mode desktop.

full-screen mode
Additionally, you can check the installed VMware tools version by executing the following command in your terminal:
vmware-toolbox-cmd -v
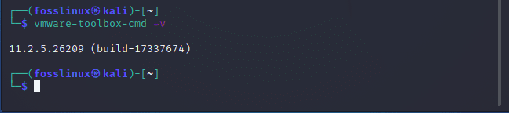
version of vmtools
Conclusion
Kali Linux is a great OS that offers countless system tools to explore. This article has diversely covered all the steps needed to have this OS installed in your VM machine. First, we covered the installation steps of the VMware application, which we are sure that you are comfortable with as of now.
After that, we downloaded the ISO image before firing our VM machine to install the ISO file. After installing the Image, we rebooted the machine and installed the VMware tools to help the machine display in full-screen mode. Thereafter, we created a root user account plus the root user password, which we successfully created.
To this far, we are sure the article has covered in whole Kali Linux installation on the VM machine. We hope you enjoyed reading through this article, and if you did, please share with us in the comment section below. Also, in case of any issues, please reach out! Thanks for reading.