
Debian 11.0 was released on August 14th, 2021, with the codename Bullseye. After approximately two years of development, the Debian projects presented a stable version of Debian 11 which will be supported for the next five years. This new distribution whips with over 11294 new packages to count 59551 packages.
It means that most of the software in this distro has been updated about 72% of all packages in the previous version buster. To better comprehend the release of this software and some of the key features, take a look at the release notes.
This distro has developed a brand new theme, “Homeworld,” and a recent Linux kernel 5.10. Besides these notable features, it also supports 32-bit and exFat file systems. Other outstanding features included in this distro version are the new desktop environments like KDE Plasma 5.20, GNOME 3.38, Xfce 4.16, and other OS package updates.
In this editorial, we will show you a step-by-step installation procedure of Debian 11 with screenshots to ease things for you. Before proceeding to the installation steps, let us run through a dry run check of the minimum requirements for this Debian version:
- Bootable Media (USB/ DVD).
- Stable Internet connection (optional).
- Dual-Core Processor or higher.
- 2GB RAM and above.
- 15GB HDD or SSD space.
With that said, let us now delve deeper into the installation steps:
Installing Debian
Step 1: Download Debian 11 ISO File
First things first, before getting this article underway, we need to download the Debian 11 ISO file from their official website.
Step 2: Creating a bootable USB
Now it is time to make a bootable USB drive containing Debian 11 ISO. Here, we will utilize third-party utility software to make a bootable USB; there are multiple choices. You can either go with Rufus or balenaEtcher. In our case, we will go with the BalenaEtcher as it offers pretty straightforward steps, even for newbies.
So, insert your USB and open balenaEtcher as shown in the snapshot below:
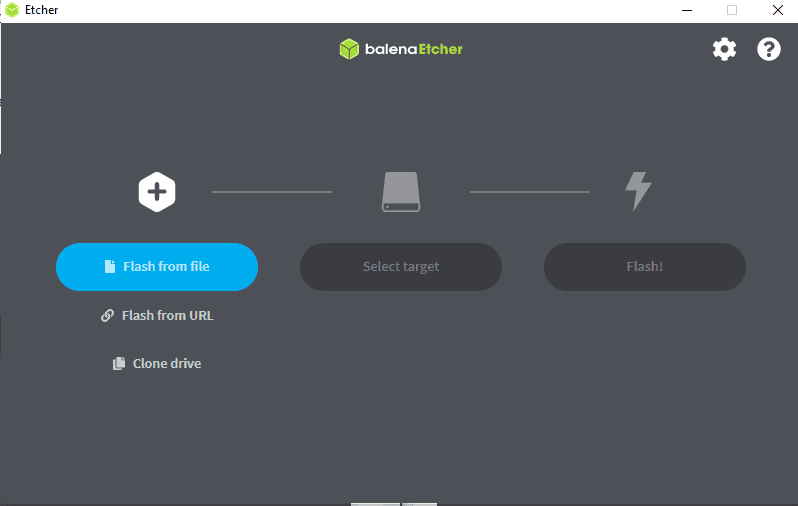
insert USB
Now, select the image file, which should be a Debian ISO file in this case:
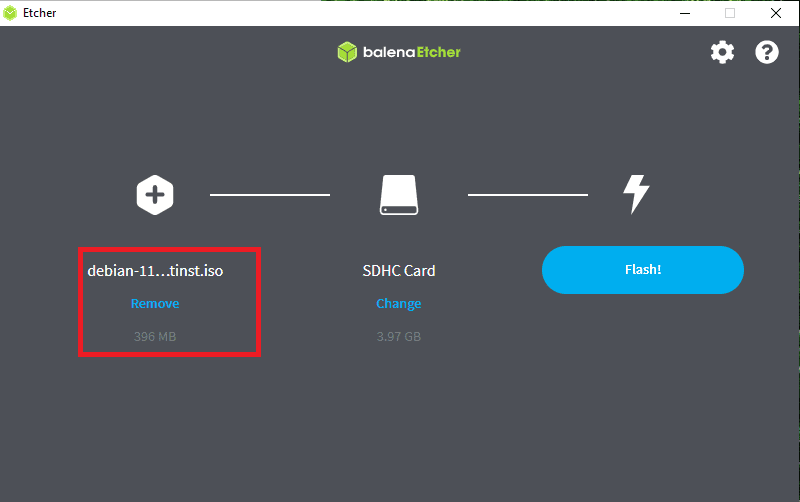
select iso file
Select USB drive

select USB drive
Finally, click on flash:

hit flash
The process should take a moment or two.
Step 3: Boot settings
Our bootable USB thumb drive with Debian 11 OS flashed is now ready for use. Now, power off your machine, insert the USB drive to the USB port, and boot it up. When the device boots up, we will have to enter our PC’s boot menu. It is important to note that every PC manufacturer has different keys for the boot menu. Some of the most tried and tested ones include F1, F2, F9, F10, F12, or ESC. If you are a macOS user, restart your PC, press, and hold the options/alt key to be redirected to the boot disks menu.
As soon as you are in the boot menu, choose bootable USB and press Enter to boot.
Step 4: Installing Debian 11
After entering the boot menu, you will get an installer window menu displaying various installation methods. Here, you can select either of the methods to install this software on your system. But, in this article, we will go with the simplest method “Graphical Install” option.
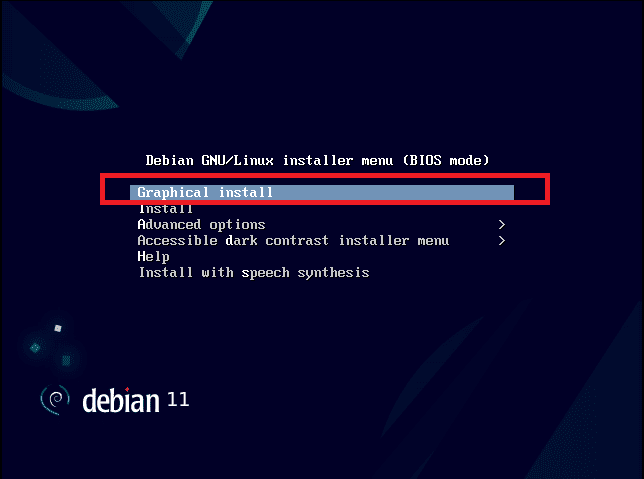
select graphical install
As such, choose the Graphical install option and press “enter” to proceed.
1. Choose Language for Debian 11
Select your favorite language and click on “continue.” In our event, we will go with the default selected English.
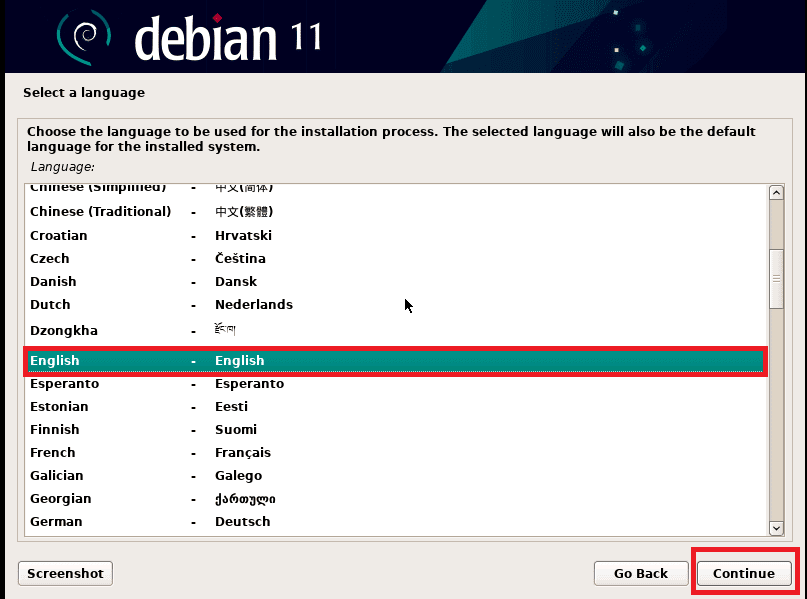
select language
2. Select Your Preferred Location
Here, you will choose your location, and Debian will automatically set the time accordingly
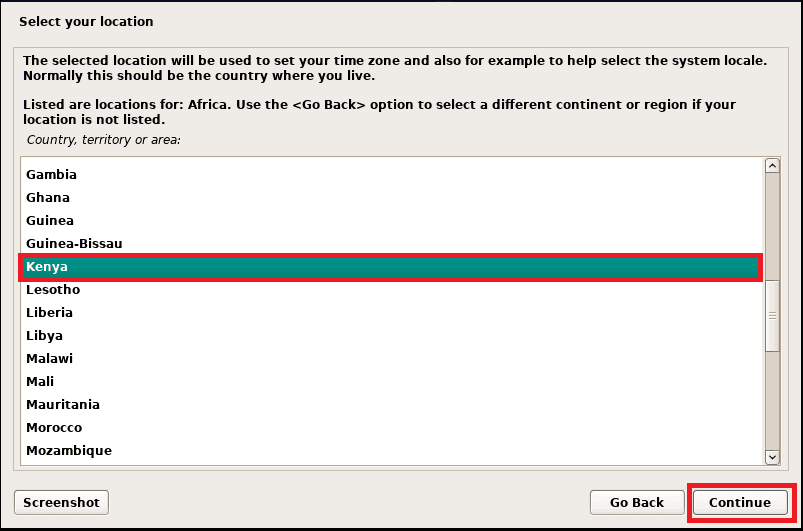
select location
3. Select Keyboard Layout
In the next step, configure the keyboard you are using. After selecting the keyboard language, click the “Continue” button at the bottom to proceed.
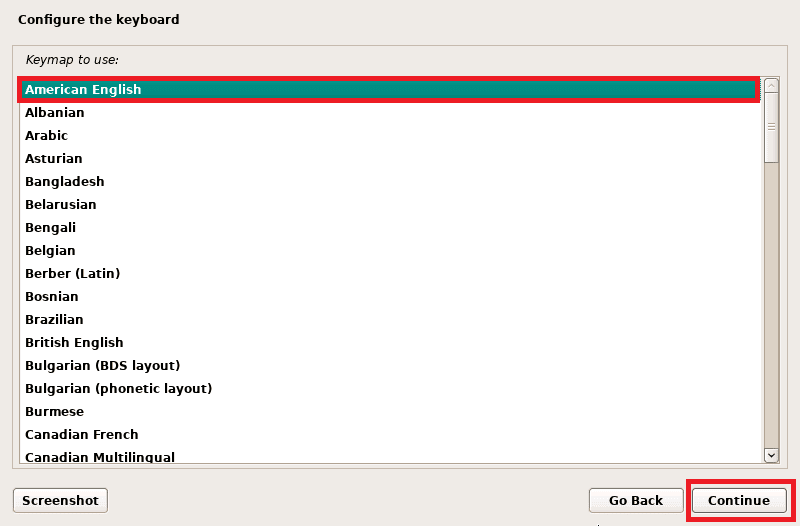
configure the keyboard
4. Network configuration
Upon clicking “Continue,” Your Debian system will auto-configure the network settings
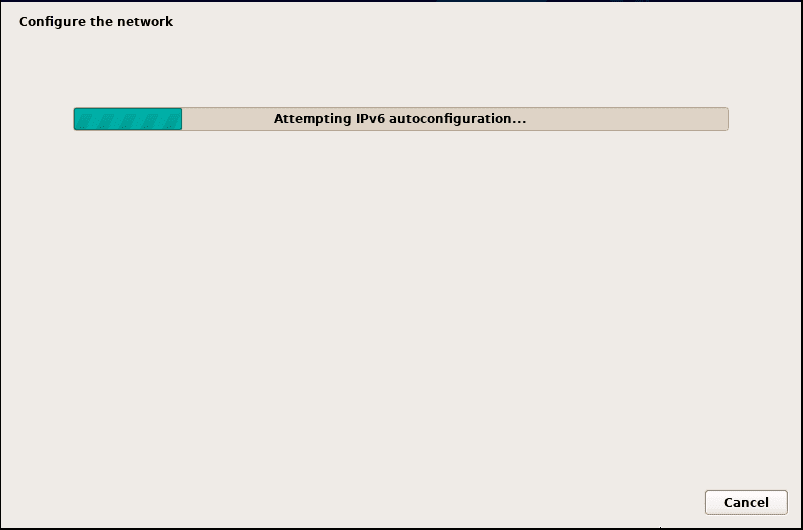
configure network
5. Setup Hostname
Here, the installer will prompt you to key in the hostname. Ideally, a hostname is a single word that works as an identity of your system to the network. After inputting the hostname, hit “Continue.”

hostname
6. Domain section
Next, the installer will inquire about the domain name. If you have non, you can leave it empty and click on “Continue.”
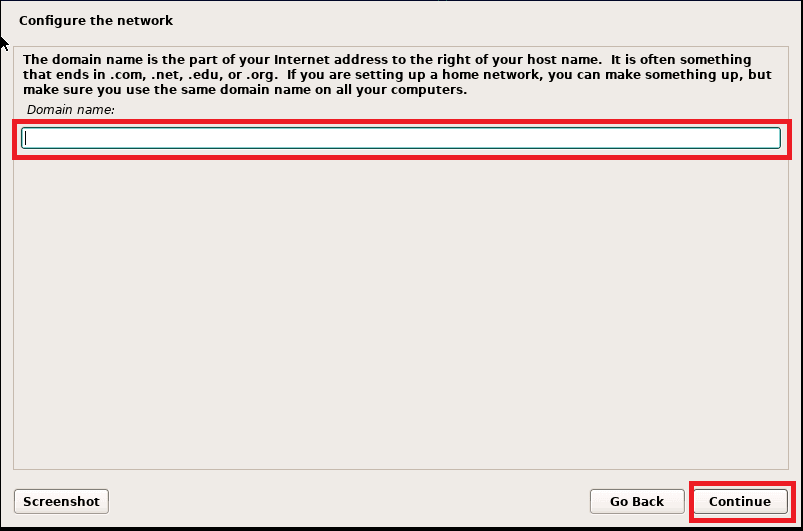
domain name
7. Set Root User Password
Here, you will specify the root user’s password and hit “continue” to proceed further. We suggest you set a strong password for security purposes. This is so because the root user has unlimited privileges, so don’t share it.

setup root user password
8. Generate Local User and Configure its Password
Input a name for a user and click on “Continue,” though the user can later be created. As such, type the full name of the user
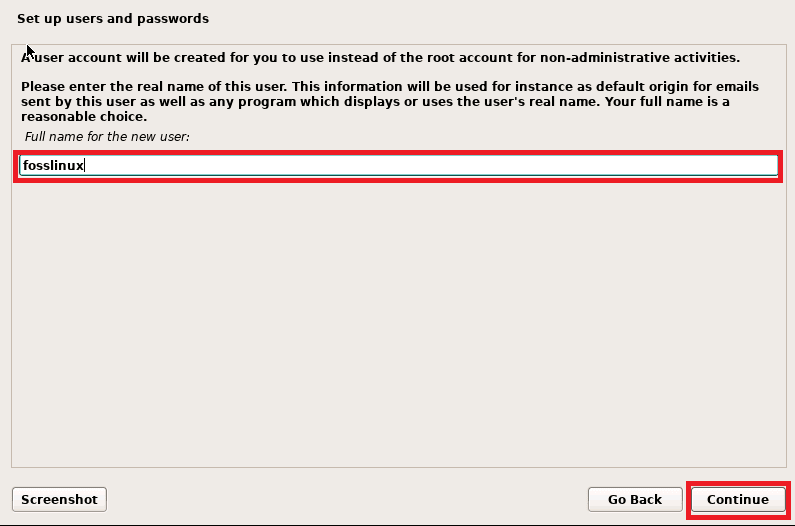
local user
Next, specify the username for the local user account; like in our case, we will still stick with “fosslinux.” After that, hit “Continue.”
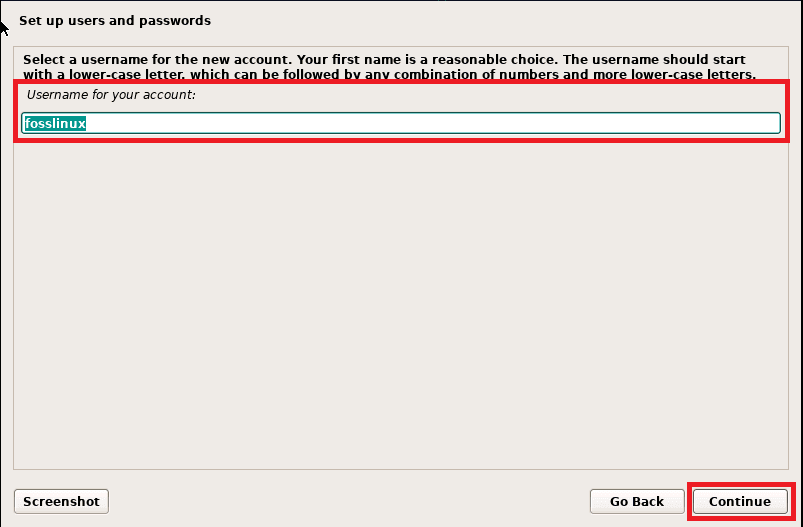
local username
Upon hitting the continue button, a window to specify the local user’s password will appear; here, type in your local user password and press “enter.”
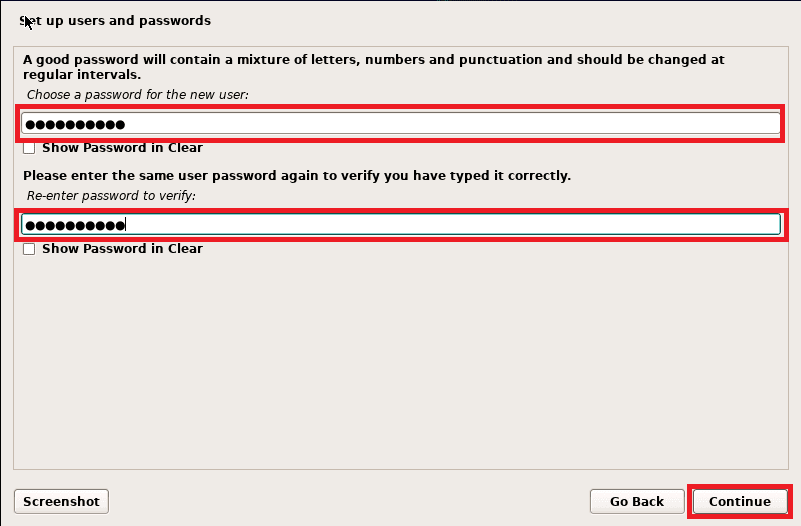
local user password creation
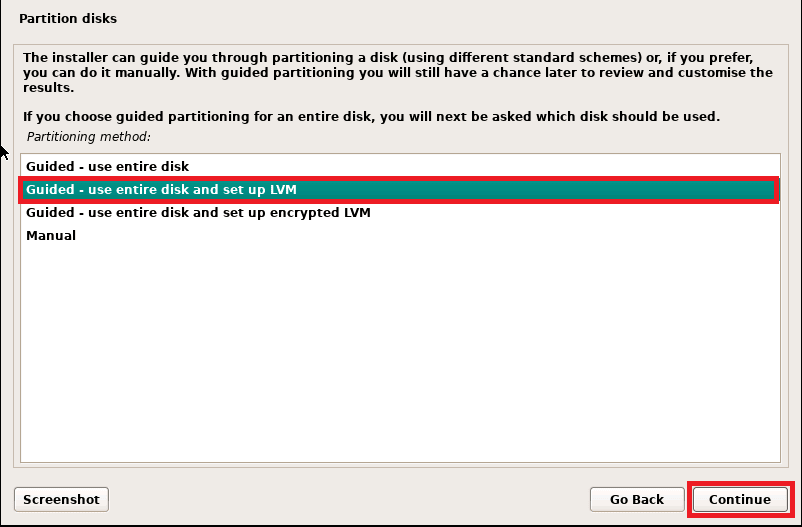
9. Choose Partition Method
The installer will prompt you to choose the partitioning method in this section. Here is the meaning of each partitioning method:
Guided – User entire disk: (this one here creates the partition automatically on the entire disk).
Guided- use entire disk and set up LVM: (It will create LVM based partition spontaneously on the entire disk)
Guided- use entire disk and set up encrypted LVM: (this one here will create LVM based partitions and will encrypt the disk)
Manual: this one allows you to create your custom partitions.
As such, you have the flexibility to choose one that suits your installation. In this article, we suggest the 2nd option to create the LVM based partitions on the whole disk.
To proceed further, select your option and click on “Continue.”
disk partitioning
In the next window, you will select the specified disk on which the partitions will be created for your Debian system.
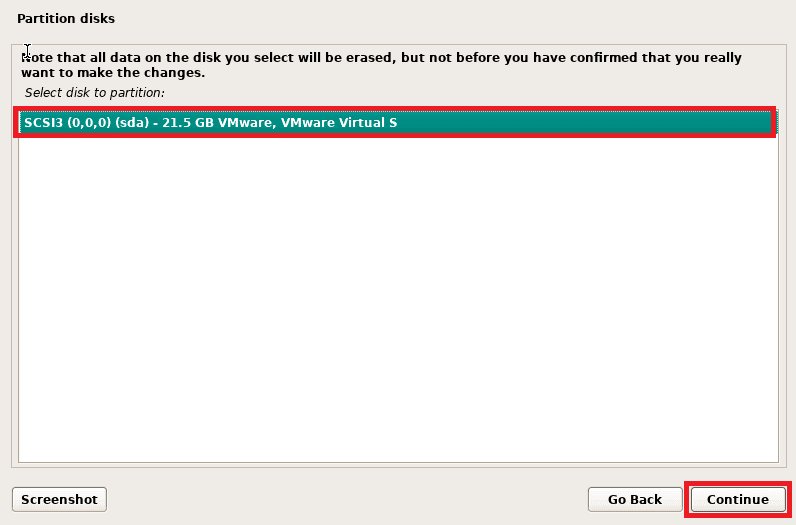
disk listing
Next, you will select the partition scheme. Then, depending on the magnitude of the disk and requirements, choose the partitions scheme accordingly.
This article prefers “All files in one partition (recommended for new users).”
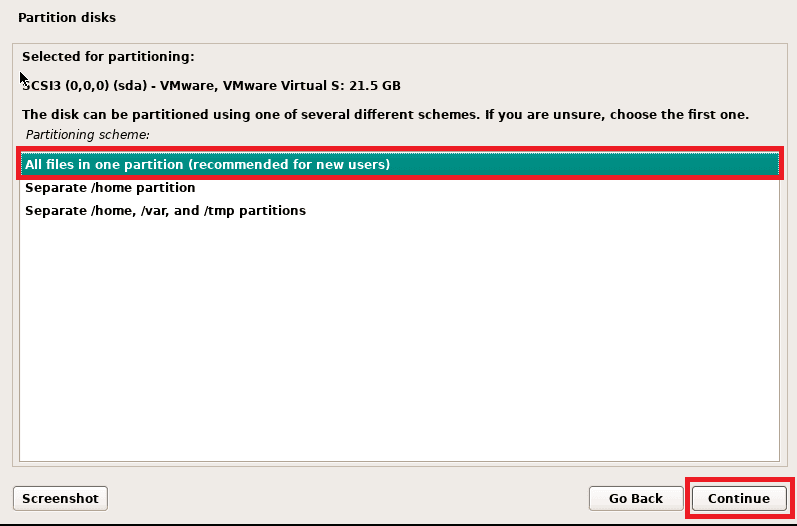
all files in one partition
After selecting, hit the “continue” button.
Next, you will be asked to affirm your decision on whether you want to proceed writing changes to the disk and configure LVM or not; here, select “Yes” and then click on “Continue.”
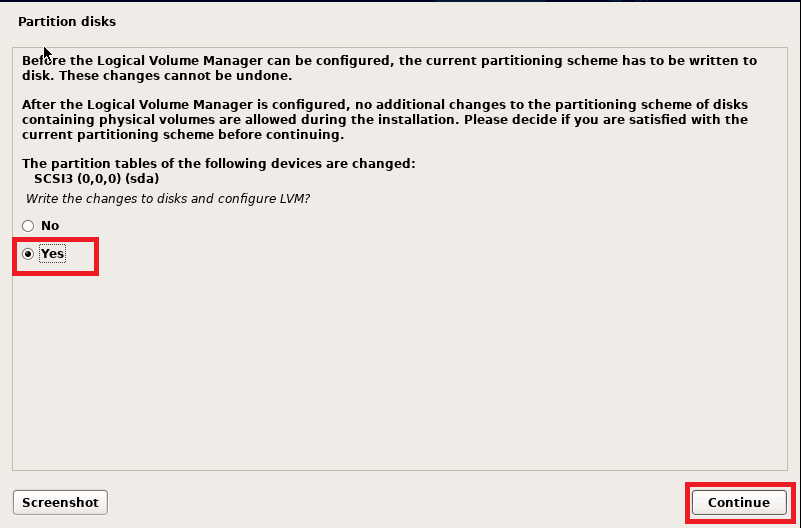
write changes to disk
In the next window, you will be requested to screen-specify the disk size you want to use of Debian 11 partitions; by default, Debian will take up the entire disk. As such, we recommend going with the default disk size.
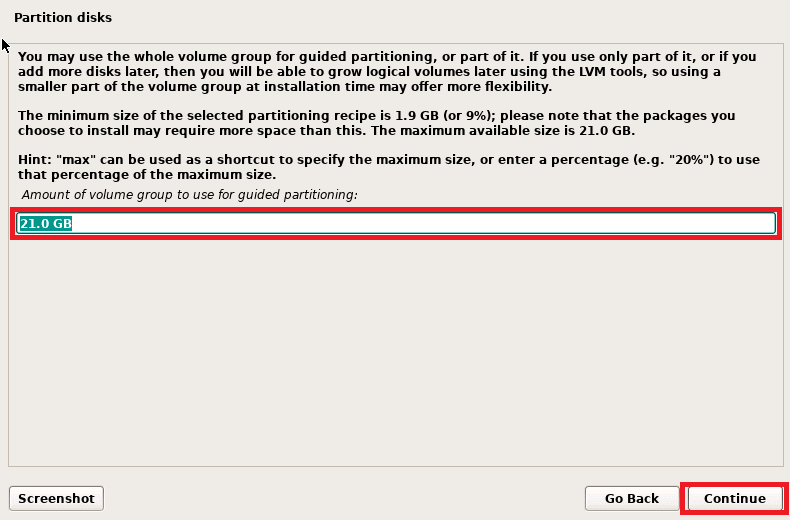
disk sizing
Next, a screen partition summary will appear, verify it and select “Yes” to write changes to the disk.
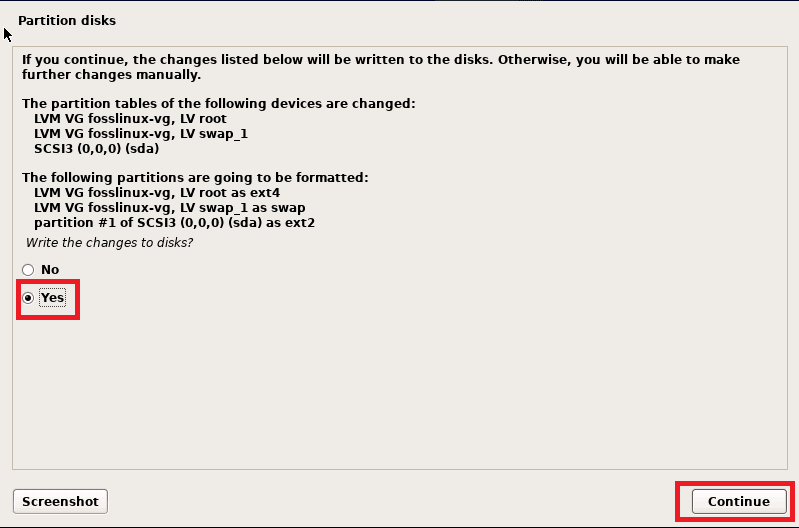
select yes
Then click on “continue” to fire up the installation process.
Step 5: Installation started
In this phase, the actual installation of Debian 11 will start.
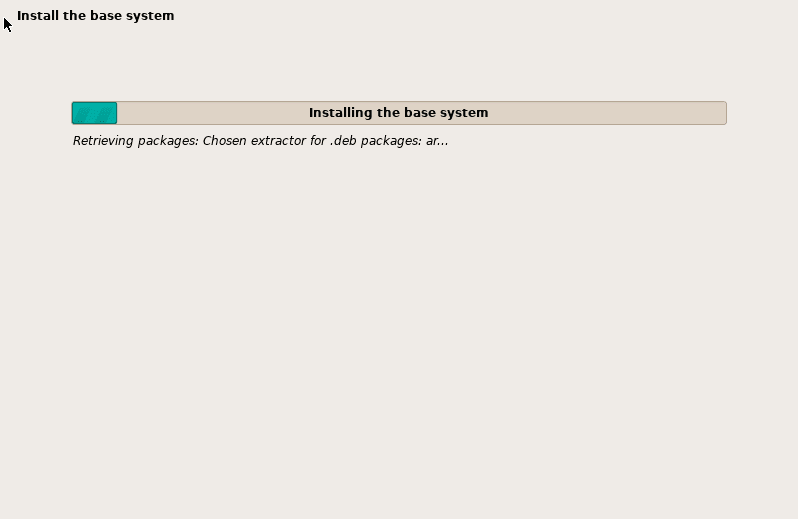
installing base system
Give it several minutes, and a scan more media window will appear, prompting you to scan the installation media. Here, select “No” and click on Continue to proceed with the installation process.
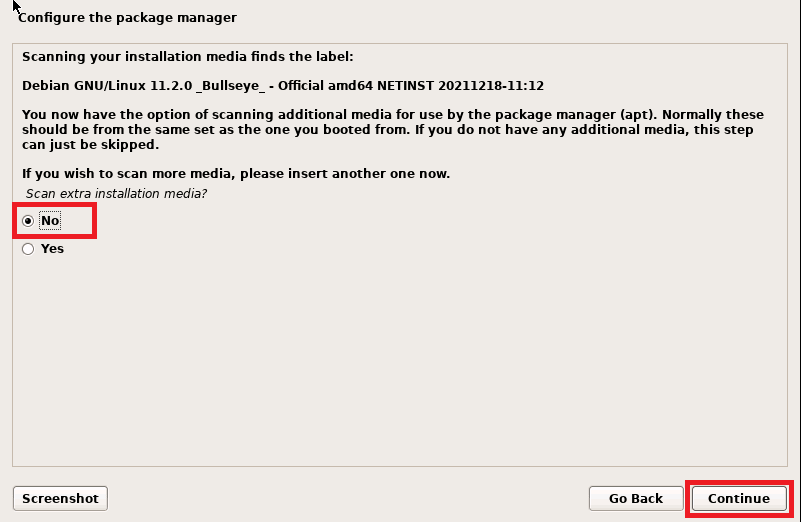
select No
Select “Yes” to configure the network mirror in the next window.
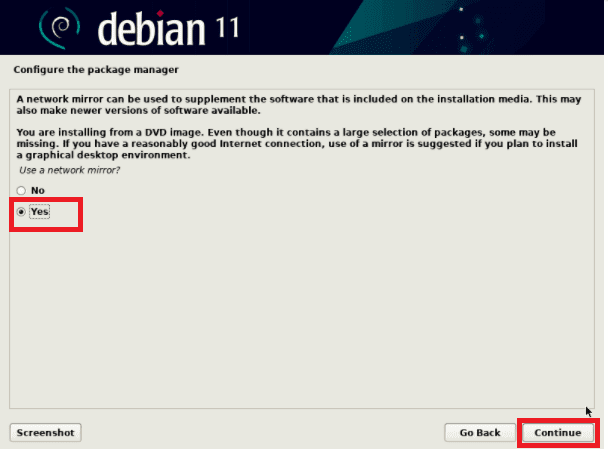
select yes
Next, choose “Debian archive mirror country” and click on Continue. Here, we suggest you select the mirror country near you to increase the download speeds while using your Debian system.
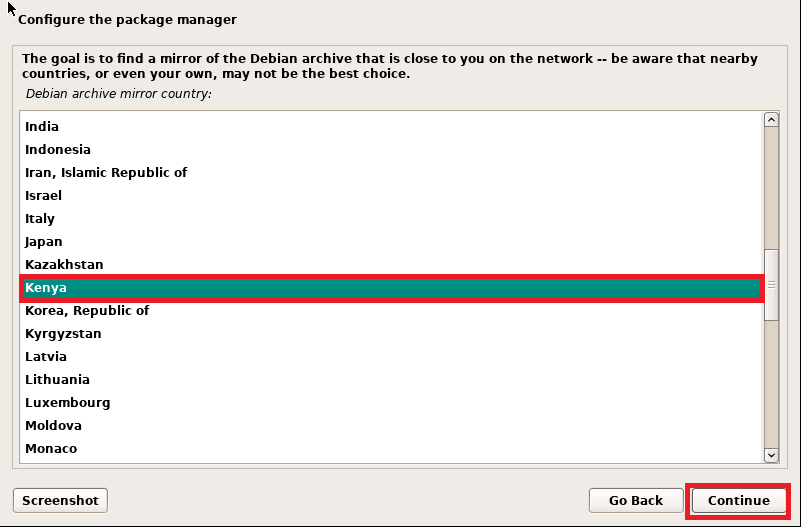
Debian mirror
Then select deb.debian.org in the next window and click on “Continue” to proceed.
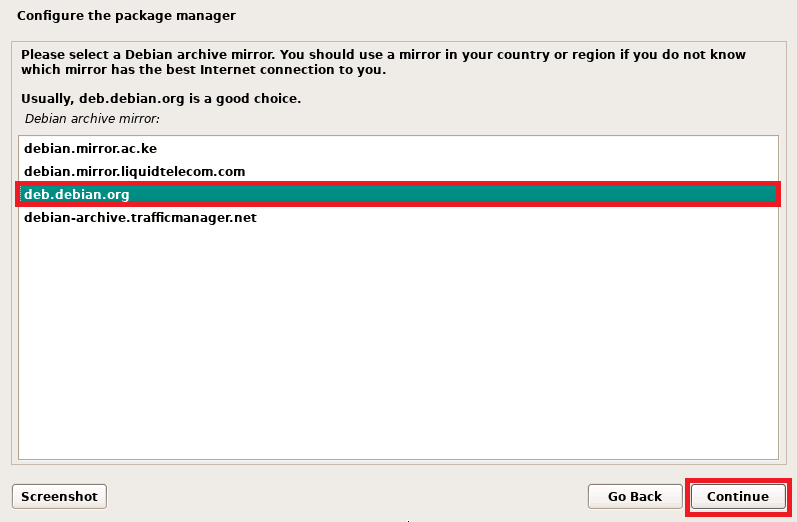
debian.org
On the next screen, click on “Continue” if your system is not using any proxy server. However, if you are using any, specify the details and press “Continue” to proceed.

proxy
Next, you will be asked to participate in the package survey, choose “No,” and click on “Continue.”
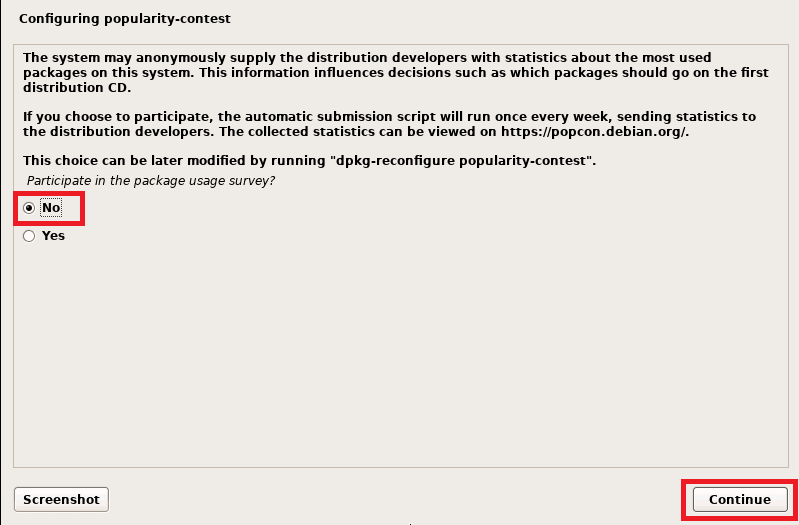
survey
Now choose the software you want to install, such as the Desktop environment and servers. Then, go with what suits your installation. In our case, we will drive with the default selection.
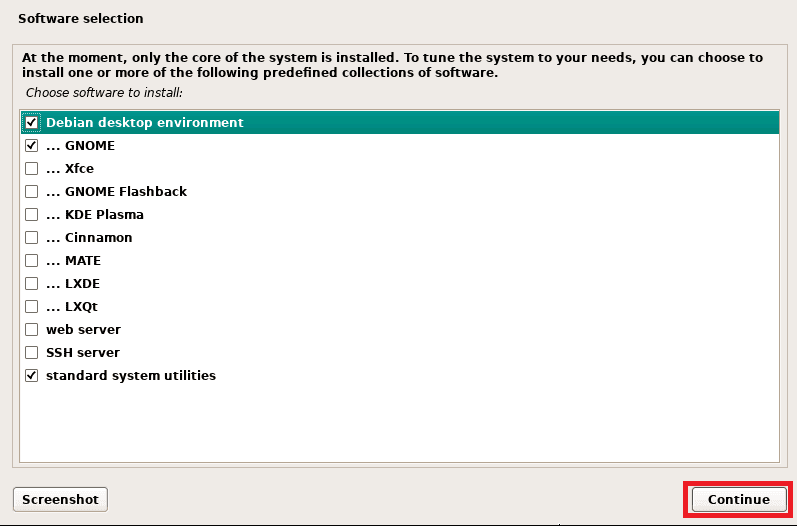
software to install
Click on the “Continue” button to proceed further with the installation.
In the next window, you will be needed to prompt the installer to set up the Grub bootloader on the primary hard drive by selecting “Yes” on this screen.
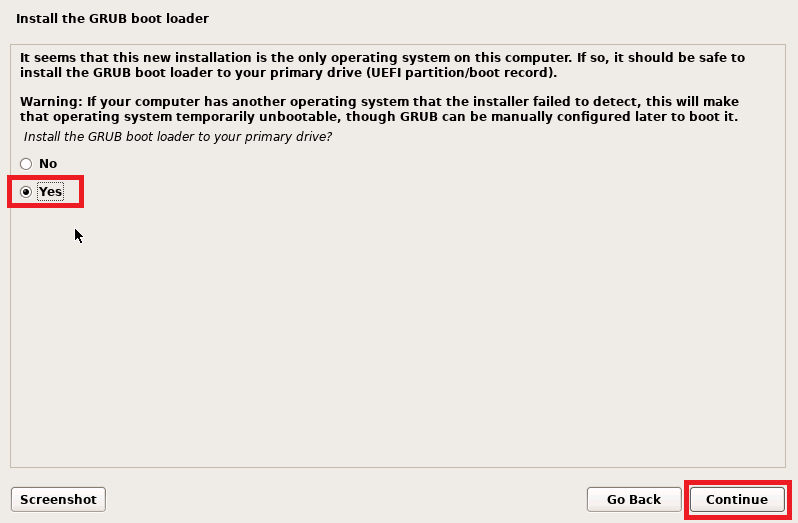
Select yes
Click on “Continue” afterward.
Next, you will select the disk on which the grub bootloader will be installed
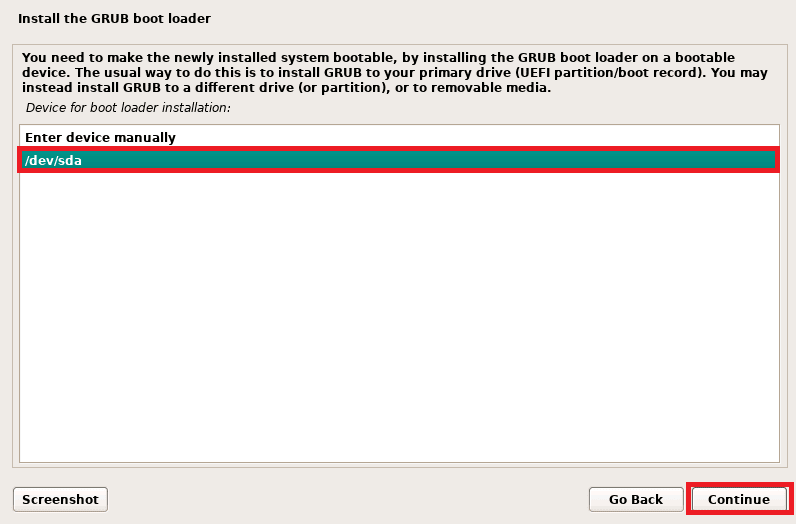
select the second choice
After that, press the “Continue” button and hit “enter” to wind up the installation.

GRUB running
Immediately the installation is done, the installer will then prompt you to reboot the system
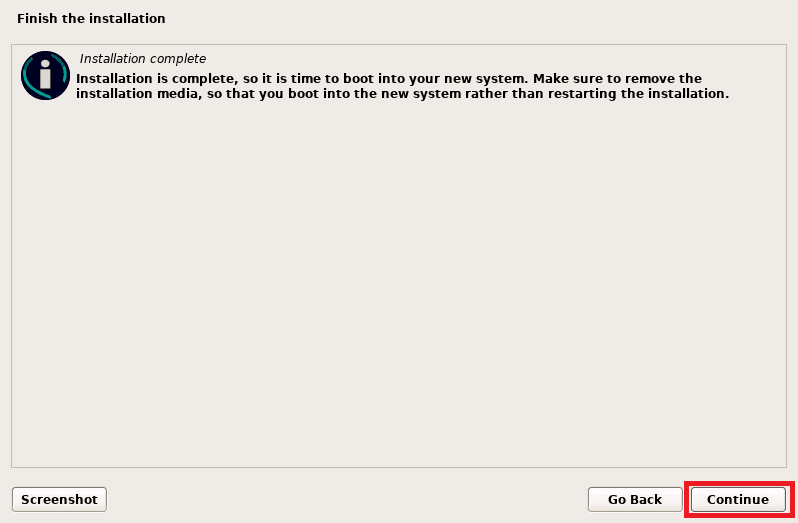
finish installation
Click on “Continue” to reboot the system, and keep in mind that you need to change the boot medium from installation media to hard disk.
Step 6: Log-in and Desktop screen after installation
After a successful Debian 11 installation, your system will reboot into the following GNU GRUB screen, choose the first option, and press “enter.”

first choice
After pressing enter, the system will boot up, and you will be redirected to the following log-in screen. Here, use the local user name and password we previously created during the installation. After that, hit “Enter.” to log in.
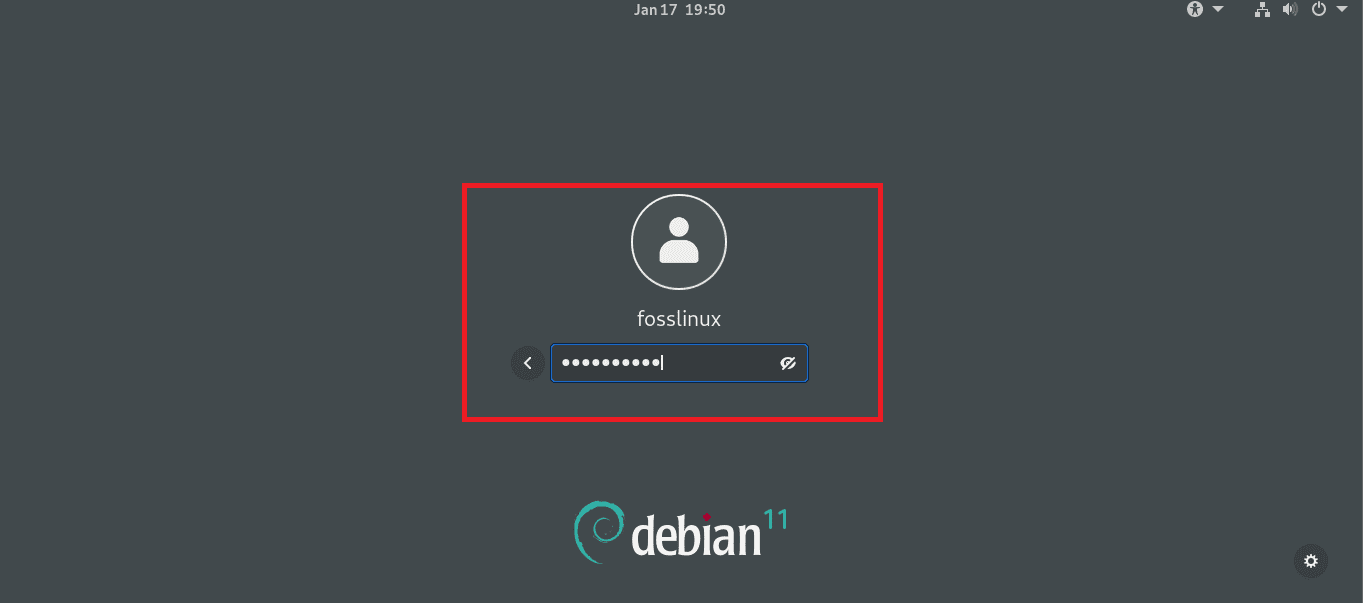
log-in
And Boom!, the following desktop snapshot proves that you have successfully installed your Debian 11.
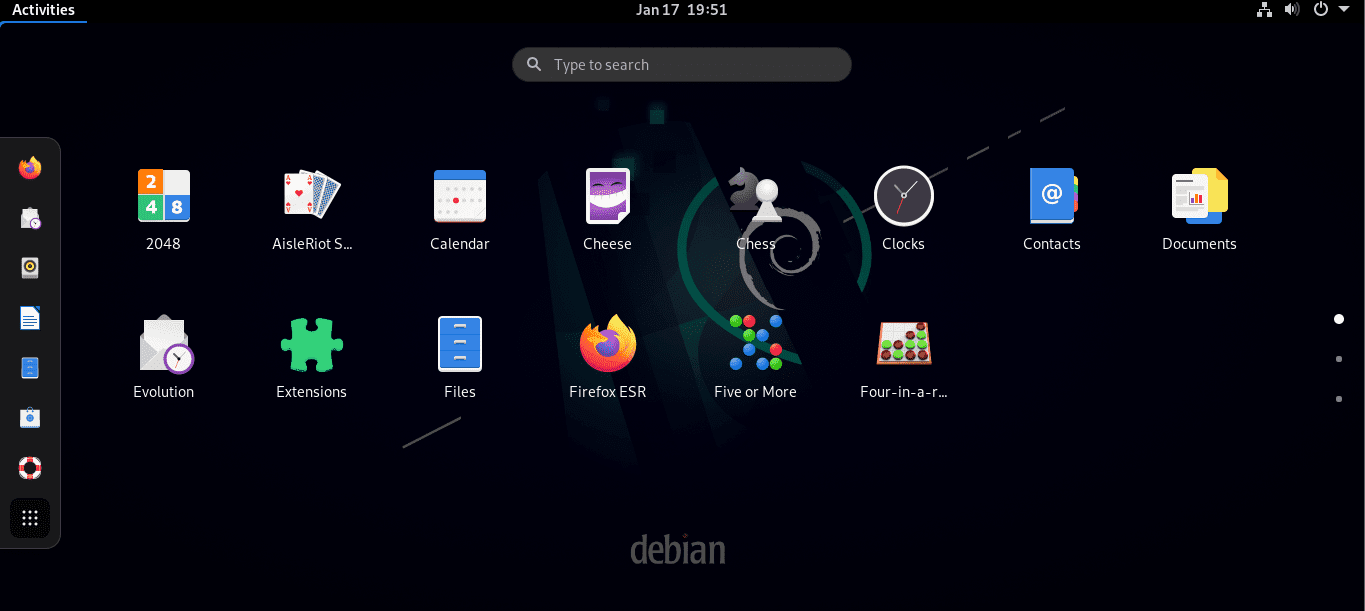
Debian desktop
Post-installation Basic Configurations
After logging, let us take you through some important post-installation configurations that need to be carried out upon a successful installation.
First, we will update our newly installed Debian 11 system by launching the terminal. To do this, hit the “activities button” on the upper left corner of your Debian desktop. After that, a “search button” will appear, type in “terminal,” and press on the icon to launch the terminal.
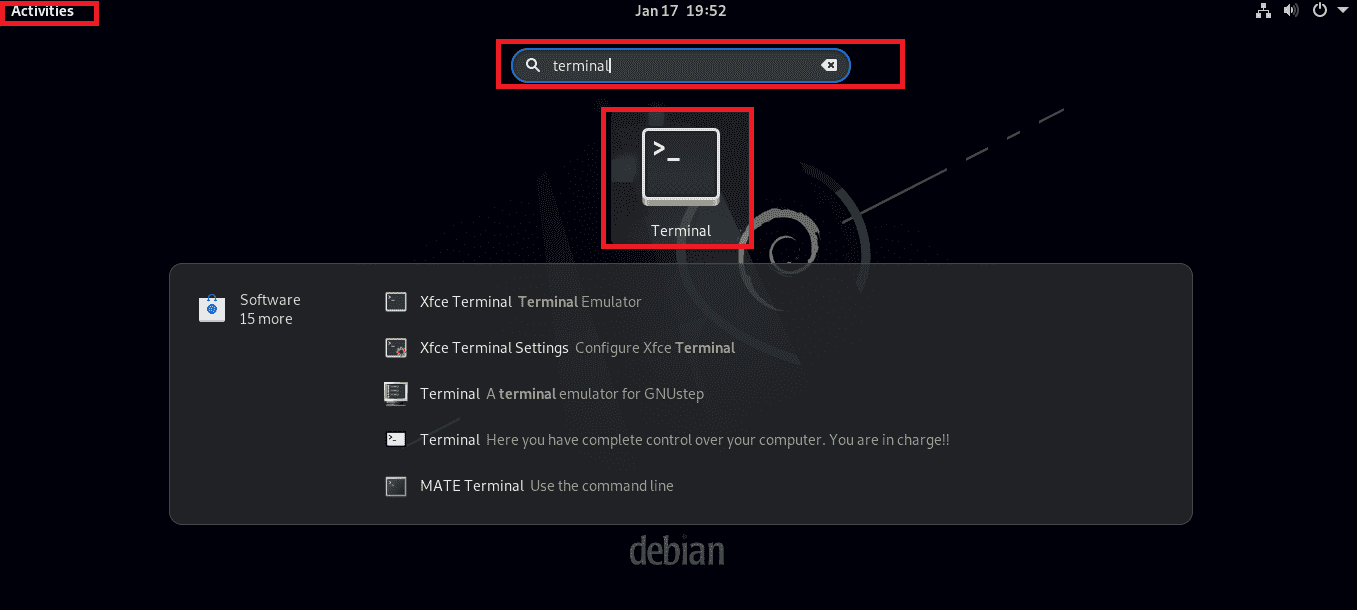
open the terminal
After that, we will log in as the root user since we cannot update our machine without the root user privileges. As such, type in the following command:
su
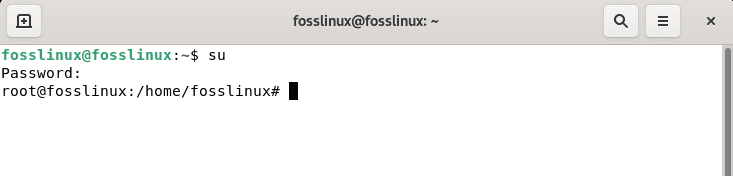
log in as the root user
Then we will update our system by issuing the following command:
sudo apt update
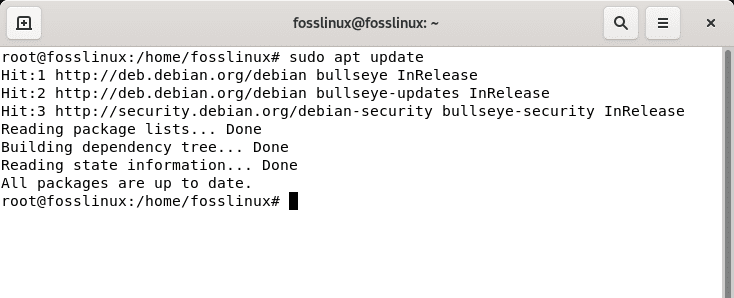
update system
The above command will update the list of packages and confirm if packages need an upgrade. If there are, they will be listed at the last line of the update configurations. So to upgrade our packages, we will issue the following command:
sudo apt upgrade
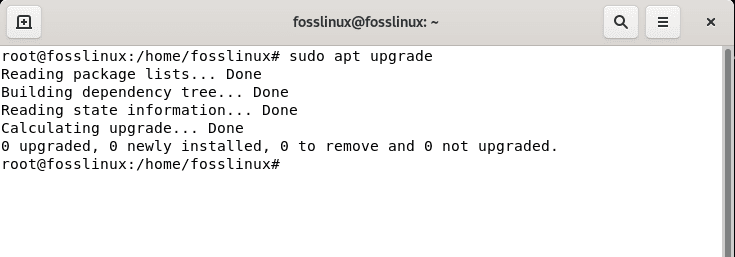
upgrade system
Wrapping up
Debian 11 Bullseye whips with many boosted features, and to access the latest boosts, it is advised to upgrade if you are using an older version of Debian. There are multiple ways to get Debian on your machine, a bootable USB drive with Debian ISO is recommended because of its convenience, and that’s what we covered. Alternatively, you can install Debian 11 on your virtual machine, either the virtual box or Vmware workstation.
If you came this far, congratulations! You have successfully installed and configured your Debian system, and you can now fully enjoy the amazingness of Debian 11 bullseye. This article has discussed the step-by-step installation instructions of Debian 11. Contrasted to other Debian-based distros such as Ubuntu, the Debian 11 installation process is different, and some may find it complicated if it is their first Linux distro. Nevertheless, it is a rock-solid and stable distro than any Linux distribution after set up. We hope this guide was informative as you switch to or upgrade to Debian 11 (Bullseye).