
pCloud offers a range of affordable storage plans that are pocket-friendly to anyone. It also provides a compelling size of free cloud storage and gives users complete control over their privacy, something many, if not all, users are looking for.
Since pCloud is a Swiss-based application, it must adhere to strict Swiss privacy laws, meaning more protection for your files. However, it also puts forward a superb option for most personal and business users, hence an excellent option for all users. This software also interfaces with your browser via pCloud “save,” an extension for Opera, Firefox, and chrome. This extension allows you to directly save images to your particular “pCloud save” folder by only right-clicking on them.
To add on, this app offers a pCloud web service for users who want to access their files but are away from their PCs. It works exactly like the pCloud app; there are menu links for browsing your files, accessing your public folder, pCloud rewind, backups from other cloud services, and your trash folder.
Under this are links for accessing your shared folder, download links, crypto folder, and your audio files. To add a file to your web browser interface of pCloud, drag and drop the files into the specific folder by hovering over them, and pCloud will open an upload screen that displays your files uploading to the specified folder.
Installing pCloud on Linux Mint
Just like any other similar cloud service, pCloud offers a desktop client app to allow you to sync files you have on the cloud with your PC. The software is available for all the major platforms (Windows, Linux, and macOS). There are two versions that this software offers for its users: Command-line-based (CLI) and Graphical User Interface (GUI). This article will cover both methods on our Linux machine, specifically the Linux mint.
Step 1: Download a pCloud
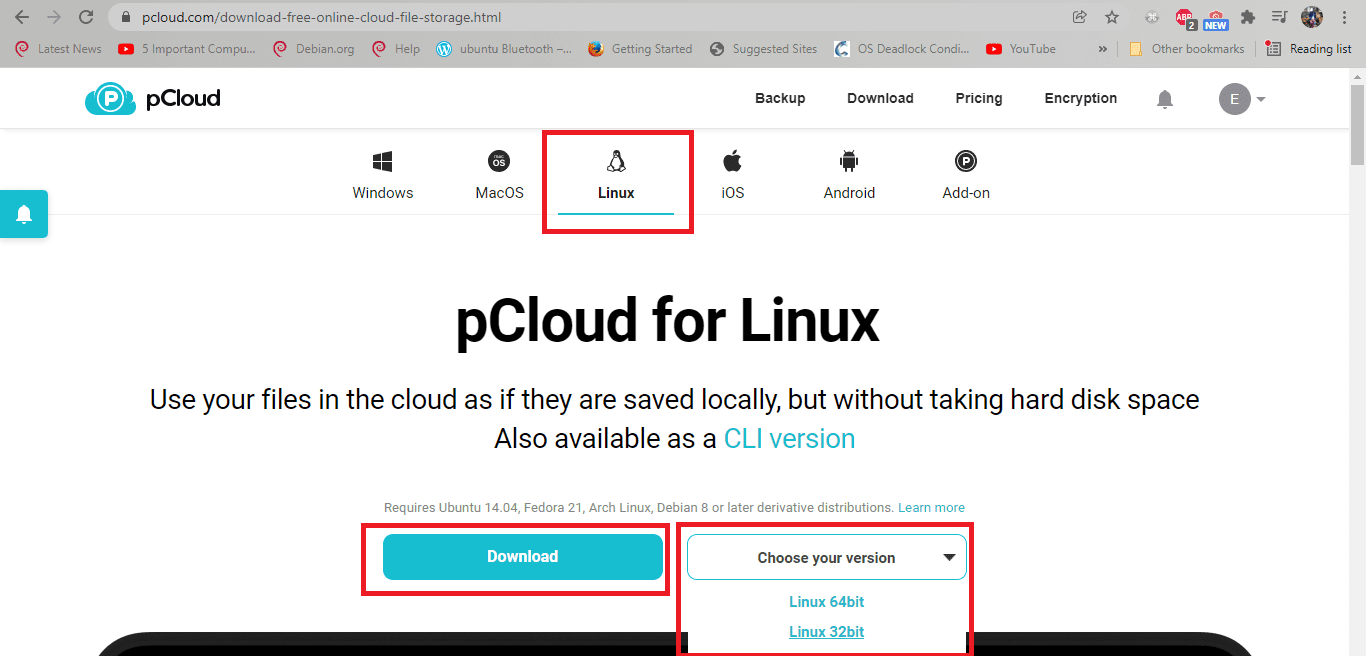
Head over to the pCloud’s official website using this link. After that, select Linux, as shown in the snapshot below. Then choose the correct architecture file for your Linuxmint. The architecture, in this case, refers to the 32-bit and 64-bit systems.
download pcloud
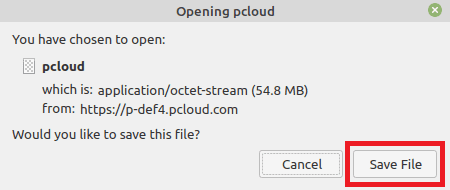
After selecting the one that matches your PC, a window asking if you would like to save the file will appear; hit the save button, and the download progress will start.
select save file
Download progress

download progress
Method 1: Graphical installation
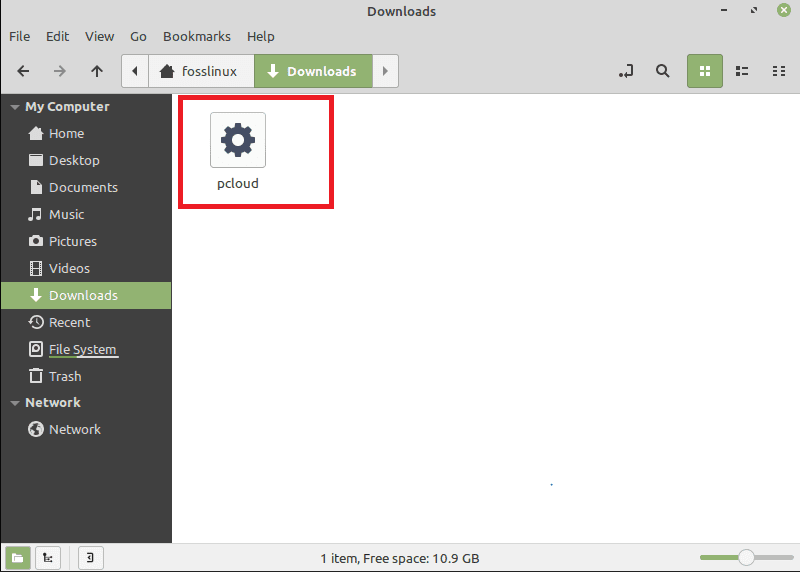
After downloading the file, you will head to the file manager. After that, go to the downloads folder where you downloaded the pCloud file if you did not change the defaults downloads directory. In case you changed, then navigate to the location you redirected your downloads to, and you should see such a file:
pcloud downloaded
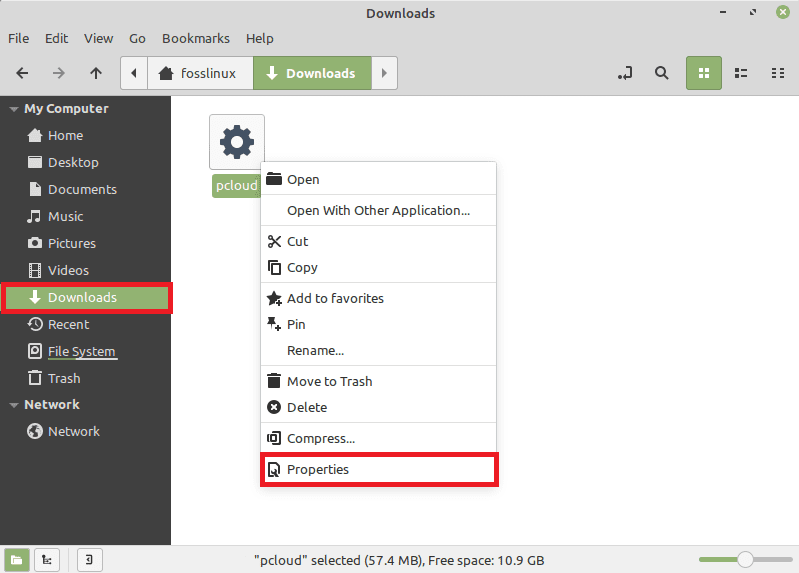
After that, right-click on the pCloud binary file and select Properties in the context menu that will appear
select properties
Then a pCloud properties window will pop up, and you should see some drop-down options as displayed in the snapshot below:
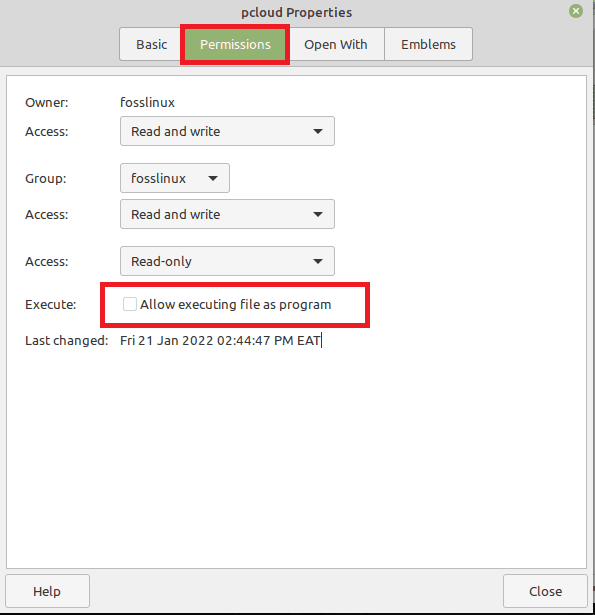
go to permissions
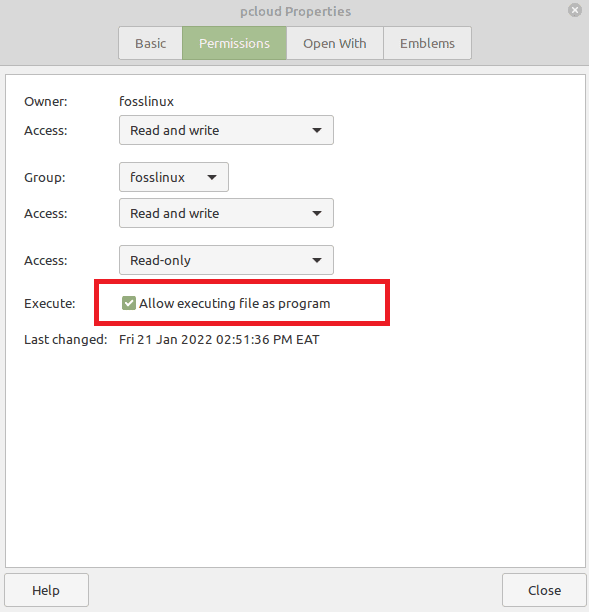
At the bottom, you should note an unchecked button in front of Execute written: “Allow executing file as program.” So go ahead and check that button.
check execute
Next, close the pCloud properties window, double-click the pCloud binary file we just made executable, and the following credentials window will appear.
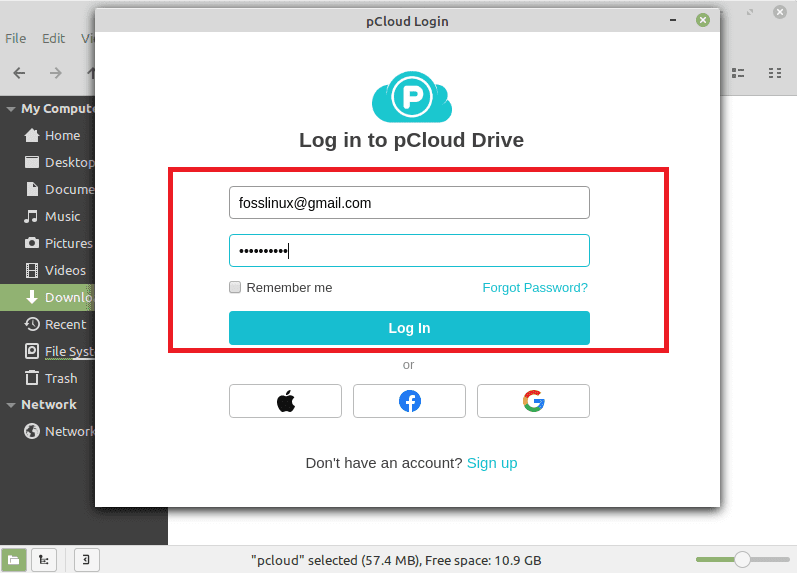
login
Here, you will key in your login credentials, email, and password. In case you don’t have the login credentials, you can register here and use them to log in. You should then receive a welcome window like this one:
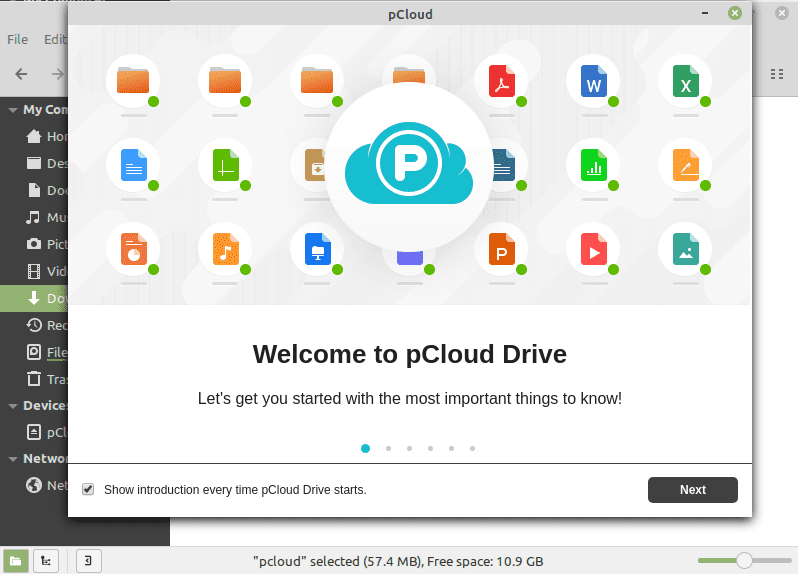
Welcome window
After a productive authentication, a folder labeled pCloud Drive will display under your home folder. All files inside this folder will be synced with pCloud Drive. A crucial point to remember here is that this folder does not use any physical space on your Hard Drive. You can view it as a remote file system mounted beneath your home folder.
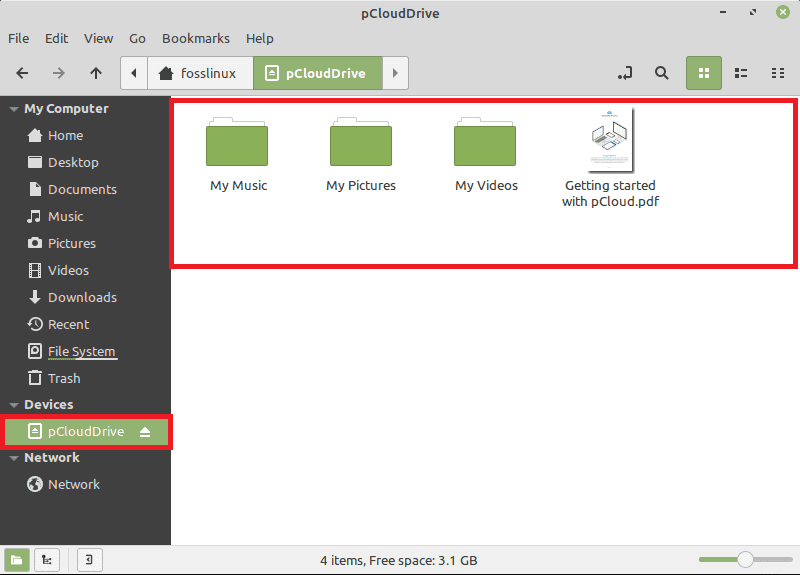
folder created
The pCloud app indicator should also appear in the taskbar
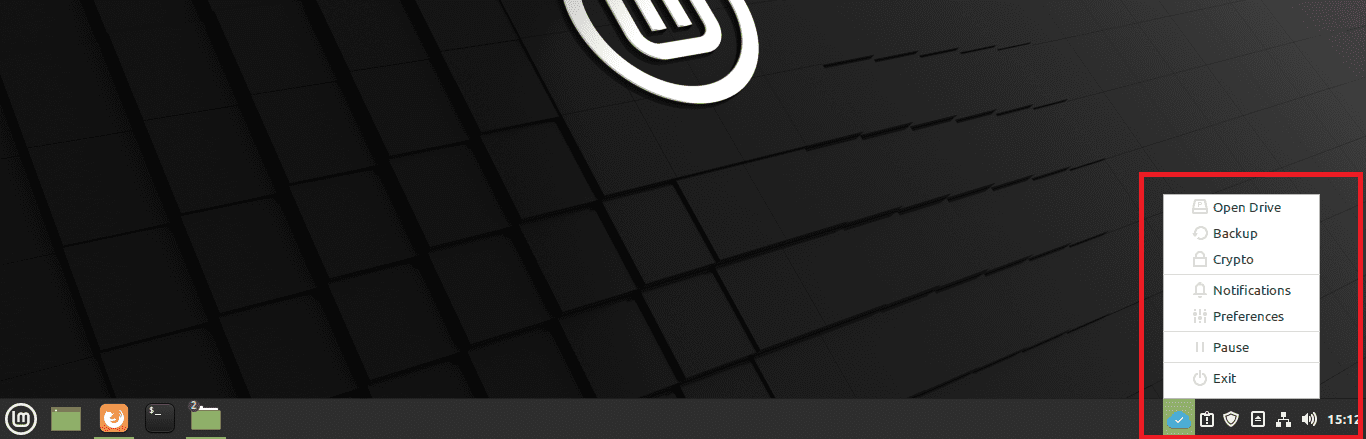
appear at the taskbar
You can add another folder on your Hard Drive to be synced with pCloud Drive by opening the app and going to the sync tab next to Backup. After that, you should see an Add New Sync button at the end, click on it, then sync the folder.

add a new folder
You should note that when the pCloud binary executes for the first time, it generates a start icon on your system to enable you to start it from your application menu any other time you want to open it.
Next, let us now focus on the second method, the command line format
Method 2: The command line method
To carry out this method, open your terminal using “Ctrl+ALT+T” and navigate where you downloaded the binary file to the cd command. In our case, we will go to the downloads folder as shown below:
cd Downloads
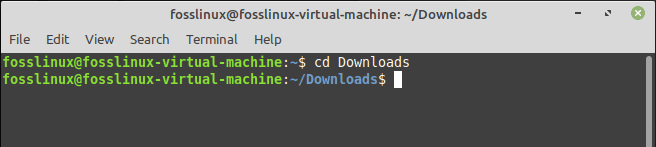
go to downloads
After that, we will make the binary file of the pCloud Drive client executable by applying the “X” attribute using the chmod command:
chmod +x pcloud
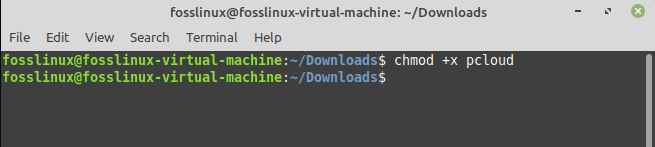
chmod command
Next, copy the executable file of the pCloud Drive client to the “/usr/bin” directory. Ensure you add the “sudo” prefix before your command to access the system directory.
sudo cp pcloud /usr/bin/
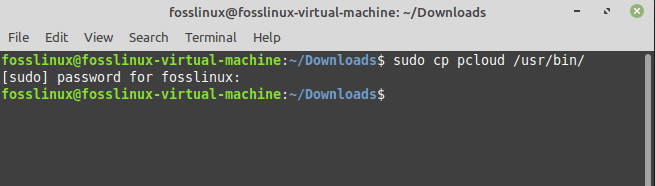
copy the executable file
At this juncture, you should have successfully installed your pCloud Drive client. Nevertheless, it will not just pick up and start running. You will only be able to launch it via terminal by issuing the following command:
pcloud
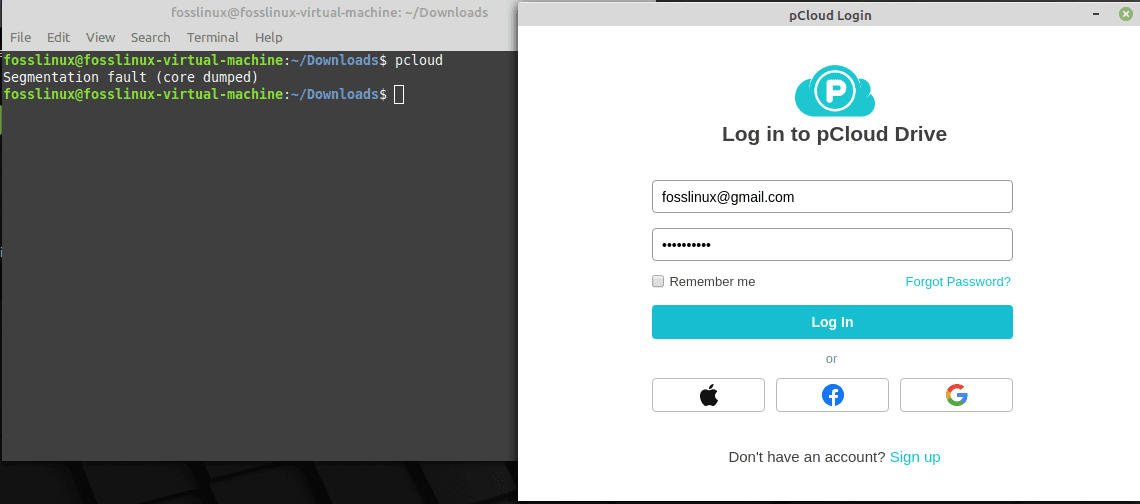
pcloud command
Upon running the command, the login window will pop up for users who have not logged in, and if you have, it will spontaneously take you to your pCloud account.
If you are not a command line fanatic or a newbie and want to launch the pCloud Drive client through the app launcher, ride along with us as we show you how to create your pCloud app.
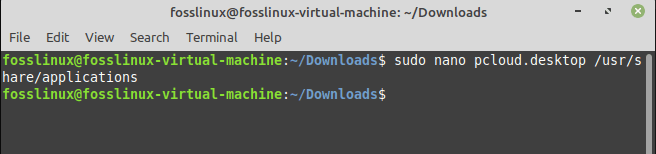
First, you will create the “pcloud.desktop” file on the “/usr/share/applications” directory. You have the flexibility of using any text editor to create the file. In our event, we will use the nano editor. As such, run the following command:
sudo nano pcloud.desktop /usr/share/applications
nano editor command
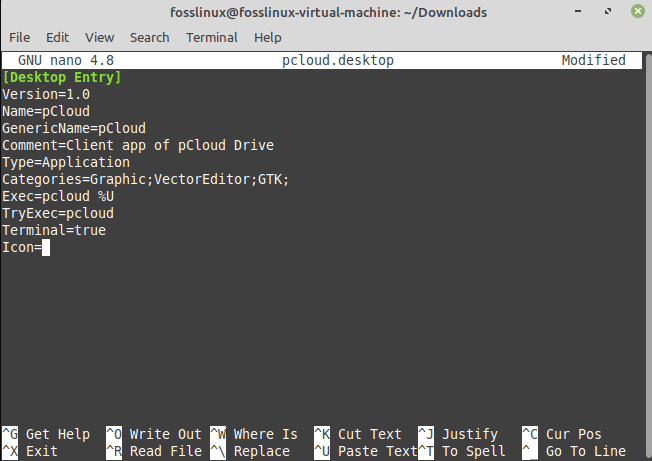
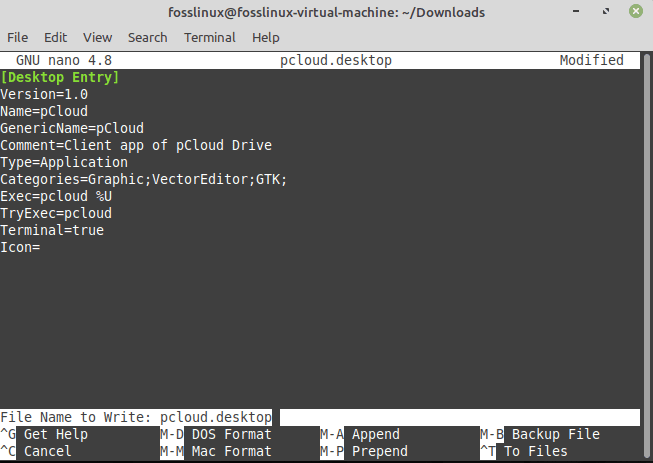
After that, append the following contents to the created file as shown below:
[Desktop Entry]
Version=1.0
Name=pCloud
GenericName=pCloud
Comment=Client app of pCloud Drive
Type=Application
Categories=Graphic;VectorEditor;GTK;
Exec=pcloud %U
TryExec=pcloud
Terminal=true
Icon=
paste to the editor
After that, you need to save this edited file. To do this, press “Ctrl+x,” as shown below.
press ctrl+x
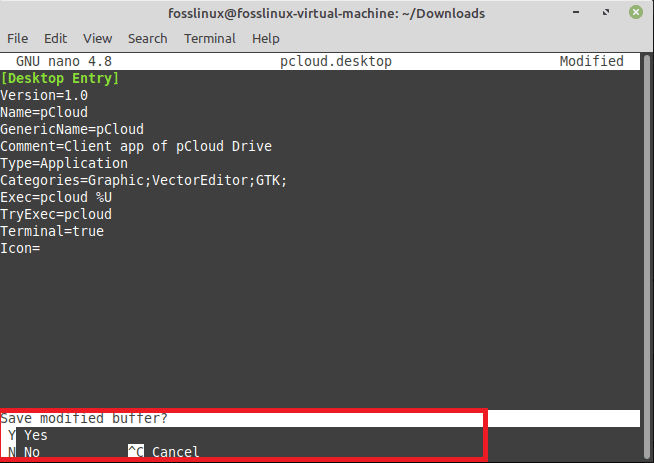
After that, press “y,” then hit the enter button to accept, and it should be saved
type y to save
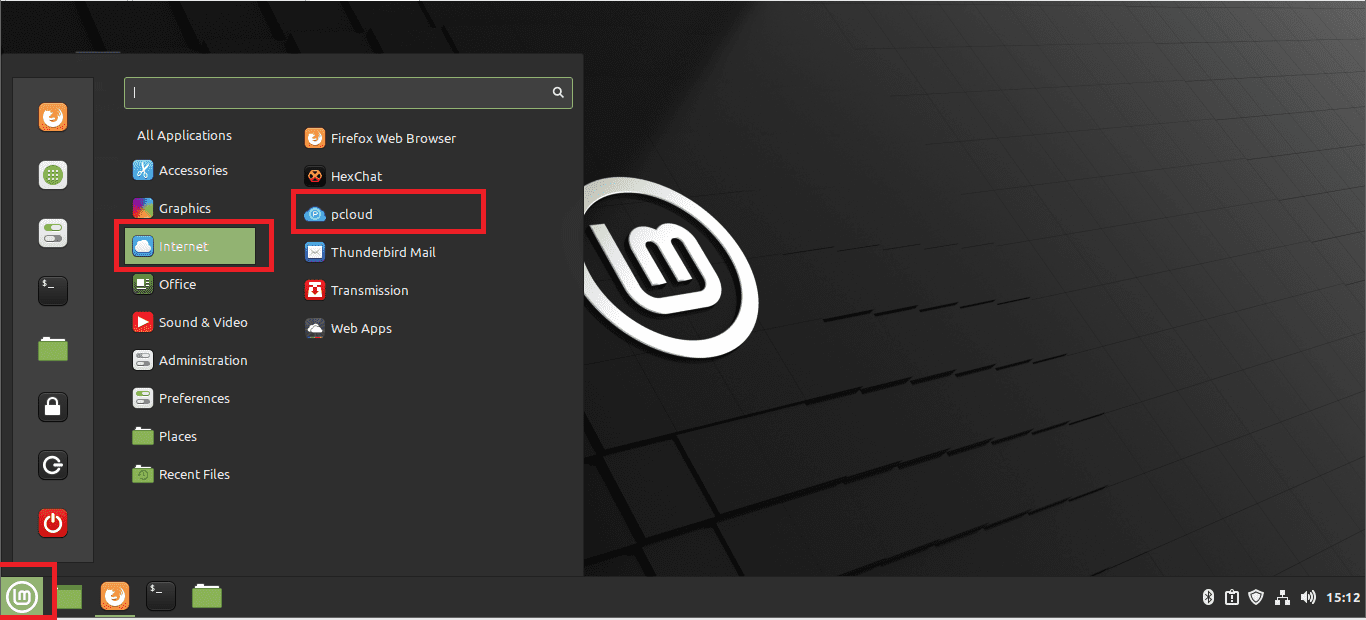
At this point now, you should be able to see the pCloud Drive on the app launcher on your desktop environment.
pcloud on desktop
After looking at the two vital methods of installing pCloud on Linux mint, let us now turn our attention to some real reviews of this great application.
Strengths and weaknesses
It has fast syncing, great value accepts bitcoin payments, sync any folder, lifetime plan options, zero-knowledge encryption, and an integrated media player. On the opposite, its encryption costs extra and has no document integration.
pCloud storage Rewind
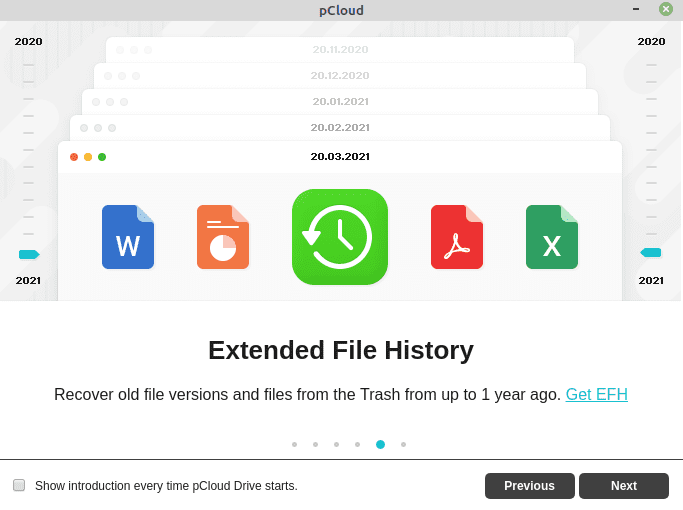
file history extension
The Cloud “rewind” feature permits you to recover files from a later date if, in one way or the other, you deleted your files or they become corrupted. This feature allows you to rewind and access old files for up to 15 days with a free account. Nevertheless, the premium and premium plus plans offer a rewind of up to 30 days. This, therefore, allows you to see how your files and folders looked at a particular date and time.
In comparison, Dropbox users have the flexibility to rewind up to 180 days, while Icedrive allows you to rewind indefinitely, so pCloud’s 30 days isn’t that much. This feature also enables you to restore any of your previous files or folders from that specific date. Instead of reverting your account to the previous look, pCloud give you the option to either download the files and folders you want to recover or restore them individually. You can also extend this feature for up to a year, but you will have to incur a cost of $39.
Fair Share
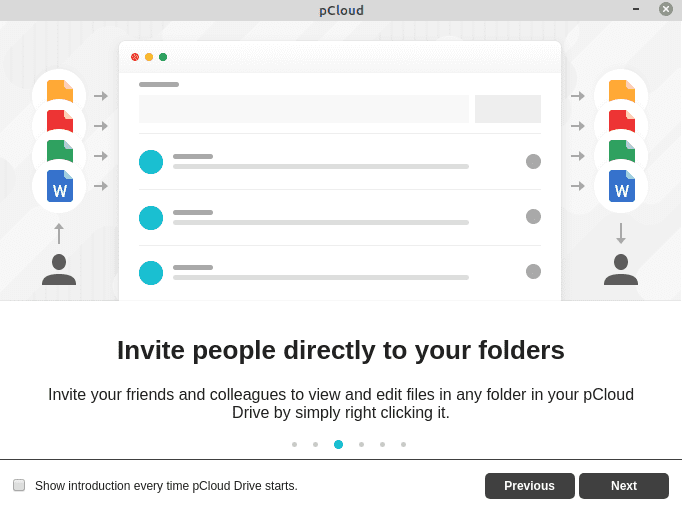
allows invites
If you are interested in collaborating with other pCloud account holders, you may want to give pCloud’s fair share feature a try. If you allow folder share, the recipient on the other end can append as much as they want to the shared folder without using up any of their storage space. The shared folder will use up the space on the user’s account who initially shared it.
Public Folder
You also have the option to create a public folder. This can, in turn, be used for purposes like hosting static HTML web pages, creating links to files, or embedding images as an alternative to image hosting sites like Imgur. However, this feature is not available on a free account, but you still have a seven-day trial upon signing up for the service.
Pcloud Backup
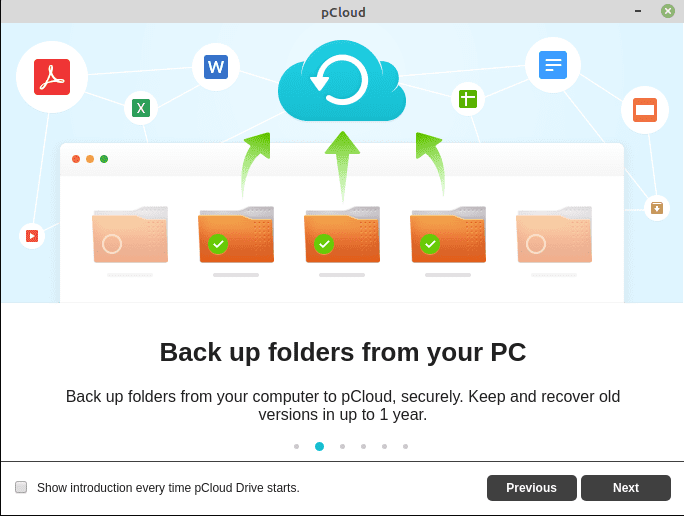
backup folders
This software currently introduced a feature called “Cloud backup.” You can choose the folders needed to be backed up spontaneously to the cloud through your desktop. As such, if you back up a folder of images, each time a new image is saved to the folder, pCloud will automatically sync it to the cloud.
pCloud Crypto Feature
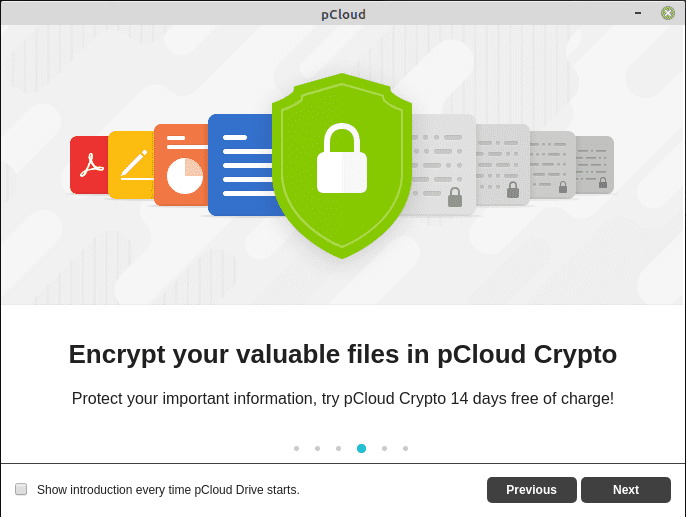
encryption
pCloud crypto allows you to protect some of your data with end-to-end encryption. It offers a 14 day free-of-charge trial upon sign-up.
Conclusion
We believe this article was informative enough to help you install and use pCloud on your Linux Mint machine without encountering any issues. The article has shown you both the command line and GUI methods of pCloud installation, which we believe you are okay with as of now. Then we also covered some critical reviews of this great software to help you understand more on what to expect from and what not to in this software.
The reviews we covered in this article are just the tip of the iceberg; you can take a ride through the comprehensive pCloud review for a clear picture of this software. Otherwise, thanks for your time.
1 comment
I installed pcloud graphically on Linux Mint 21.1. However, when I try to install an update, it hangs. Do you have any suggestions on how to update to the current version of pcloud?