
pCloud is a cloud file storage provider from Switzerland that provides around 10GB of free storage upon registration. To add on the 10GB free allocation storage, the software allows an extension of up to 20GB of free space, which is incredible. pCloud is available in Linux, Windows, iOS, Android, and macOS.
This app securely stores your files and folders in 5 different servers to keep them safe from server failure or any alteration in case of a failure. This, in turn, works as a confirmation to users that their data is safe enough to be stored here. Additionally, file transfer between your local folder and pCloud drive is encoded with TLS/SSL protocol, which adds security to your data.
The installation of this software requires Ubuntu version 14.04 and above, Fedora 21, Debian 8 and above, or later derivative distros.
Installing pCloud on Debian
1. Create a pCloud account
To get started, go to the pCloud website and register with your email ID to create your cloud account.
2. Download and install the pCloud client
Download the binary file of the pCloud Drive client for Linux. There are two available versions of the binary file of pCloud Drive: 32-bit and 64-bit. Due to this, be sure to choose the one compatible with the architecture of your PC.
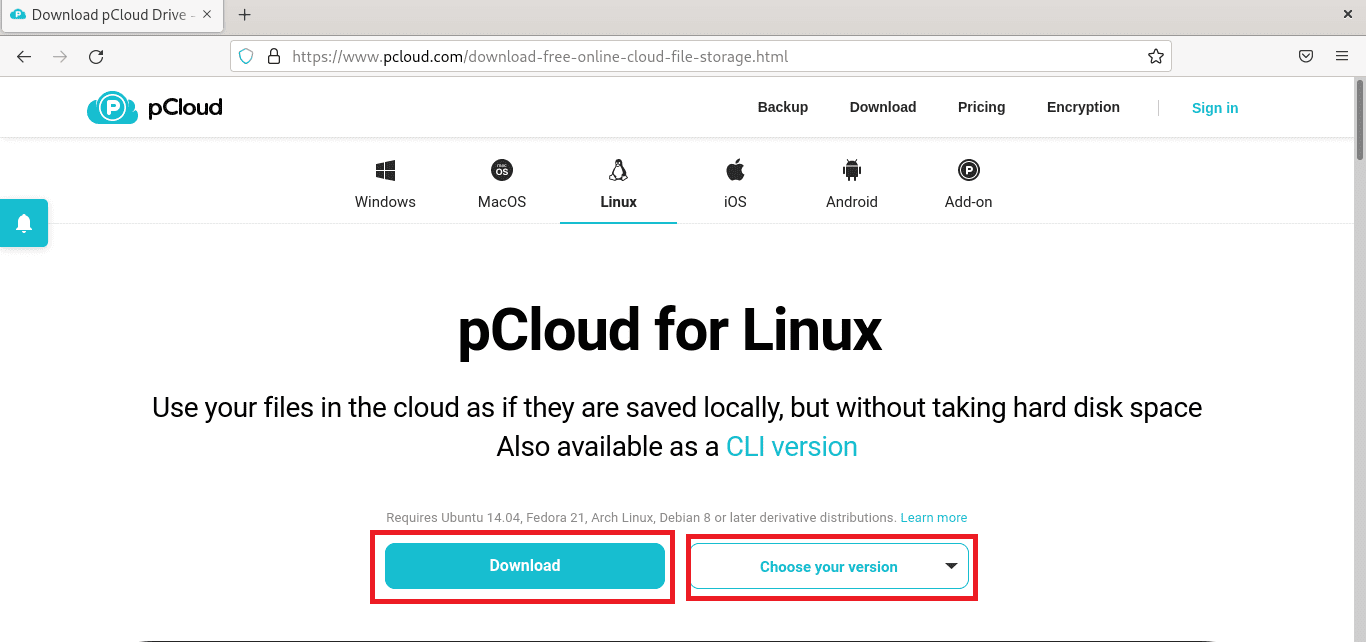
select download
Once you select the architecture, hit the download button, and a pop-up window will appear inquiring you if you want to save this file? Here hit the Save file button
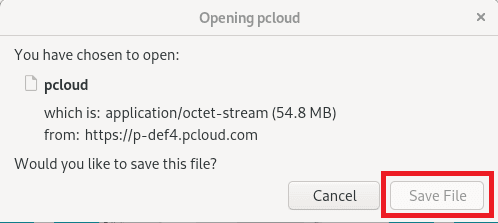
click on save file
and the download process will begin
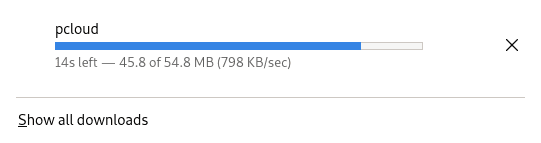
file downloading
Once the file is downloaded, follow the subsequent steps to install it on your Debian machine.
Method 1: Graphical installation
First, open your file manager and go to the download folder where you downloaded your file if you did not change the default downloads installation destination. In case you did, maneuver to the location you redirected your downloads to, and you should see such a file:
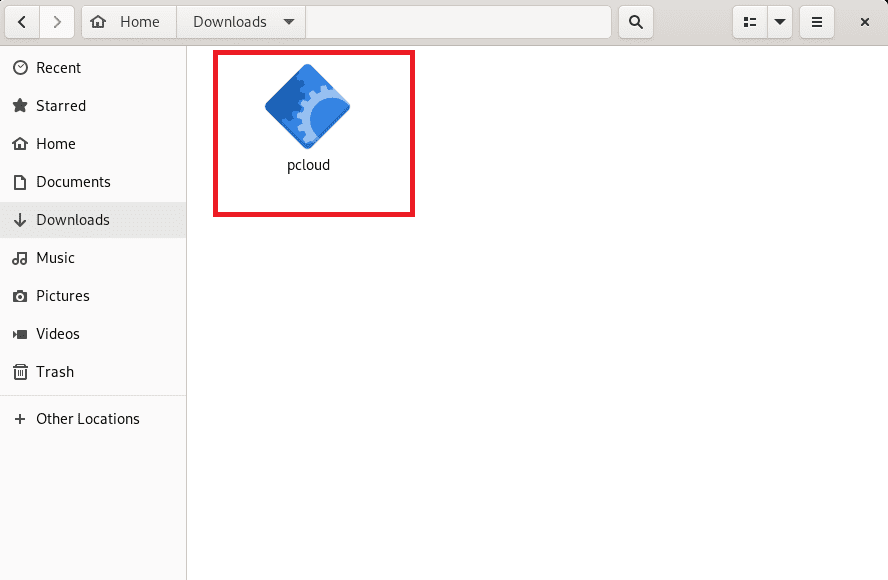
pcloud app
After that, right-click on the pCloud binary and select Properties in the context menu.
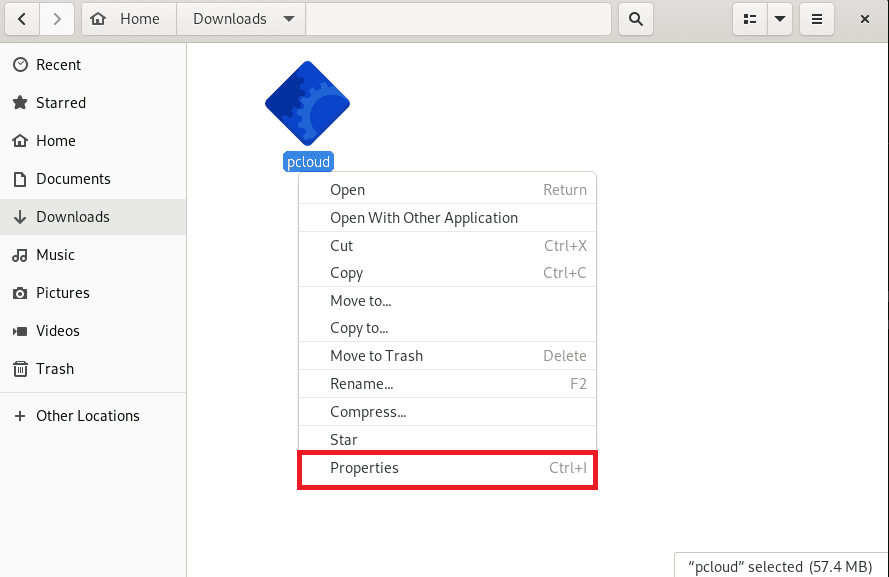
select properties
Next, go to the permissions tab next to Basic, and you should see several drop-down options as shown below:
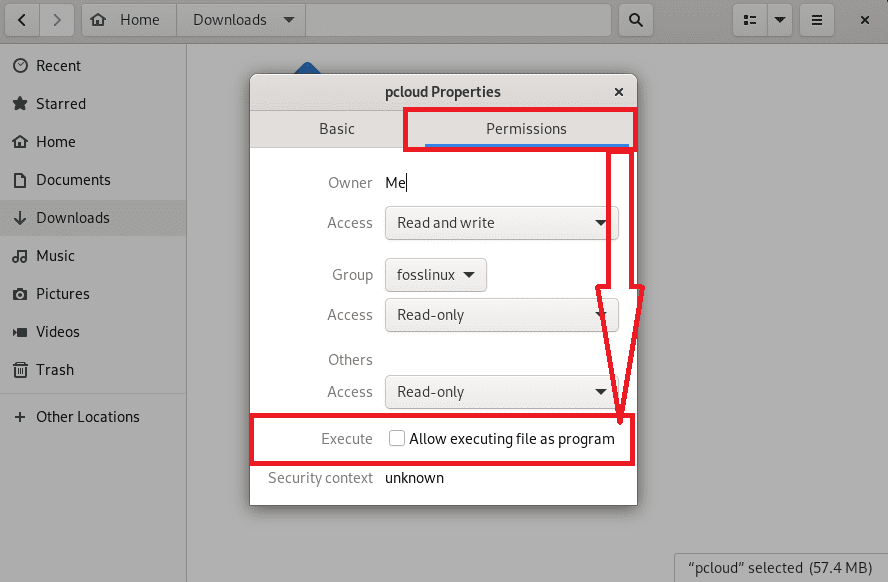
Select permissions
After that, go ahead and check the button in front of Execute to allow executing file as a program.
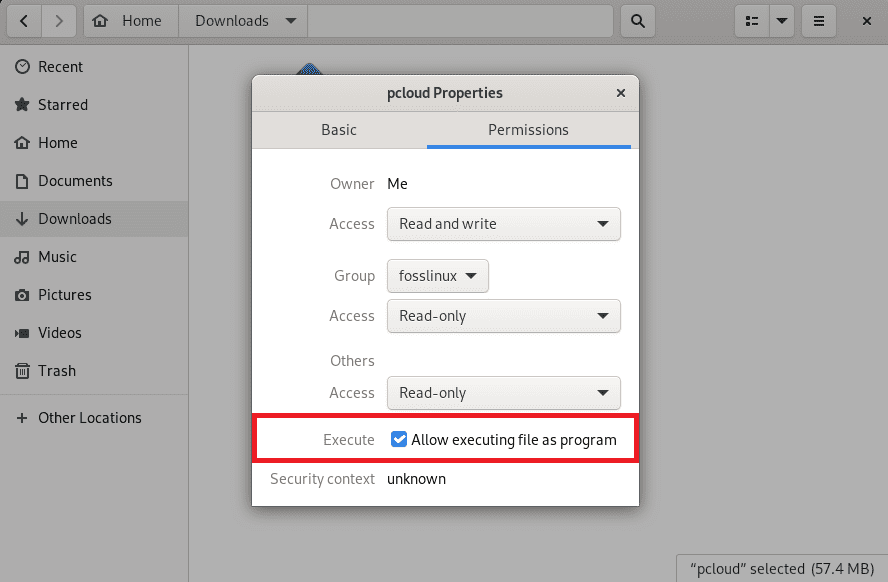
allow execute
After that, close the pCloud Properties window, then double-click the pCloud binary. A login window will then pop up. Here, you will input your pCloud login credentials. If you don’t have pCloud login details, register here. Then use the credentials to log in.

login
After successful authentication, a pCloud drive folder will appear underneath your home folder. All files beneath this folder will be synced with the pCloud drive. Be keen to remember that this folder does not take any physical space on your hard drive whatsoever. Instead, you can contemplate it as a remote file system mounted under your home folder.
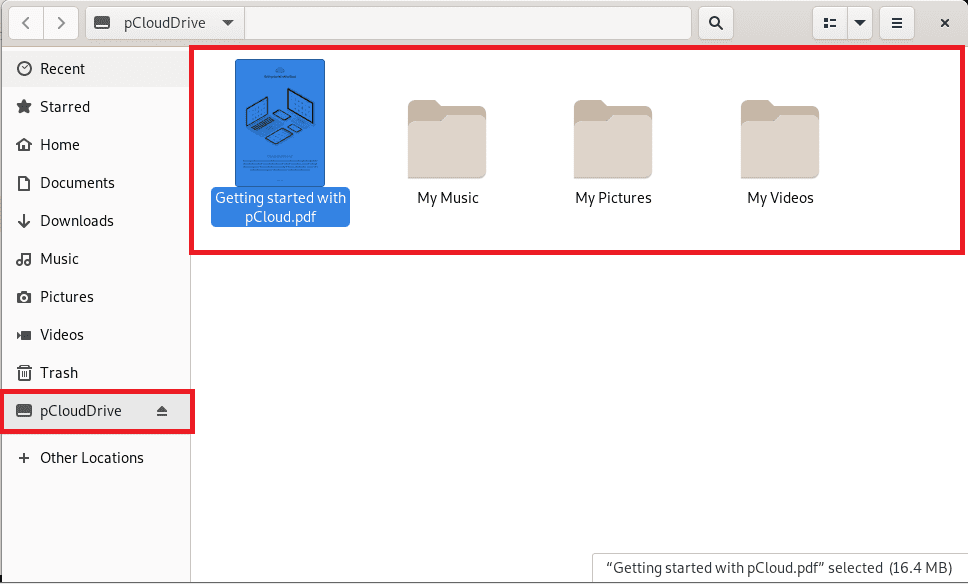
pcloud drive will appear
If you want to select another folder on your hard drive to be synced with pCloud drive, click on the App indicator, choose preferences>sync tab>Add New Sync to add a new sync folder.
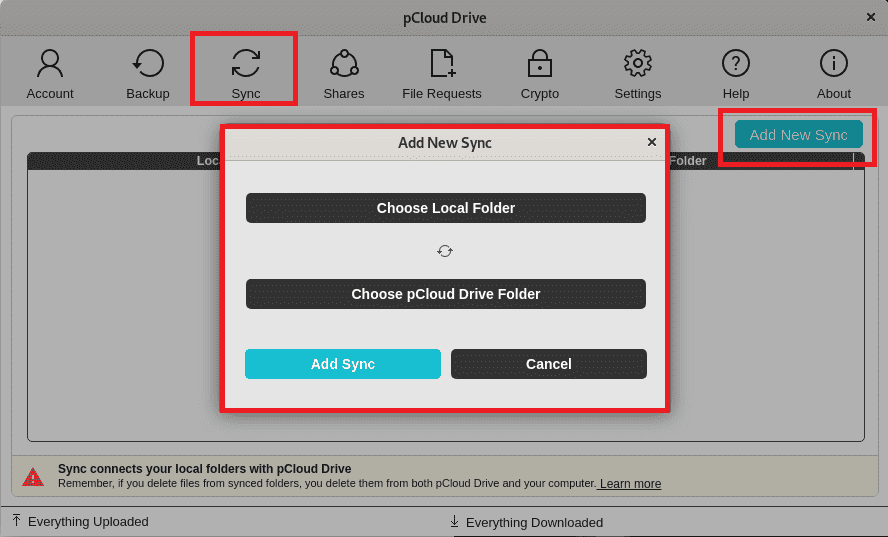
add folder
When the pCloud binary runs for the first time, it generates a start icon on your system, so the next time you want to initiate it, you can do so from your application menu.
Alternatively, you can use the command-line method to install pCloud on your Debian machine.
Method 2: Command-line method
First, open up the terminal and log in as a root user by issuing the following command:
su
After that, you will be asked to key in your password; type your password and press enter. You should by now manage to enter the root terminal.
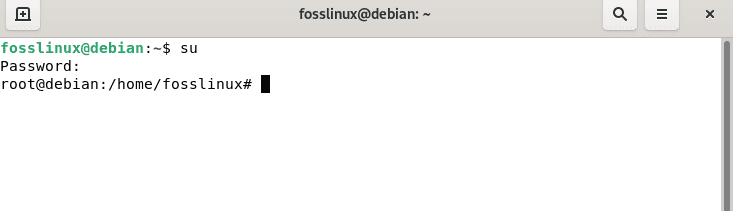
login as a root user
After that, navigate to the folder where the binary file of pCloud Drive clients is located, in our case, the Downloads folder using this command:
cd Downloads
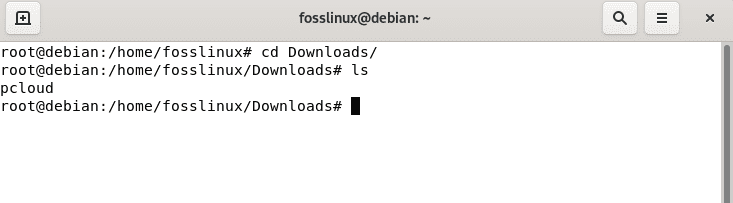
cd Downloads
After that, use the following command to make the binary file of the pCloud Drive client executable by applying the “X” attribute using the chmod command:
chmod +x pcloud
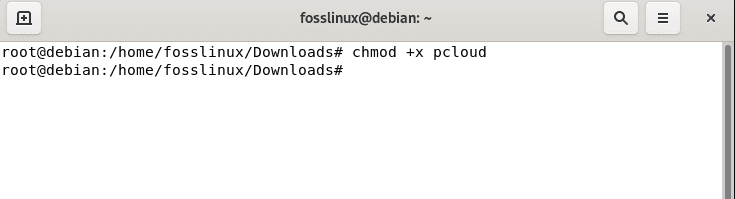
make the file executable
Next, copy the executable file of the pCloud Drive client to the “/usr/bin” directory. Ensure you add the sudo prefix since you want to access the system directory.
sudo cp pcloud /usr/bin/
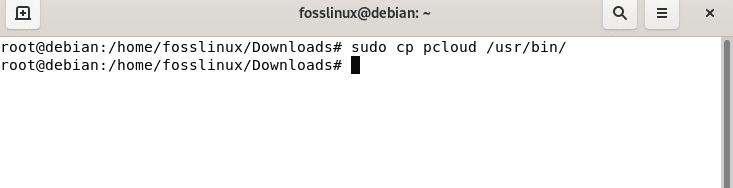
usr/bin directory
At this point, you should have thrivingly installed your pCloud Drive client application on your system. Nevertheless, you will only be able to launch it via terminal by issuing the following command:
pcloud

pcloud command
Then the login window will automatically appear as seen below:
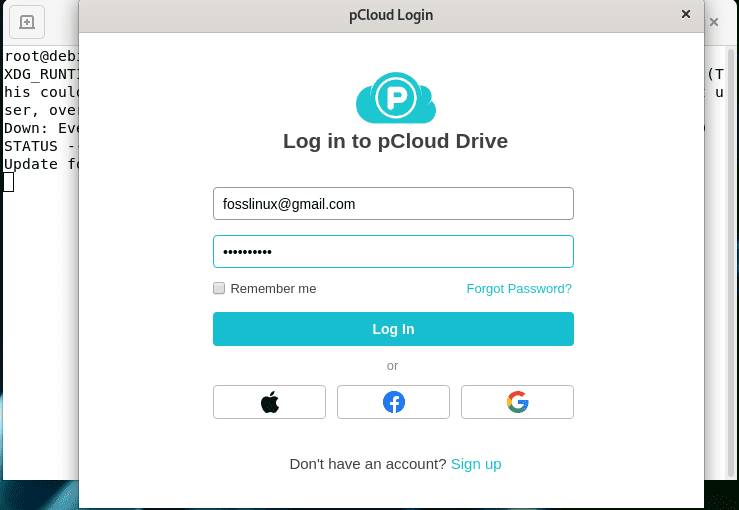
login window
You can create a “pcloud.desktop” file on the “usr/share/applications” directory if you want to launch the Drive client via app launcher. You can make use of any editor to this one. But in our case, we will use the nano editor. As such, run the following command:
sudo nano pcloud.desktop /usr/share/applications
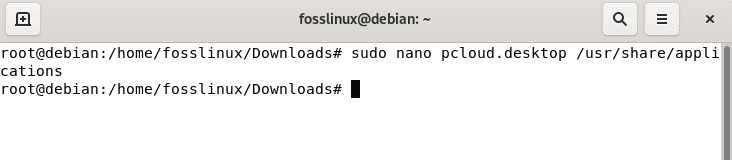
nano editor command
After that, the nano editor will appear, go ahead and add the following data to the file:
[Desktop Entry]
Version=1.0
Name=pCloud
GenericName=pCloud
Comment=Client app of pCloud Drive
Type=Application
Categories=Graphic;VectorEditor;GTK;
Exec=pcloud %U
TryExec=pcloud
Terminal=true
Icon=
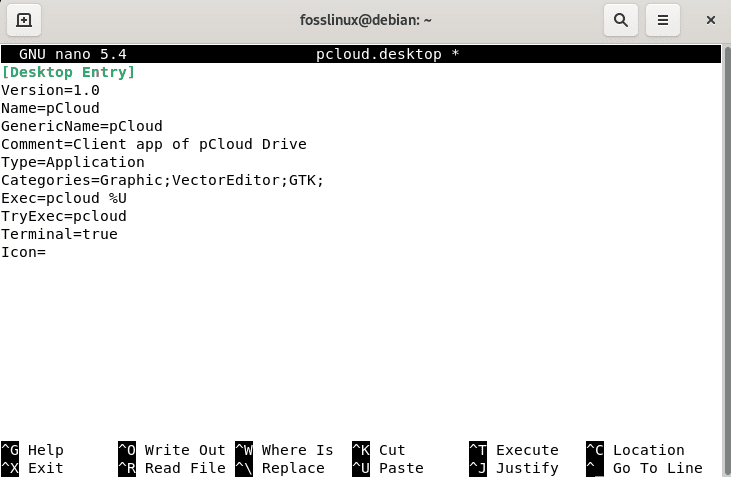
add to nano editor
After that, we need to save the file. To do this, press the “Ctr+x” buttons on the editor as shown below:
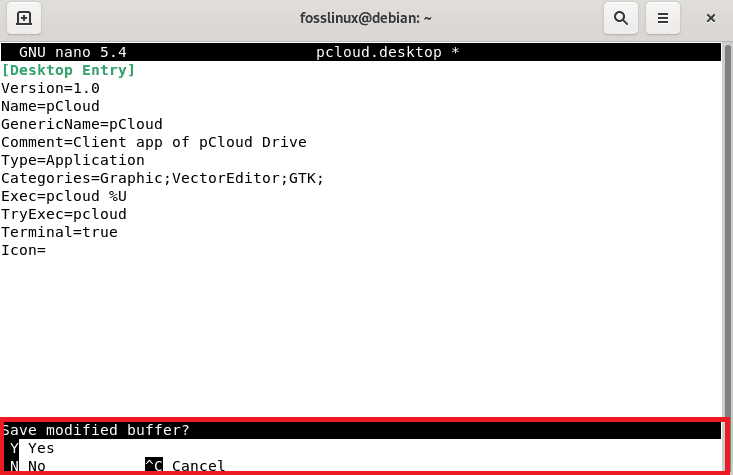
ctrl +x
After that, type “Y” to save the file:
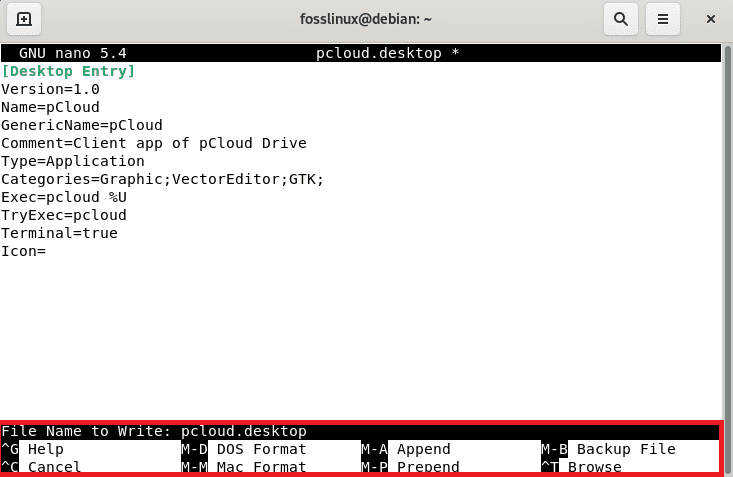
y to save
At this point, you should see pCloud drive on the app launcher on your desktop environment. Now, you can start using pCloud software to sync your files.
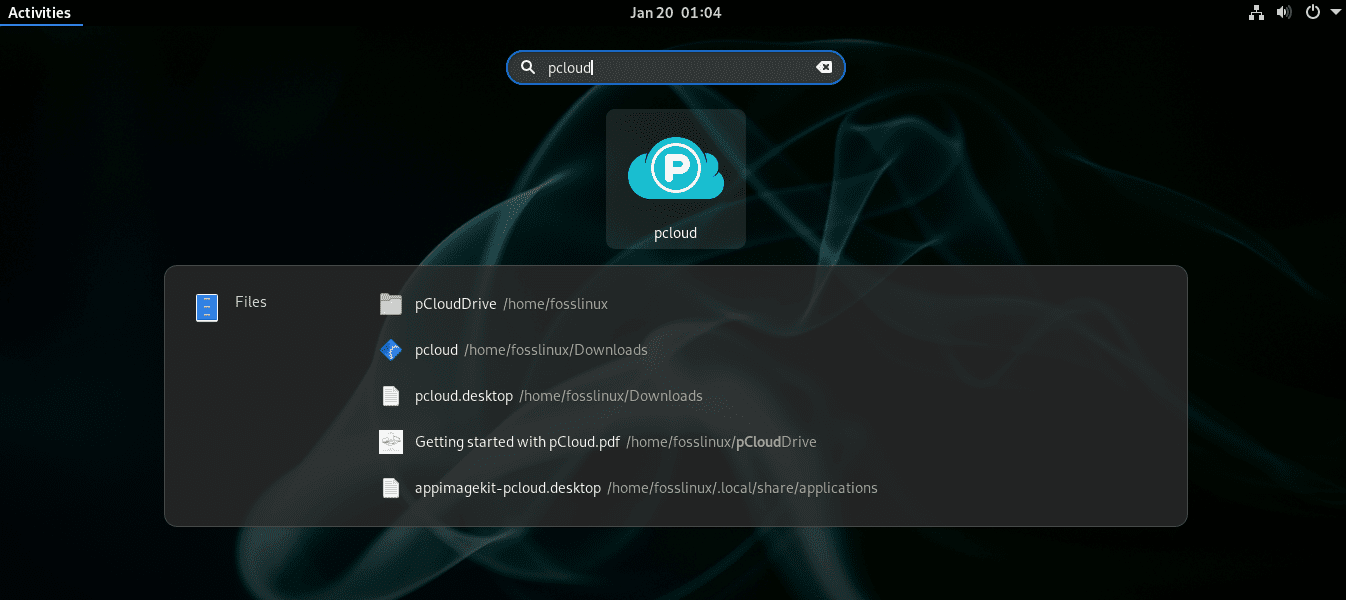
pcloud app successfully installed
Open the application and enjoy
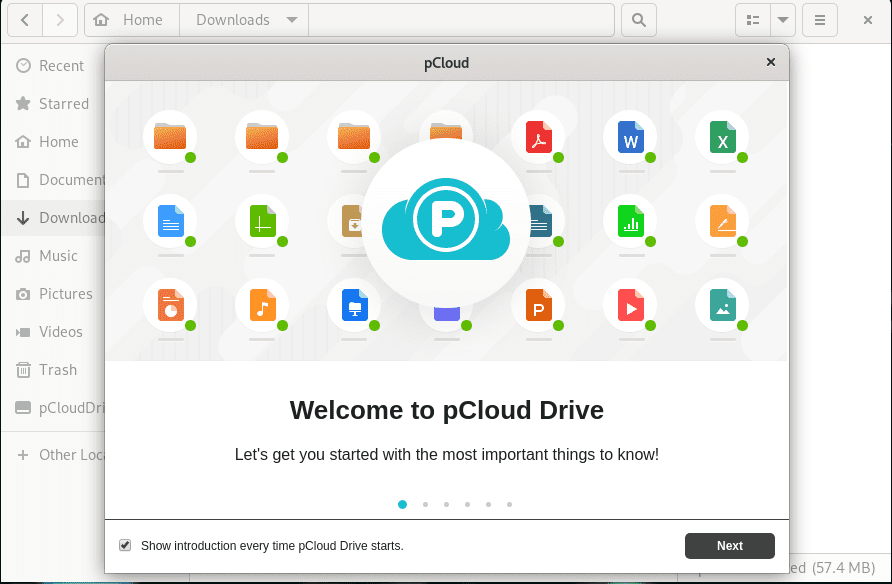
Welcome window
Using pCloud drive
This application works similarly to other cloud storage tools like Dropbox, etc. To upload files to your account, open up the file manager. Next up, select the “pCloud” folder and open it. Next, place any documents, video files, audio files, or image files inside this folder. As you place the files in this directory, the pCloud app running in the background will spontaneously upload them to your online account.
If you want to delete a file from your pCloud account, carry this out by deleting it from the ~/pCloud folder, and it will de-sync from the cloud.
Here are some of the pCloud reviews.
Storage capacity
This service offers more free space than Dropbox but less than Google Drive. Google Drive gives a 15GB of free storage, while in Dropbox, you will receive 2GB of free storage. pCloud, on the other hand, gives you 10GB. You can use this storage space to store any file, regardless of the size, only that you need not go past 10 Gigabytes unless you want to upgrade the service.
We recommend that you be wise to use pCloud as a file-sharing medium. You have monthly download link traffic each month. The size is 50GB. In essence, if you have a high-definition video on pCloud with a file size of 1GB and share the link publicly, it will only be downloaded 50 times.
Upload manager
The upload manager feature is significant enough for a cloud storage service. You will discover how key this feature is when uploading large files. Nothing feels as excellent as software running in the background without affecting how your machine functions. When you press the upload button on pCloud, the folder’s files will start uploading but interesting enough; you can minimize the upload progress window and proceed with your tasks without any issue.
Collaboration abilities
All cloud storage services have transfigured from a mere service used to store files online to a collaboration tool, and so has pCloud. The software allows you to invite team members to join a particular folder. You can also set the permission to edit or only view the folder contents when inviting someone.

collaboration
Paid packages
pCloud also uses a freemium business model. While you can utilize it for free, a paid version is also available if you need enhanced features and capabilities. This software offers two paid packages, paid packages Premium and Premium Plus. Additionally, paid packages also provide features like password protection when sharing a file through a link, expiration date of links, more extended trash history, and so on. Take a look at the assessment between the pCloud free, pCloud premium, and pCloud Premium Plus, respectively.
| pCloud Free | pCloud Premium | pCloud Premium Pro |
|---|---|---|
| 50GB download link traffic | 500GB download link traffic | 2TB download link traffic |
| 10GB storage | 500GB storage | 2TB storage |
| - | Unlimited remote upload link traffic | Unlimited remote upload link traffic |
| 15 Days trash history | 30 days trash history | 30 days trash history |
What makes pCloud interesting for the market is the offered buying options. While look-alike services such as Dropbox and Google drive only offer duration-based packages that are monthly and yearly subscriptions, pCloud also provides a lifetime package with a one-time payment.
You don’t need to spend a monthly/yearly budget when selecting this service. At first, it seems expensive, but it is excellent for the long term.
Security
pCloud offers a security feature called pCloud Crypto to secure your files. It is a paid feature that offers client-side encoding. You have to spend $4 per month to use this feature. What if you are not subscribed to this feature? Regardless of what type of account you are running, your files are secured using the 256-bit AES encoding method during transfer and after. To add on, pCloud also applies TLS/SSL channel protection upon transfer.
pCloud does not only offer a security feature to prevent your files from hijacking, but it also protects your files from potential hardware failure. As such, after you upload onto the pCloud server, pCloud keeps five copies on at least five server locations in a highly secure data storage center. In this manner, it won’t be easy losing your files.
Conclusion
pCloud may have no big name as Dropbox or Google Drive. Nevertheless, it does not mean this cloud storage service is inferior in any way. This software whips with comparable features and capabilities to the more famous names like OneDrive, Google Drive, or Dropbox. To add on, it provides client apps for all major platforms. To better things up, pCloud offers a more spacious free storage capacity better than Dropbox and OneDrive. This article has covered the GUI and the command line installation methods, which we hope you are okay with as of now. In the end, we also covered the review of this software which we hope you found helpful.