
Tmux is a terminal multiplexer that works as an alternative to GNU screen. In other words, you may launch a Tmux session and then open numerous windows within that session. Each window takes up the whole screen and can be divided into rectangular panes. Tmux allows you to effortlessly switch between countless applications in one terminal, detach them, and reconnect them to another.
Detaching a session in tmux
This post will brush through the Tmux installation and how to launch it. However, if you want a detailed article, you can find it here. The sole purpose of this article which will be our primary focus will be to illustrate how to detach a Tmux session.
Installing Tmux
The simplest way to install Tmux on your Linux operating system is to launch the terminal using the “Ctrl+Alt+T” keyboard combination then execute the line of code below:
sudo apt-get install tmux
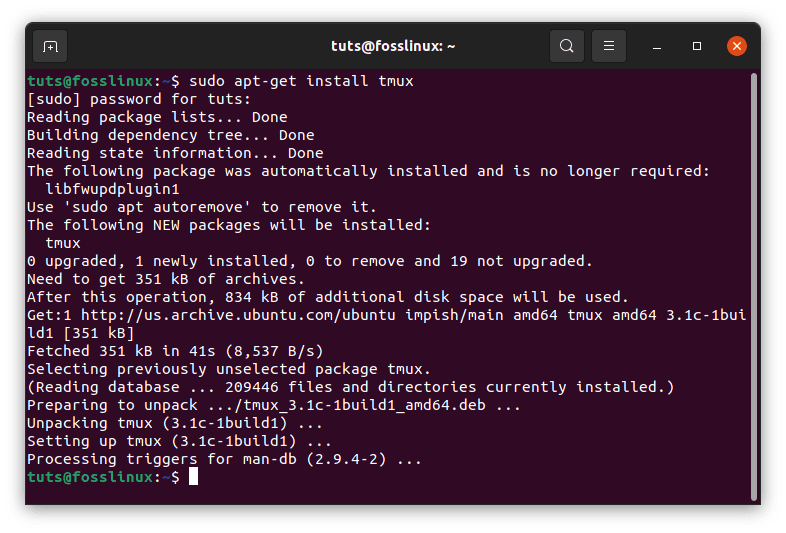
Tmux
Alternatively, you can install it via the software center by searching for “Tmux.”
Launching Tmux
Using our terminal, we shall launch the newly installed Tmux application. We can do so by running the command below:
tmux
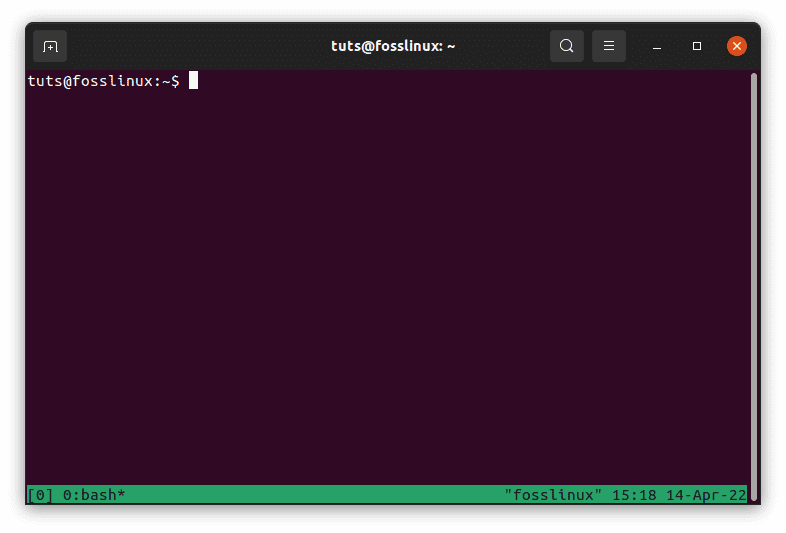
Start Tmux
Now that we know how to install and launch Tmux, it is time to learn how to detach a Tmux session.
Detaching a Tmux session
When we launch Tmux, a new session on a single terminal window is created. The current session’s information is displayed at the bottom of the screen. Tmux does not appear as a standalone application; we must launch it through another terminal application, such as Gnome terminal. Tmux has many advantages over the standard terminal. A Tmux session, for example, can be detached and attached from a screen. When a screen is detached, it can run in the background and be reattached.
Tmux’s session detachment feature is fantastic. You can later ssh to a remote machine and reconnect to it. All processes will continue running, and you will be able to focus on other tasks in the meantime. Let’s get started and see how to detach a Tmux session.
1. Using the shortcut ‘Ctrl–b–d,’ detach from a session.
We’ll begin by launching a session called ‘foss_1’. To do so, fire up the terminal and input the command below:
tmux new -s foss_1
Now we’ll detach it by pressing ‘Ctrl+b’ (the tmux prefix in our case), followed by ‘d’. To view a list of all sessions, use the ‘ls’ command:
tmux ls

Detach foss_1
After running the above command, you will see the new “foss_1” session we created has been detached.
2. Disconnecting from a session with the ‘tmux detach’ command
Let’s create another session called ‘foss_2’ using the line of code below:
tmux new -s foss_2
Using the ‘tmux detach’ command, we shall detach the foss_2 session. This can be done by running this command:
tmux detach
Once you are done executing that command, proceed and list the sessions by running this command:
tmux ls
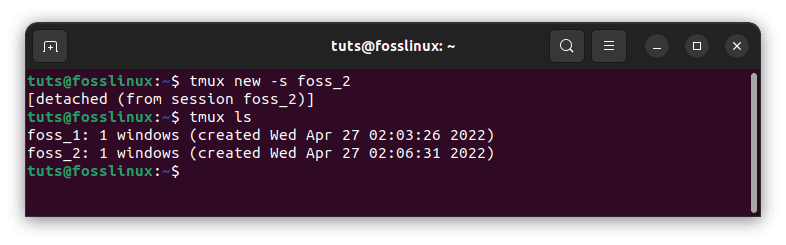
Detach foss_2
You can ascertain that the foss_2 session has been detached from the above output.
3. Using the shortcut key ‘ctrl–b–D,’ select a session to detach.
We can choose which one to detach if we have multiple sessions running. Let’s take a look. To begin, run the following commands to create three sessions:
tmux new -s foss_1

tmux new -s foss_2

tmux new -s foss_3
Now confirm if all the sessions have been created and attached using the tmux ls command below:
tmux ls

Tmux create 3 sessions
Now initiate a detach by using the ‘Tmux prefix (Ctrl+b) followed by D.’ You will have a similar output to the one displayed below:

Detach foss_2 session
From the above output, we can note that it prompts us to select the session we would like to detach. Use the “arrow” keys on your keyboard to select the session you wish to detach and then confirm your selection by hitting the ‘Enter’ key. For the sake of this guide, we shall detach foss_2 and see the results as displayed in the output below:

Foss_2 has been detached
We can see that the ‘attached’ label has vanished from the session’ foss_2′.
4. Using the command’ tmux detach-client,’ you can disconnect from a session.
We could also use the command: tmux detach-client. Let us try it out with the session’ foss_3′. Execute the following command:
tmux detach-client -P -s foss_3
Run the list session command to see if any change has been made:
tmux ls

Foss_3 has been detached
From the above output, it is clear that the ‘foss_3’ session had been successfully detached as the ‘attached’ label is no longer available.
Conclusion
This article guide tutorial has illustrated how to install, launch, and detach a Tmux session. We hope it helped you. If yes, share your experience with us via the comments section below.