
As a developer, you know how important it is to have an efficient workflow. Switching between different applications or terminal windows can be time-consuming and lead to distractions. That’s where Tmux comes in, a terminal multiplexer that allows you to manage multiple terminal sessions within a single window. With Tmux, you can split your terminal window into multiple panes, run numerous programs simultaneously, and even detach and reattach sessions to your liking.
In this article, we’ll explore some tips and tricks for using Tmux in your workflow as a developer. We’ll cover everything from basic Tmux commands to more advanced features that can help you streamline your development process. By the end of this guide, you will have a solid understanding of Tmux and how it can improve your productivity.
Getting started with Tmux
Before we delve into the tips and tricks, let’s first review some basics of Tmux. To use Tmux, you’ll need to install it on your machine. If you’re using a Unix-based system, you can install it using your package manager. For example, on Ubuntu, you can install Tmux using the following command:
sudo apt-get install tmux
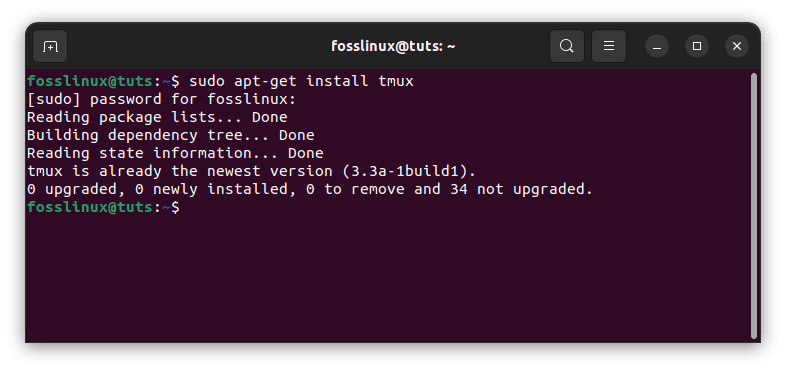
Install tmux
Once you’ve installed Tmux, you can start a new session by running the following command:
tmux new -s session_name
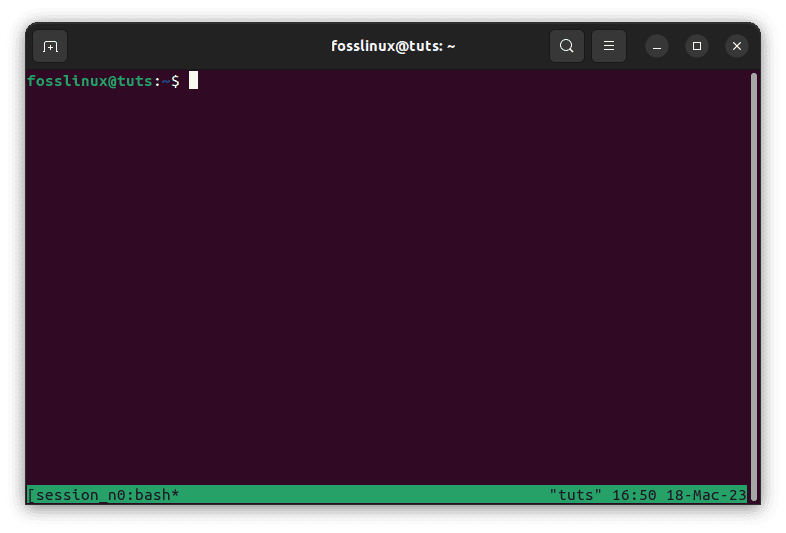
Start a new tmux session
This will start a new Tmux session with the given name. Within a Tmux session, you can create multiple windows and panes. A window in Tmux is similar to a tab in a web browser or terminal emulator, and a pane is a split within a window that allows you to run multiple programs simultaneously.
To create a new window, you can use the following command:
Ctrl-b c
Create new window
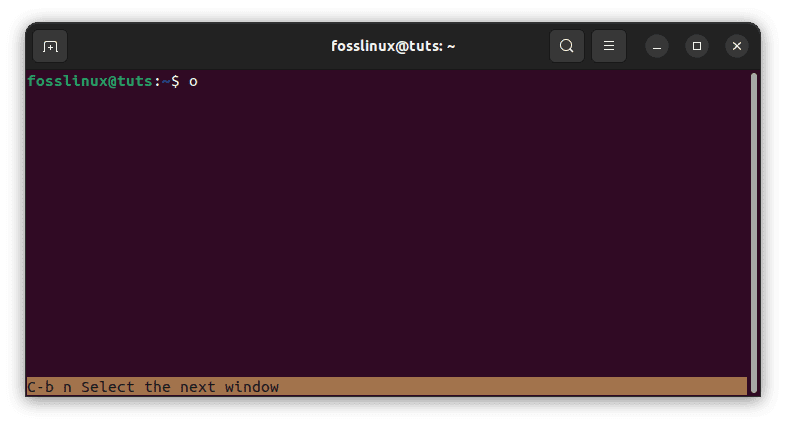
This will create a new window within the current Tmux session. To switch between windows, you can use the following command:
Ctrl-b n
This will switch to the next window in the session. You can switch to the previous window by running the following command:
Ctrl-b p
To split a window into multiple panes, you can use the following command:
Ctrl-b %
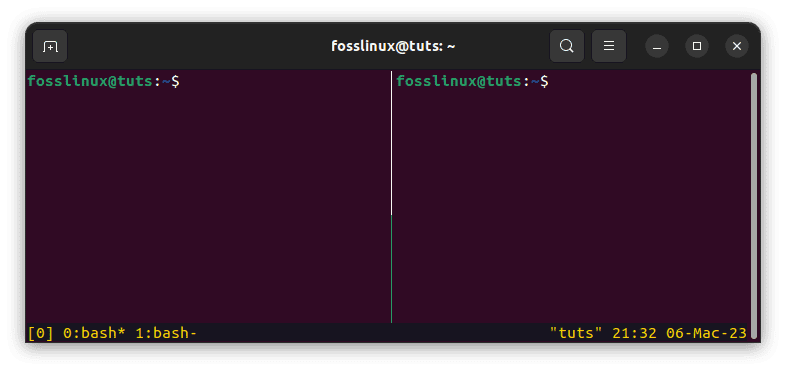
split window into multiple panes
This will split the current pane into two vertical panes. You can split the current pane into two horizontal panes by running the following command:
Ctrl-b "
split windows vertically
To switch between panes, you can use the following command:
Ctrl-b arrow_key
This will switch to the next or previous pane in the current window. With these basic commands, you can start using Tmux to manage your terminal sessions more efficiently.
Customizing your tmux environment
Tmux comes with a default configuration, but you can customize it to suit your needs better. Tmux configuration is stored in a file called .tmux.conf in your home directory. You can create this file if it doesn’t already exist.
One of the most common customizations is changing the prefix key from Ctrl-b to something else. To do this, you can add the following line to your .tmux.conf file:
set -g prefix C-a

Change default prefix to Ctrl-a
This will change the prefix key to Ctrl-a. You can change this to any key combination that you prefer.
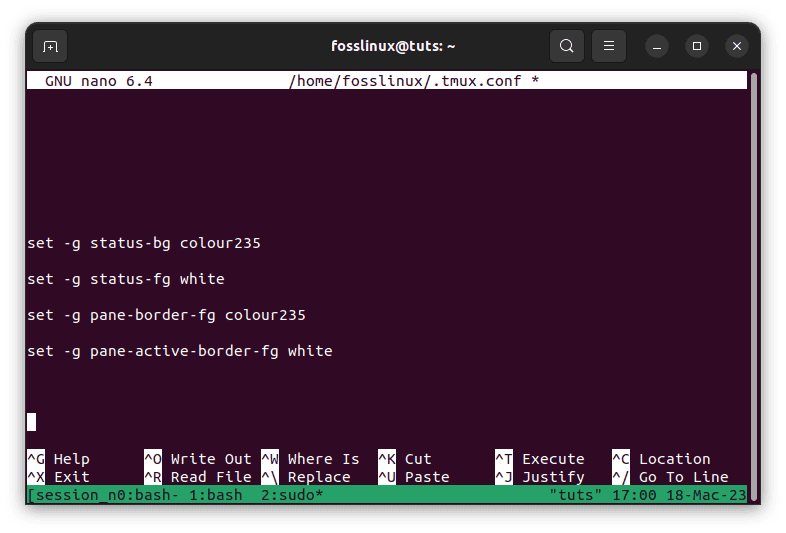
Another useful customization is changing the default Tmux colors. Tmux uses a default color scheme, but you can change it to suit your preferences better. You can append the following lines to your .tmux.conf file to change the default colors:
set -g status-bg colour235

set -g status-fg white

set -g pane-border-fg colour235

set -g pane-active-border-fg white
Customize color
These lines change the background color of the status bar to color 235, the foreground color of the status bar to white, the border color of inactive panes to color 235, and the border color of the active pane to white. You can change these colors to any color you prefer.
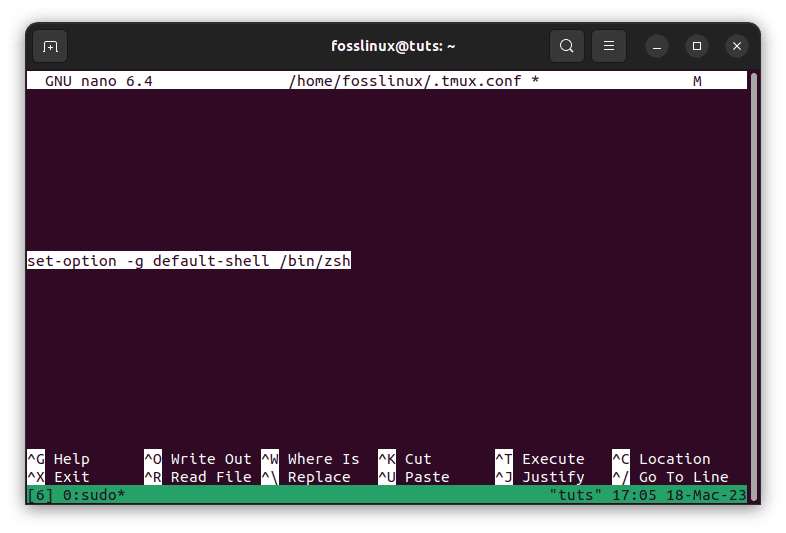
You can also customize the behavior of Tmux by adding various options to your .tmux.conf file. For example, you can add the following line to your file to set the default shell to zsh:
set-option -g default-shell /bin/zsh
Customize tmux behavior
This will set the default shell to zsh, a popular shell among developers.
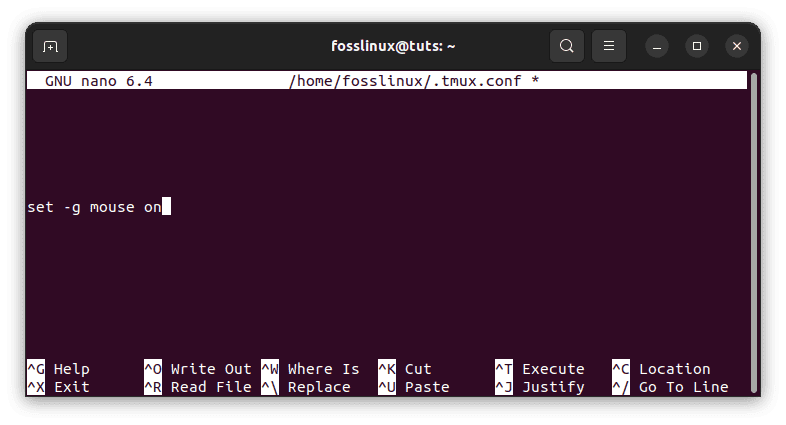
Another helpful option is the mouse option, which allows you to use the mouse to interact with Tmux. You can append the following line to your file to enable mouse support:
set -g mouse on
Enable mouse support mode
This will enable mouse support in Tmux, allowing you to click on windows, panes, and the status bar to interact with them.
By customizing your Tmux environment, you can create a more personalized and efficient workflow. Experiment with different options and configurations to find what works best for you.
Using tmux plugins
Tmux’s vibrant plugin ecosystem allows you to extend its functionality even further. Plugins can add new features and commands to Tmux, making it even more powerful.
To use Tmux plugins, you’ll need to install a plugin manager. The most popular plugin manager is Tmux Plugin Manager (TPM), which you can install by running the following command:
git clone https://github.com/tmux-plugins/tpm ~/.tmux/plugins/tpm
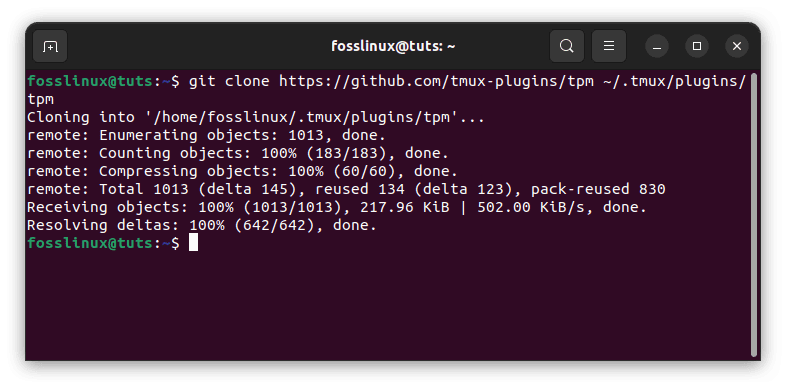
Clone Tmux Plugin Manager
Once you’ve installed TPM, you can add plugins to your .tmux.conf file by adding the following line:
set -g @plugin 'plugin_name'
This will add the specified plugin to TPM. Next, you can install the plugins by pressing the prefix + I in a Tmux session. This will install all the plugins established in your .tmux.conf file.
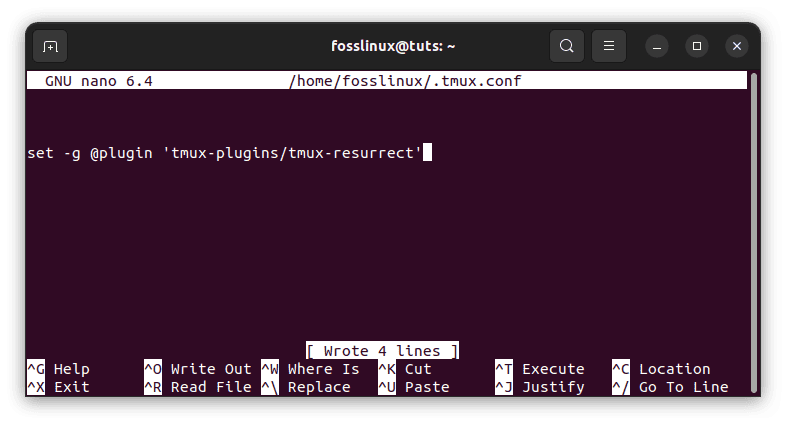
One of the most popular Tmux plugins is Tmux Resurrect, which allows you to save and restore Tmux sessions. With Tmux Resurrect, you can save your Tmux session and restore it later, even after you’ve logged out or rebooted your machine. To use Tmux Resurrect, you can add the following line to your .tmux.conf file:
set -g @plugin 'tmux-plugins/tmux-resurrect'
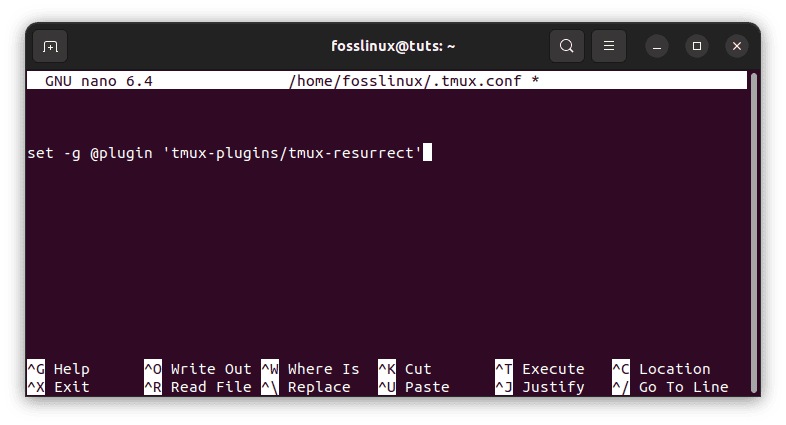
Resurrect plugin
After installing the plugin, you can save your Tmux session by running the following command:
prefix + Ctrl-s
Save tmux configuration
This will save your Tmux session to a file. To restore your session later, you can run the following command:
prefix + Ctrl-r
This will restore your Tmux session from the file.
Another useful Tmux plugin is Tmux Copycat, which provides advanced searching and copying capabilities within Tmux. With Tmux Copycat, you can search and copy text within Tmux panes using regular expressions. To use Tmux Copycat, you can add the following line to your .tmux.conf file:
set -g @plugin 'tmux-plugins/tmux-copycat'
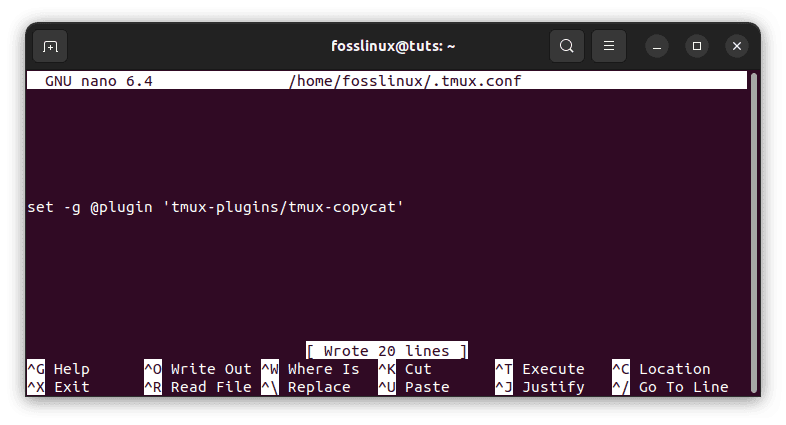
Copycat plugin
After installing the plugin, you can search and copy text within Tmux panes by running the following command:
prefix + /
Search for text
This will enter Copycat mode, where you can enter a regular expression to search for. Once you’ve found the text you want to copy, press Enter to copy it to the clipboard.
Tmux plugins can add new features and functionality to Tmux, making it even more powerful and efficient.
Advanced Tmux
So far, we’ve covered the basics of Tmux and how to customize it to fit your workflow. Now, let’s explore some more advanced Tmux features that can escalate your productivity to the next level.
Named sessions and windows
By default, Tmux sessions and windows are given numeric IDs, which can be challenging to remember and manage. However, you can assign custom names to your sessions and windows to make them easier to work with.
To name a Tmux session, you can use the -s option when starting a new session, like this:
tmux new -s session_name
Start a new tmux session
This will create a new Tmux session named session_name. To attach to the session later, you can use the attach-session command with the -t option like this:
tmux attach-session -t session_name
This will attach you to the session_name session.
Similarly, you can name Tmux windows using the rename-window command like this:
prefix + ,
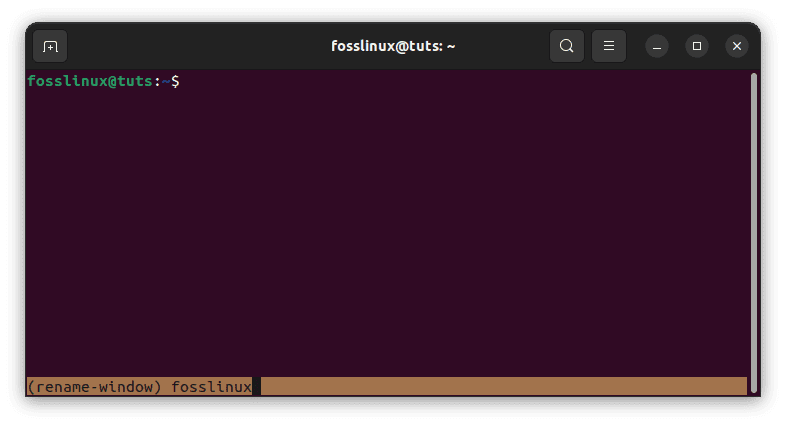
Rename Tmux session
This will rename the current window to the specified name.
Named sessions and windows can make it easier to remember and manage your Tmux sessions, primarily if you work with multiple sessions and windows at the same time.
Sessions and windows groups
Another advanced Tmux feature is the ability to group sessions and windows together. Groups allow you to manage and manipulate multiple sessions and windows as a single unit, which can help organize your workflow.
To create a Tmux session group, you can use the new-session command with the -t option like this:
tmux new-session -s session_group -n window_name

Create session group
This will create a new Tmux session named session_group and the window window_name. You can create multiple sessions within the same group by using the -t option with a previously created session group, like this:
tmux new-session -t session_group -n window_name
This will create a new Tmux session within the session_group group.
To switch between sessions within a group, you can use the switch-client command with the -n option like this:
prefix + s

Switch between sessions
This will display a list of all sessions within the current group. You can then employ the arrow keys to select a session and press Enter to switch to it.
Similarly, to switch between windows within a group, you can use the select-window command with the -n option like this:
prefix + w
Switch between windows
This will display a list of all windows within the current group. You can then employ the arrow keys to select a window and press Enter to switch to it.
Sessions and windows groups can help you organize your workflow and manage multiple sessions and windows more efficiently.
Panes and layouts
In addition to sessions and windows, Tmux allows you to split windows into multiple panes, which can be arranged in various layouts.
To split a Tmux window into multiple panes, you can use the split-window command like this:
prefix + %
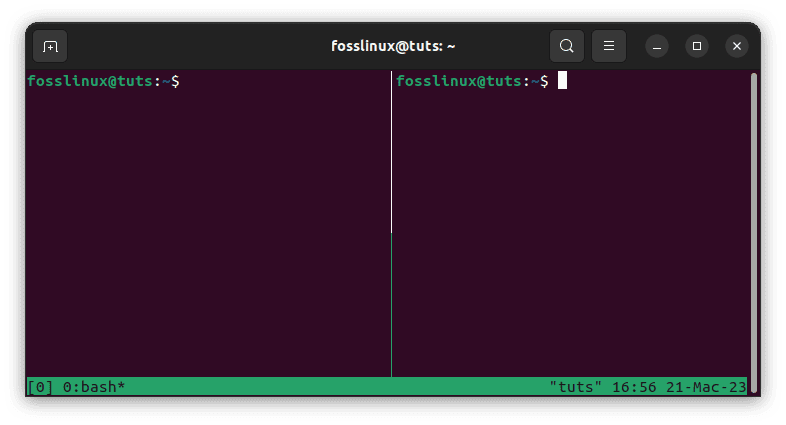
Split window vertically
This will split the current window vertically. To split the window horizontally, you can use the – option like this:
prefix + "
Split window horizontally
This will split the current window horizontally.
You can navigate between panes using the select-pane command like this:
prefix + arrow key
This line of code will move the cursor to the pane in the specified direction.
To change the layout of a Tmux window, you can use the select-layout command like this:
prefix + Space
This will cycle through the available layouts for the current window. Tmux supports several layouts, including tiled, even-horizontal, and even-vertical.
Resizing panes
In addition to splitting windows into panes, you can resize panes within a window. To resize a pane, you can use the resize-pane command like this:
prefix + <resize-key> <resize-amount>
The resize-key can be one of the arrow keys (↑, ↓, ←, or →). The resize-amount specifies the number of cells to resize the pane by.
For example, to increase the height of the current pane by one cell, you can use the following key binding:
bind-key H resize-pane -U 1
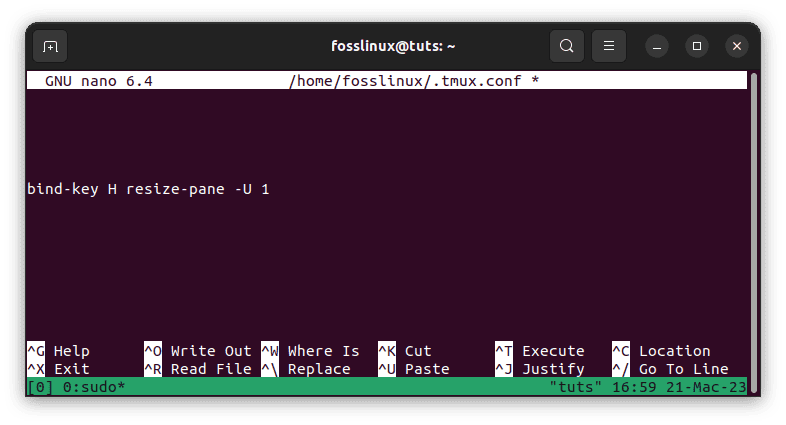
Increase size
This will bind prefix + H to resize the current pane up by one cell.
Custom key bindings
One of the most powerful features of Tmux is its ability to customize key bindings. Tmux has a default set of key bindings, but you can customize them to fit your workflow.
To customize key bindings, you can use the bind-key command like this:
bind-key key command
This will bind the specified key to the specified command. For example, if you wanted to bind Ctrl + a to the split-window command, you could append the following line of code to your Tmux configuration file:
bind-key C-a split-window
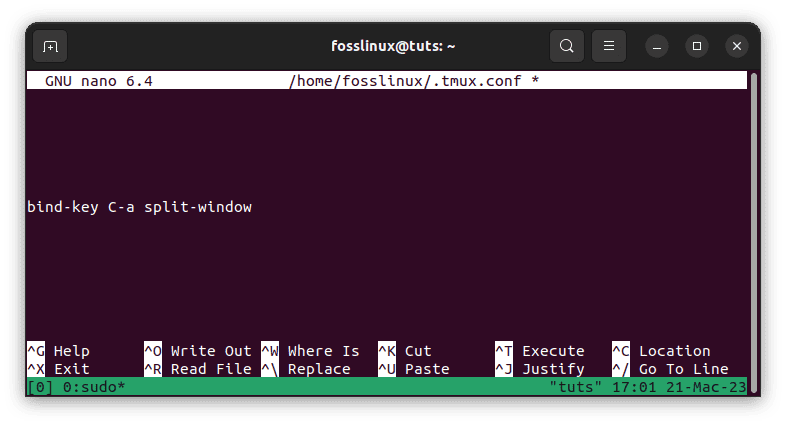
Bind Ctrl-a to split the window
This would bind Ctrl + a to the split-window command.
You can also unbind existing key bindings using the unbind-key command, like this:
unbind-key key
This will unbind the specified key.
Customizing key bindings can make it easier and faster to navigate Tmux, mainly if you use it frequently.
Copy and paste
Copying and pasting text within Tmux can be tricky, but once you get the hang of it, it can be a powerful tool.
To copy text within Tmux, you must first enter copy mode by pressing the prefix + [. Once in copy mode, you can use the arrow keys to navigate to the text you want to copy. Once you’ve highlighted the text, press Enter to copy it.
To paste the copied text, you can use the paste-buffer command like this:
prefix + ]
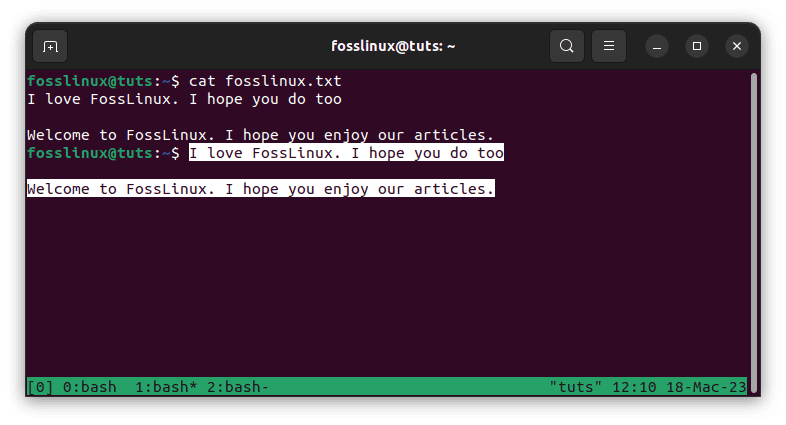
Paste copied content
This will paste the copied text at the cursor location.
This will paste the text from the system clipboard at the cursor location.
Copying to the system clipboard
By default, Tmux copies text to its clipboard, which is separate from the system clipboard. However, you can configure Tmux to copy to the system clipboard instead. To do this, you must install a utility called xclip (on Linux) or reattach-to-user-namespace (on macOS).
Once you have xclip or reattach-to-user-namespace installed, you can use the following commands to copy text to the system clipboard:
bind-key C-c run "tmux save-buffer - | xclip -selection clipboard"

bind-key C-v run "tmux set-buffer \"$(xclip -selection clipboard -o)\"; tmux paste-buffer"
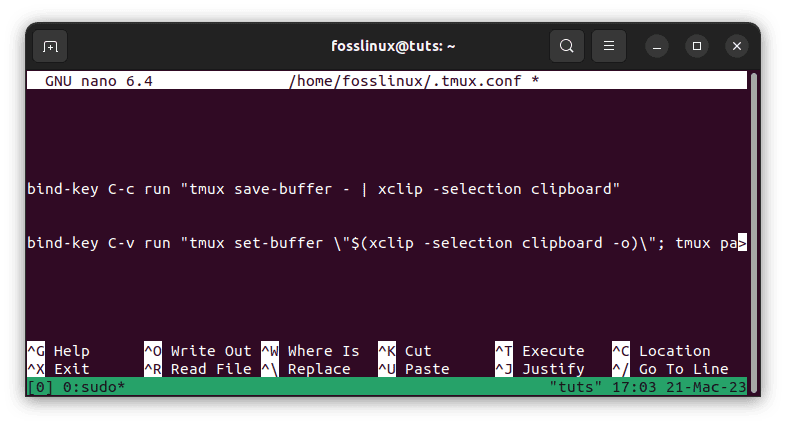
Bind key to copy to clipboard
The first command copies the selected text to the system clipboard, and the second command pastes text from the system clipboard into Tmux.
Alternatively, you can also copy and paste text between Tmux and your system clipboard using the set-clipboard command like this:
set-clipboard text
This will copy the specified text to the system clipboard. To paste from the system clipboard, you can use the paste-buffer command with the -b option like this:
prefix + ] -b
Window title customization
By default, Tmux displays the name of the current session and window in the terminal window title. However, you can customize the window title to display other information, such as the current directory or the current project’s name.
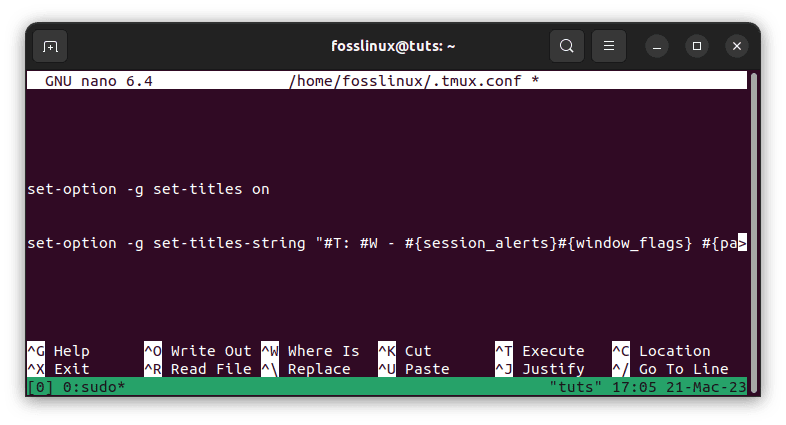
To customize the window title, you can use the set-option command like this:
set-option -g set-titles on

set-option -g set-titles-string "#T: #W - #{session_alerts}#{window_flags} #{pane_title}"
Window title customization
The first command enables window title customization. The second command sets the format of the window title. In this example, the window title will display the name of the current session (#T), the name of the current window (#W), any session alerts (#{session_alerts}), any window flags (#{window_flags}), and the title of the active pane (#{pane_title}).
Conclusion
We’ve covered the basics of Tmux, including how to install and customize it. We’ve also explored some more advanced features, such as sessions and windows groups, panes and layouts, custom key bindings, and copy and paste. By mastering these features, you can take your Tmux workflow to the next level and become a more efficient developer.
Tmux is a powerful and flexible tool for managing terminal-based workflows. By using its advanced features like sessions, panes, custom key bindings, and copy and paste, you can increase your productivity and reduce your time managing your environment. With its customizable interface and powerful scripting capabilities, Tmux can be a valuable addition to any developer’s toolkit. Happy coding!