
This tutorial will show you how to use the terminal emulator in GNOME DE, navigate between each section correctly, and maximize your experience with it. Its terminal application is a bit different from the other environments.
If you are still not sure about going through with GNOME DE, I suggest you look at this article to evaluate and decide if this is the right fit for you and your machine.
About the GNOME terminal app
Gnome Terminal is an open-source terminal emulator which has many customizable features. It is one convenient way to use the command line for its highly flexible functions. Gnome has a built-in UNIX shell in it, and it is through a terminal emulator you can access this shell, which then the shell interprets and executes commands that you write in a command prompt. You feel free to switch to a different shell anytime. Gnome is generally known for its simplicity and practicality, and its terminal app is no different.
You can do the following with the GNOME terminal:
- Change text colors
- Change theme
- Add multiple tabs
- Increase or decrease transparency
- When having a link, you can click on it
- And many more which we will cover
Installing GNOME Terminal
If you have Gnome as your main desktop environment, you already have the GNOME terminal on your machine. If not, you can go ahead and run the following command:
sudo apt-get install gnome-terminal
Tip! With executing this command, it would be getting installed on your system, but if asked for any dependencies, you can run this command:
sudo apt --fix-broken install
After the dependencies are met, install the app using the first command again.
To launch the app:
gnome-desktop
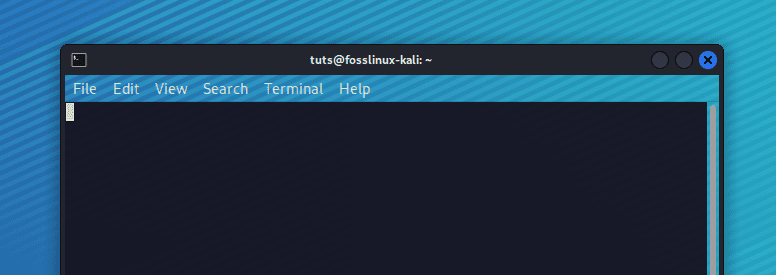
Gnome Terminal at first glance
1. Navigating the terminal app
We can start navigating now. It is somehow very similar to any other emulator. It is just some additional features that make it a bit different.
You can start by opening a new tab session from “File” > “New Tab.”
Tip! If you prefer using keyboard shortcuts, you can press “Ctrl+Shift+T.”
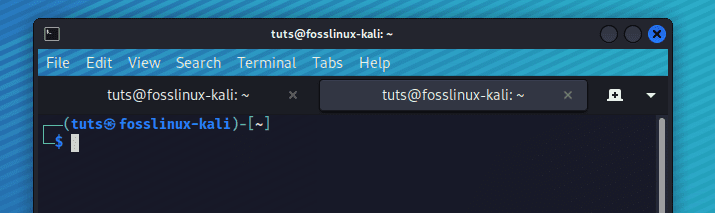
New tab session
Once you’ve created a new session, you can use the small “plus button” to open more tabs.
To open a completely different session, you can either use “Ctrl+Shift+N” or go to “File > New Window.”
Say you ran a few commands and gathered some information that is valuable to you. Go to “File > Save Contents …” and you have to pick a name for it and save it. (No file extension is needed as all files are saved as .txt files by default.)
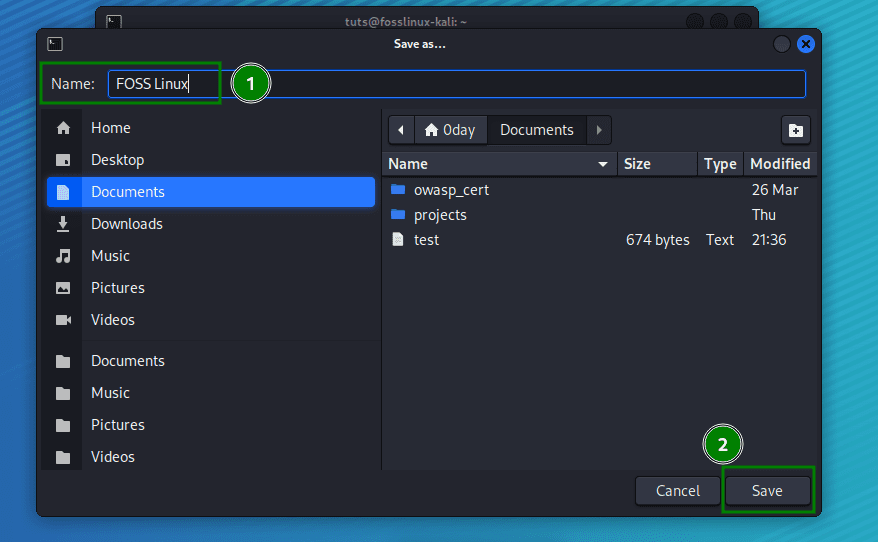
Save Contents…
Now into the second tab.
2. Changing colors and themes
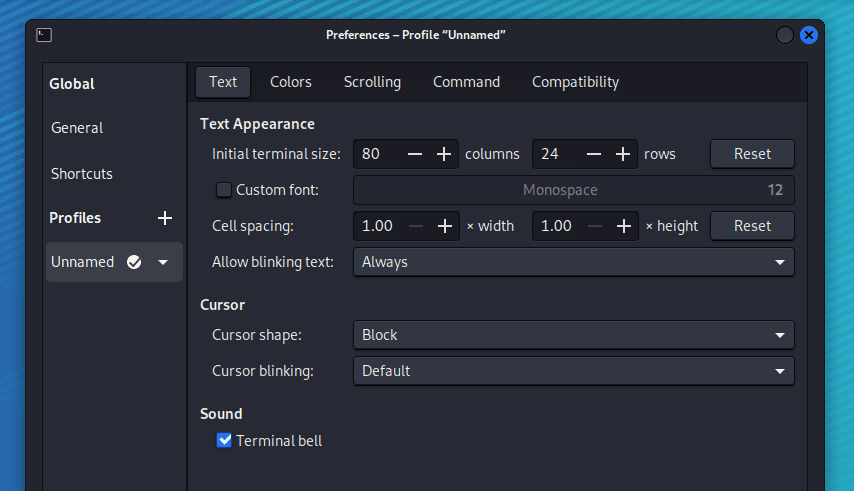
Go to “Edit” > “Preferences” to choose the text color, theme, and more.
Preferences
From the “Text” section, you can customize the terminal size, allow or disallow blinking text, and the Cursor customization. One nice thing about this set is that you can always reset it back to default despite your new settings. An option that is not available in the traditional terminal.
You can select your preferred theme from “Built-in schemes” in the “Colors Tab” and choose your preferred theme.

Theme selection
The “Scrolling” section is very straightforward. You can experiment with it by yourselves.
3. Adding start-up commands
Now we take a look at the “Command” section. You can do a few excellent stuff in this part which we will show you.
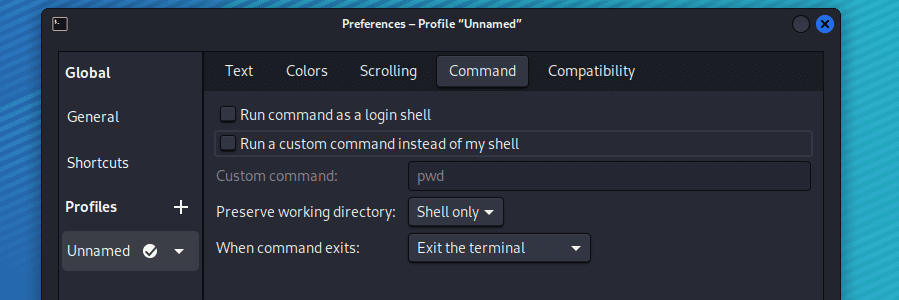
The Command section
You can choose between your login shell or a command to run at the application start-up time instead.
For example, if you want to update your repositories each time you open the terminal, or if you’re going to launch a VPN at the start-up, you need to put the command into the box and, depending on the application, choose from the “When command exists.” For example, for a VPN to stay up, it should keep its connection at all times. So select “Hold the terminal open.”
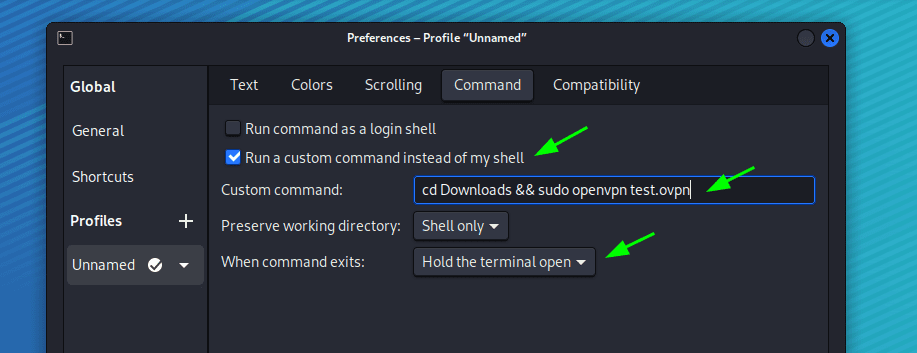
Command automation
You also can “Exit the terminal” or “Restart the command.”
Say you want to update repositories often, but you don’t want to do anything else besides that. Then, you can write down your custom command and select “Exit the terminal.”

Command automation 2
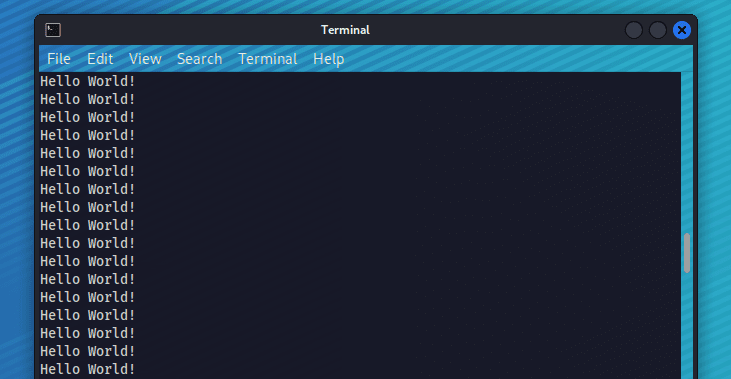
The “Restart the command” option executes the command in a loop.
Command automation 3
4. Set compatibility parameters
In the “Compatibility” section, you have encoding formats, Backspace, and delete key generators preferences.
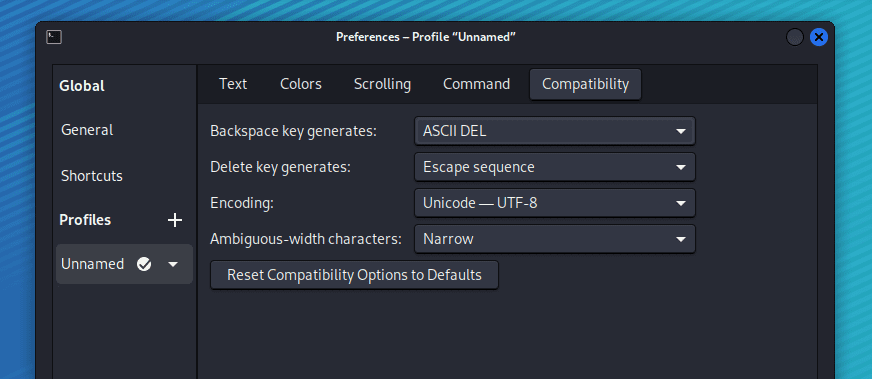
The Compatibility section
6. Search in terminal
To search for commands or a piece of text, you can press “Shift+Ctrl+F” or navigate to “Search” > “Find.”
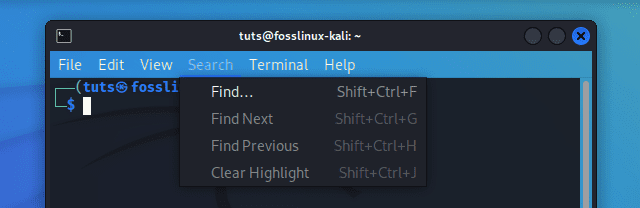
The Search tab
7. Set character encoding
If you navigate to the “Compatibility” tab, you will see the “Encoding” options.
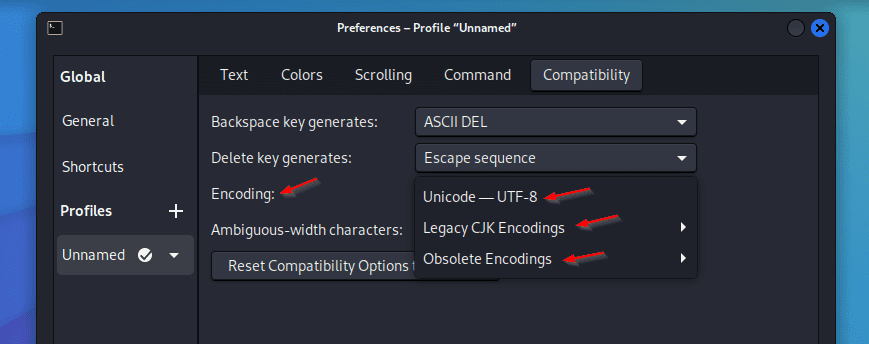
The Encoding options
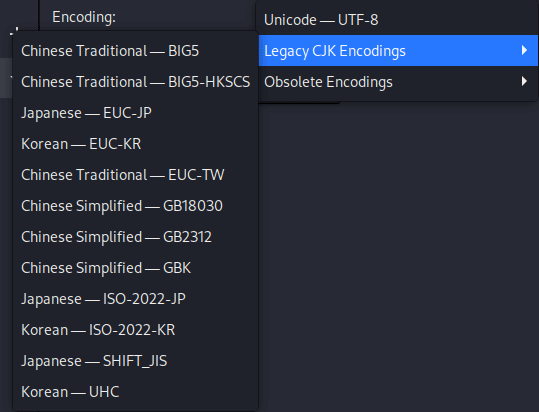
The Encoding options 2
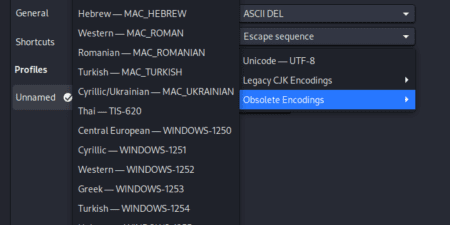
The Encoding options 3
8. Selecting Text, Copying, and Pasting
For copying and pasting right-click > copy/paste or use Ctrl+Shift+C to copy and Ctrl+Shift+V to paste. As Ctrl+C is reserved for breaking out of an ongoing command in bash.
9. Setting transparency
Navigate to “Edit” > “Preferences” to customize the transparency of your terminal.
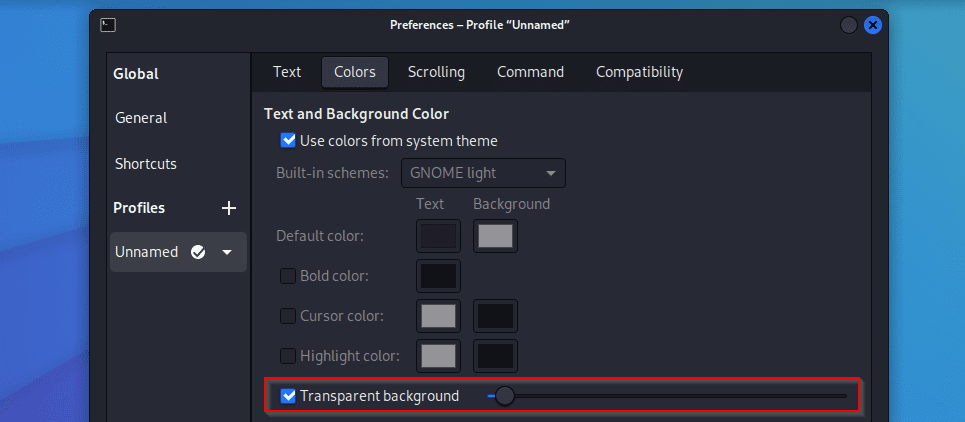
Setting the transparency
High transparency especially helps if you are a beginner and want to simultaneously put the commands you see on a web page into your terminal.
10. Save your profile
One cool thing you can do with the Gnome Terminal is to save different settings into different “Profiles.” In this case, you can experiment with all the features without being worried about compromising your configurations.
Select “Profiles,” pick a name, and press create.
In this case, from now on, whenever you want to open a new tab or a window, it will always show Profiles for you to select, and you can navigate with only that profile’s settings.
From the global configurations, you see “Shortcuts.” Changing them is easy. Just select it and when it shows “New accelerator..” type in the preferred keys with your keyboard.
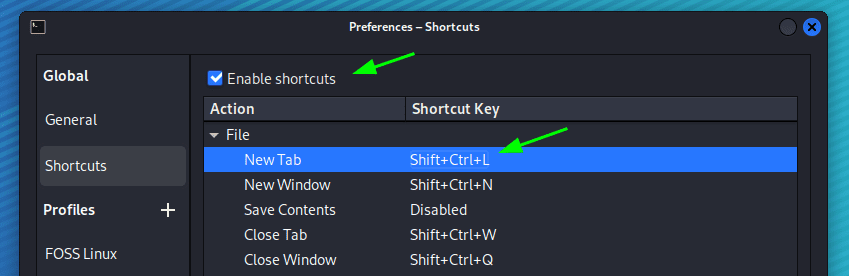
Shortcuts
You also have the option to disable all shortcuts altogether.
The third tab is “View,” where you can enter the full-screen mode.
On the next tab, we have the terminal. You can do stuff like changing your profile and making the command prompt Read-Only, where you can only read the lines and not write or execute anything. You could also choose “Reset and Clear” to make the shell’s name disappear.
The Reset and Clear option
Conclusion
It is recommended to have a hands-on experience with the Gnome terminal due to its flexibility and convenience. It gives you options that you won’t have in the traditional Linux terminal.
1 comment
Hi
I Set two kinds of encodinng and background color in different Profile but only the background changed after switch default to another Profile.
I tried these encodings: Chinese Traditional-Big5,Japanese EUC-JP and Koran EUC-KR but only the UTF-8(default) work.
In GNOME terminal version: 3.40.3 fro GNOME 40,installed with RHEL 9.1
Any suggestions?
Thanks.