
DIG is an abbreviation for Domain Information Gopher. DIG is a DNS lookup program that may be used to probe DNS servers and diagnose DNS server issues. System administrators use it to diagnose DNS issues since it is simple to use.
This short tutorial demonstrates how to install DIG on Debian 11 Bullseye. This tutorial also explains how to use this application to get DNS-related information.
DIG is a network administrator’s command-line tool. It can query the DNS server, primarily for DNS server troubleshooting. DIG allows you to verify various things, including a domain’s name server, mail servers, and other details.
Installing DIG on Debian 11 Bullseye
DIG is included in the dnsutils package. It is not enabled by default on Debian 11 Bullseye. You don’t need to worry since it is effortless to set up, as it is accessible in its official package repository. Run the command displayed below to install the dig command on Debian and Ubuntu Linux systems.
sudo apt-get install -y dnsutils
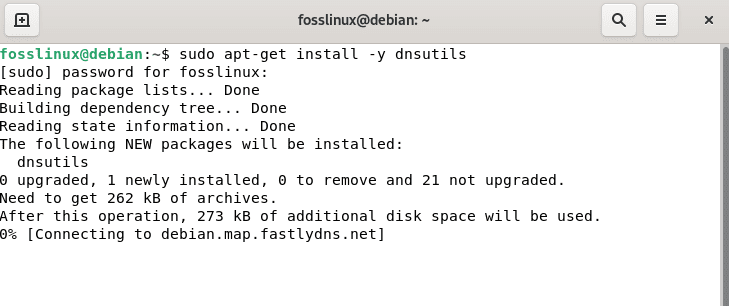
Install DIG
To verify that DIG has been installed, run the line of code below:
dig -v

DIG version
Now that dig is installed let’s go through some of the principles you’ll need to comprehend the dig process and output before moving on to the actual application.
- qtype: The qtype specifies the type of record we’re looking for; for example, A for an IPv4 address, MX for mail servers, and so on.
- qname: The address or host for which we are requesting the information is represented by this field.
- rd: If the resource we’re requesting information from doesn’t have the answer we’re seeking, the rd (Recursion Desired) command asks the resource to locate it for us, for example, by utilizing the DNS tree.
- qclass: In the vast majority of cases, if not all, the class is IN, which refers to “internet.”
Let’s look at how the Dig command works before running it. Below is the Dig syntax command:
dig server name type
Output:
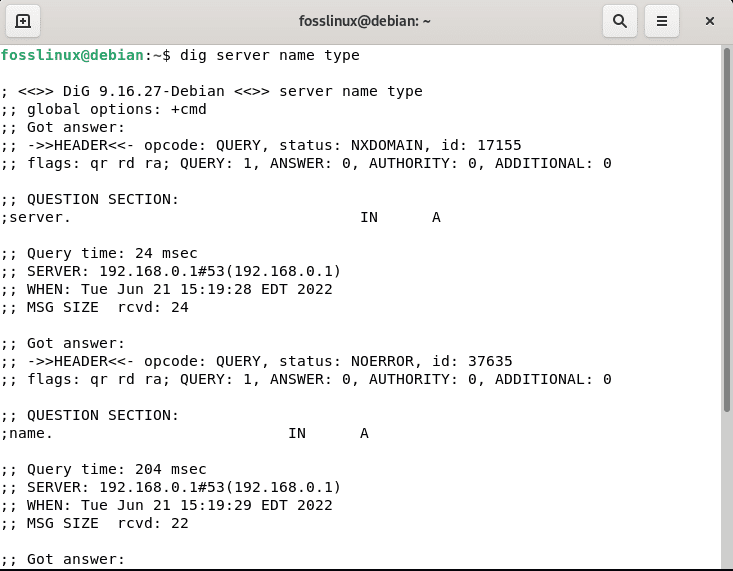
server name type
The server represents the IP address or server name to be queried. In colon-delimited notation, it can be an IPv4 or IPv6 address. The dig command submitted queries to the name servers provided in the /etc/resolv.conf file. The response from the responding name server is shown.
The Name denotes the server’s DNS to query, and the Type specifies what query type is required, such as A, MX, SIG, and so on. Let’s look into some real-world instances of the dig command.
Output and Basic Commands (DNS Lookup)
To view DNS address information, use the following command-line options.
dig fosslinux.com

dig fosslinux
As you’ve seen, dig returns several lines with details on the procedure and the outcome. Let’s go through the most significant ones:
- “status: NOERROR”: This result (The RCODE) indicates whether the process was successful or failed. The query was successful in this example, and you can continue reviewing the information received. In other circumstances, you may receive REFUSED, FAIL, in which case continuing to view the report is pointless.
- “flags: qr rd da”: The rd (Recursion Desired) flag is followed by the ra flag, which indicates that the replying server accepted to answer our query. The da flag indicates that DNSSEC has validated the response (Domain Name System Security Extensions). When da isn’t present in the output, the answer isn’t verified, but it’s still valid.
- “ANSWER: 1”: Even though we issued a query, we received two responses in the “ANSWER SECTION,” as seen in the screenshot:
- “ADDITIONAL: 0”: This output indicates that the result includes an infinite number of EDNS (Extension Mechanisms for DNS).
- “ANSWER SECTION”: The preliminary info you sought is contained in the ANSWER SECTION of the result. Other sections of the report that include more information about your query can be ignored. Dig looks for the domain’s “A” record by default, but you may also select additional records. Mail exchange or MX records advise mail servers on how to route messages for a domain. Similarly, TTL, SOA, and so forth.We can receive several answers in the ANSWER SECTION, and interpreting them is simple. The first data indicates the domain/host that we had inquired about. The TTL is the second piece of information that informs us how long we may keep the returned data. The third piece of information (IN) indicates that we conducted an internet search. The fourth data point, in this case, A, shows the record type we’re looking for, and the last data point is the host IP address.
- “Query time” is the time it takes to receive the response displayed in the output. This is highly essential when figuring out what’s wrong. We can observe that it took 56 milliseconds in the case above.
- “MSG SIZE”: This displays the packet size; this is vital information because if the packet is too large, any device that filters large packets may reject the response. 47 is the number in this circumstance.
From the above output, it is evident that the fosslinux A record points to the two IP addresses provided in “ANSWER SECTION”. Before we query fosslinux.com, let us briefly examine the necessary dig commands that can be used on your Debian 11 OS.
MX Record Lookup
dig fosslinux.com mx
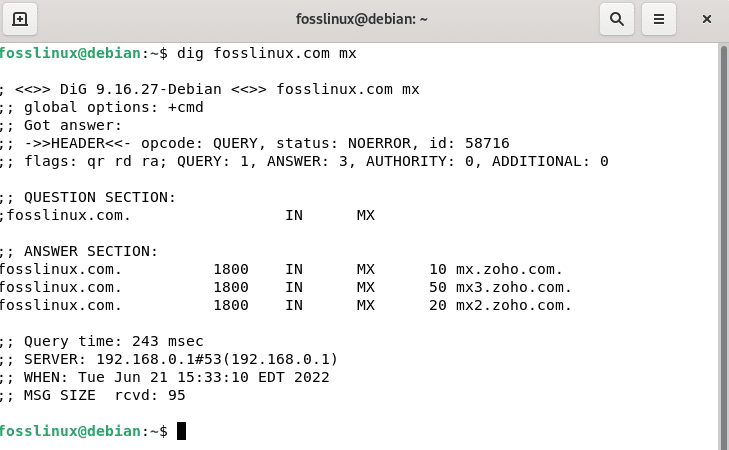
dig fosslinux mx
NS Record Lookup
dig fosslinux.com ns
dig fosslinux ns
rDNS (Reverse DNS) Lookup
dig -x 104.237.129.44
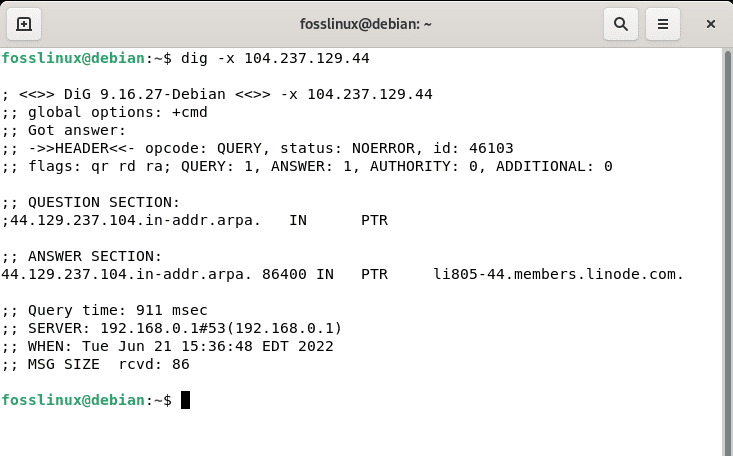
Reverse record lookup
ANY DNS records Lookup
dig fosslinux.com any

dig fosslinux.com any +noall +answer
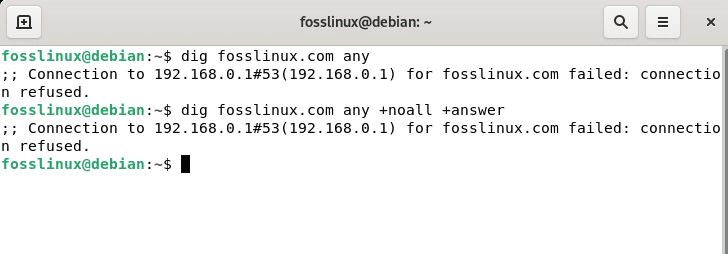
Any DNS lookup
TTL Record Lookup
dig fosslinux.com ttl
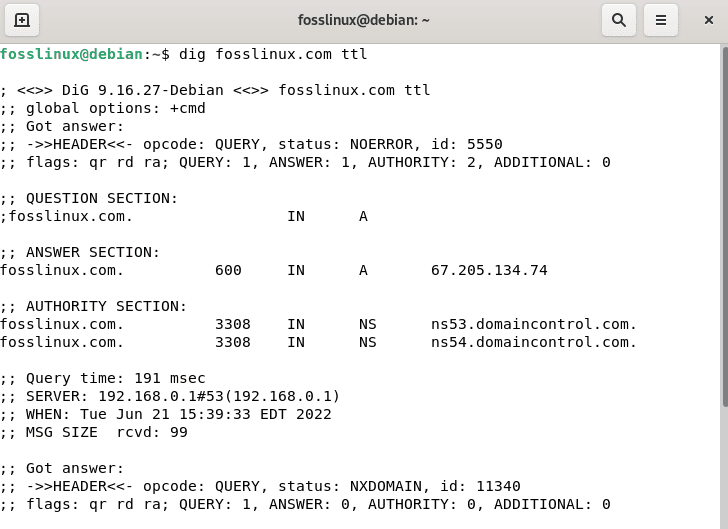
TTL record lookup
SOA Record Lookup
dig fosslinux.com ns

dig fosslinux ns
Check detailed and short information
dig fosslinux.com +short

dig fosslinux.com +noall +answer
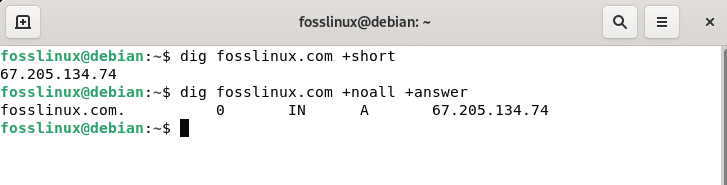
Check detailed and short info
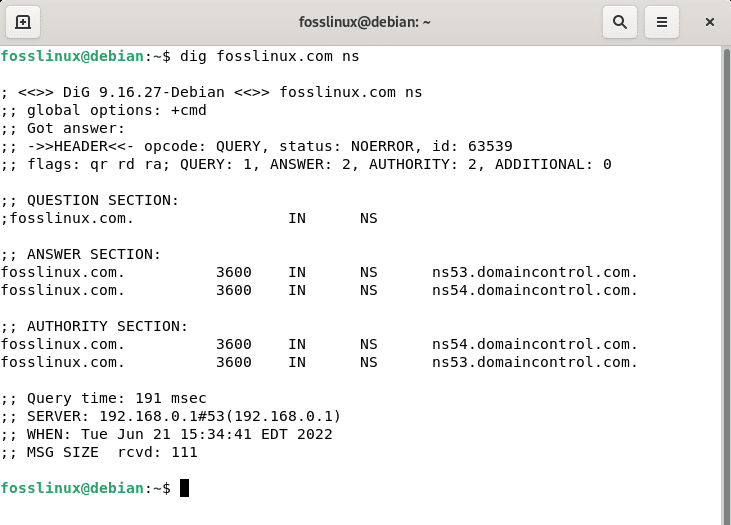
Now that you are acquainted with those helpful dig commands, we can proceed and query fosslinux.com using the NS record lookup command.
Run the line of code below to query our fosslinux URL
dig fosslinux.com ns

dig fosslinux ns
As indicated in the output above, domaincontrol manages fosslinux DNS; the DNS are ns53.domaincontrol.com and ns54.domaincontrol.com, respectively.
Now let’s look at the IPv6 address for fosslinux.com. Dig checks the A (IPv4) record by default. We must define the IPv6 address by adding AAAA, as seen below, to check it.
dig fosslinux.com AAAA
Fosslinux’s IPv6 addresses are 2604:a880:400:d0::4bfe:a001 as seen in the output.

Lookup IPv6 address
It’s crucial to note that if you don’t provide a DNS to respond to, dig will utilize the server(s) listed in your resolv.conf file by default. However, you may specify the server when running a query by adding a “@” followed by the server URL. I’ll use Google DNS in the example below:
dig fosslinux.com @8.8.8.8
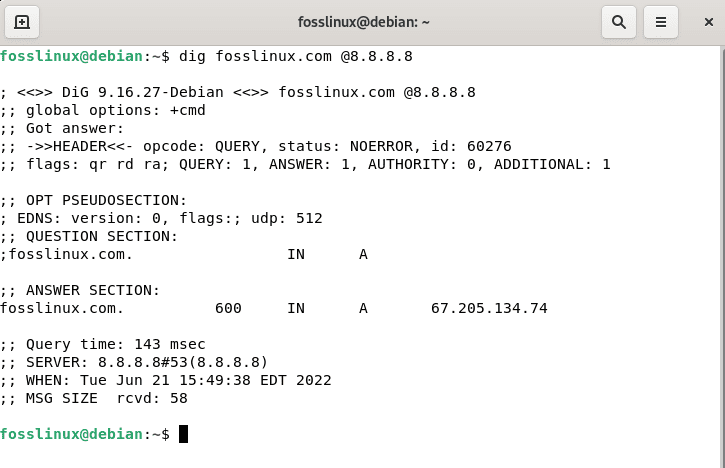
Specify server query
To wrap up this article, use the MX option to test the Fosslinux resolution of mail records, as illustrated in the figure below.
dig fosslinux.com @8.8.8.8 MX
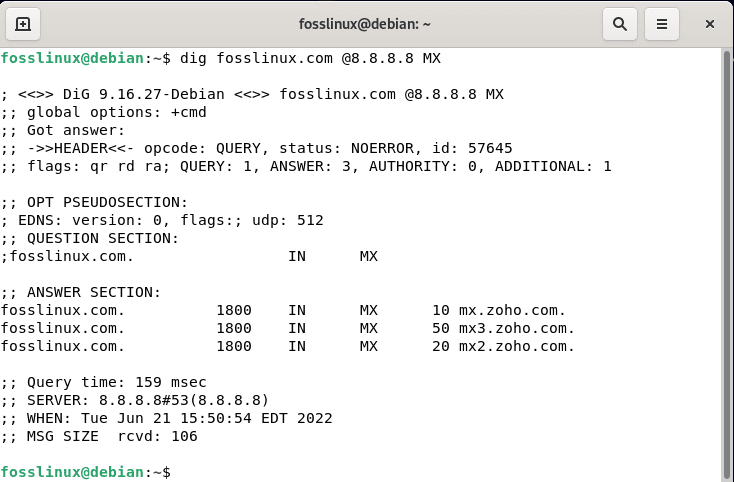
MX record lookup
You are now ready to start working with dig. Installing it on Debian is quite a simple task that can be accomplished by anyone with very little knowledge of Linux distros. This brief guide has also covered the essential commands you can use with dig. We hope you learnt something from this quick article tutorial guide. If yes, leave a remark in the comments section below. Thanks for reading this article guide. Remember to follow Fosslinux to learn more.