
A default gateway is a node in a PC network. The node, in this case, uses an internet protocol suite that serves as the forwarding host(router) to other networks. This occurs when no other route specification matches the destination IP address of a packet.
A gateway makes it possible for devices in one network to converse with devices in another network. For instance, if a PC requests a web page, the request goes via the default gateway exiting the LAN (local area network) to reach the internet.
You can contemplate a default gateway as an immediate device between the internet and the local network. We say this because the default gateway facilitates internal data transfer to and from the internet.
Let us now look at how traffic moves via a default gateway
How traffic maneuvers via a default gateway
Ideally, all the clients on a network point to a default gateway that routes their traffic. This traffic is passed by the default gateway from the local subnet to devices on other subnets. The default/primary gateway connects a local network to the internet, albeit internal gateways for communication purposes within a local network are utilized in corporate networks.
For instance, the default gateway in a home network setting understands particular routes that must be taken to move internet requests from a PC out of the network to the next equipment that comprehends what needs to be done. From there now, the same process recurs until data reaches its destination. Note that the word default, in this case, is the primary device that is looked for when info needs to be sent via the network.
To each network that the traffic arrives at, that network’s default gateway relays info to the internet and back to the PC that requested it.
Additionally, the default gateway is also utilized to understand the request when traffic is cosigned for other interior devices and not an external device. Therefore, instead of sending the data out of the network, it pinpoints it to the correct local device connected to the same local network.
This whole process is appreciated based on the IP address that the originating device requests.
Types of Default Gateways
There are typically two default gateway types.
- The home router functions as the default gateway in small business networks or homes with a broadband router to share the network.
- In small business networks or homes without a router, like residences with dial-up internet access, a router at the internet services provider location serves as the default gateway.
It is also important to note that default network gateways can be configured using a PC instead of a router. These gateways utilize two network adapters: one is connected to the outside network, and the other is connected to the local subnet. As such, you can use either routers or gateway computers to network local subnets like those in large businesses.
Adding or changing the default gateway in Debian
This guide will teach you how to add a default gateway on Debian 11 (Bullseye). Let us get started.
Prerequisites
- Debian 11 is installed on your system with internet connectivity.
- Root user.
- Basic knowledge of computer networks.
Caution: Note that this is a high-calibre technical guide. Only try to follow this guide if you are precisely aware of what you are doing. If you are a newbie and end up jumbling with network configuration, you may lose your connection to the internet. That said, let us have a look at the default gateway IP.
Step 1: Finding the default gateway IP
First, check out the default gateway set on your machine by issuing the following command.
ip route
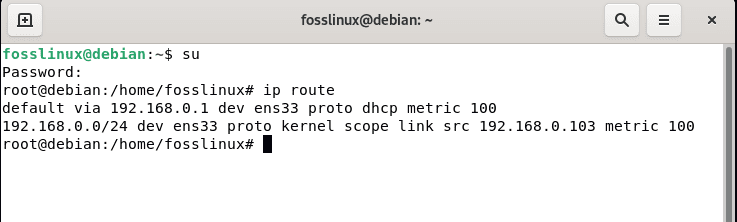
IP route command
The above command will display the default gateway. In our case, the default gateway is 192.168.0.1
On the flip side, you can utilize the ‘route’ command for the same purpose:
route -n

or

/sbin/route -n
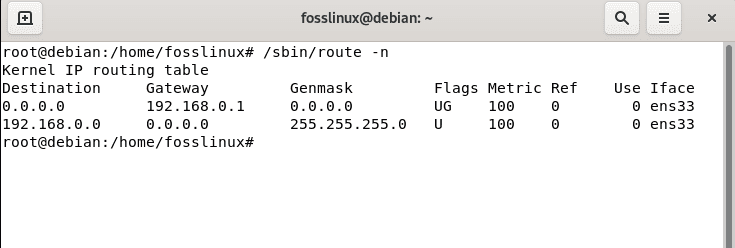
route -n command
The -n option is used to show numerical addresses instead of determining symbolic host names (through DNS or /etc/hosts file). This proves vital when determining why the route to your nameserver has vanished.
If you bump into an error like “Command ‘route’ not found.”
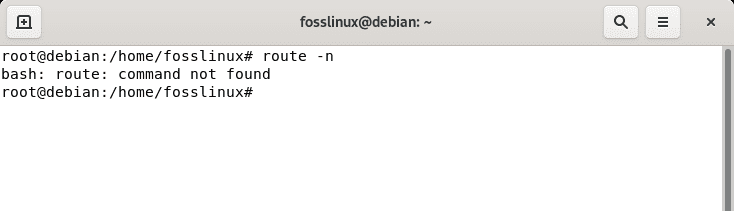
error
Then go ahead and set up the “route” command by running the following command to fix it:
sudo apt install net-tools
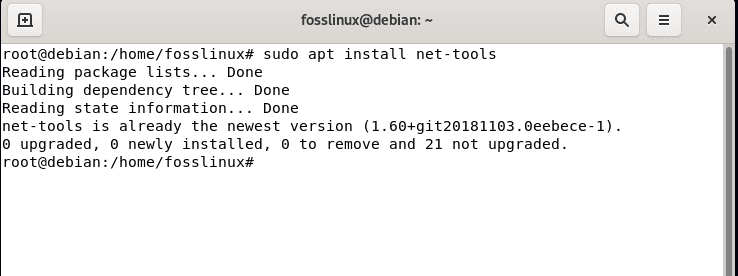
install net-tools
You can take a look at the UG flag for the Gateway. Here are the routing table flags and their meanings:
- M: Modified- Refers to route modified by a routing redirect.
- H: Host – This one here target is a host.
- D: Dynamic – This is a route appended by a routing redirect.
- G: Gateway – This one shows the route to a gateway.
- U: UP – This shows that the route is up and valid.
- R: Reject – Set by ARP when an entry is expired.
A routing table is ideally a set of rules, often viewed in a table format. It determines where data packets travelling over an IP(Internet Protocol) network will be directed. That covered; let us focus on the article’s most crucial section.
Step 2: Adding default gateway
Open the terminal by hitting the “Activities” located on the left corner of the desktop. After that, use the “search” button to look for “terminal,” as shown below:
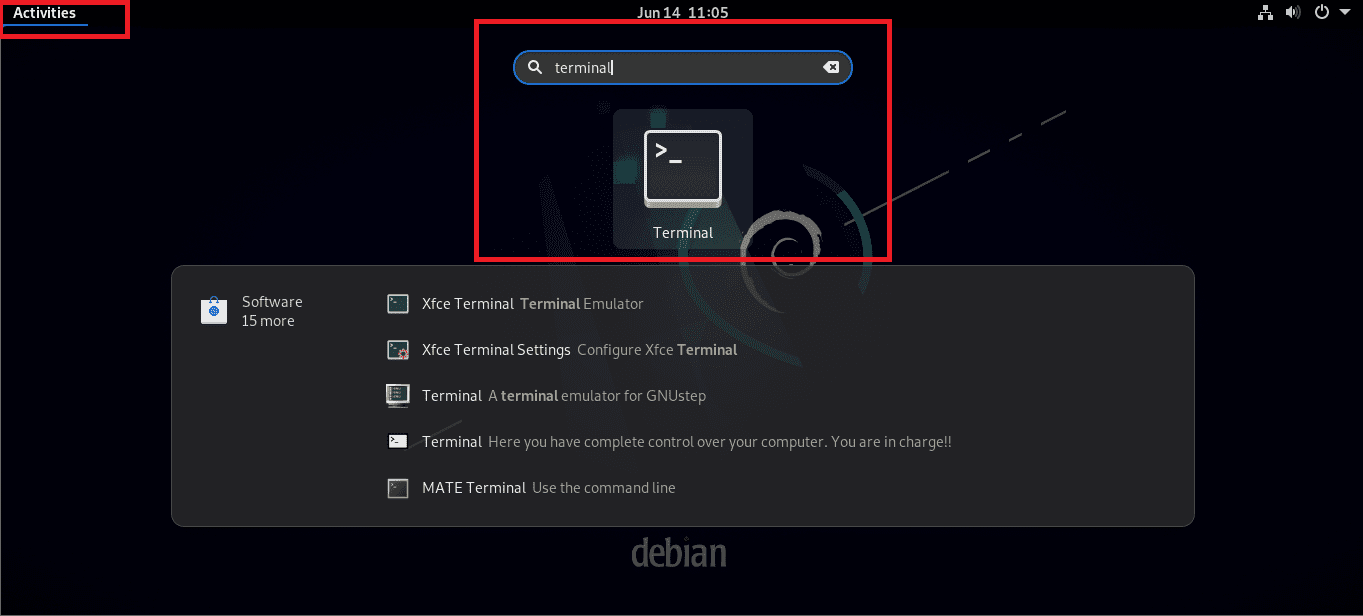
Search for terminal
After that, use the add default gateway command that follows the following syntax:
route add default gw {IP-ADDRESS} {INTERFACE-NAME}
or
/sbin/route add default gw {IP-ADDRESS} {INTERFACE-NAME}
where;
- You will specify your router IP address in the “IP-ADDRESS” section.
- And also, specify the interface name such as ens33 on the “INTERFACE-NAME” section
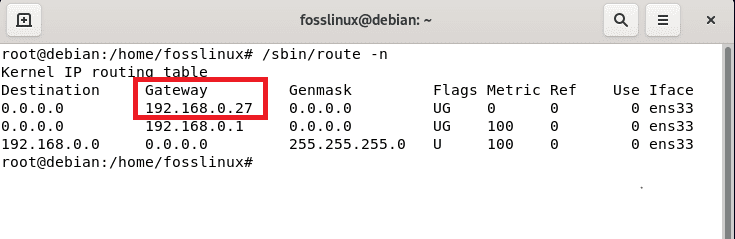
For instance, if your router IP address is 192.168.0.27, then the command to run will resemble the following:
/sbin/route add default gw 192.168.0.27 ens33

or

route add default gw 192.168.0.27 ens33

add IP address
Alternatively, you can carry out the same using the IP command(newer syntax) to route all traffic via the 192.168.0.27 gateway connected through the ens33 network interface.
sudo ip route add default via 192.168.0.27
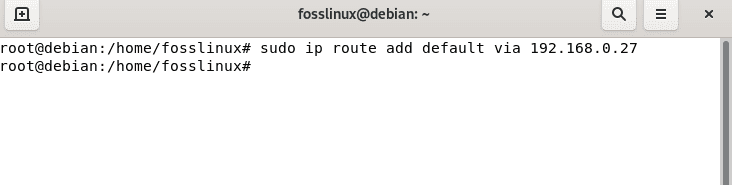
add the default IP address
or
ip route add 192.168.1.0/24 via 192.168.1.254
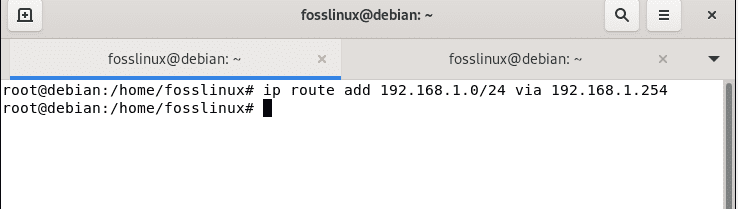
alternatively
Step 3: Delete a default gateway
To do away with an already added default route, use the subsequent syntax:
sudo ip route del default via <IP_ADDRESS>
For instance,
sudo ip route del default via 192.168.0.27
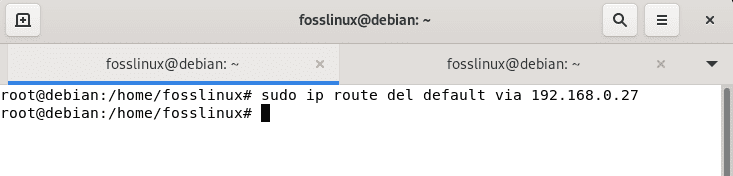
delete IP address
To confirm the above changes, use the ‘route -n’ command.
/sbin/route -n
Before
before
After
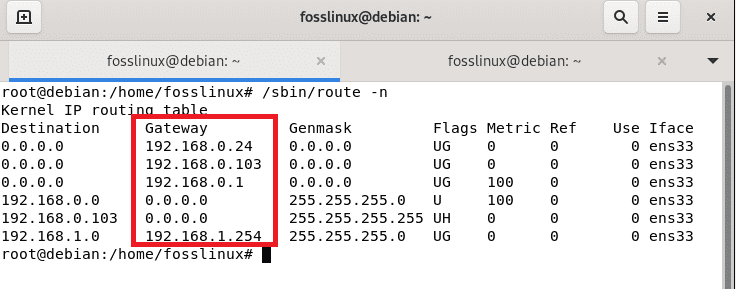
It is deleted
As seen above, the previously added gateway “192.168.0.27” has been deleted from the active and available gateways.
Final thoughts
There it is, guys! This guide has covered essential concepts about adding the default gateway on our Debian version 11. We hope you found this educative. Keep following FossLinux for more tips.