
In this tutorial, we will show you how to configure and use local yum repository besides the typical online repository. For those new to YUM, Yellowdog Updater, Modified (YUM) is a software package manager that manages the RPM-based Linux distributions.
With YUM, one can install and update groups of computers without having to manually update each one using RPM.
The biggest advantage of using a local YUM repository is to perform any type of package installation without the need of the internet connection. The packages are stored in the local repository.
Another added benefit is the speed of download. Since the packages are downloaded via a local network, the updates will happen at a lightning speed.
Setting up local YUM server on CentOS 7
Before we begin, the first thing to do is to disable SELinux firewall because we are working on the local environment.
Step 1 – Disable SELinux
Let’s first edit the configuration file and change “SELINUX=enforcing” to “SELINUX=disabled”
vi /etc/sysconfig/selinux
Stop firewall and disable on system boot.
systemctl stop firewalld
systemctl disable firewalld
Then reboot the system.
reboot
Step 2 – Mount CentOS 7 media
Mount the local media like DVD, USB stick etc that contains CentOS 7 / Oracle Linux 7 / RHEL 7 etc.
Here we used the CentOS 7 DVD and mount it. Here we mount DVD media to “/mnt” directory
mount -t iso9660 /dev/sr0 /mnt
Step 3 – Copy media content to the Server
Before copying media, we will create a folder inside the server root directory.
mkdir /localrepo
Now copy media to the created folder.
cp -rv /mnt/* /localrepo/

Copying Media
Step 4 – Configure the Local Repository
Take a backup of the repository folder.
cd /etc
Backup repository folder.
cp -r yum.repos.d yum.repos.d-bak
Delete all online repository files.
rm -rf yum.repos.d/*
Create locate repository file.
vim yum.repos.d/local.repo
Add the following line to the file for Centos 7.
[centos7]
name=centos7
baseurl=file:///localrepo/
enabled=1
gpgcheck=0
Then save and exit the file. For your information, here is what each of the items means in the above command.
[centos7] – Name of the Section.name = Name of the repository
baseurl = Location of the package
Enabled = Enable repository
gpgcheck= Enable secure installation
gpgkey = Location of the key
gpgcheck is optional (If you set gpgcheck=0, there is no need to mention gpgkey)
Now update the local repository.
createrepo /localrepo/
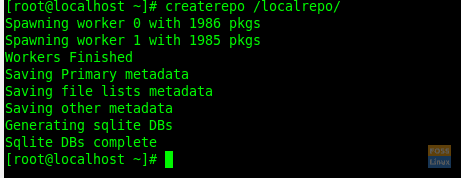
Create Repo
Now enable the local repository.
yum clean all
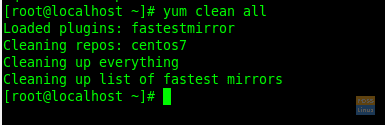
Yum Clean All
List repository
yum repolist all

Repo List
Step 5 – Test Local Repository
Now you can run update command and check if the update is working or not.
yum updateHere is my system showing the updates. You can type “y” to confirm installation.

Yum Update
Now we will install the “zip” package.
yum install zip
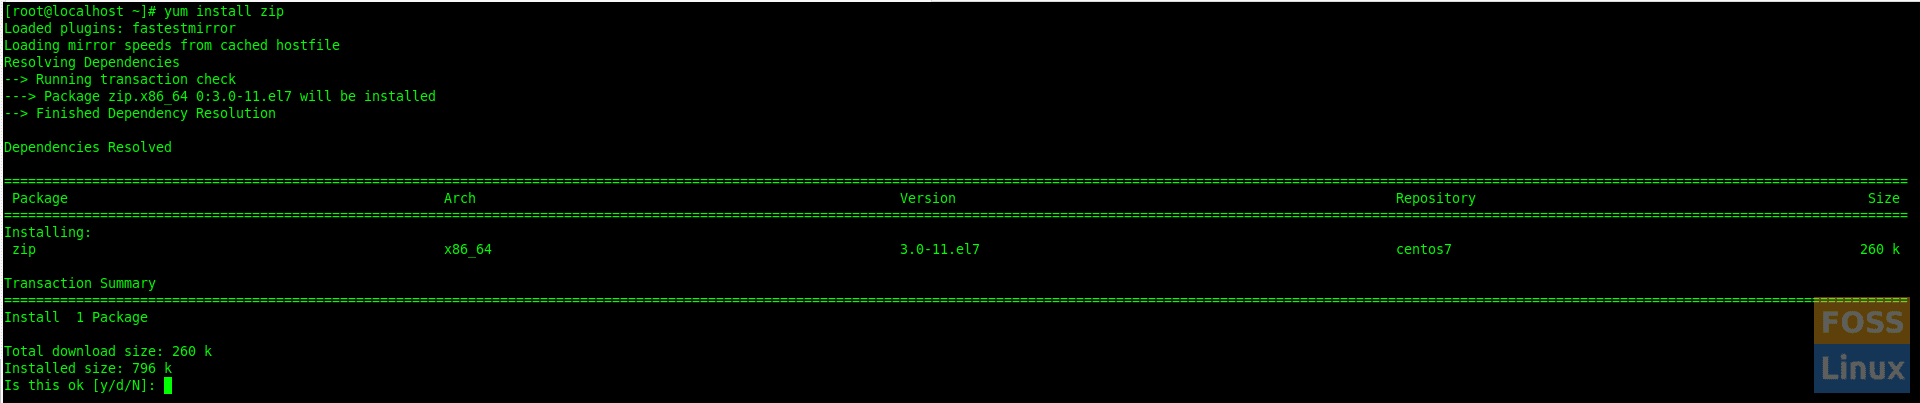
Install Zip Package
Enter “y” to continue installation. Then it will install the IP package.
Step 6 – Host RPM Packages
Generally, YUM server uses HTTP or FTP as the medium to transfer packages. Here we are going to HTTP.
Install Apache.
yum install httpd
Check the status of Apache.
systemctl status httpd
If service is not started you can start it following command:
systemctl start httpd
Enable Apache on system boot.
chkconfig httpd on
Now we will configure apache with created Repository path:
Normally Apache document root is “/var/www/html” . Here we are going to change it to our repository path.
Open the configuration file.
vi /etc/httpd/conf/httpd.conf
Find “DocumentRoot” and change the path. Then change the “Directory” path too.
After that find “Options Indexes FollowSymLinks” and change it to “Options All Indexes FollowSymLinks”. The file should look like below:
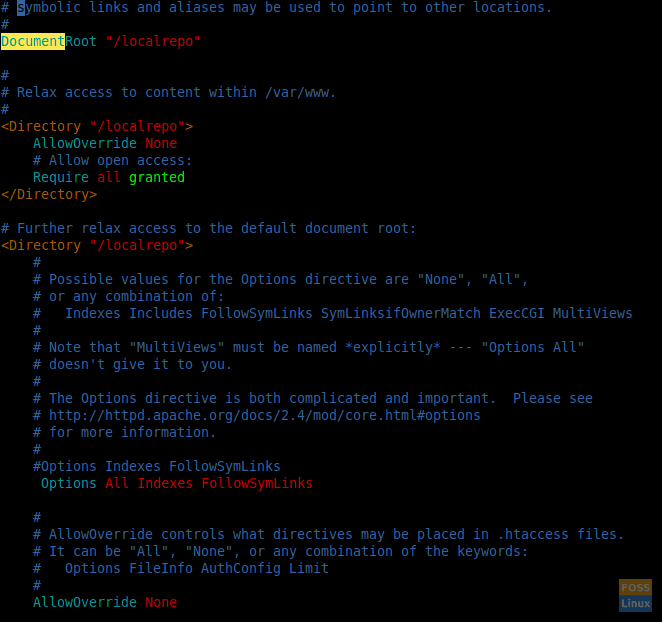
Apache Config File
Then remove the Apache welcome page.
rm -rf /etc/httpd/conf.d/welcome.conf
Check for Apache configuration syntax.
httpd -t
Now restart Apache.
systemctl restart httpd
Use Server IPS to browse Repository.
http://Server-IP
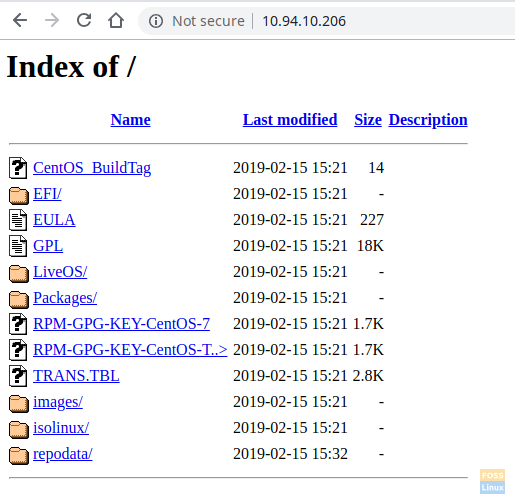
Repository Browse
Step 6 – Configure the Client Machine Repository
Backup the current repository folder.
cp -r /etc/yum.repos.d /etc/yum.repos.d-bak
Remove all repository files.
rm -rf /etc/yum.repos.d/*
Now create a new repository file.
vi /etc/yum.repos.d/localrepo.repo
Add following line to file:
[localrepo]
name=Centos7 Repository
baseurl=http://10.94.10.206/
gpgcheck=0
enabled=1
Save and exit the file.
List the repository.
yum repolist

List Repos On Client Machine
We can see our local repository listed here. Clean yum cache.
yum clean all
Now update repository.
yum update
Test local repository from the client machine. Now we will install “elinks” from our local repository.
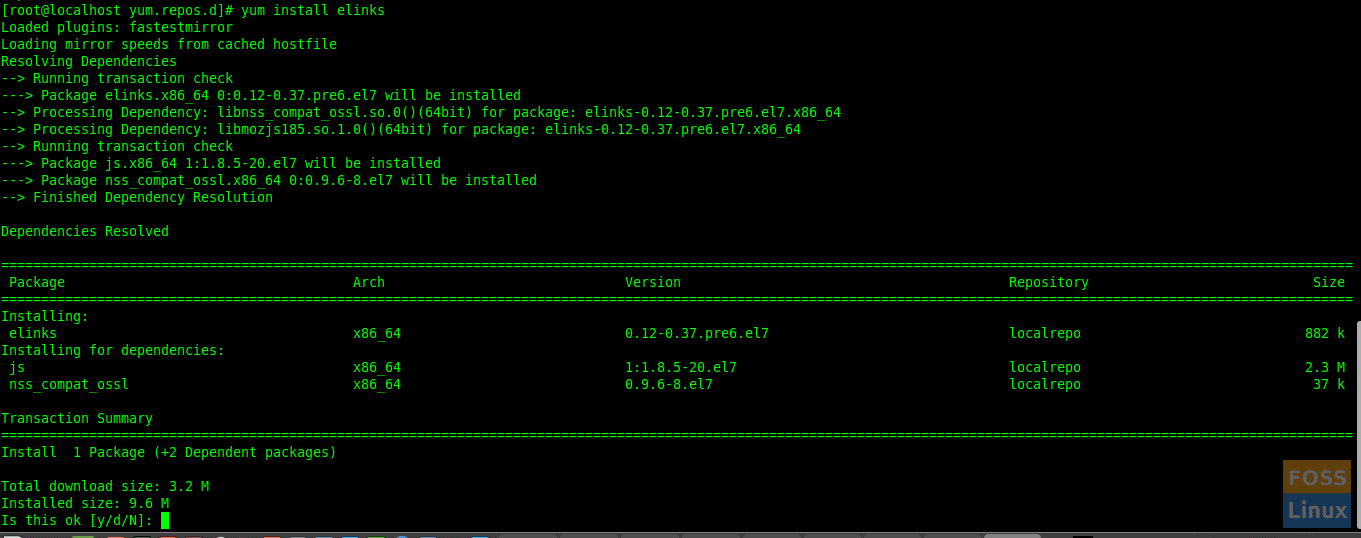
Install From Local Repository Server
If you want you can proceed with typing “y”. It means our local repository working fine
There you go, you have successfully configured the local YUM repository on CentOS.
4 comments
Very Good Article
Sir it’s not working
All step followed step by step
But yum update command is now working
Hello,
I followed your steps but my http didnt work
hi darshana,
Please share installation of samba in ubuntu 20. I m using windows 7/8/10 clients. Both secure and guest share.